Windows 11 パソコンでHyper-Vを有効化し仮想マシンを作成するにはコントロールパネルから「Hyper-V」のチェックボックスを有効化する必要があります。利用するエディションの条件としてWindows11 Home にはHyper-Vの機能は搭載されていません。Windows11 Pro以上のエディションで実行します。
1. Windows 11 パソコン:Hyper-V 有効化方法
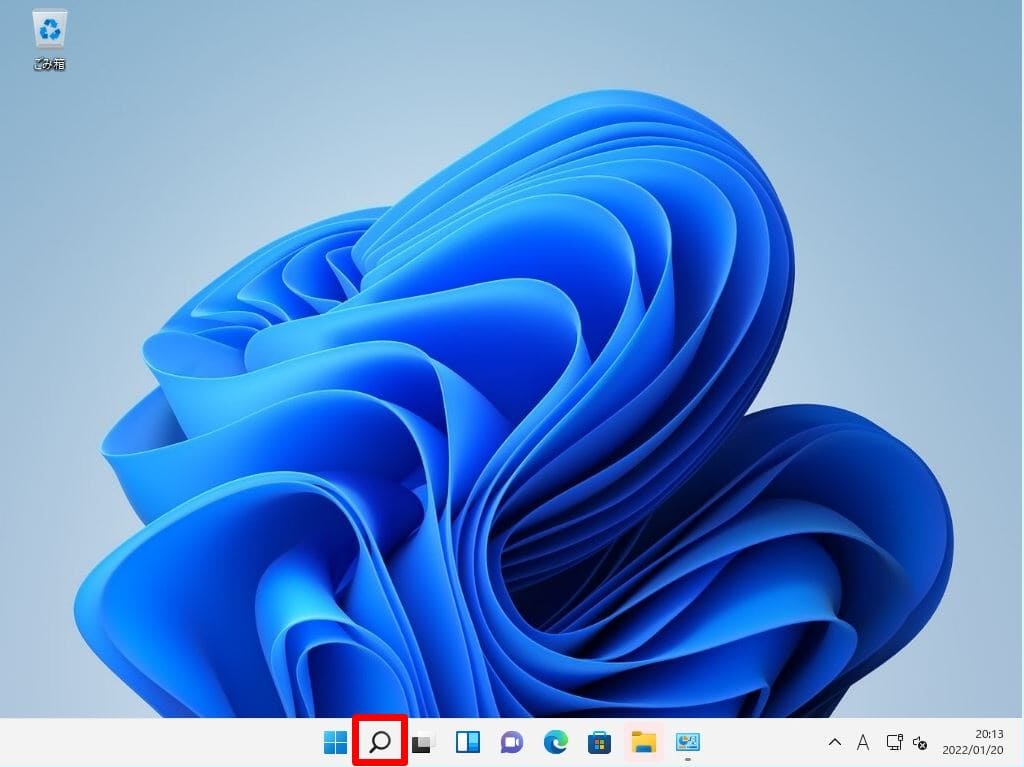
手順 1:
タスクバー上の「検索ボックス」を選択します。
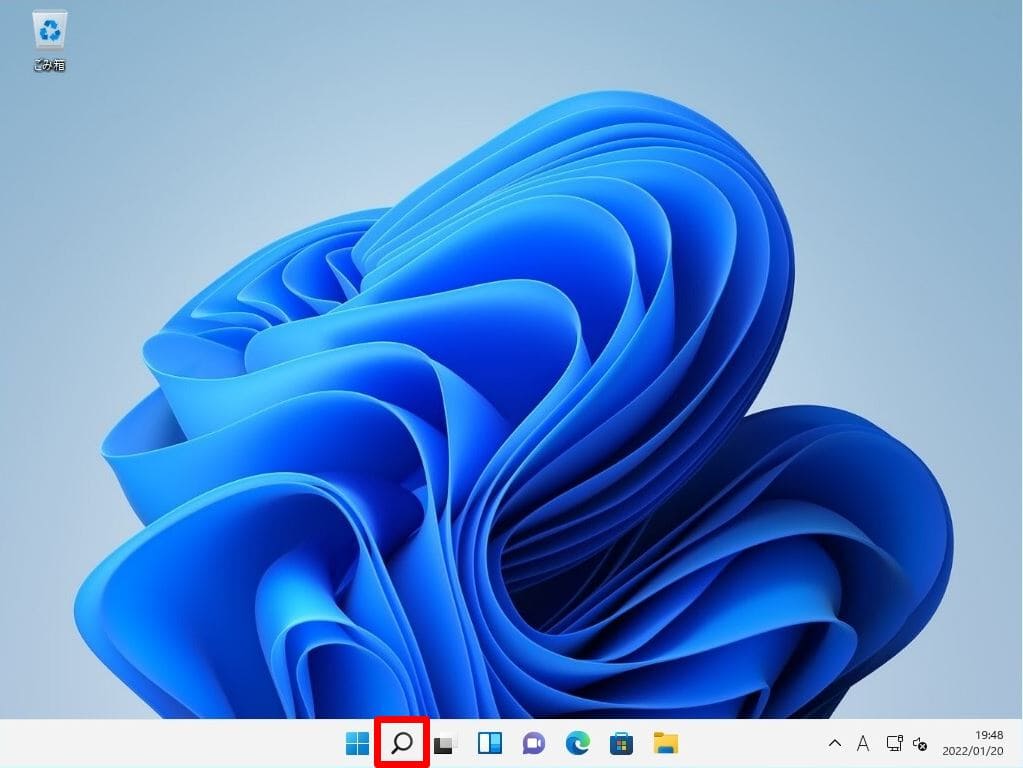
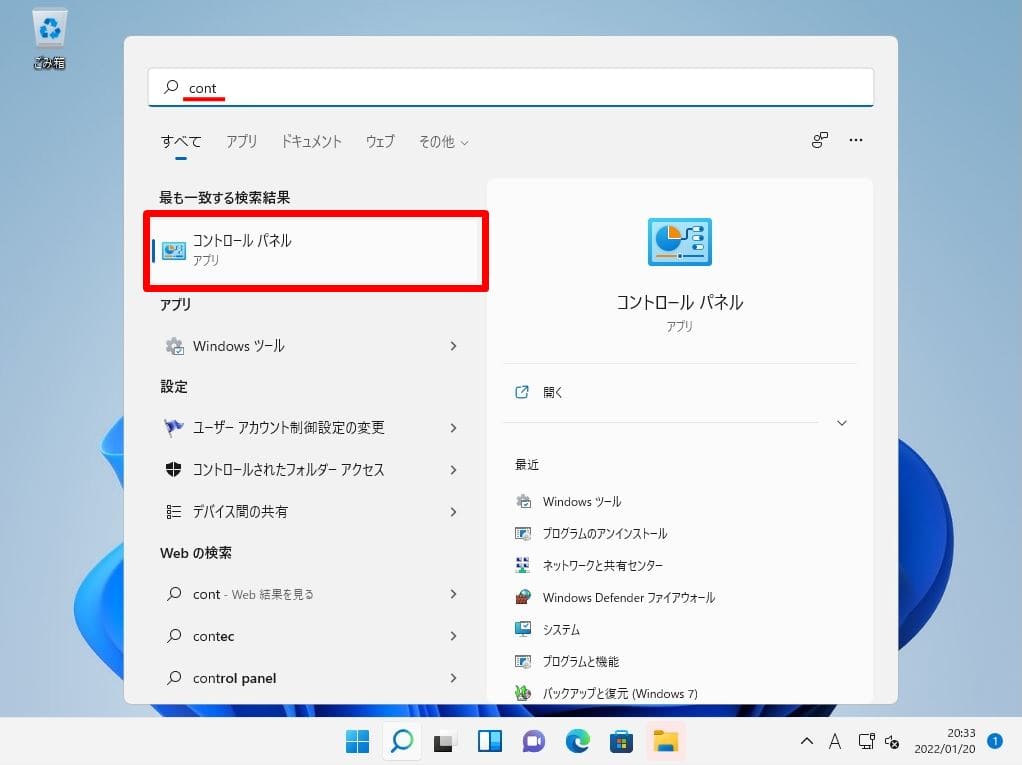
手順 2:
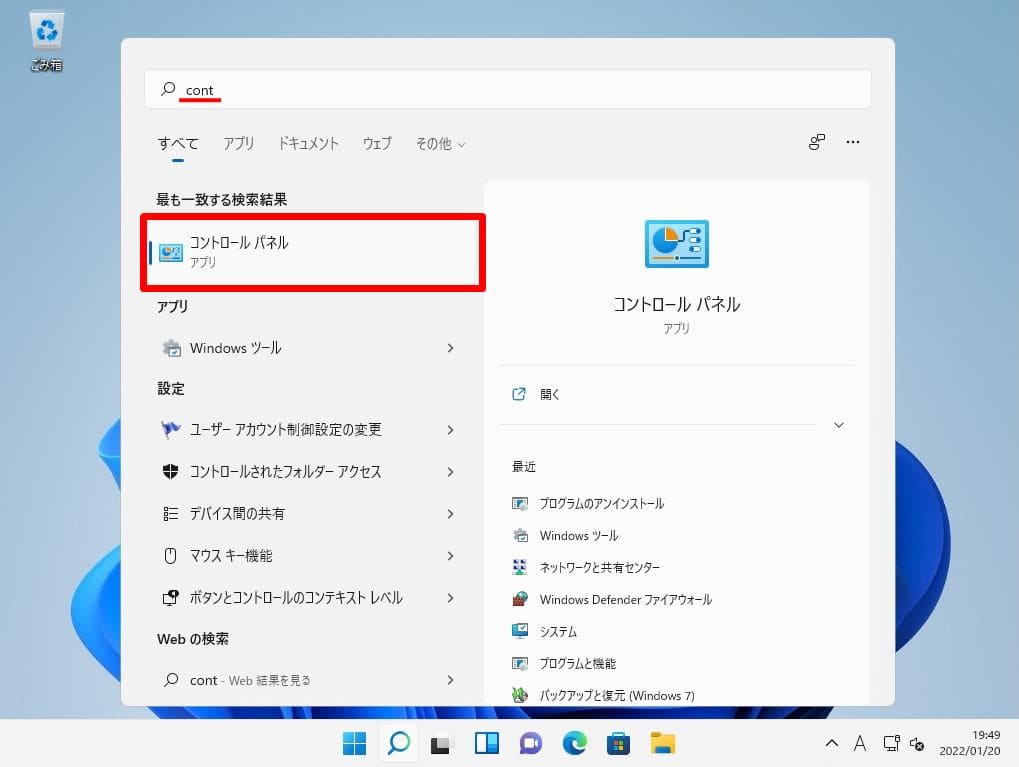
「cont」を入力 ->「コントロールパネル」を選択します。
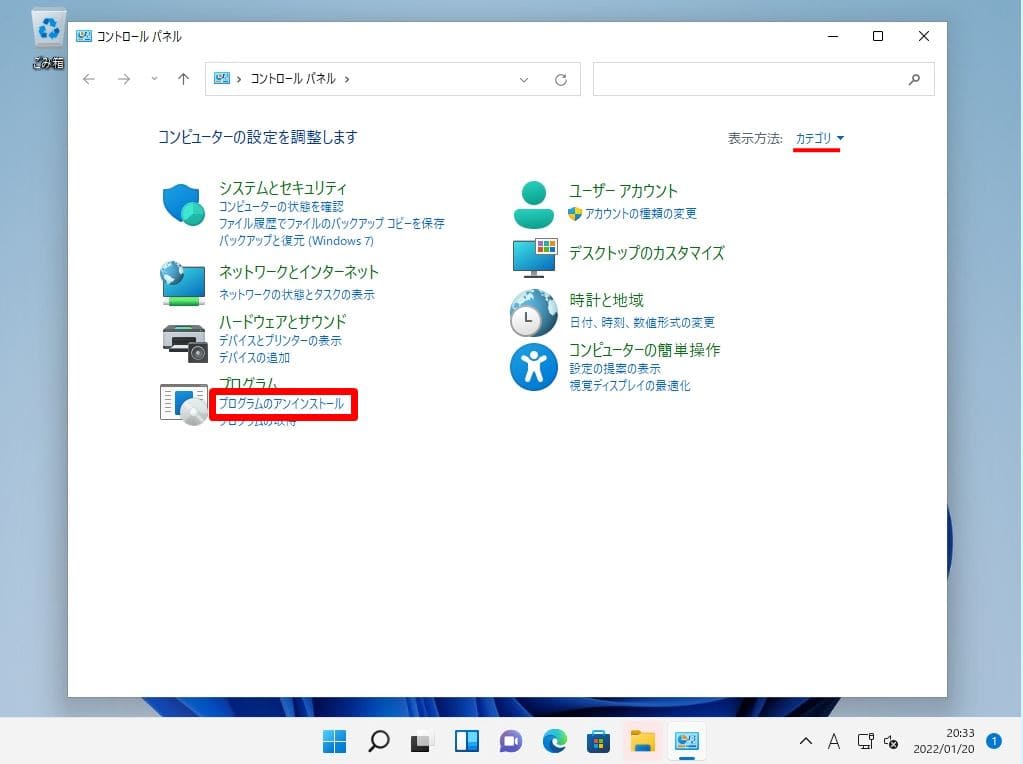
手順 3:
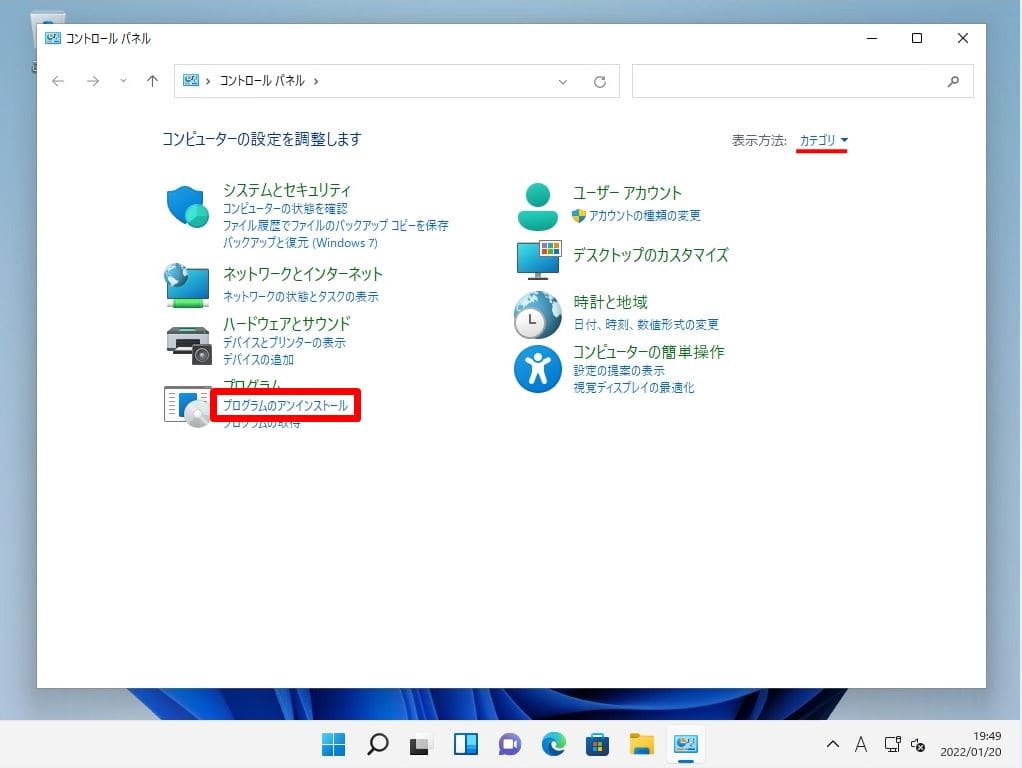
コントロールパネル画面:表示方法 カテゴリ ->「プログラムのアンインストール」を選択します。
手順 4:
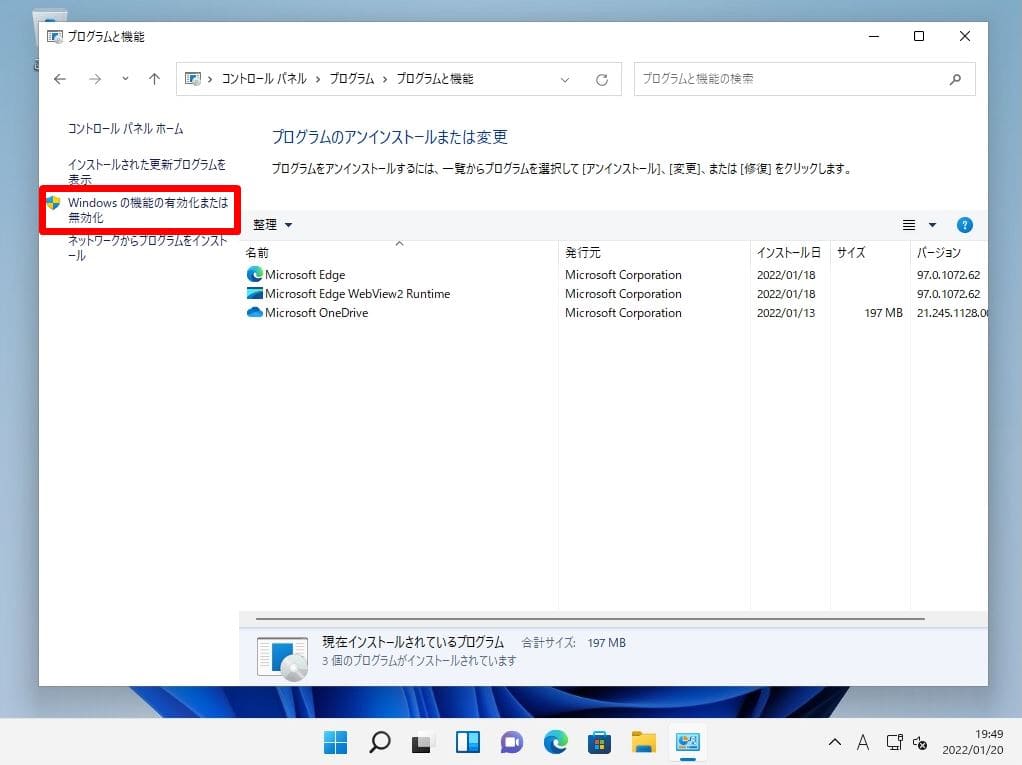
プログラムと機能画面:「Windowsの機能の有効化または無効化」を選択します。
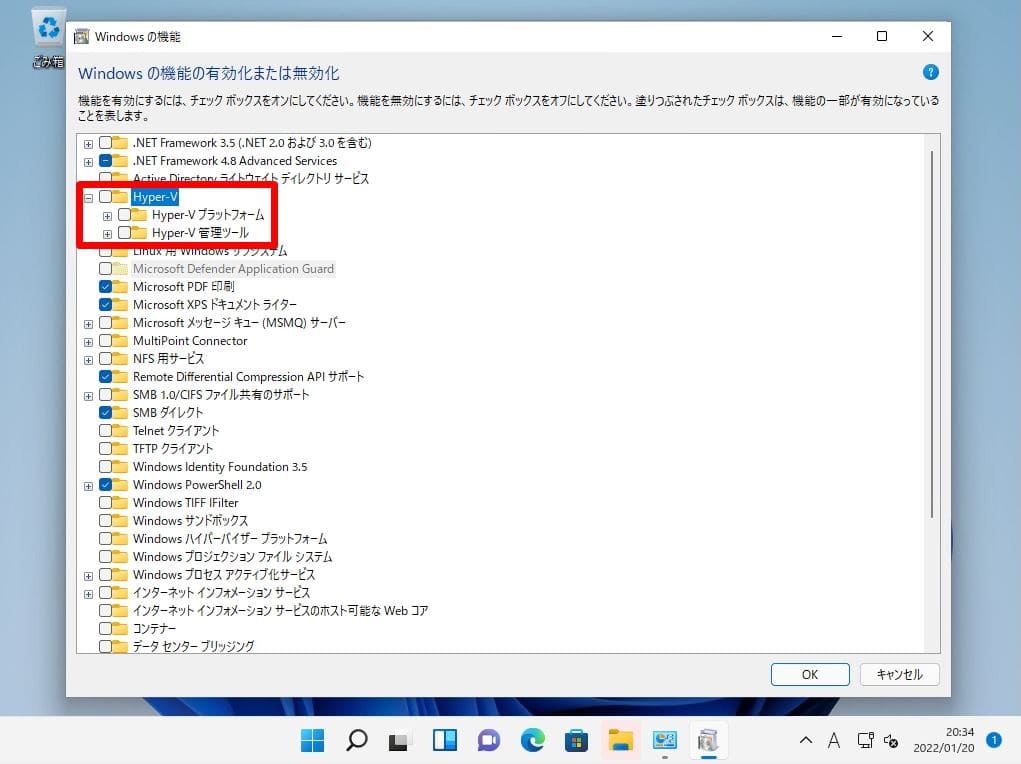
手順 5:
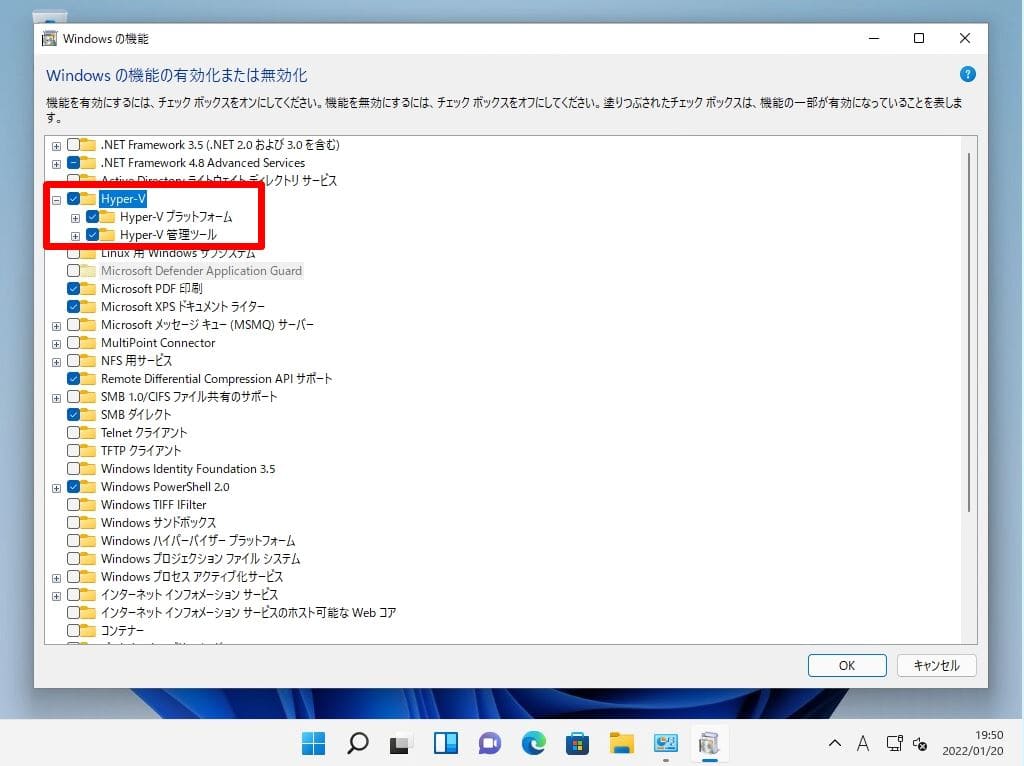
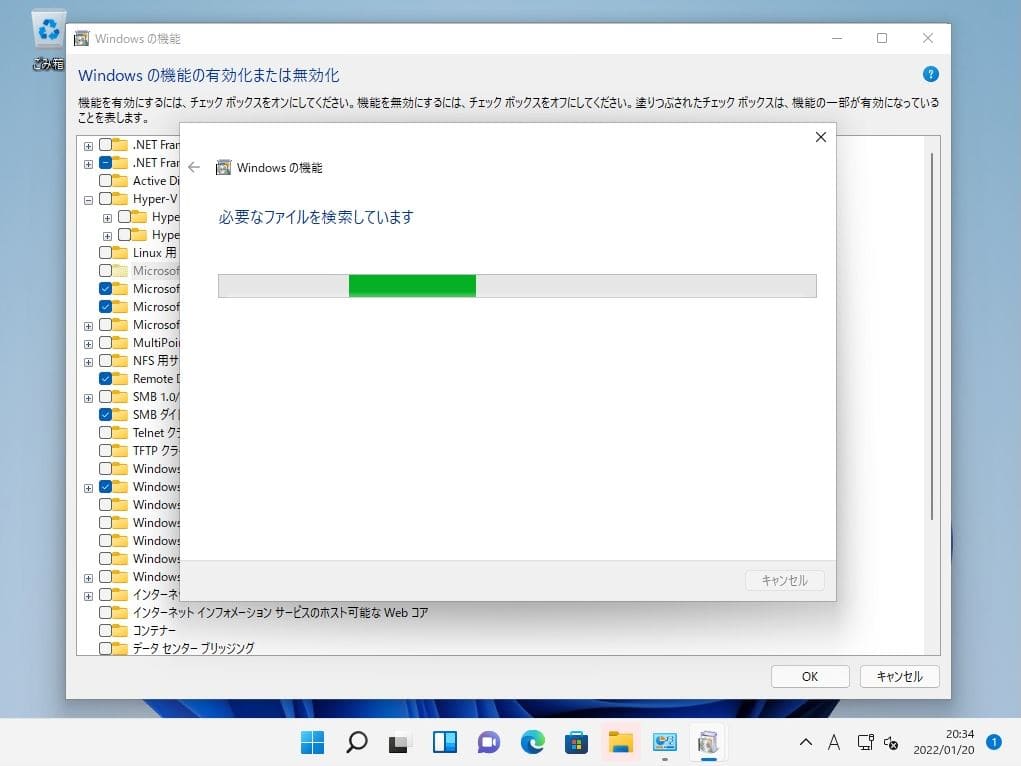
Windows の機能画面:「Hyper-V 」のチェックボックスを有効化し「OK」を選択します。
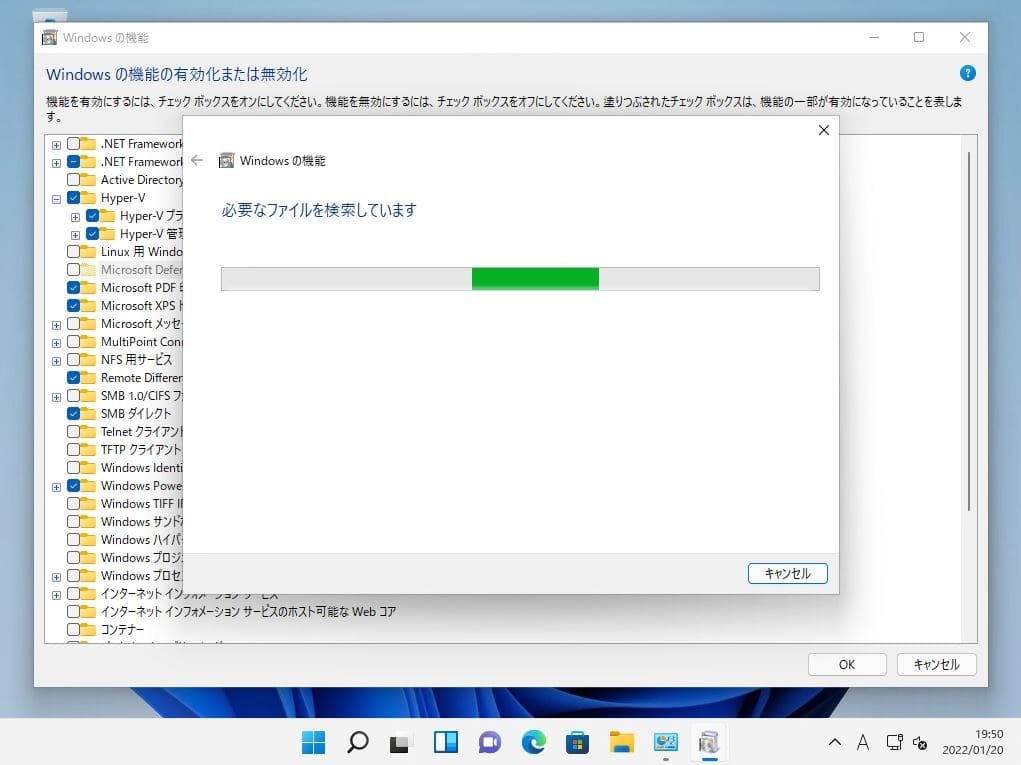
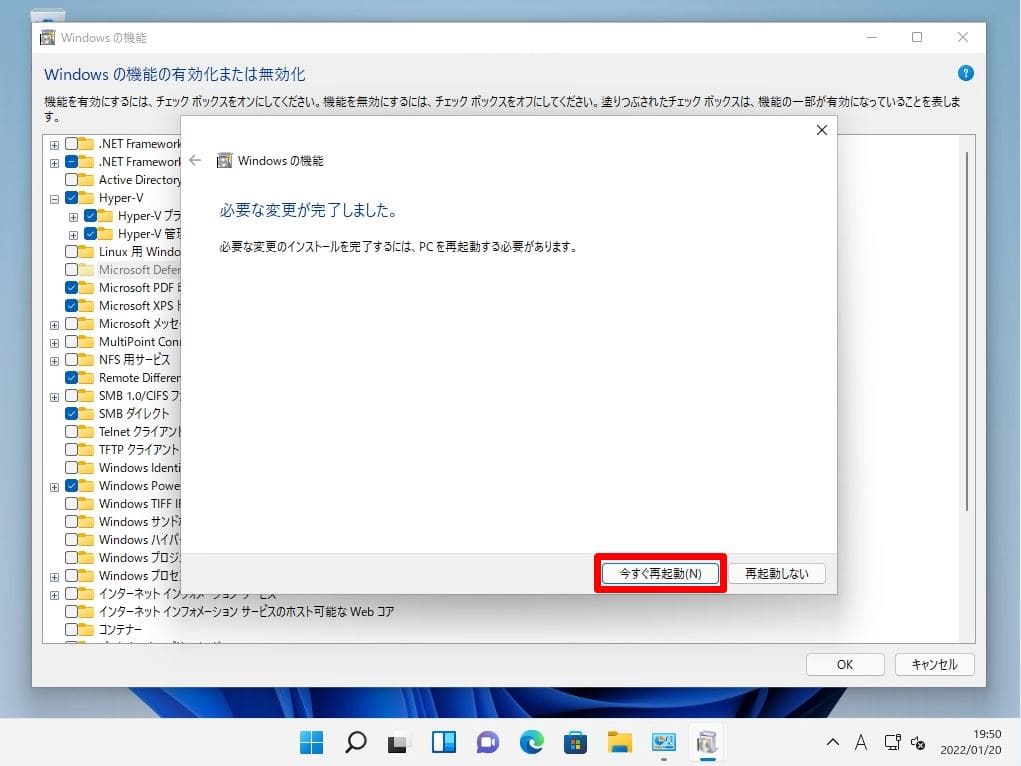
Hyper-V 有効化処理が開始されます。処理が終了するまで少し待ちます。
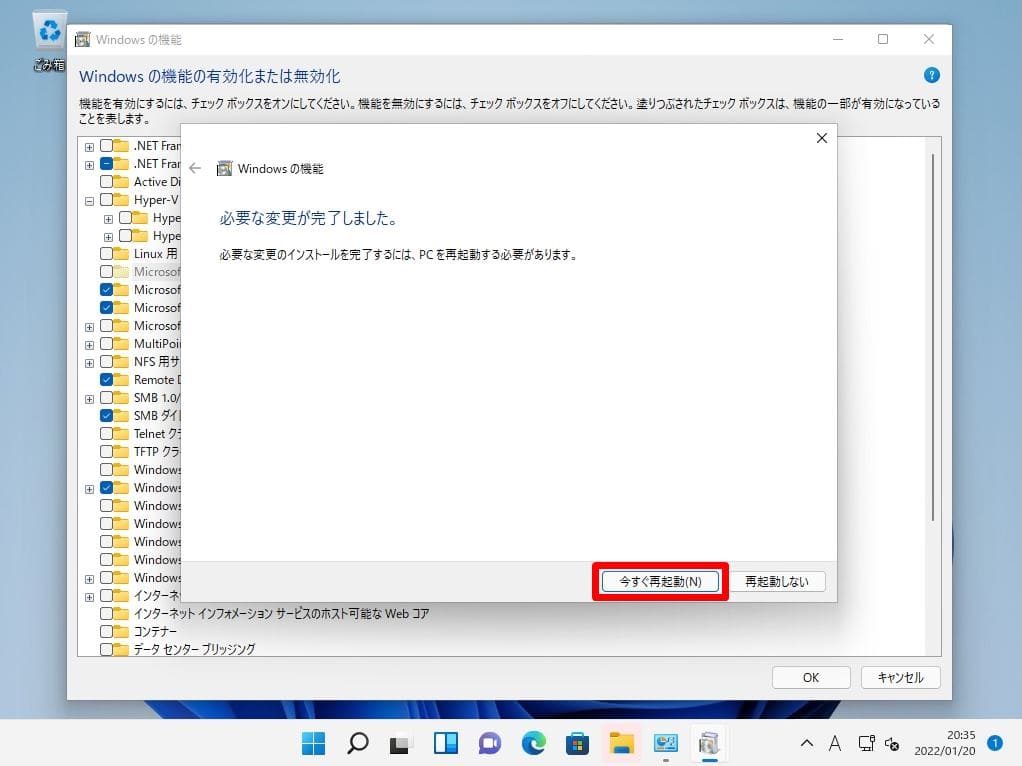
手順 6:
「 今すぐ再起動 」を選択します。
手順 7:
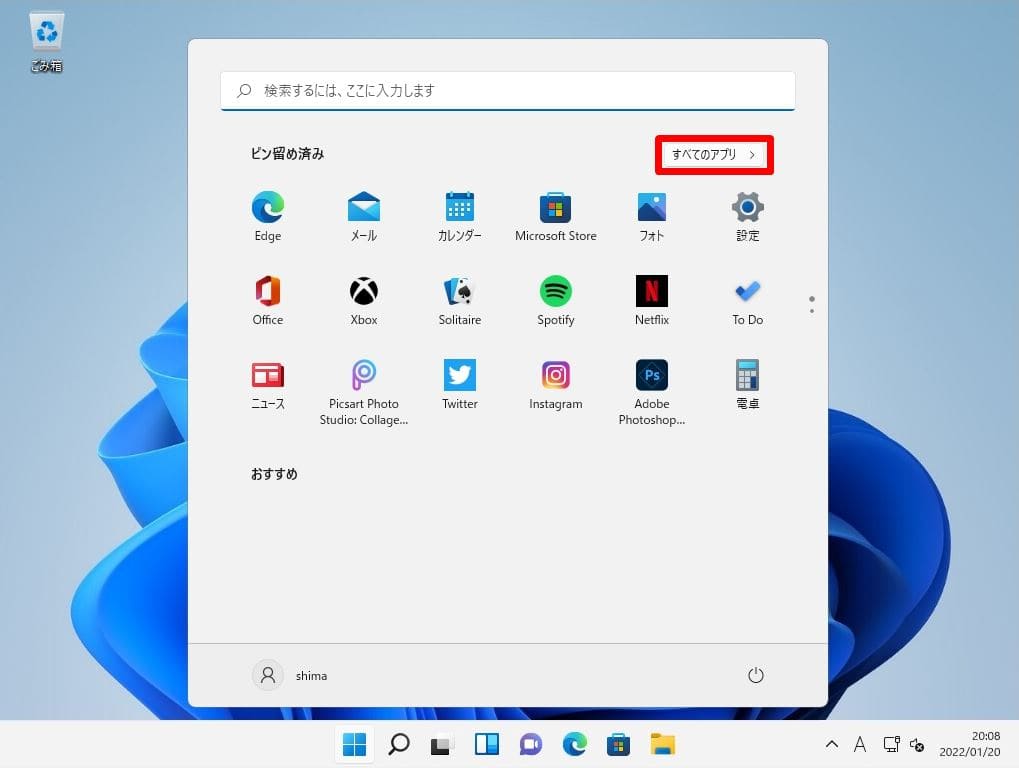
Windows11 パソコン再起動後、 Hyper-Vがインストールされたことを確認します。
タスクバー上の「Windowsマーク」->「すべてのアプリ」を選択します。
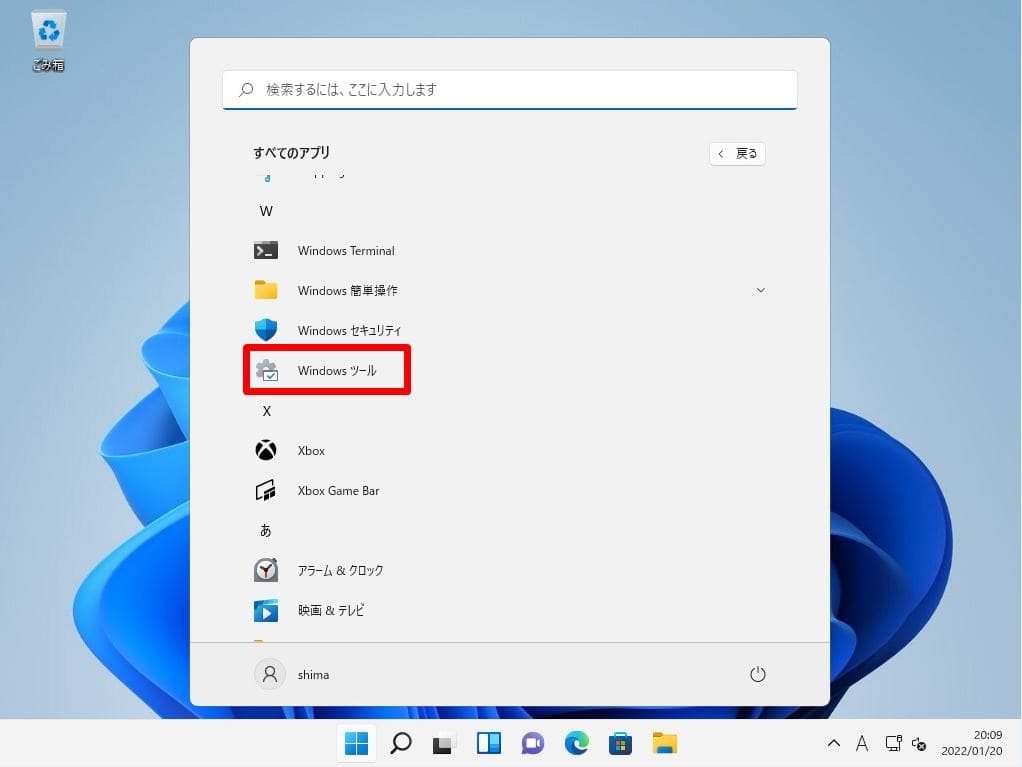
手順 8:
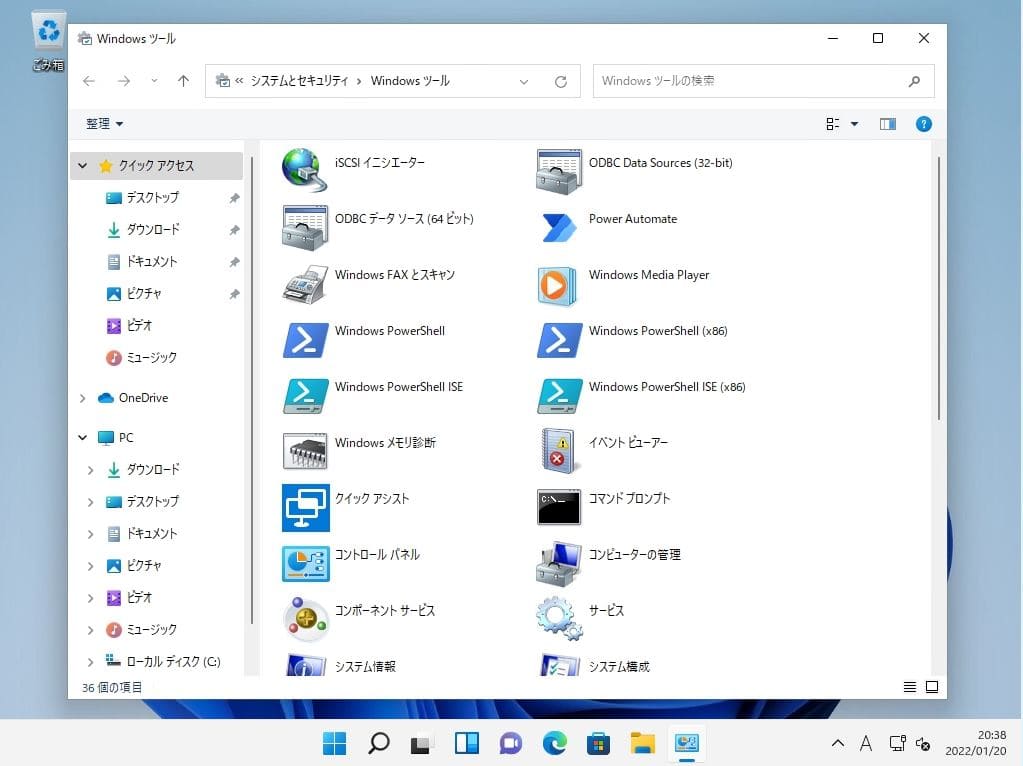
「Windows ツール」を選択します。
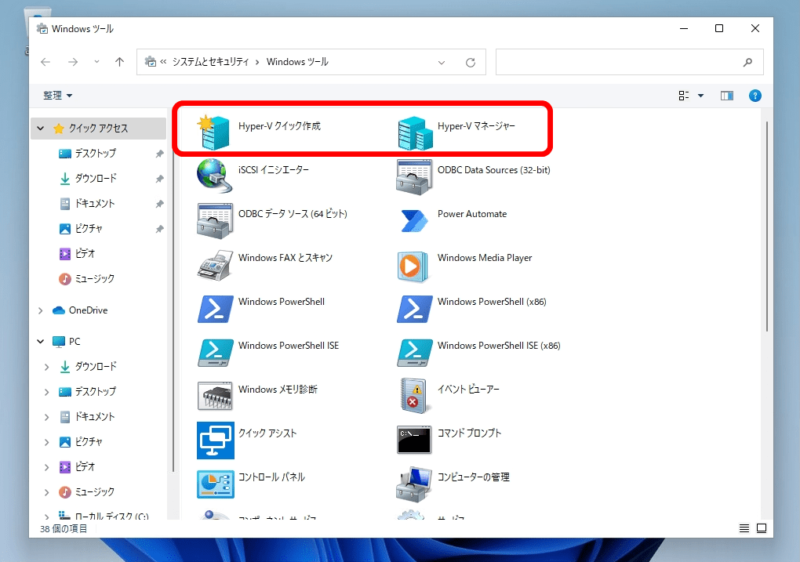
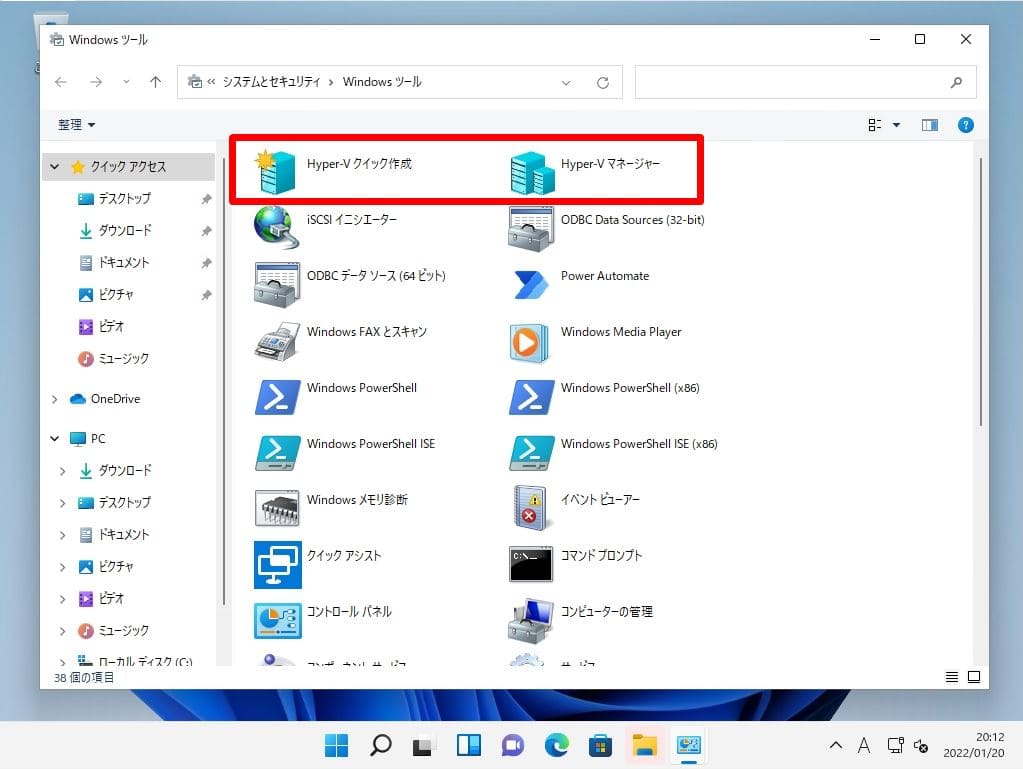
手順 9:
「Hyper-Vクイック作成」・「Hyper-V マネージャー」がインストールされたことを確認します。
2. Windows 11 パソコン:Hyper-V 無効化方法
Windows 11 パソコンのHyper-V 無効化は、前提として Hyper-V を有効化している場合です。デフォルトでは Hyper-V は無効になっています。
手順 1:
タスクバー上の「検索ボックス」を選択します。
手順 2:
「cont」を入力 ->「コントロールパネル」を選択します。
手順 3:
コントロールパネル画面:表示方法 カテゴリ ->「プログラムのアンインストール」を選択します。
手順 4:
プログラムと機能画面:「Windowsの機能の有効化または無効化」を選択します。

手順 5:
Windows の機能画面:「Hyper-V 」のチェックボックスを外し「OK」を選択します。
Hyper-V 無効化処理が開始されます。処理が終了するまで少し待ちます。
手順 6:
「 今すぐ再起動 」を選択します。
手順 7:
Windows11 パソコンを再起動後、Windows ツールに「Hyper-Vクイック作成」・「Hyper-V マネージャー」が表示されないことを確認します。