WSUS(Windows Server Update Services)サーバーは社内ネットワークなどのローカル環境に設置することでクライアントPC( Windows7・Windows8/8.1・Windows10・ Windows11など)は直接Microsoft アップデートサーバーにアクセスせずローカル環境のWSUSサーバーからMicrosoft社が提供する更新プログラムを適用することができます。 WSUSを設置するメリットとして企業内の個々の端末がマイクロソフト社のアップデートサーバーにアクセスしないためインターネット回線を圧迫しません。また、更新プログラムの管理・適用状況の把握をすることができます。
Windows Server 2022でWSUSサーバーとして利用する最小ハードウェア要件をマイクロソフト公式サイトからCPU・メモリ・ディスク領域・ネットワークアダプター項目を抜粋し参考として以下に記載します。※以下は最小要件です。WSUSサーバーを本番環境に構築する際は余裕を持たせたサイジングにすることを推奨します。
・プロセッサ: 1.4 GHz の x64 プロセッサ (2 GHz 以上推奨)
・メモリ: WSUS では、サーバーおよび他のすべてのサービスまたはソフトウェアが必要とするメモリ容量に加え、追加の 2 GB RAM が必要です。
・使用可能なディスク領域: 40 GB 以上を推奨
・ネットワーク アダプター: 100 Mbps (メガビット/秒) 以上 (1 GB を推奨)
引用元:マイクロソフト公式サイト
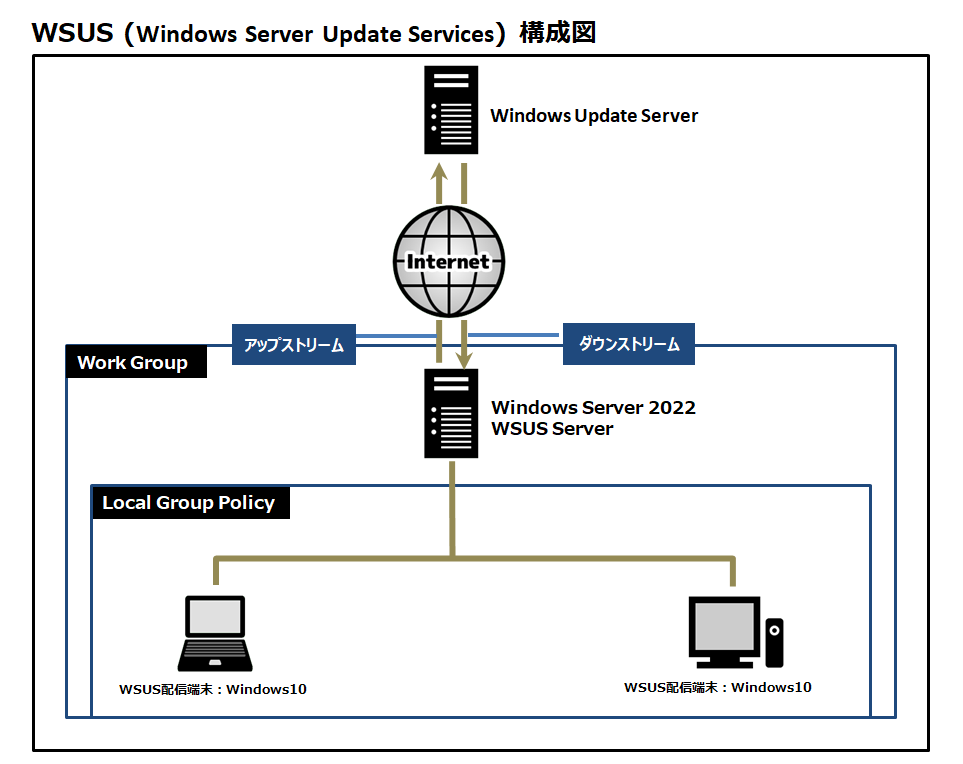
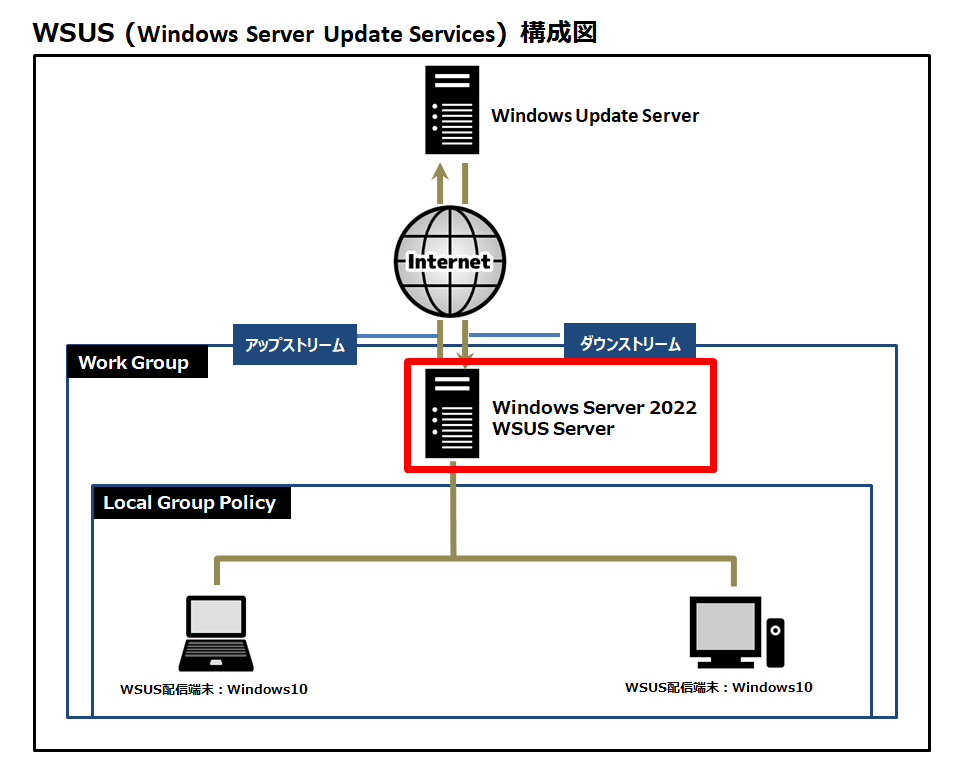
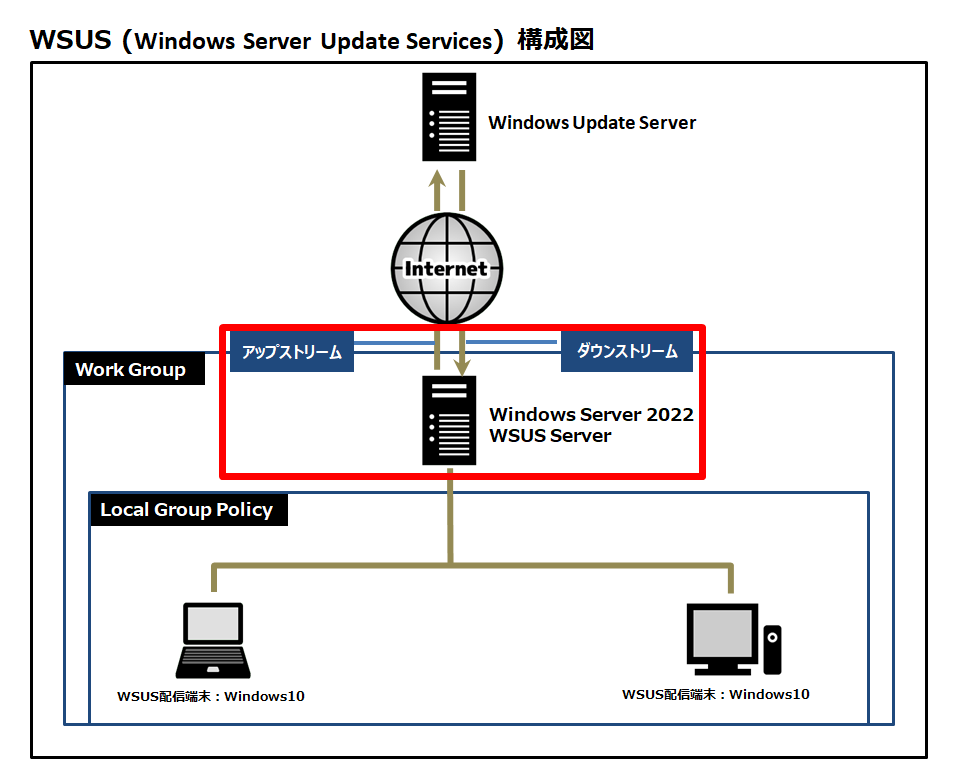
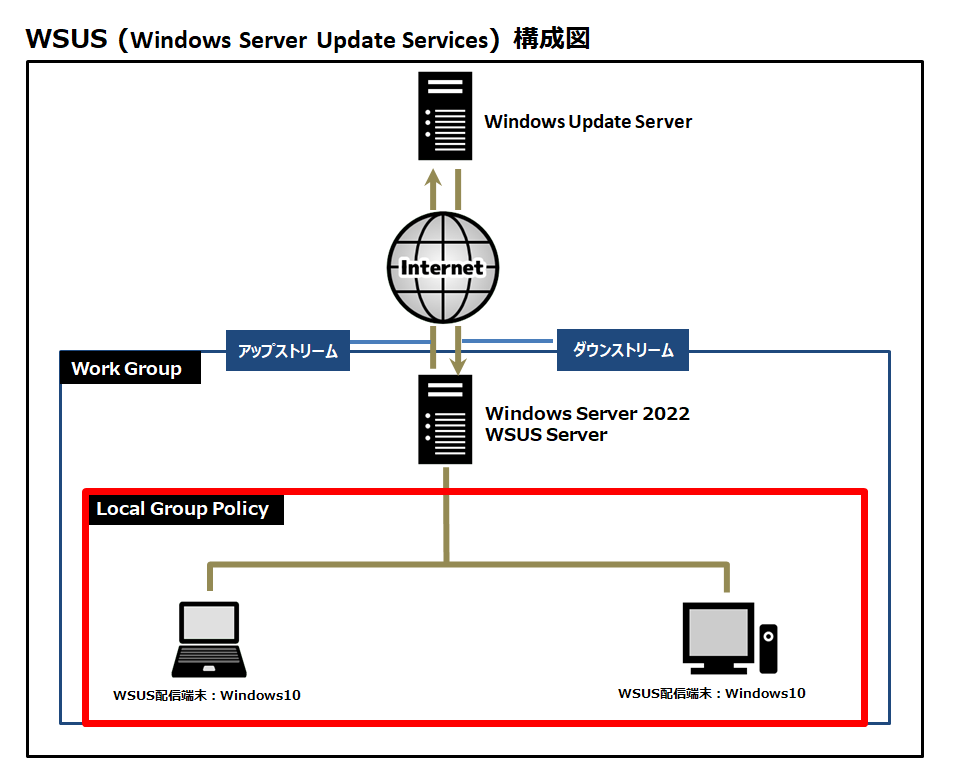
WSUSシステムはActive Directoryドメインがなくてもクライアント端末のローカルグループポリシーを設定することでWSUSシステムを利用することができます。本記事では以下のWSUS構成図でWindows Server 2022を利用しWSUSサーバー構築手順・Windowsクライアントでのローカルグループポリシー設定を説明します。
目次
1.Windows Server 2022:Windows Server Update Servicesインストール
まずは、サーバーマネージャーを利用し Windows Server 2022にWindows Server Update Servicesをインストールします。
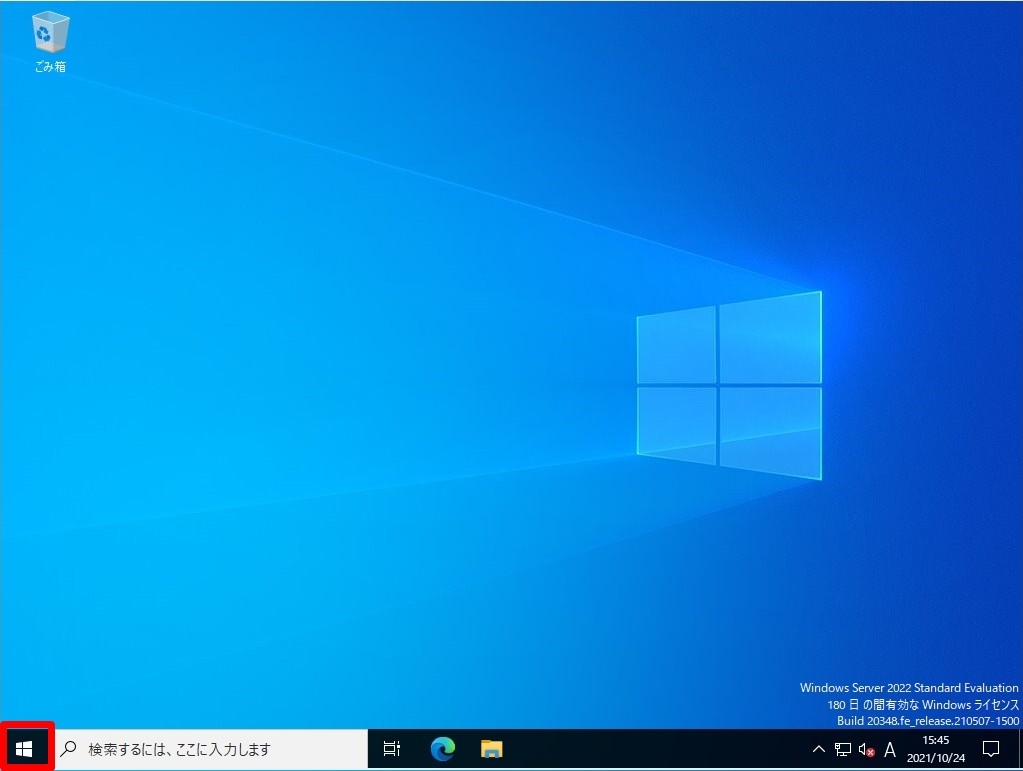
手順 1:
デスクトップ左下「 (Windowsマーク)」を選択します。
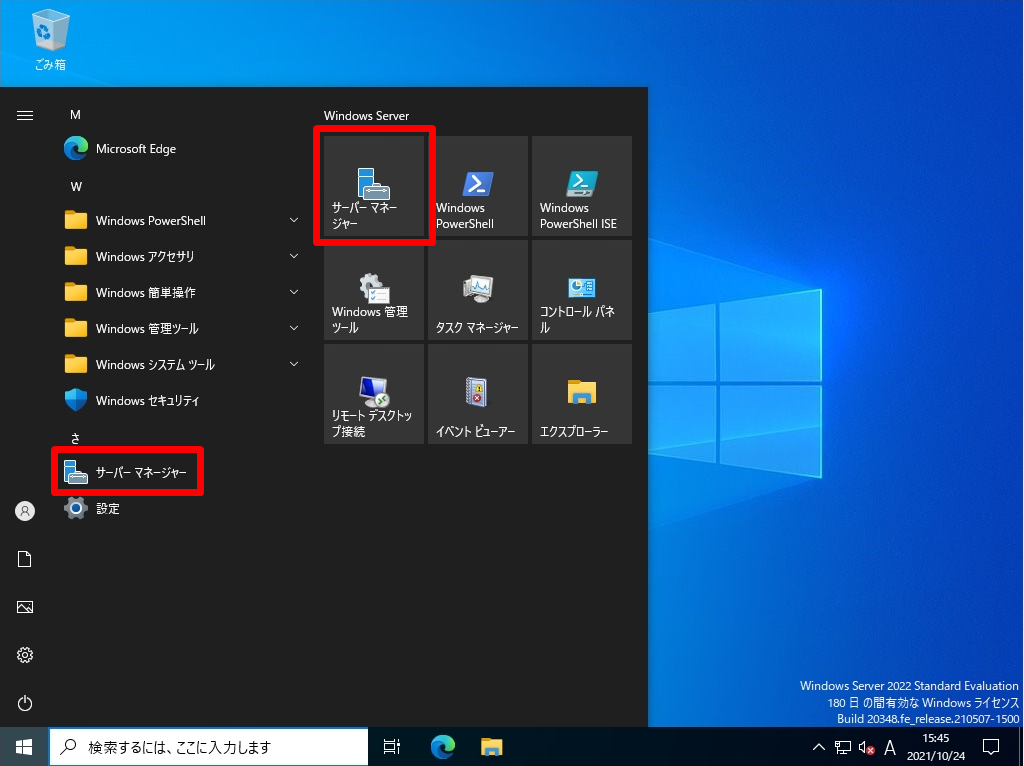
手順 2:
「サーバーマネージャー」を選択します。
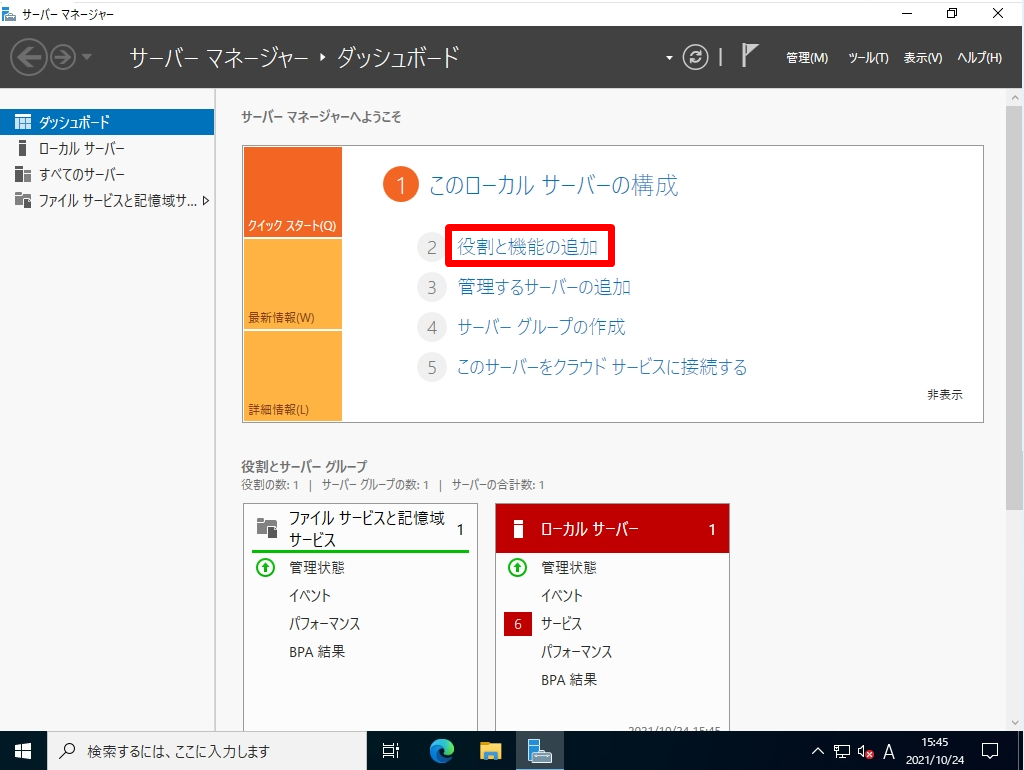
手順 3:
「 役割と機能の追加 」を選択します。
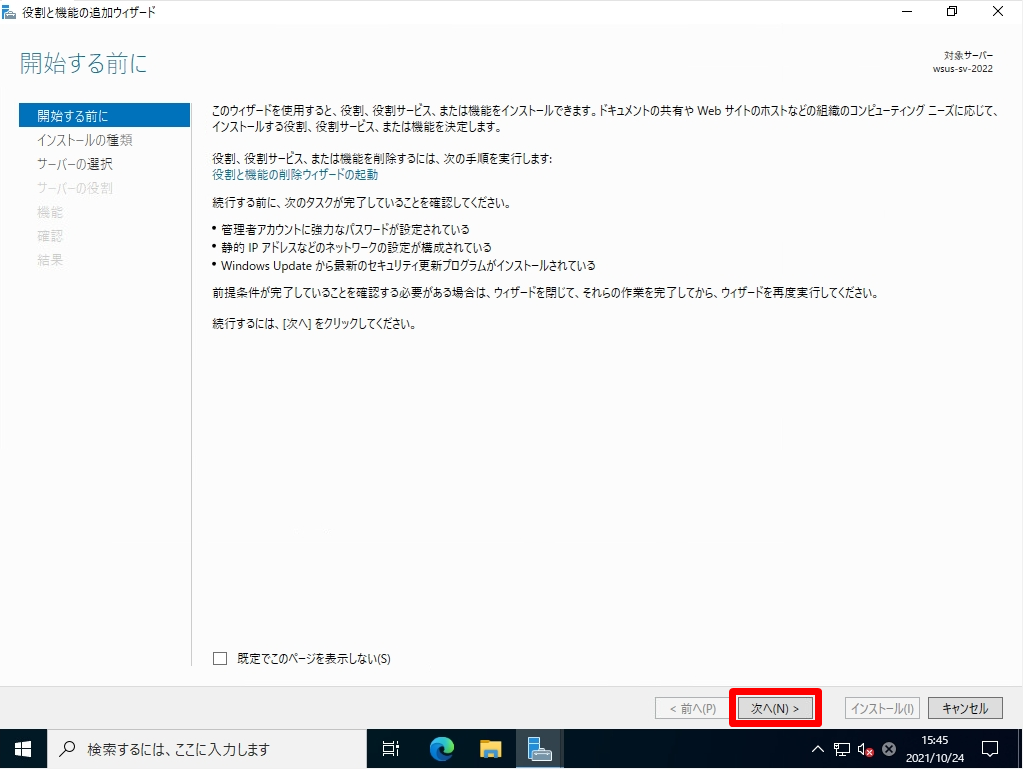
手順 4:
開始する前に画面:「次へ」を選択します。
手順 5:
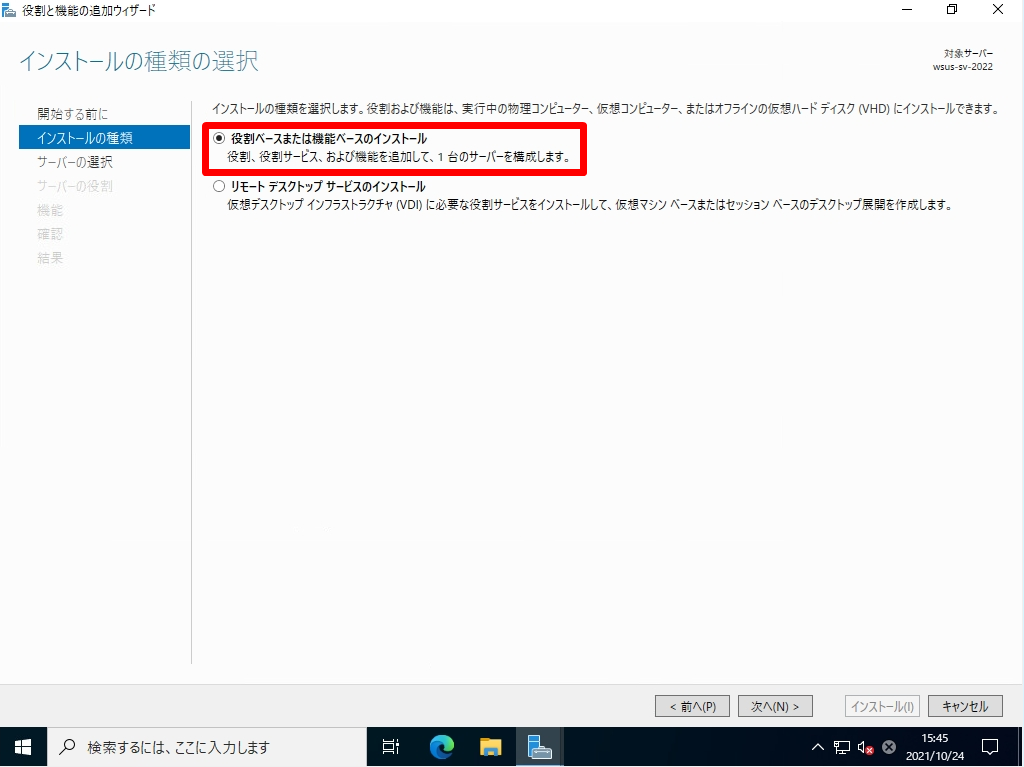
インストールの種類の選択画面:「役割ベースまたは機能ベースのインストール」->「次へ」を選択します。
手順 6:
対象サーバーの選択画面:「サーバープールからサーバーを選択」->「次へ」を選択します。

手順 7:
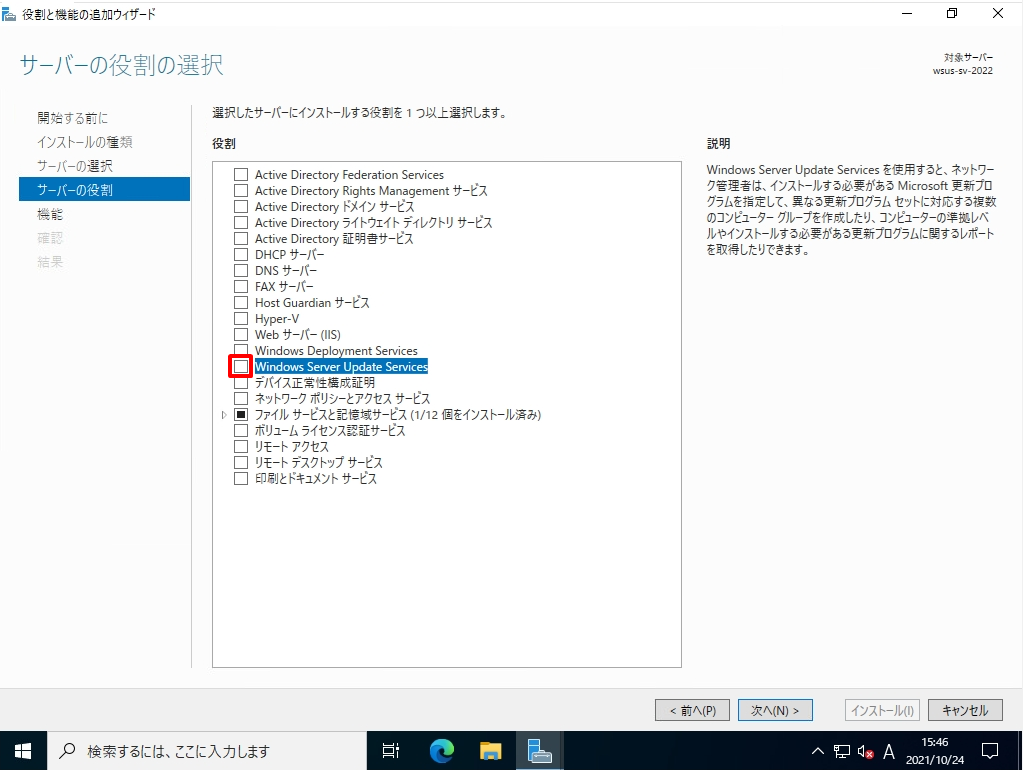
サーバーの役割の選択画面: 赤枠部分「Windows Server Update Services」を選択します。
手順 8:
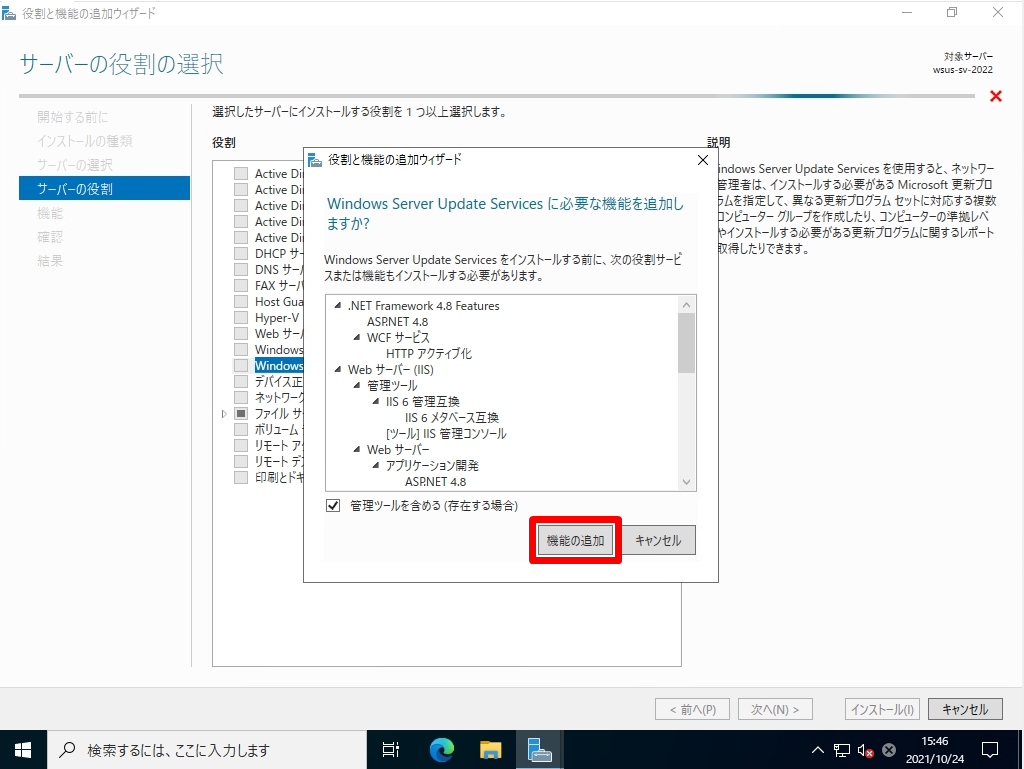
「 機能の追加 」を選択します。
手順 9:
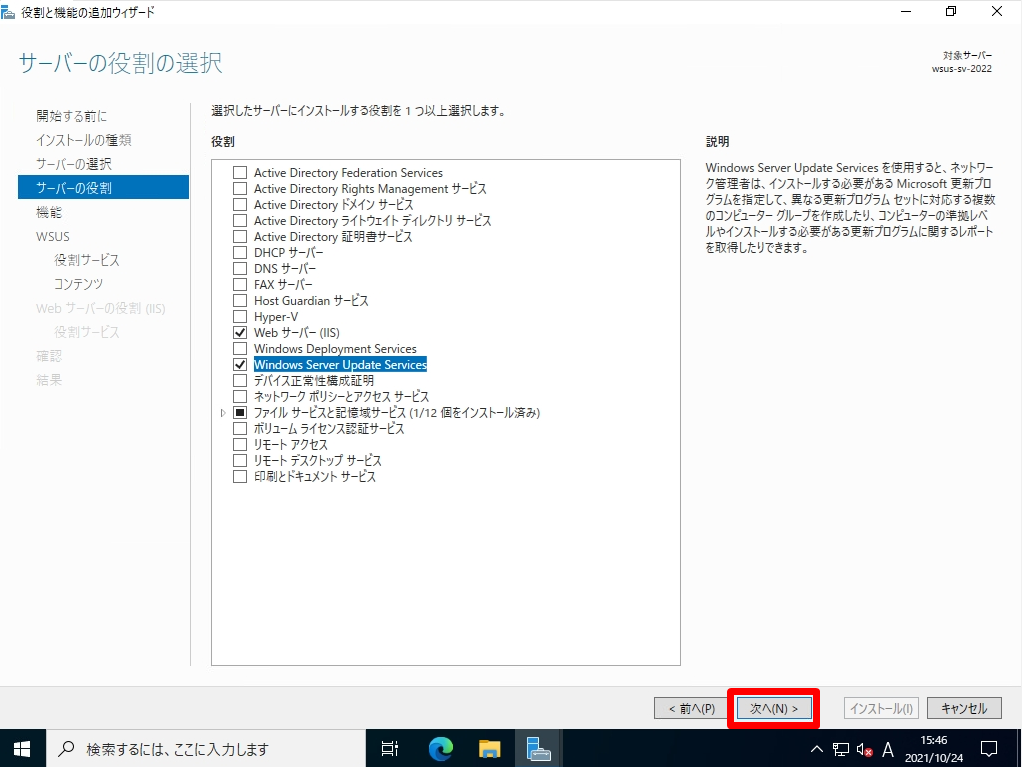
「Windows Server Update Services」 のチェックボックスが有効になったことを確認し「 次へ 」を選択します。
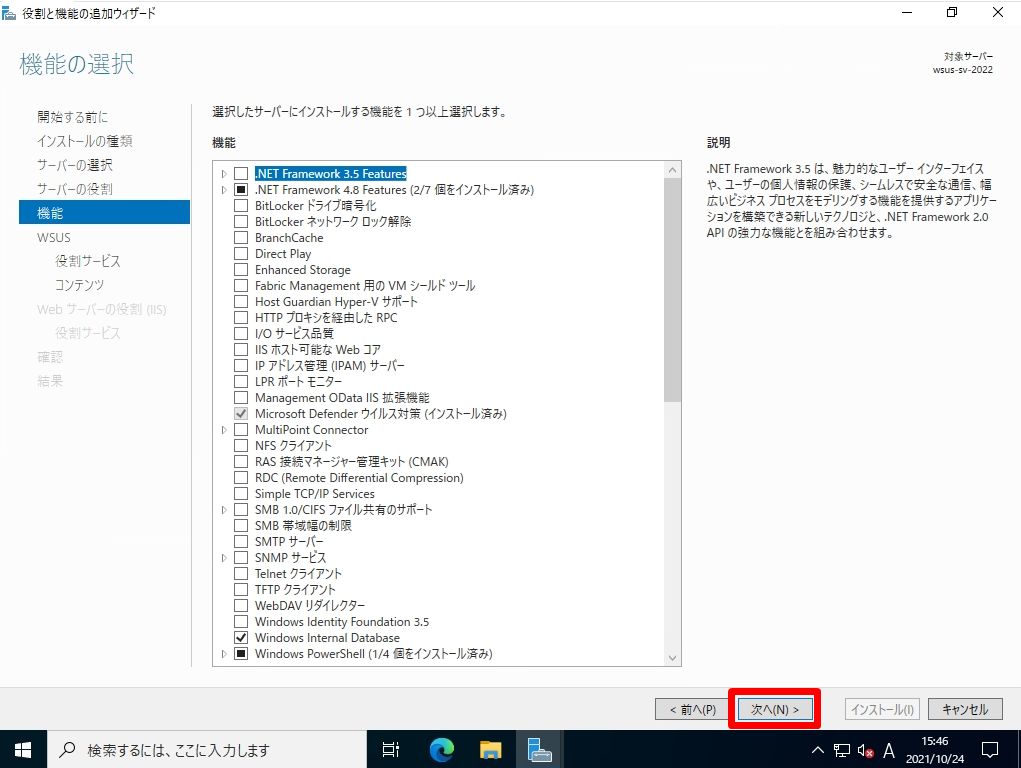
手順 10:
機能の選択画面:何も選択しないで「 次へ 」を選択します。
手順 11:
Windows Server Update Services画面:「次へ」を選択します。

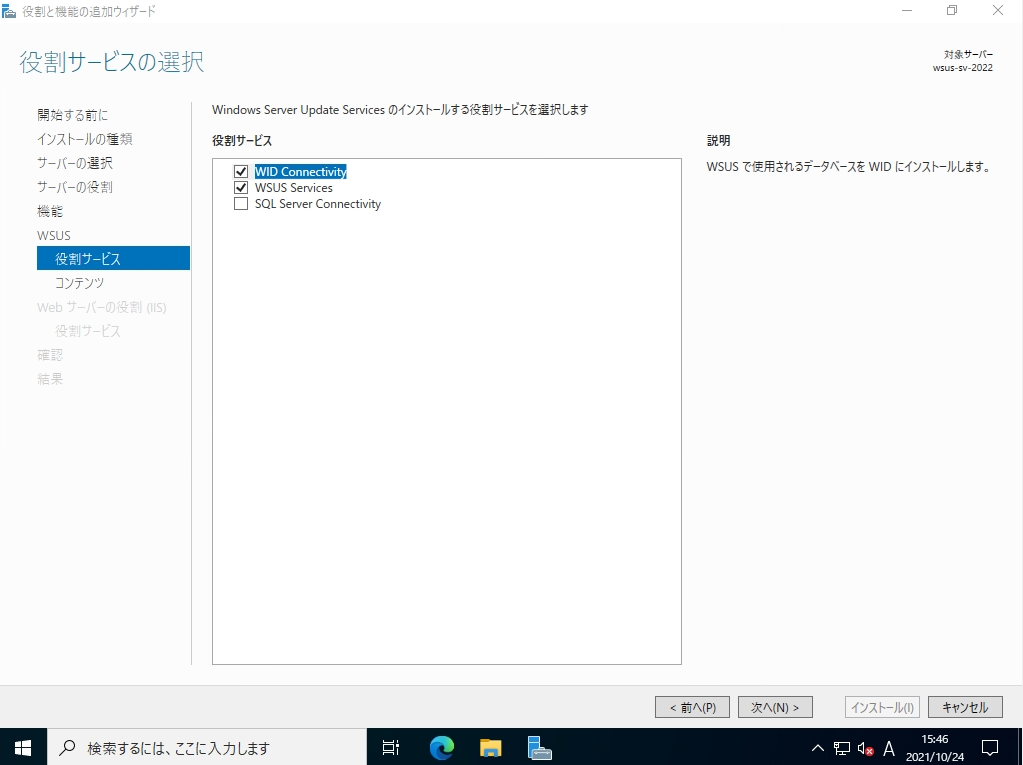
手順 12:
役割サービスの選択画面:「WID Connectivity」・「WSUS Services」 が選択されていることを確認し 「次へ」を選択します。
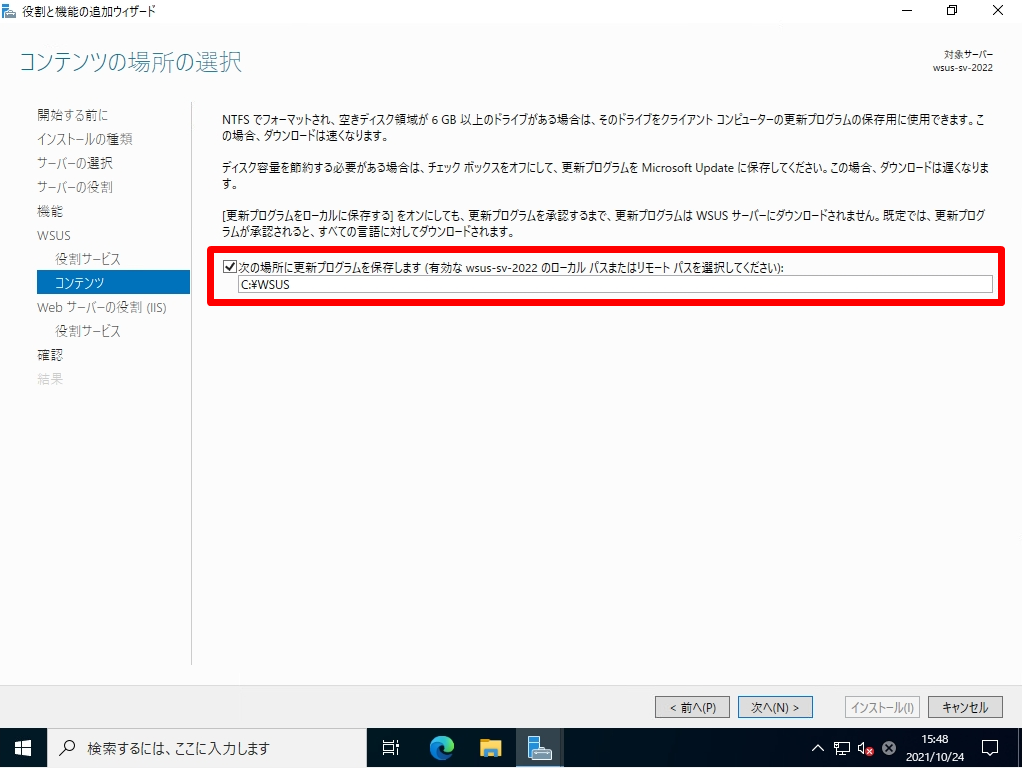
手順 13:
コンテンツの場所の選択画面:セキュリティパッチなどのダウンロード先をWSUS サーバーに格納してダウンロードを速くしたい場合は「次の場所に更新プログラムを保存します」にチェックを入れ保存パスを指定します。
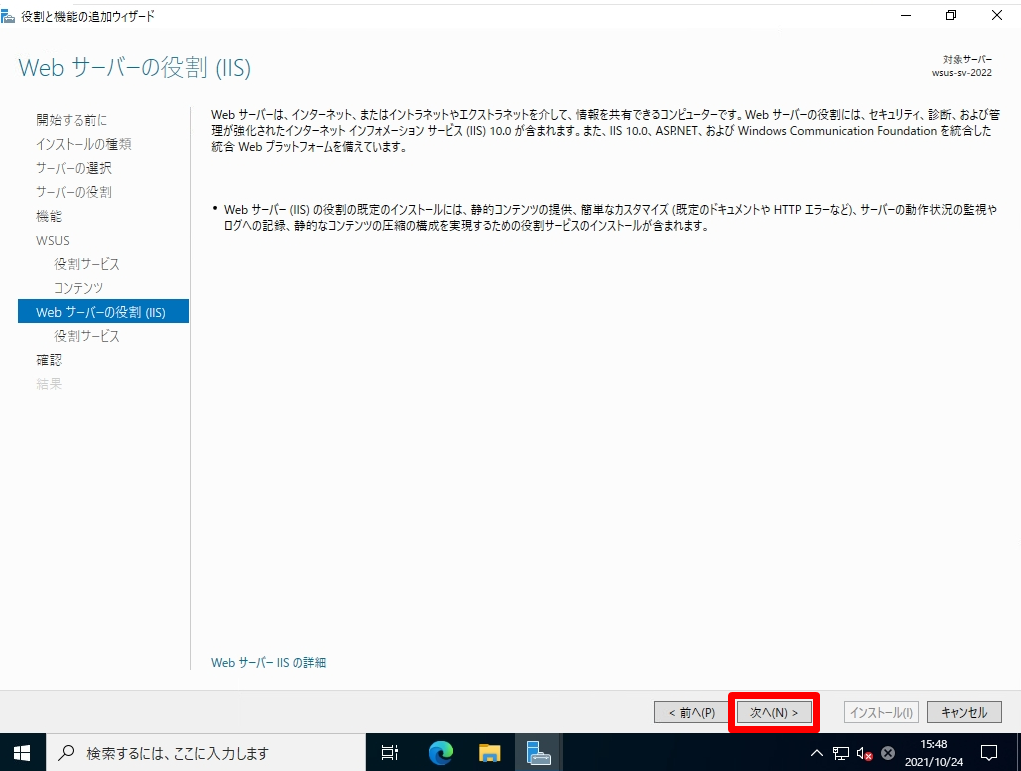
手順 14:
Web サーバーの役割 (IIS)画面:「次へ」を選択します。
手順 15:
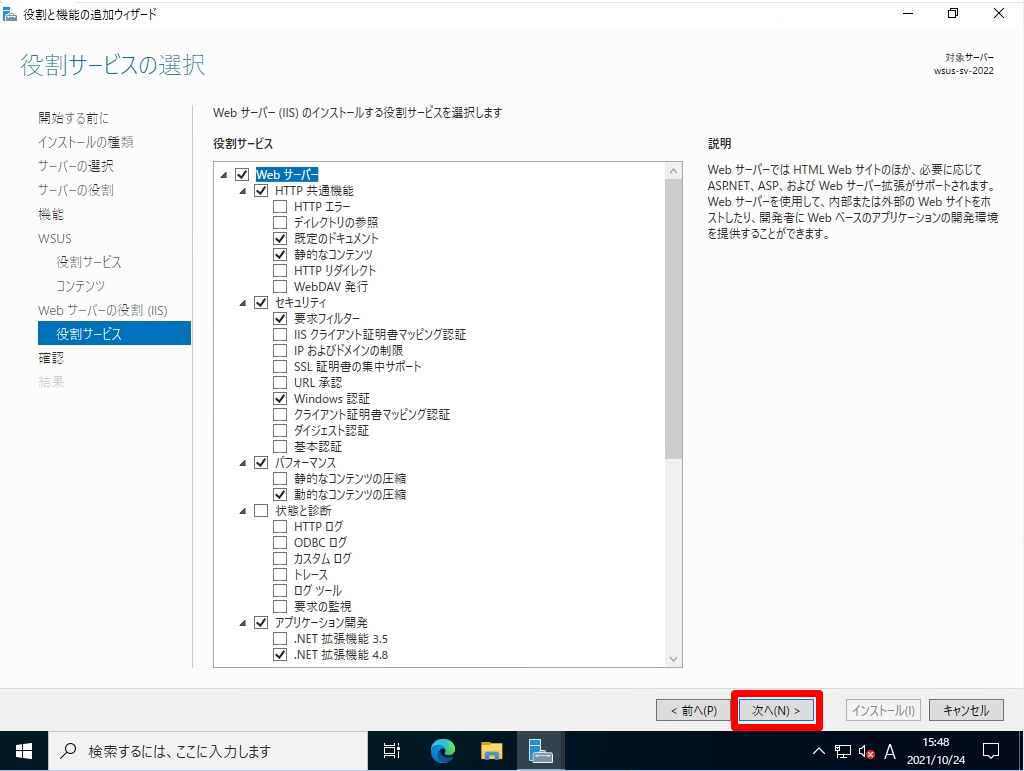
役割サービスの選択画面:「次へ」を選択します。
手順 16:
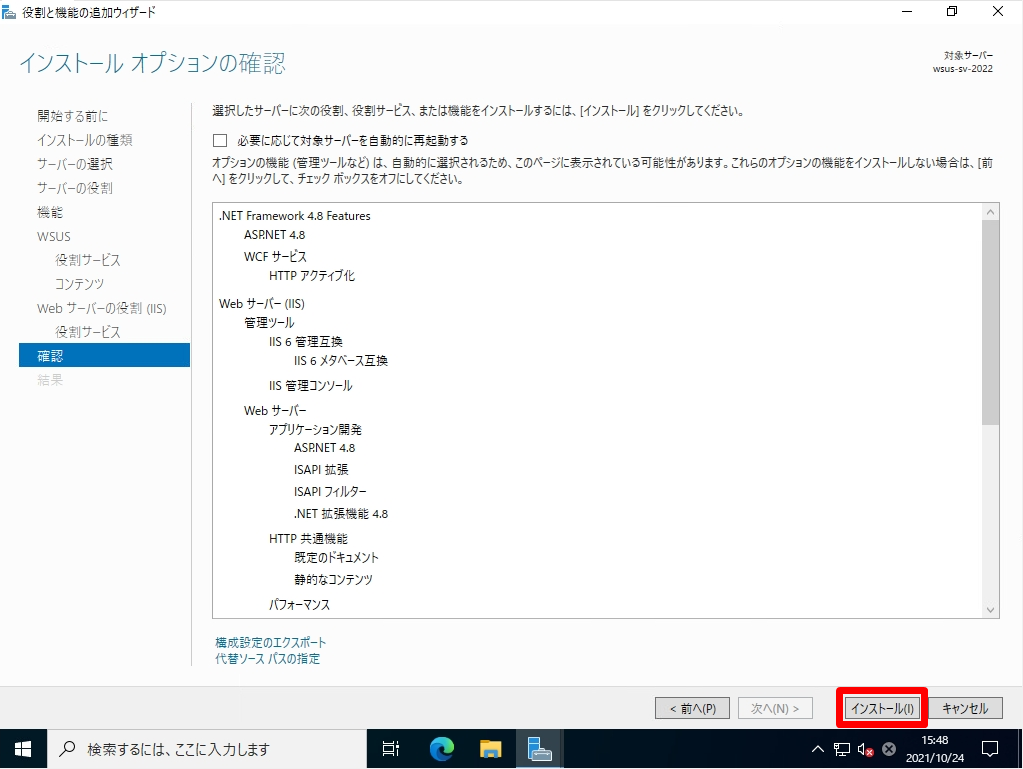
インストールオプションの確認画面:「 インストール 」を選択します。
手順 17:
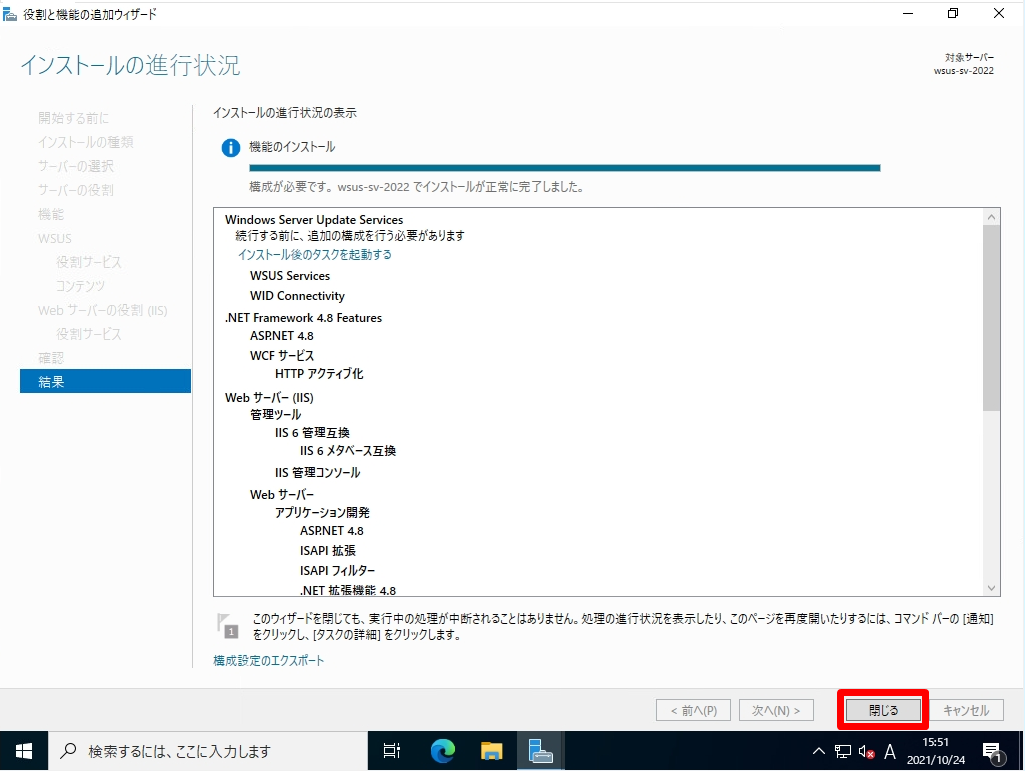
インストールの進行状況画面:「 閉じる 」を選択します。
手順 18:
サーバーマネージャー ダッシュボード画面:「インストール後のタスクを起動する」を選択しインストール後のタスクを終了させます。
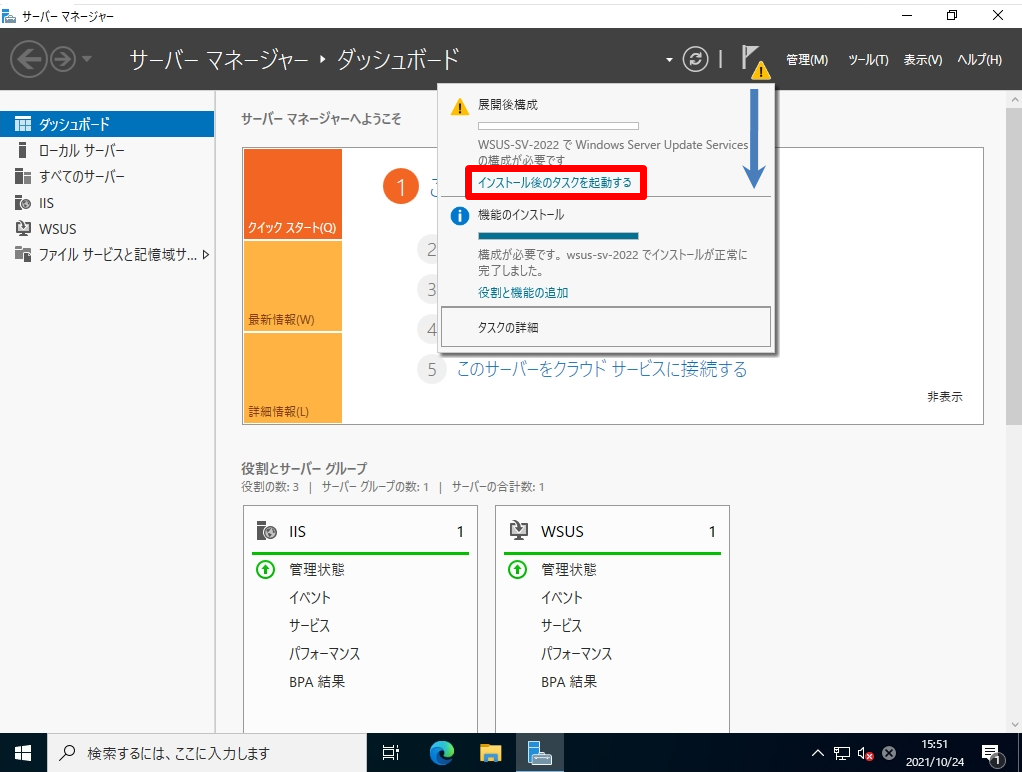
インストール処理が終了するまで少し待ちます。

2.Windows Server 2022:Windows Server Update Services 設定
Windows Server Update Servicesインストールに続き、Windows Server Update Services 設定をします。
手順 1:
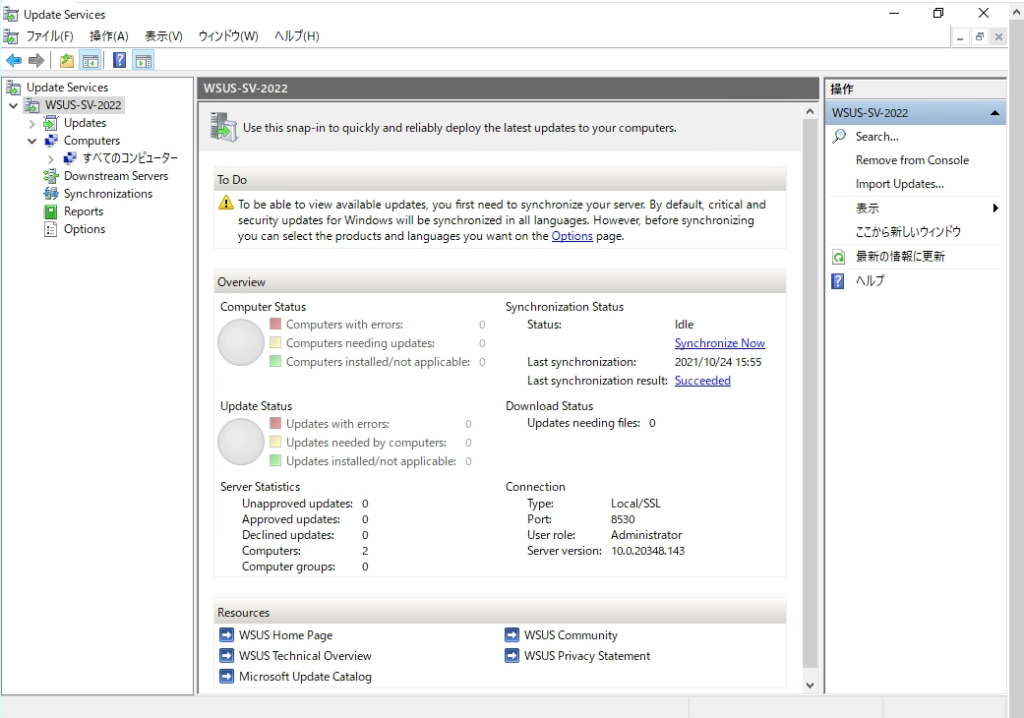
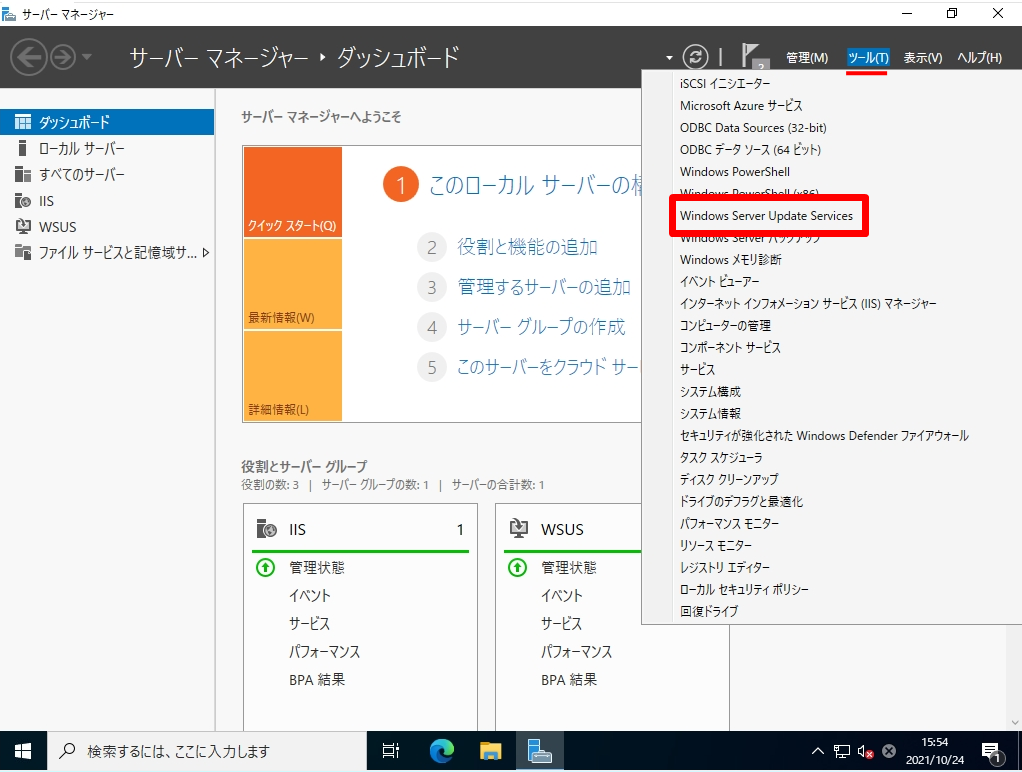
「ツール」->「Windows Server Update Services」を選択します。
手順 2:
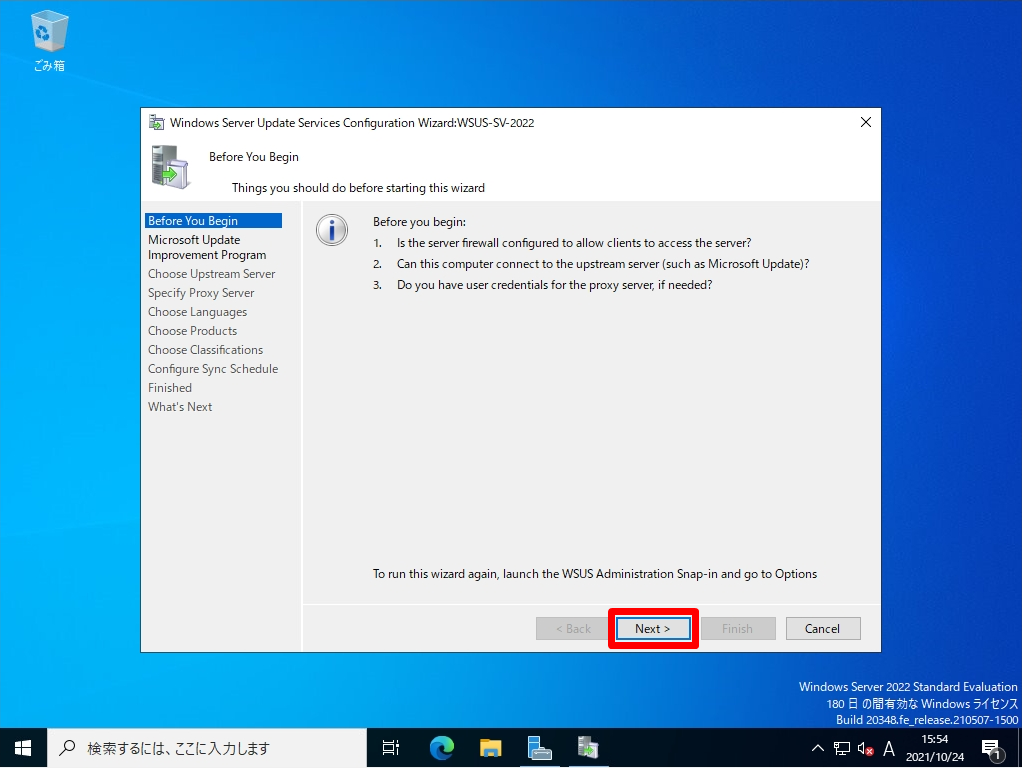
Before You Begin(はじめに)画面:「Next」を選択します。
手順 3:
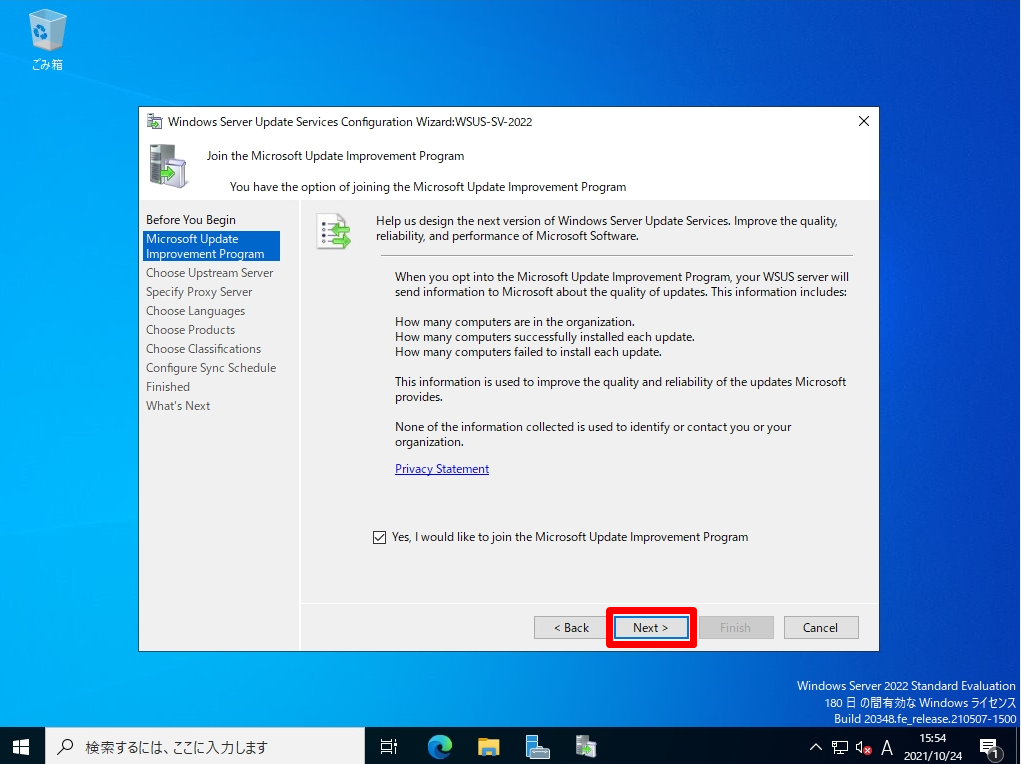
Join the Microsoft Update Improvement Program(Windows Update 品質向上プログラムに参加)画面:参加可否はどちらでもよいです。「Next」を選択します。
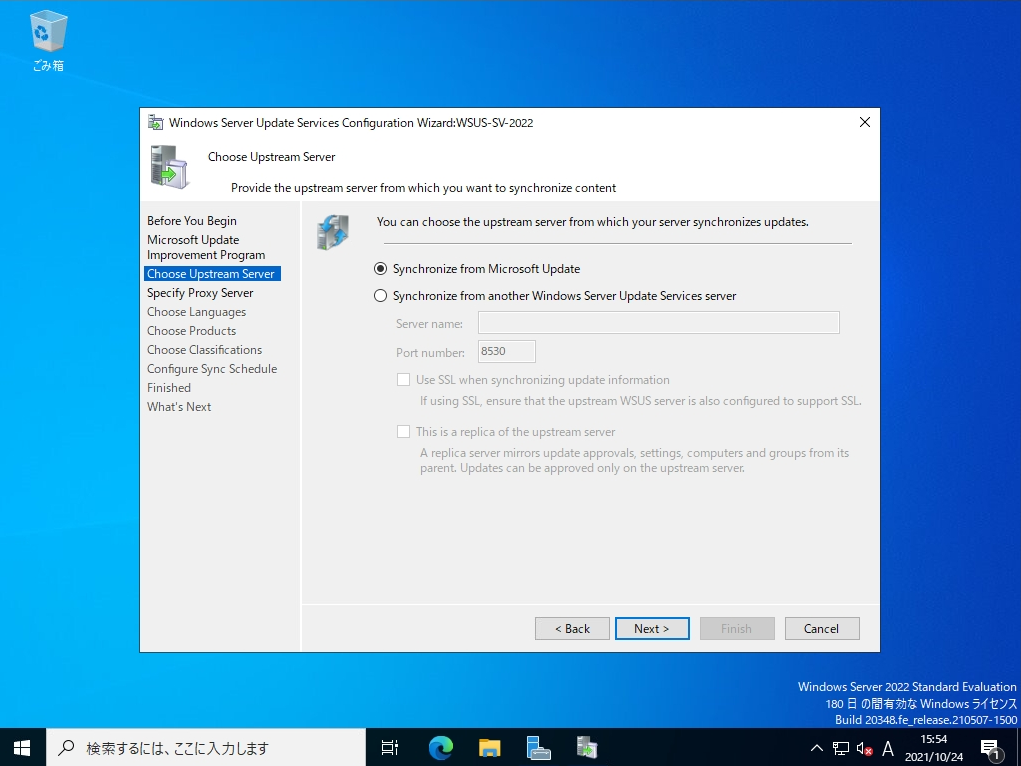
手順 4:
Choose Upstream Server(アップストリーム サーバーの選択)画面:「Synchronize from Microsoft Update(Microsoft Update から同期する)」->「Next」を選択します。
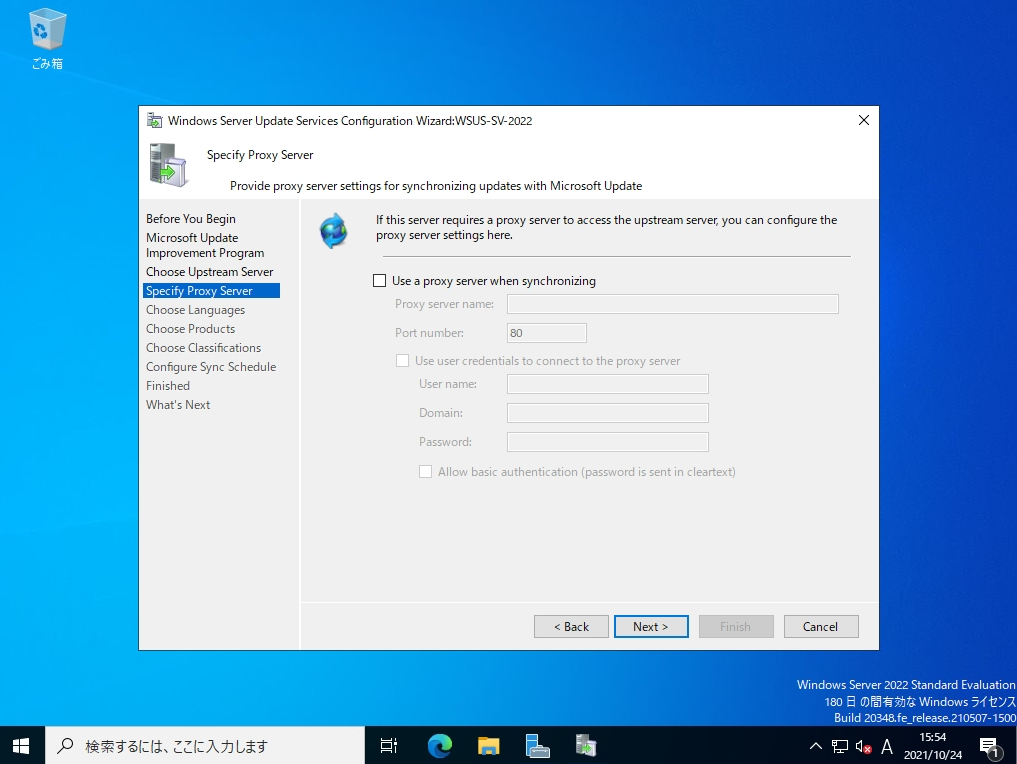
手順 5:
Specify Proxy Server(プロキシ サーバーの指定)画面:プロキシ サーバーを使用しない場合は、そのまま「Next」を選択します。
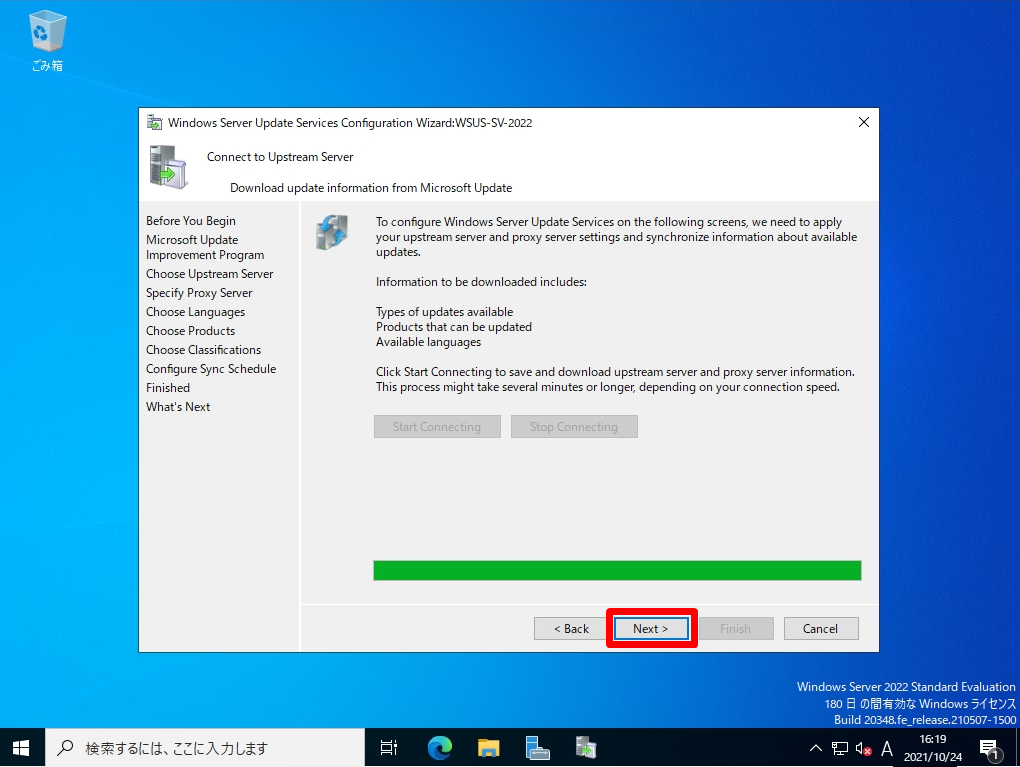
手順 6:
Connect to Upstream Server(アップストリーム サーバーに接続)画面:「Start Connecting」を選択します。
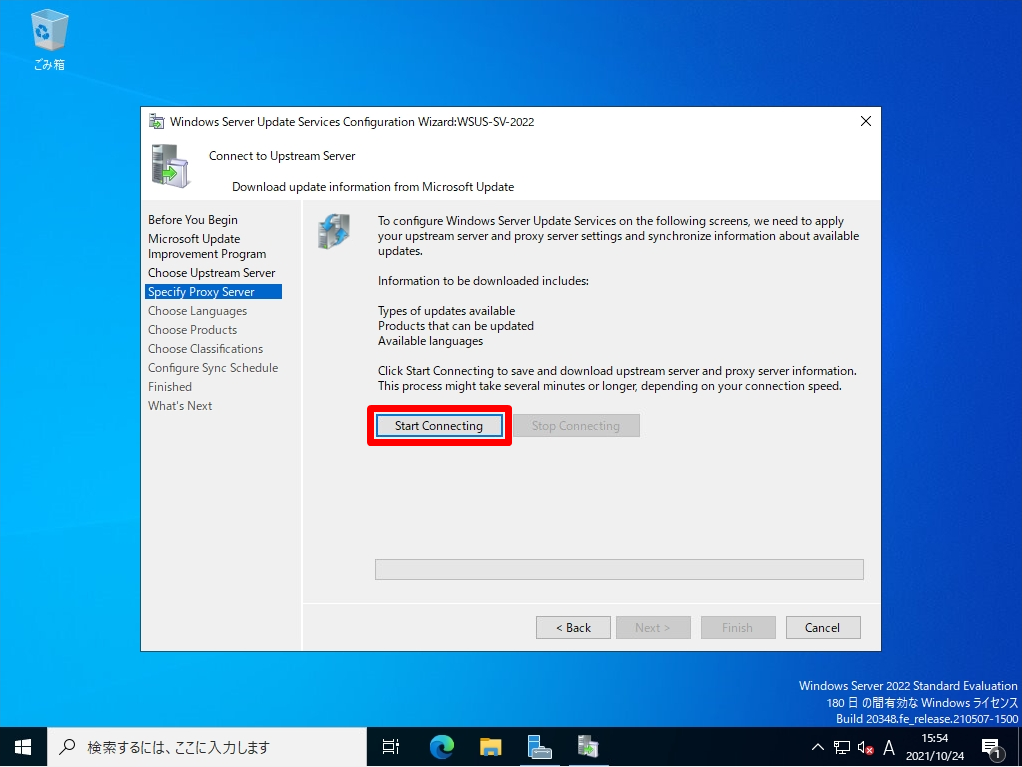
更新情報をMicrosoft Update からダウンロードされます。「Next」が選択できるまで少し待ちます。※ 今回は、更新情報のMicrosoft Updateからダウンロードする処理で25分程度掛かりました。
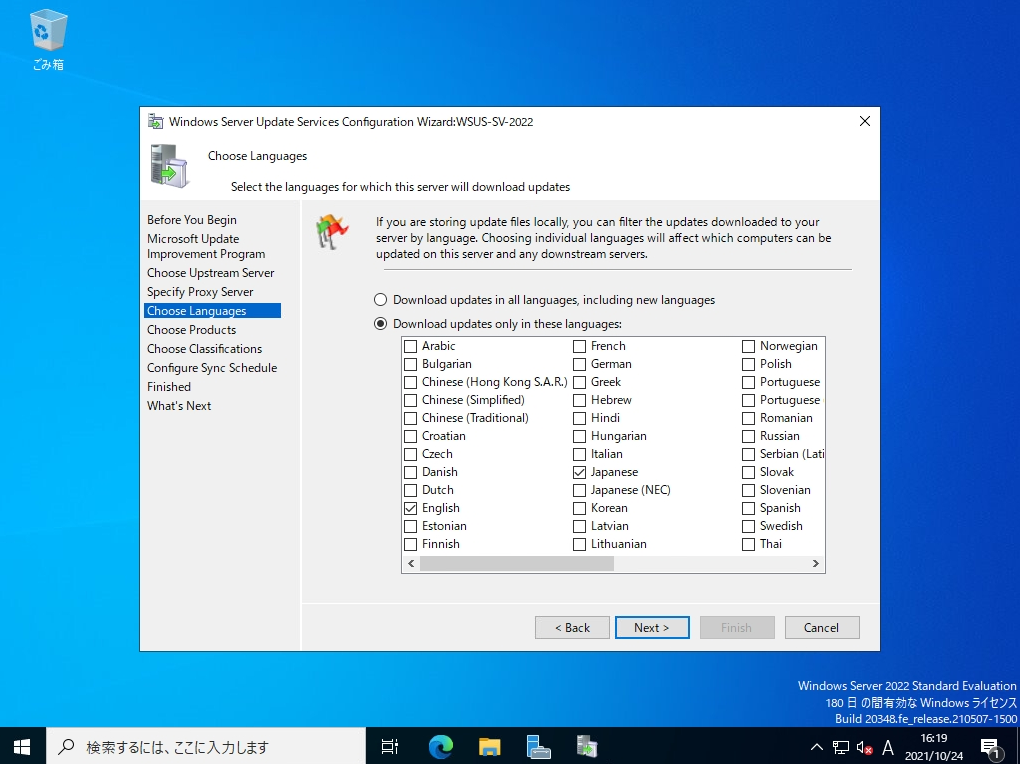
手順 7:
Choose Languages(言語の選択)画面:更新プログラムの対象言語を選択 ->「Next」を選択します。
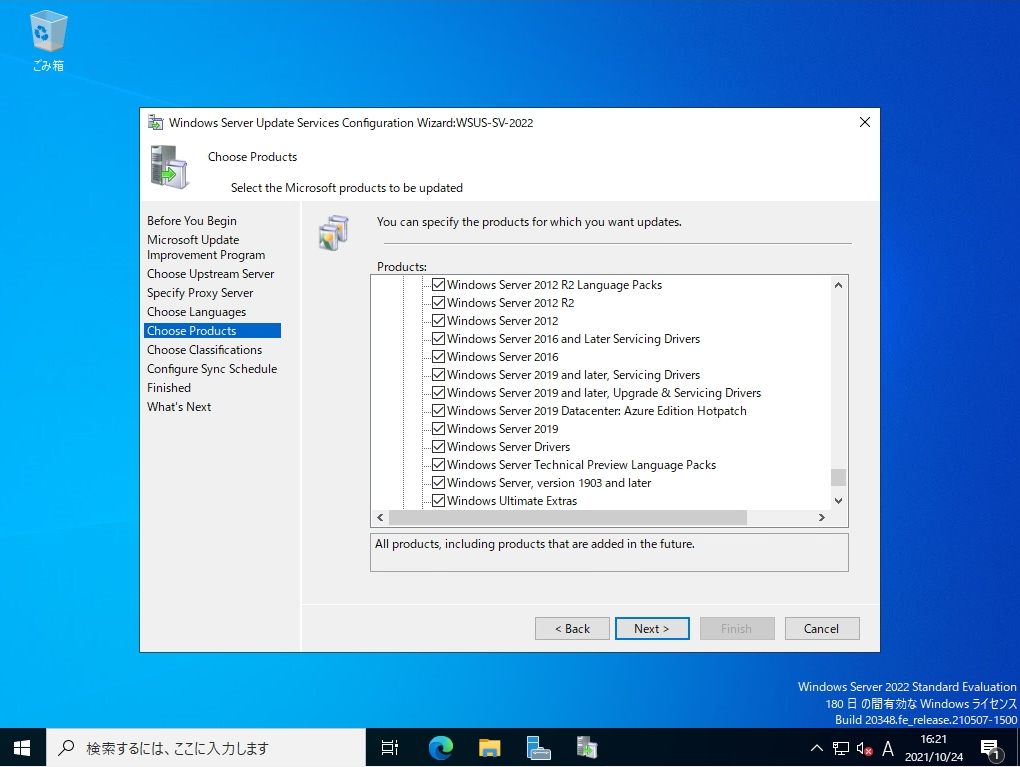
手順 8:
Choose Products(製品の選択)画面:更新プログラムが必要な製品を指定します。クライアントOSでは、Windows 7 / Windows 8・8.1 / Windows10 / Windows11 などを指定することができます。
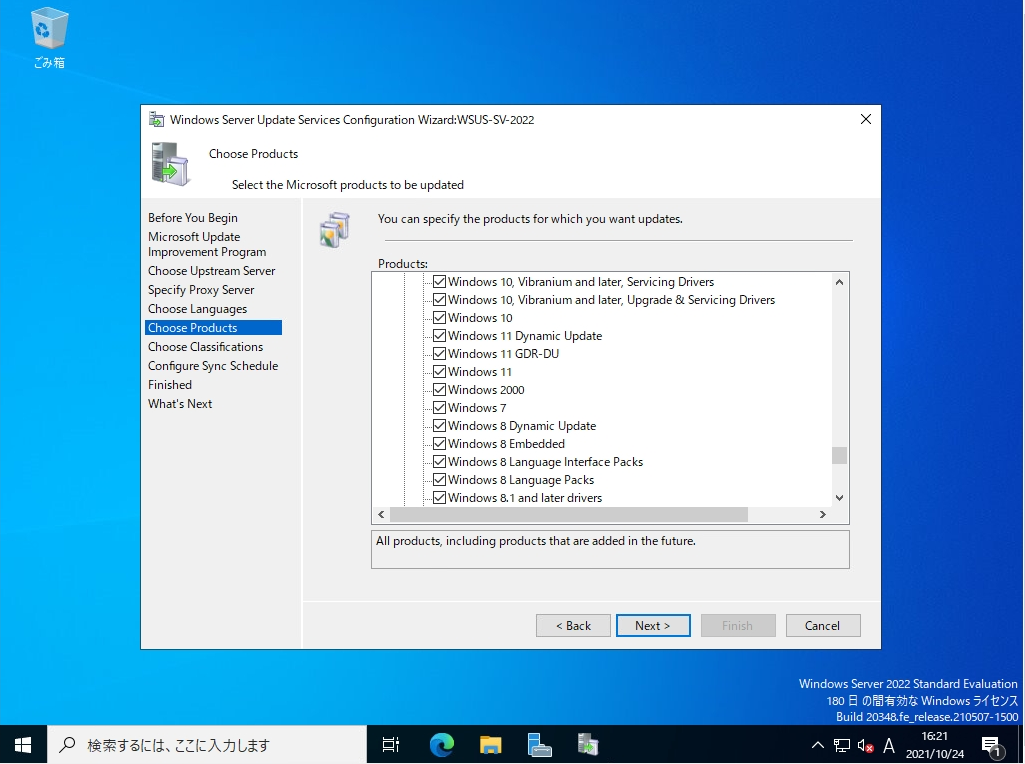
サーバーOSでは Windows Server 2012 / Windows Server 2016 / Windows Server 2019 などを指定することができます。
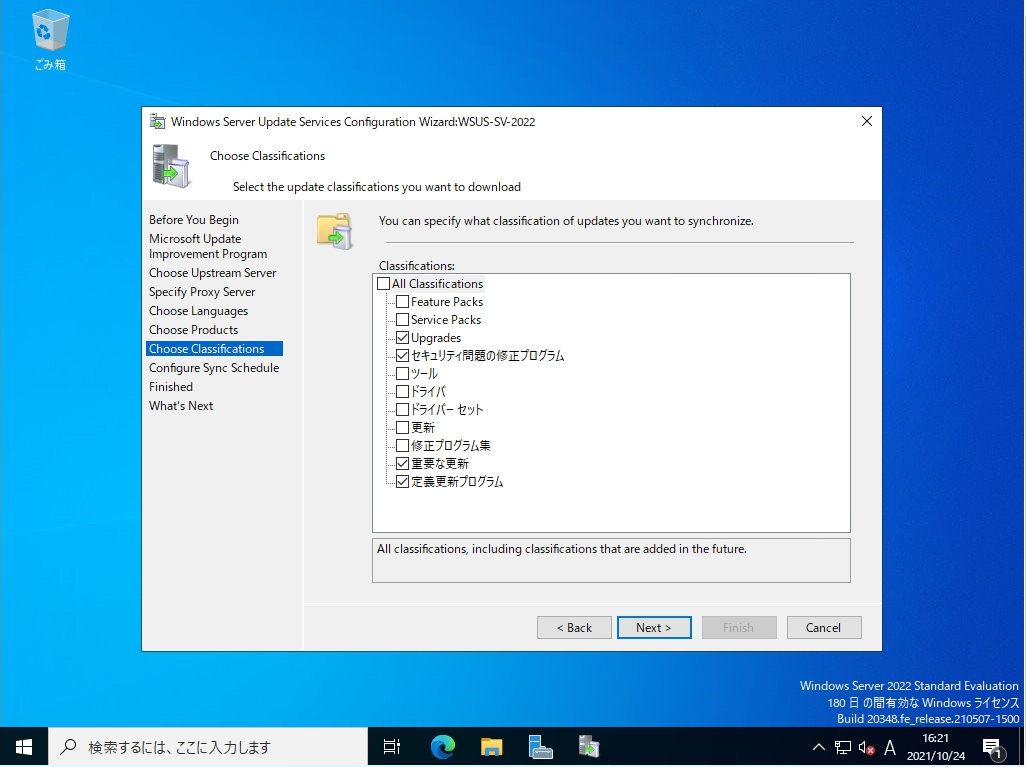
手順 9:
分類の選択画面:必要に応じ更新プログラムを選択 ->「Next」を選択します。
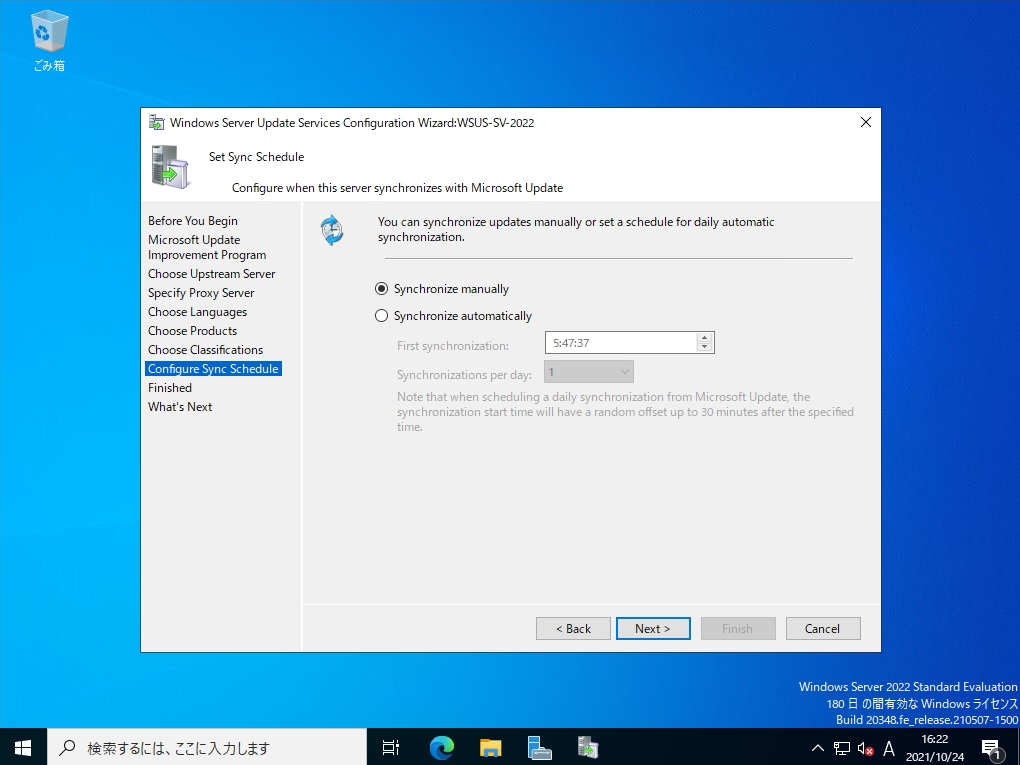
手順 10:
Set Sync Schedule(同期スケジュールの設定)画面:WSUSサーバーとWindows Updateとの同期を手動・自動でするか選択します。自動で同期する場合は時刻を指定し設定します。
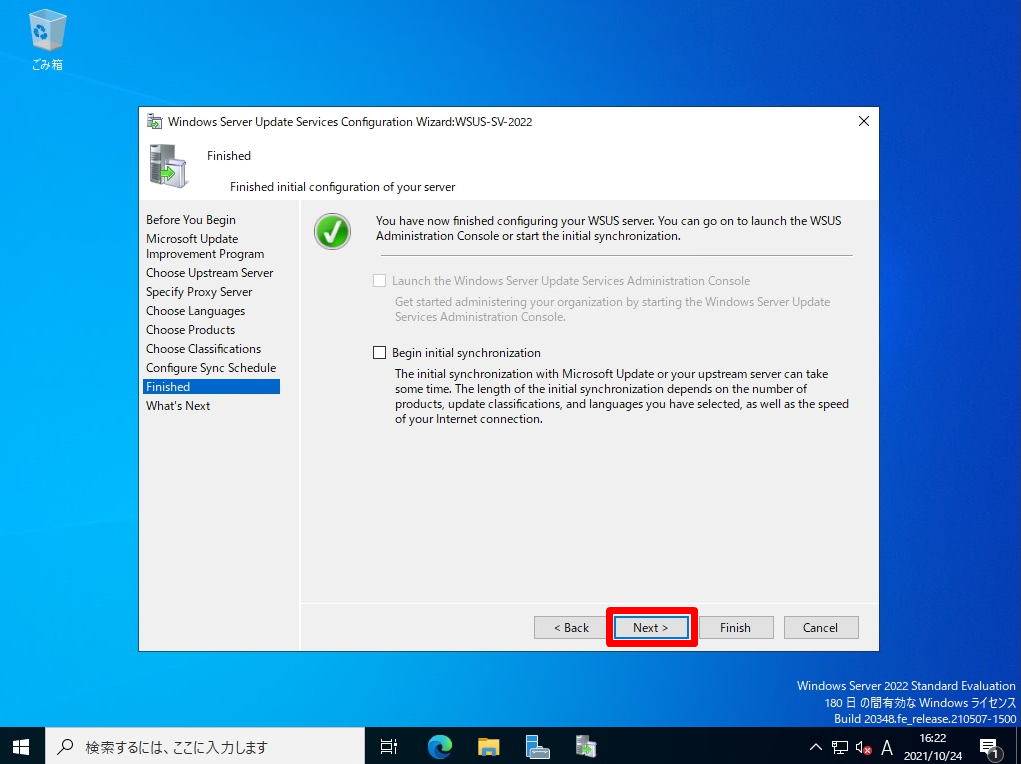
手順 11:
Finished(終了)画面:WSUSサーバーの構成が完了しました。「Next」を選択します。
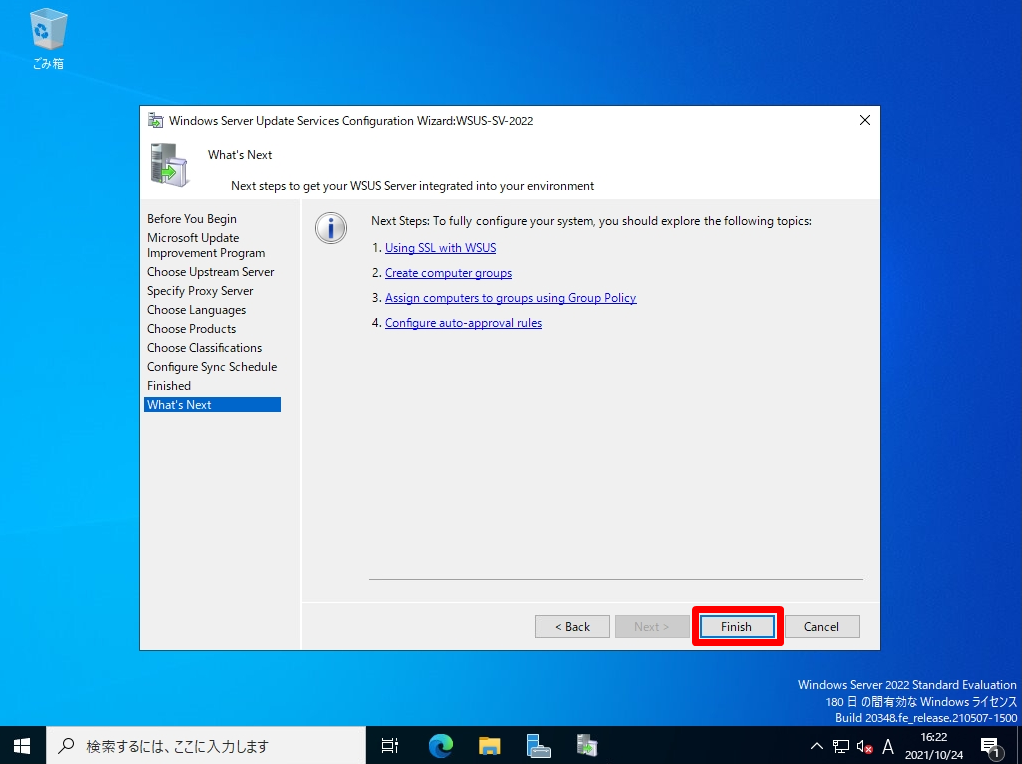
手順 12:
What’s Next(次に実行する作業)画面:「Finish」を選択します。
3.クライアント端末:ローカルグループポリシー設定
Windows Server Update Servicesインストール、および設定のみではWSUSシステムを利用する用途がありません。 Updateを受ける端末のローカルグループポリシー設定でWSUS配下にする必要があります。※AD(Active Directory)でクライアント端末を一括で管理している場合はAD側でグループポリシーを設定します。
本記事では、Windows10端末を利用しローカルグループポリシー設定を変更します。
手順 1:
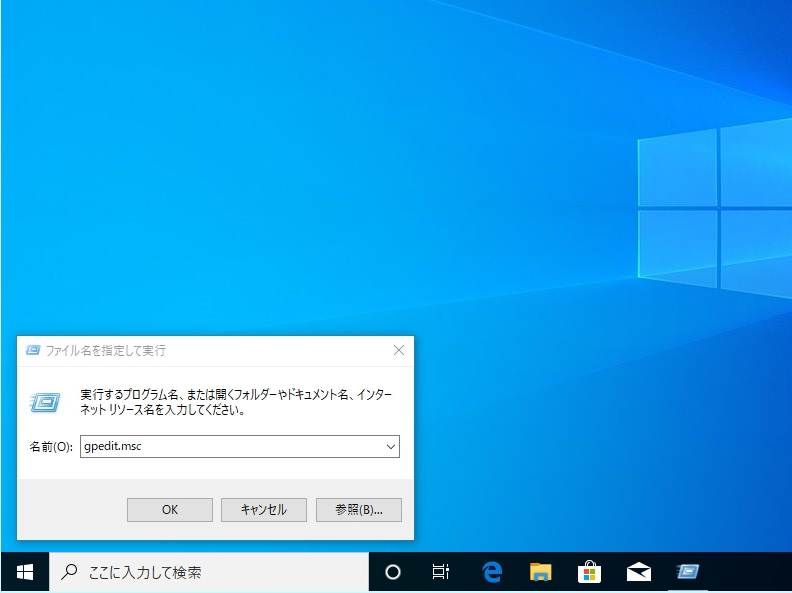
デスクトップ画面左下「 Windows マーク」を右クリック ->「ファイル名を指定して実行」を選択します。

手順 2:
ローカルグループポリシーエディターを起動します。
ファイル名を指定して実行画面:「gpedit.msc」を入力 ->「OK」を選択します。
手順 3:
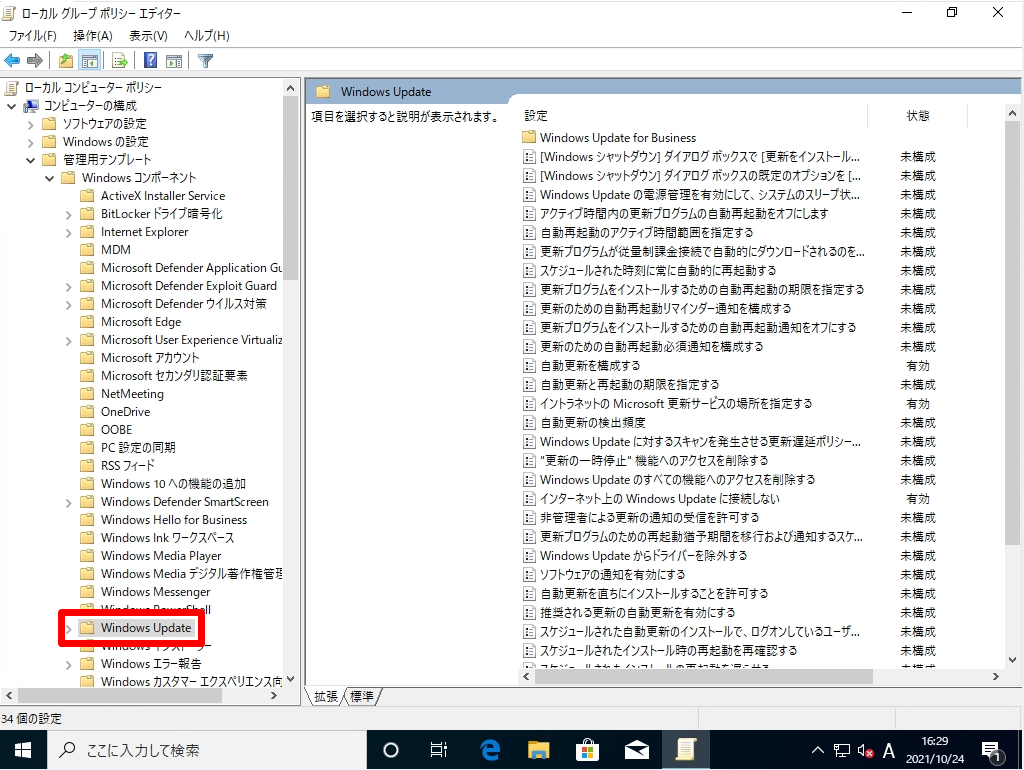
[コンピューターの構成]
-[管理用テンプレート]
- [Windows コンポーネント]
- [Windows Update]を選択します。
以下、設定項目を変更します。
- 自動更新を構成する
- イントラネットのMicrosoft 更新サービスの場所を指定する
- インターネット上のWindows Update に接続しない
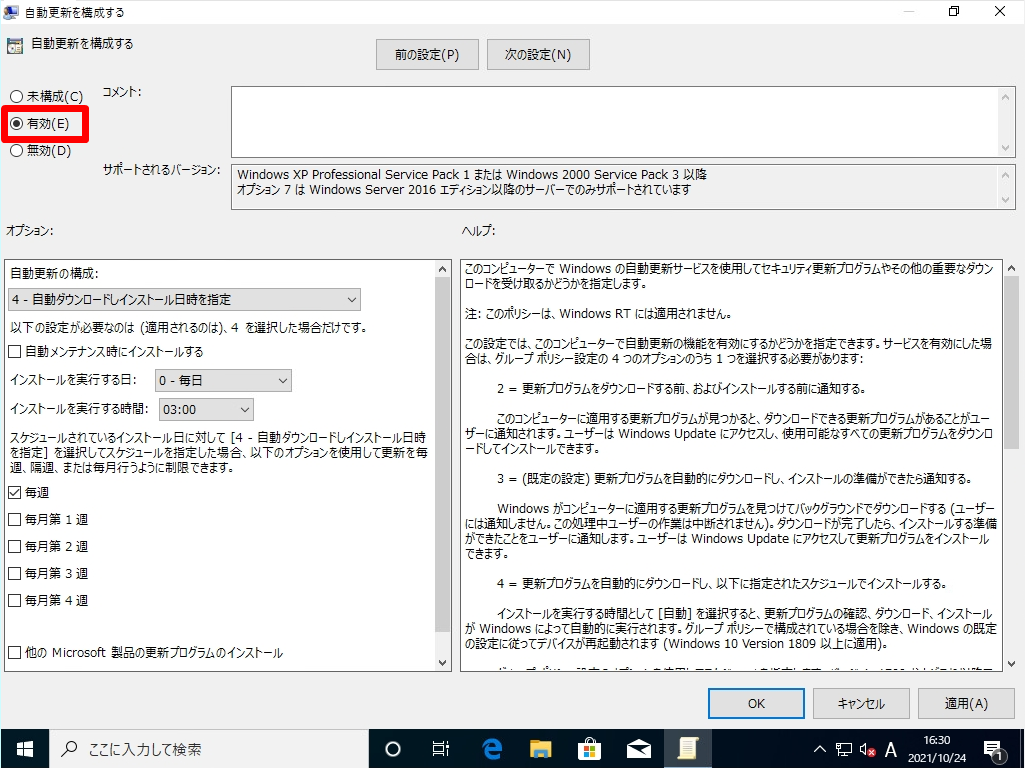
手順 4:
「自動更新を構成する」を有効に変更 -> 更新プログラムのダウンロード・指定したスケジュールのインストール日時の構成を選択します。
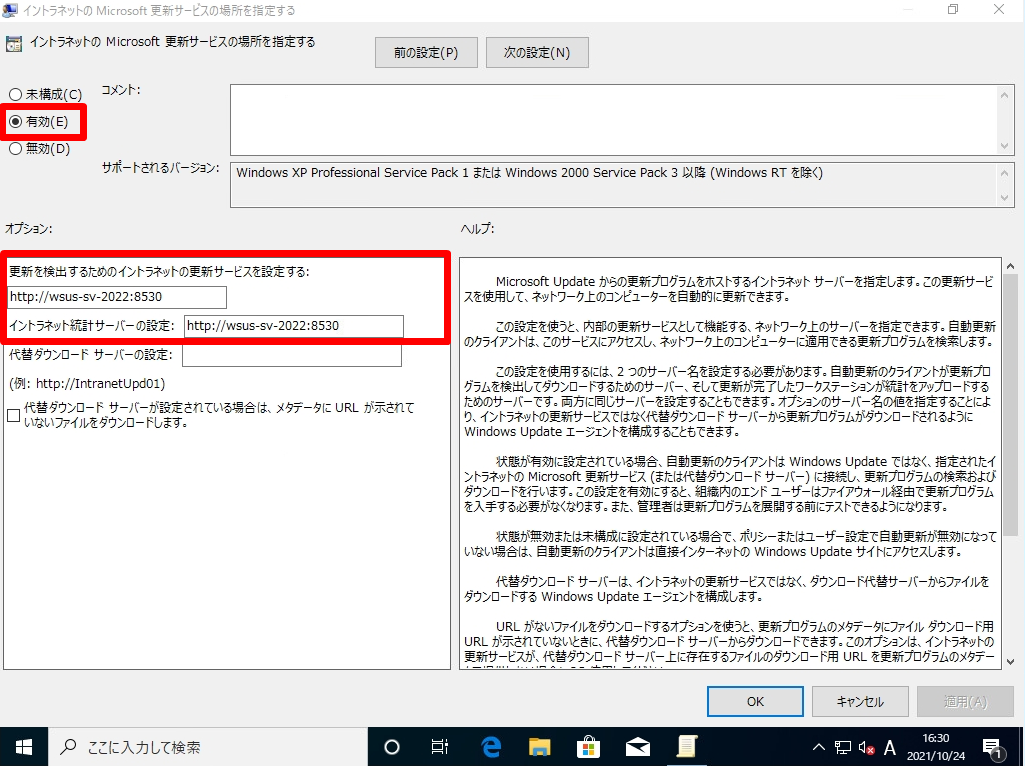
手順 5:
「イントラネットのMicrosoft 更新サービスの場所を指定する」 を有効に変更 ->「http://[WSUSサーバーのホスト名/IPアドレス:8530]」を入力します。
手順 6:
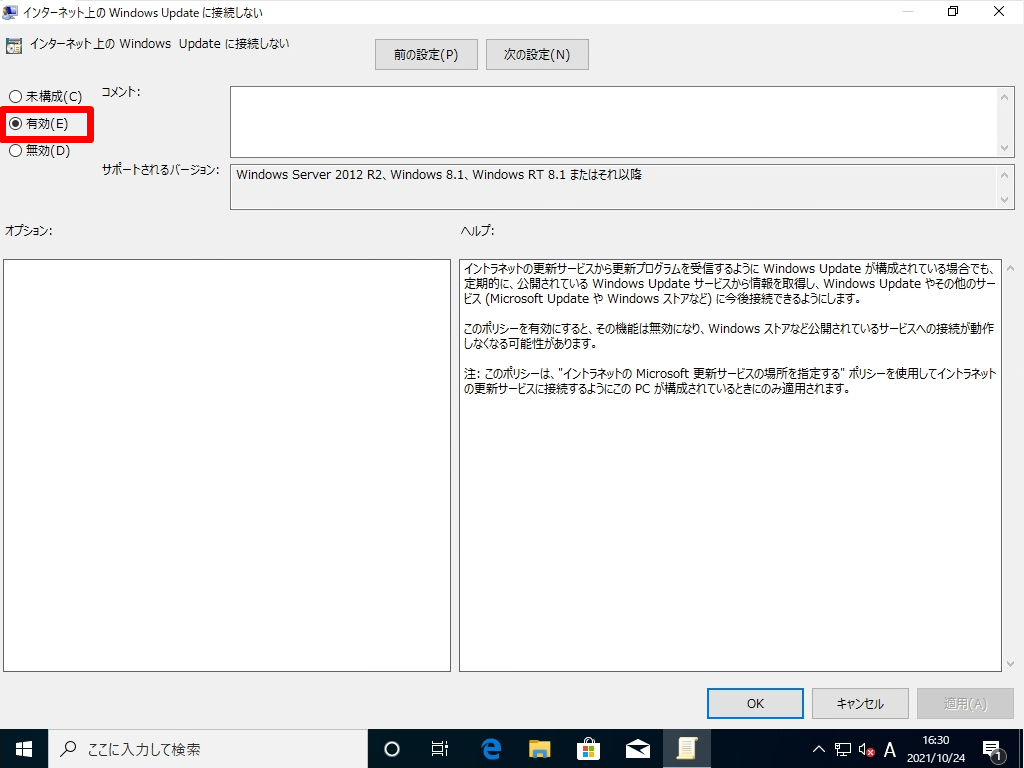
「インターネット上のWindows Update に接続しない」 を有効に変更 ->「OK」を選択します。
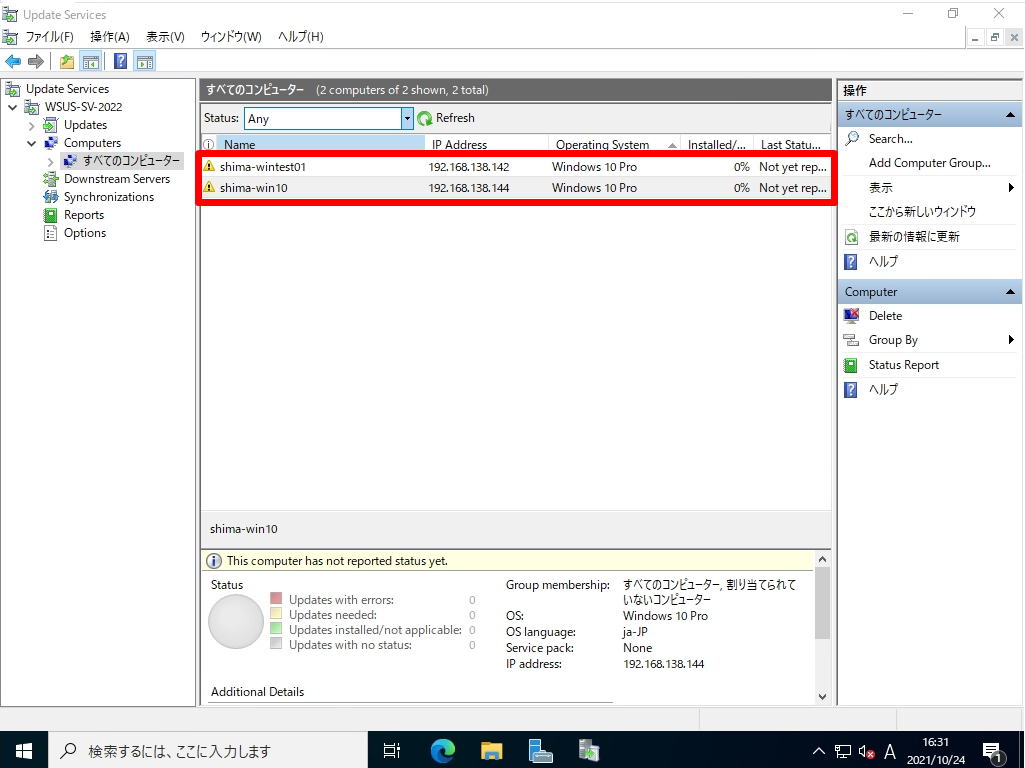
WSUSサーバーの「すべてのコンピュータ−」で検出したWindows PC が登録されていることを確認します。