
Windows Server 2019の標準ブラウザは「 IE(Internet Explorer)11 」です。Internet Explorer が必要がなくなった場合は、管理者ユーザーでコマンドプロンプトを起動してInternet Explorer 11をアンインストール(無効化)することができます。※Internet Explorer 無効化後、再度有効化することも可能です。
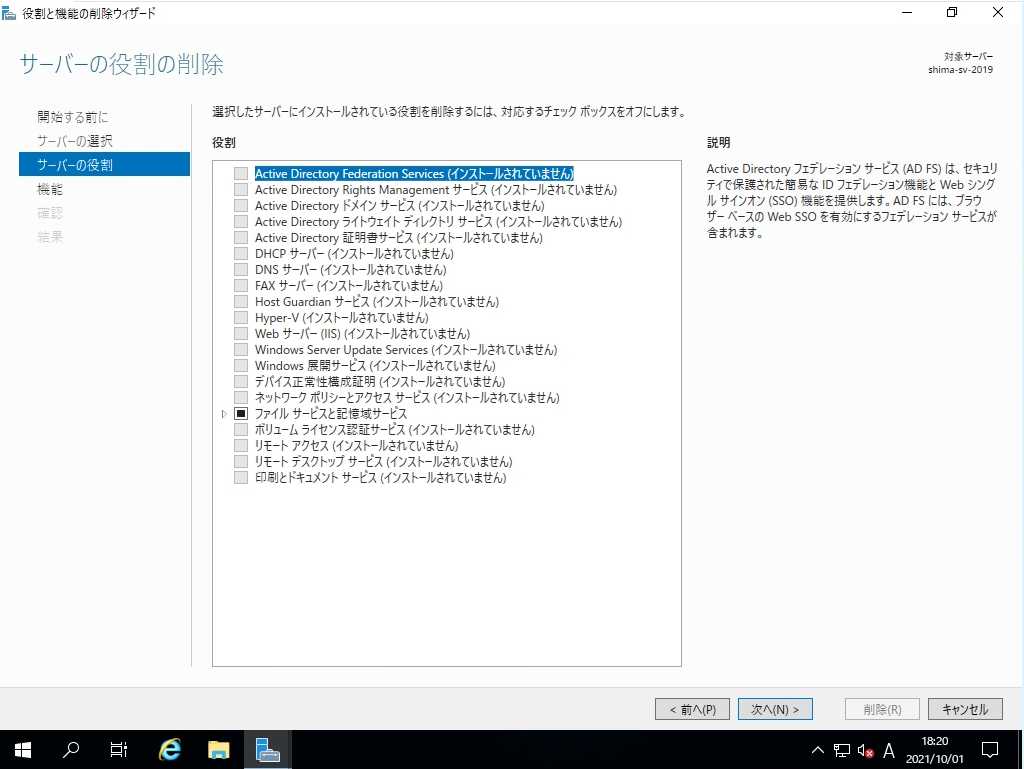
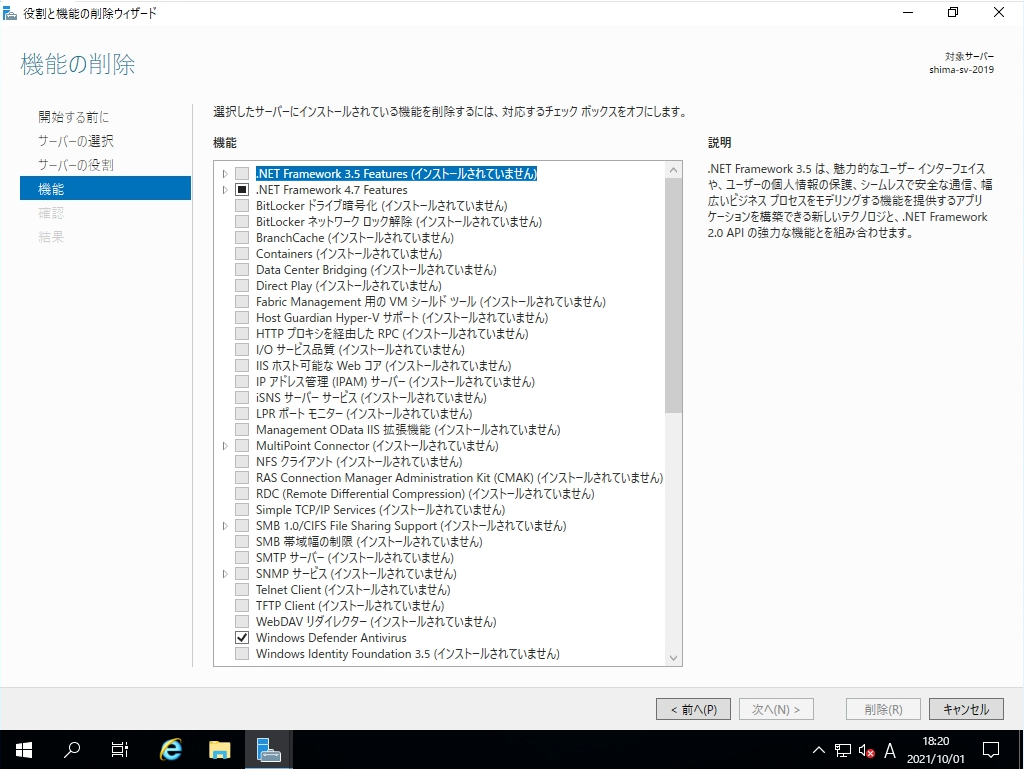
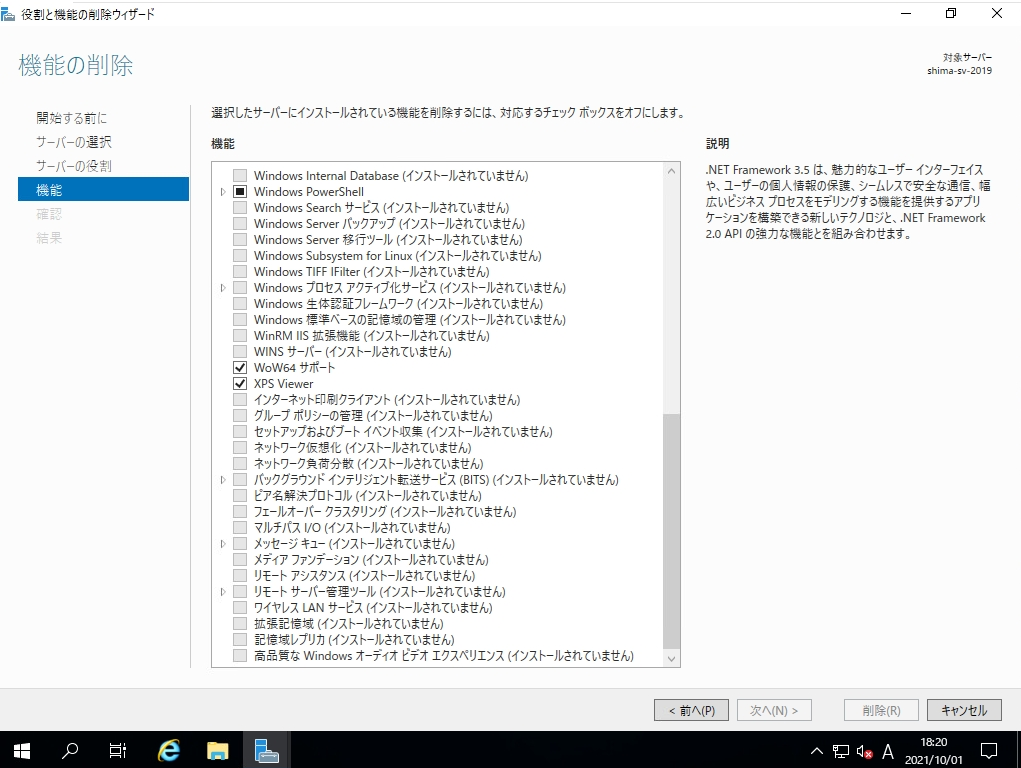
Windows Server 2019 では、役割と機能の削除ウィザード画面に 「 IE(Internet Explorer)」 の項目は表示されないためGUI(グラフィカルユーザインターフェース)で無効化にすることはできません。
役割と機能の削除ウィザード画面:サーバーの役割の削除画面 (1/1)
役割と機能の削除ウィザード画面: 機能の削除画面(1/2)
役割と機能の削除ウィザード画面: 機能の削除画面(2/2)
本記事では、Windows Server 2019のコマンドプロンプトからDISM イメージ管理コマンドを使用した 「 IE(Internet Explorer)11 」 の削除(無効化)、補足として無効状態からIEを有効化する方法を説明します。
Windows Server 2019:Internet Explorer 11 無効化方法
手順 1:
デスクトップ画面左下「 Windowsマーク」を右クリック ->「ファイル名を指定して実行」を選択します。

手順 2:
ファイル名を指定して実行画面:「cmd」を入力 ->「OK」を選択します。

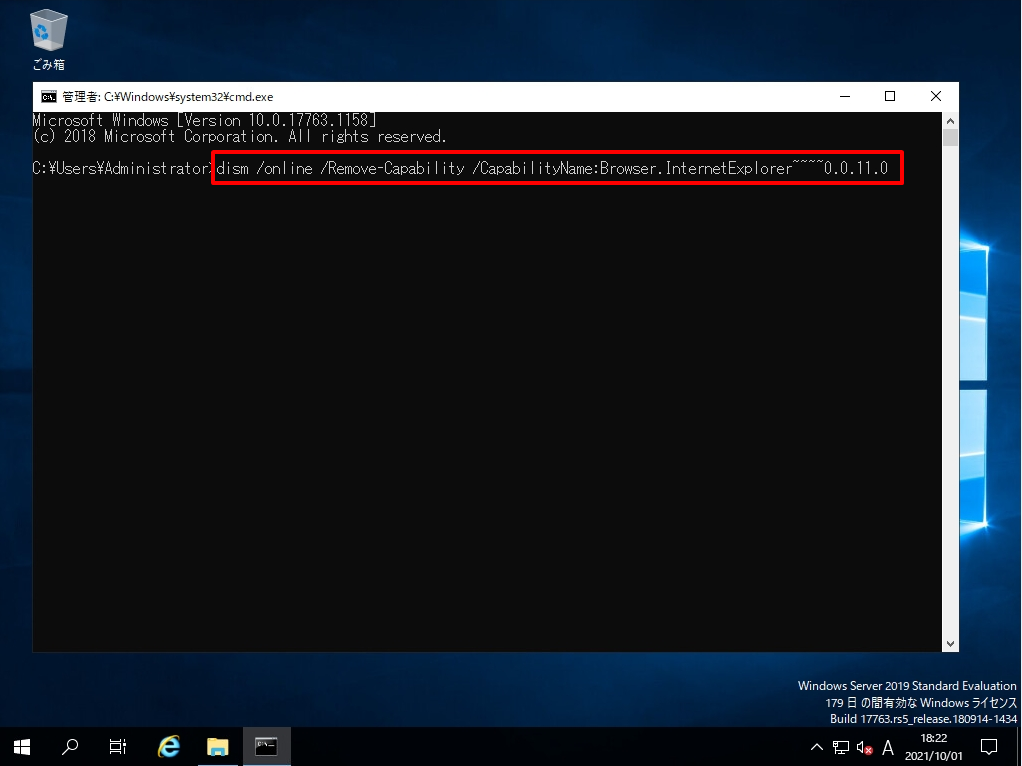
手順 3:
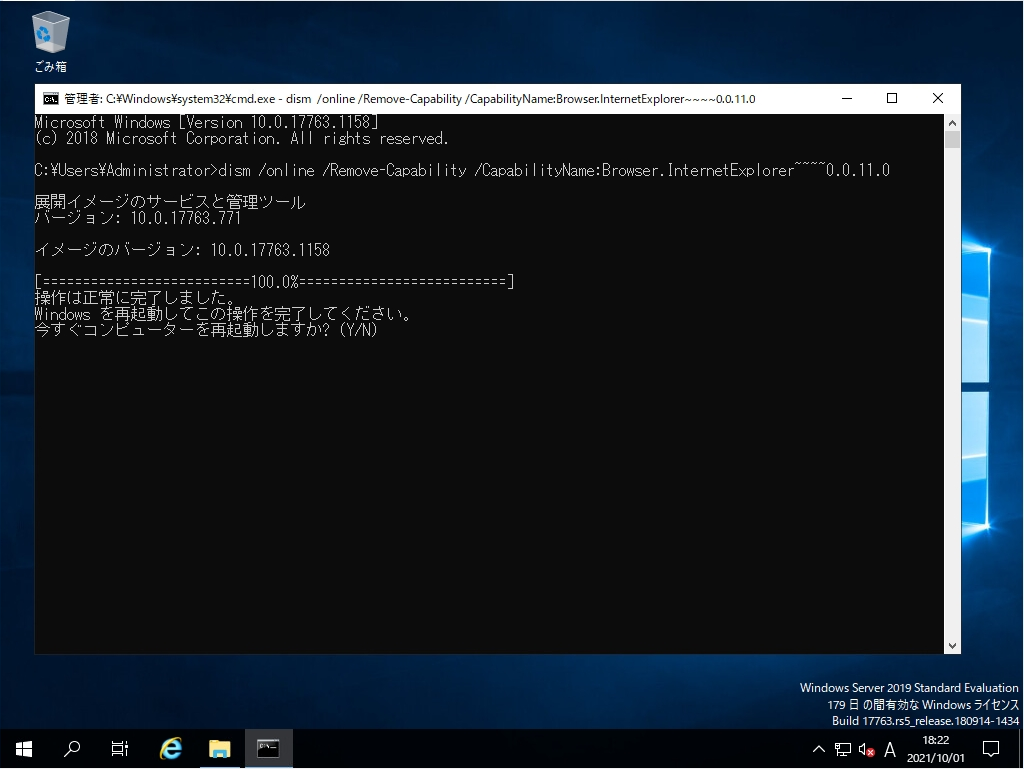
以下、実行コマンドでIEを無効化します。
dism /online /Remove-Capability /CapabilityName:Browser.InternetExplorer~~~~0.0.11.0
※IE無効化コマンドはマイクロソフトサポートサイトに記載されています。https://docs.microsoft.com/ja-jp/troubleshoot/browsers/disable-internet-explorer-windows
手順 4:
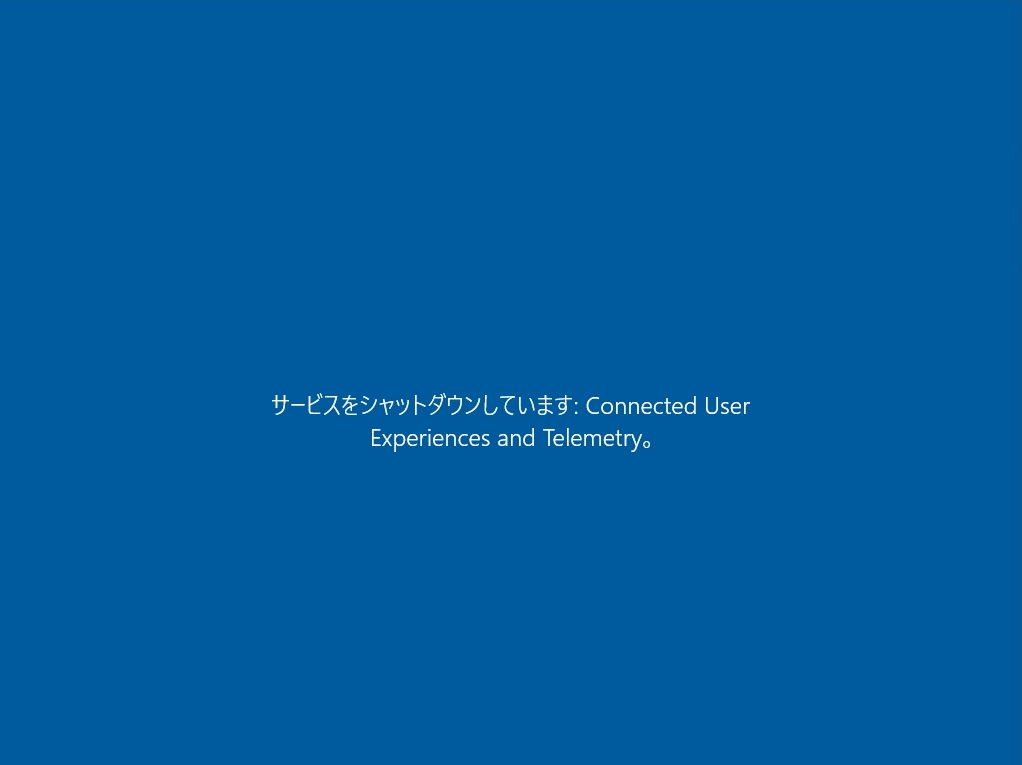
操作が正常に完了するまで少し待ちます。処理終了後、以下画面が出力されます。
Windows Server 2019:Internet Explorer 11 有効化方法
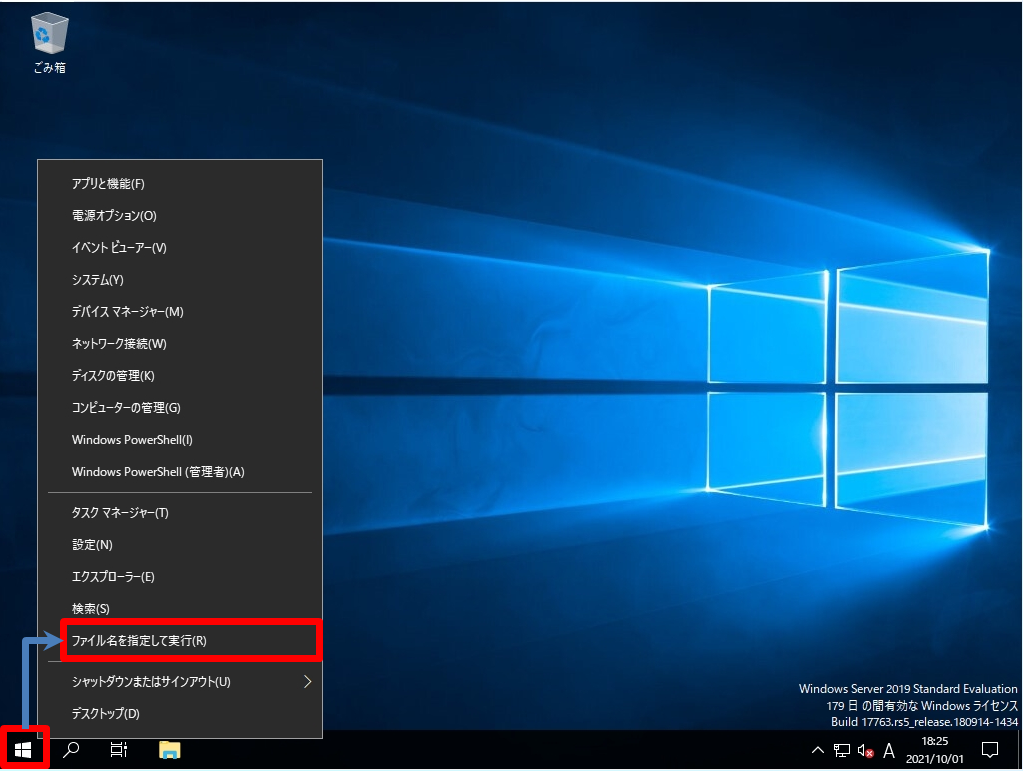
手順 1:
デスクトップ画面左下の「 Windowsマーク」を右クリック ->「ファイル名を指定して実行」を選択します。
手順 2:
ファイル名を指定して実行画面:「cmd」を入力 ->「OK」を選択します。

手順 3:
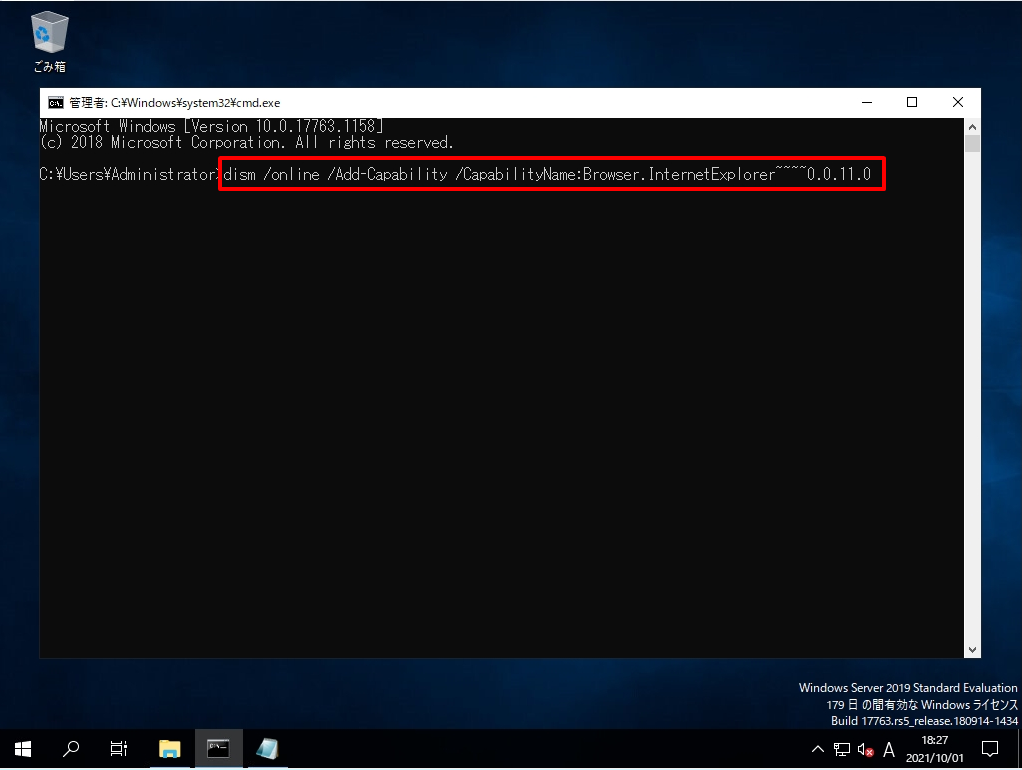
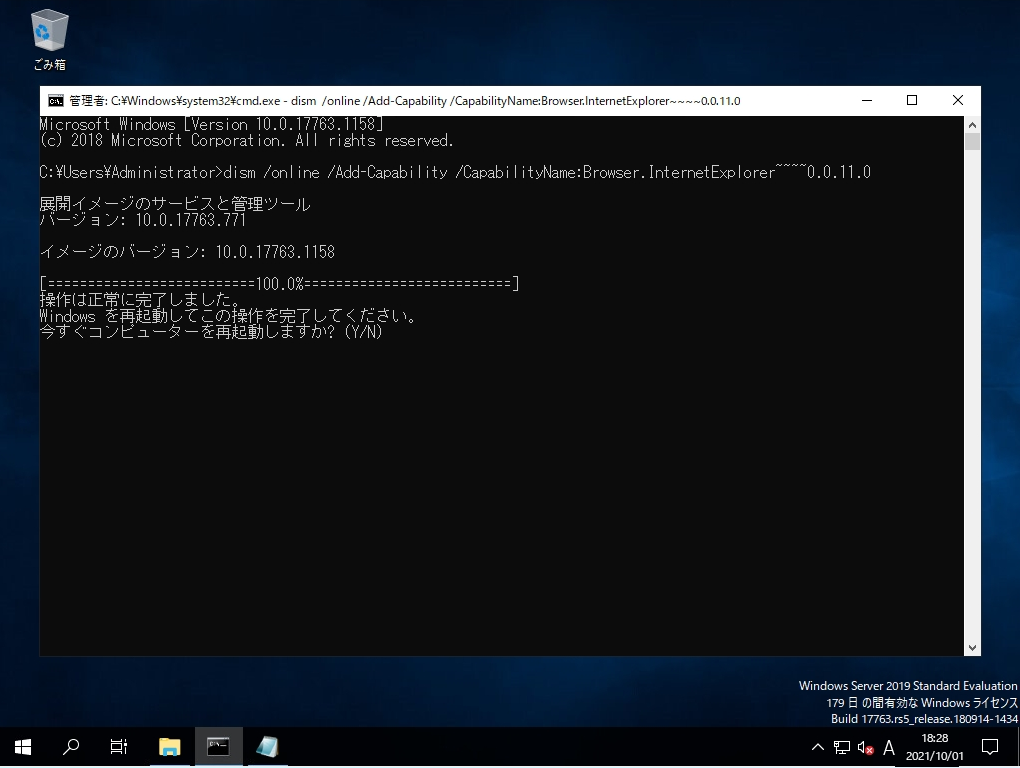
以下、実行コマンドでIEを有効化します。
dism /online /Add-Capability /CapabilityName:Browser.InternetExplorer~~~~0.0.11.0
※IE有効化コマンドはマイクロソフトサポートサイトに記載されています。https://docs.microsoft.com/ja-jp/troubleshoot/browsers/disable-internet-explorer-windows
手順 4:
操作が正常に完了するまで少し待ちます。処理終了後、以下画面が出力されます。
「 IE(Internet Explorer)11 」 を無効化から有効化後は再度、Windows アクセサリ配下に表示され利用することができます。
