
Windows Server 2019では、デフォルトのWebブラウザーとして「IE(Internet Explorer)11」がインストールされていますが「Google Chrome」を利用したい端末向けの手順です。「Google Chrome」は Chromiumというオープンソースのウェブブラウザーエンジンを採用しており様々なOS(Windows・Linux・macなど) で利用することができます。
Windows Server 2019でも利用することができるGoogle Chromeの手動インストール方法は2通りあり、インターネット接続環境・オフライン環境でインストール手順が異なります。本記事では2通りのインストール方法を説明します。
目次
0.信頼済みサイト追加・ Internet Explorer セキュリティ強化の構成
Windows Server 2019はInternet Explorer セキュリティ強化の構成がデフォルト設定で有効になっています。この構成はセキュリティ上の危険を引き起こす可能性がある Web サイトにサーバーがさらされる可能性を減らす設定になっているため接続するWEBサイトのURLを「信頼済みサイトのゾーン」に追加する必要があります。
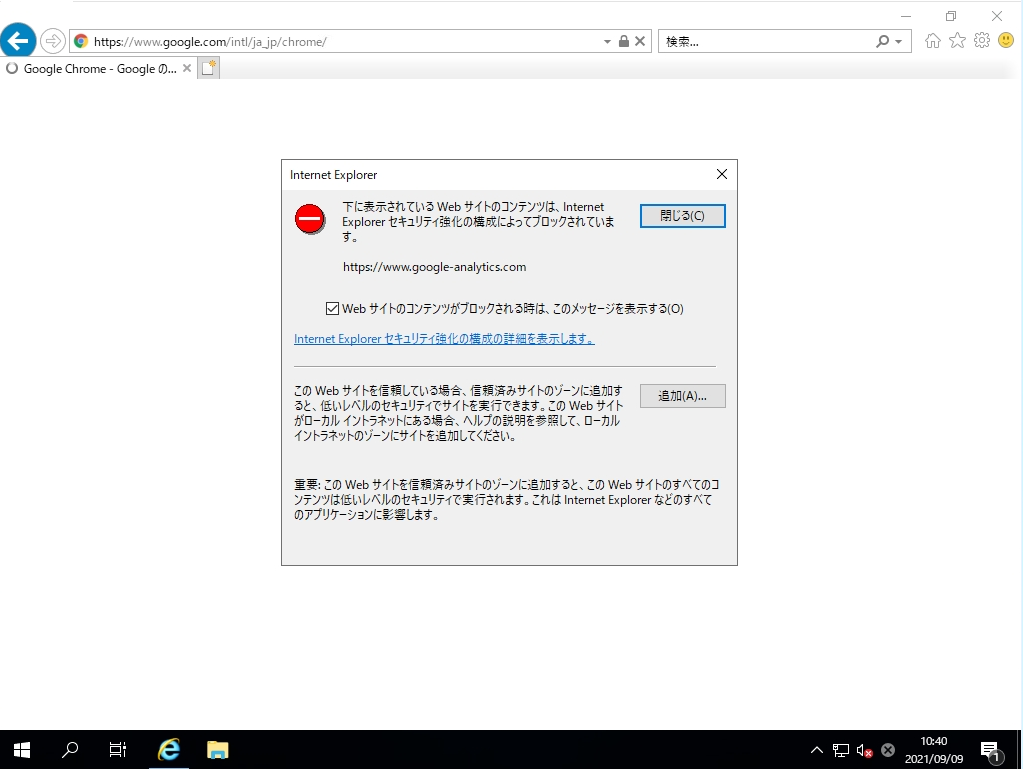
もしくは「Internet Explorer セキュリティ強化の構成」を変更しても影響がない環境であればオフ設定にすることでInternet Explorerのブロック表示を回避することができます。オフ設定にするにはサーバーマネージャーを起動し実施します。
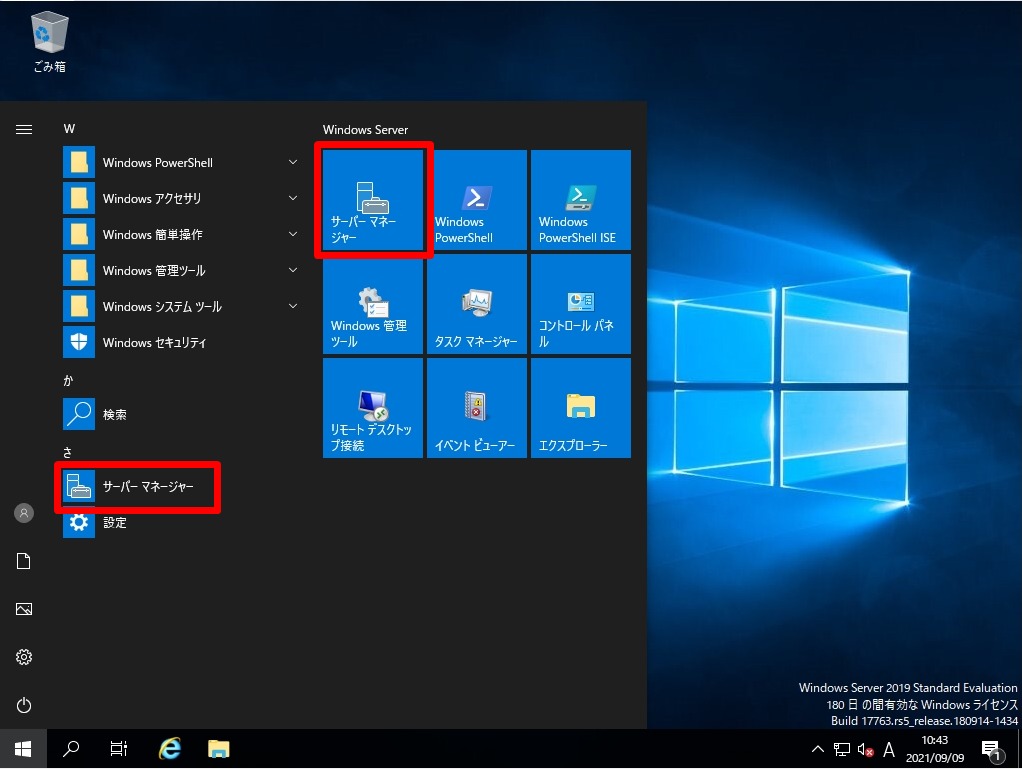
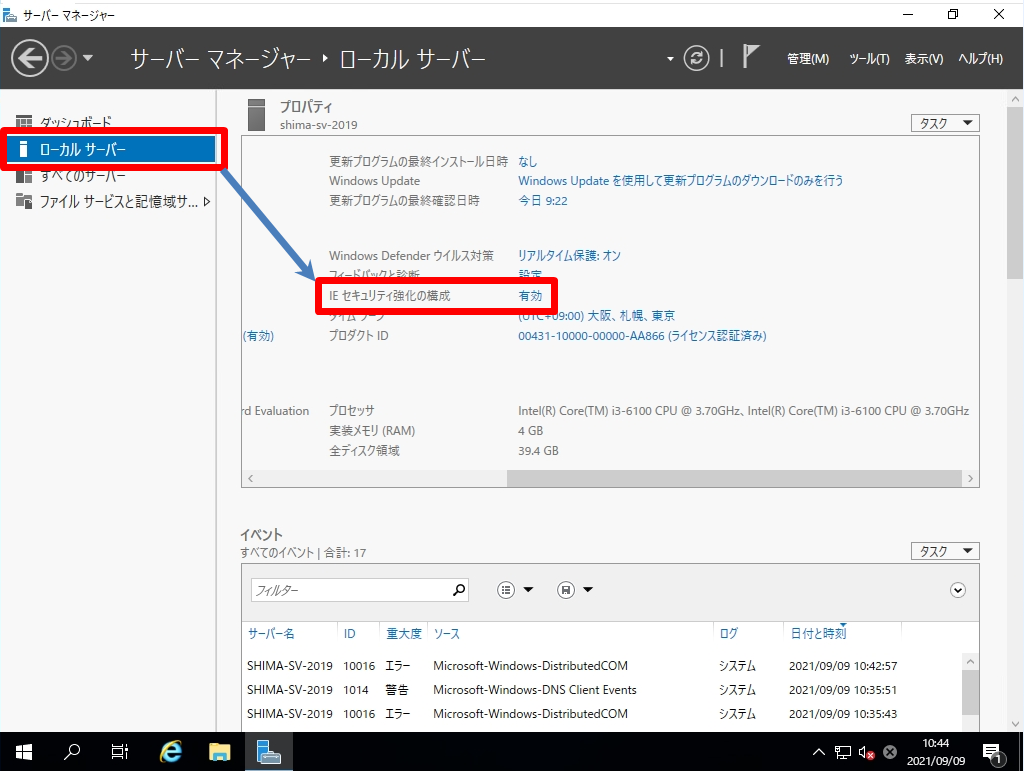
ローカルサーバー -> 「Internet Explorer セキュリティ強化の構成」項目を選択します。
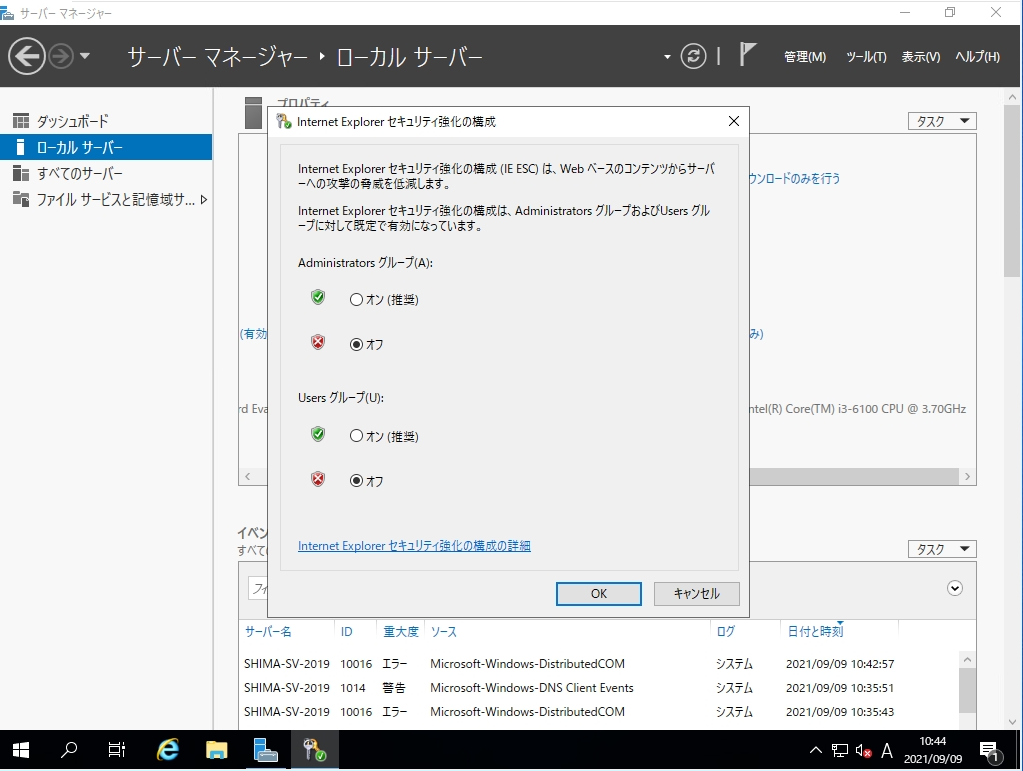
Administratorsグループ / もしくはUsersグループの設定値をオフにします。
「信頼済みサイトのゾーン」の追加、および「Internet Explorer セキュリティ強化の構成」をオフ設定にするかは環境に合わせ実施してください。
1.インターネット接続環境: Google Chrome インストール
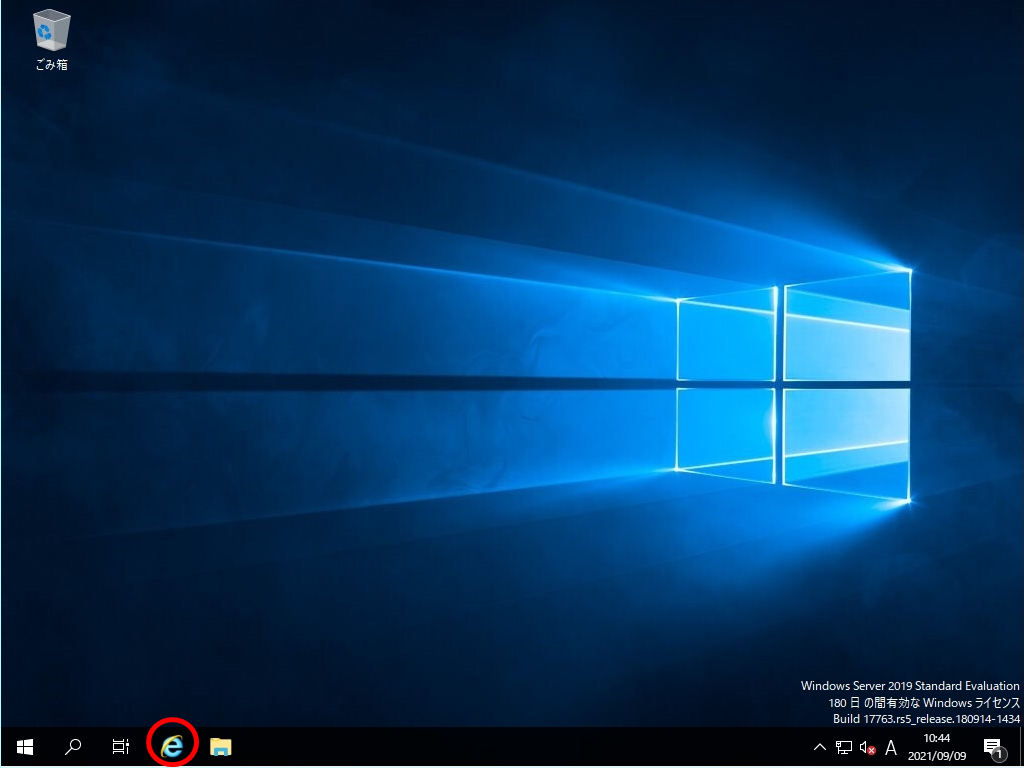
手順 1:
「IE(Internet Explorer)11」ブラウザを起動し以下、Google 公式サイトに接続します。
※Google Chromeダウンロード公式サイトURL:https://www.google.com/intl/ja_jp/chrome/
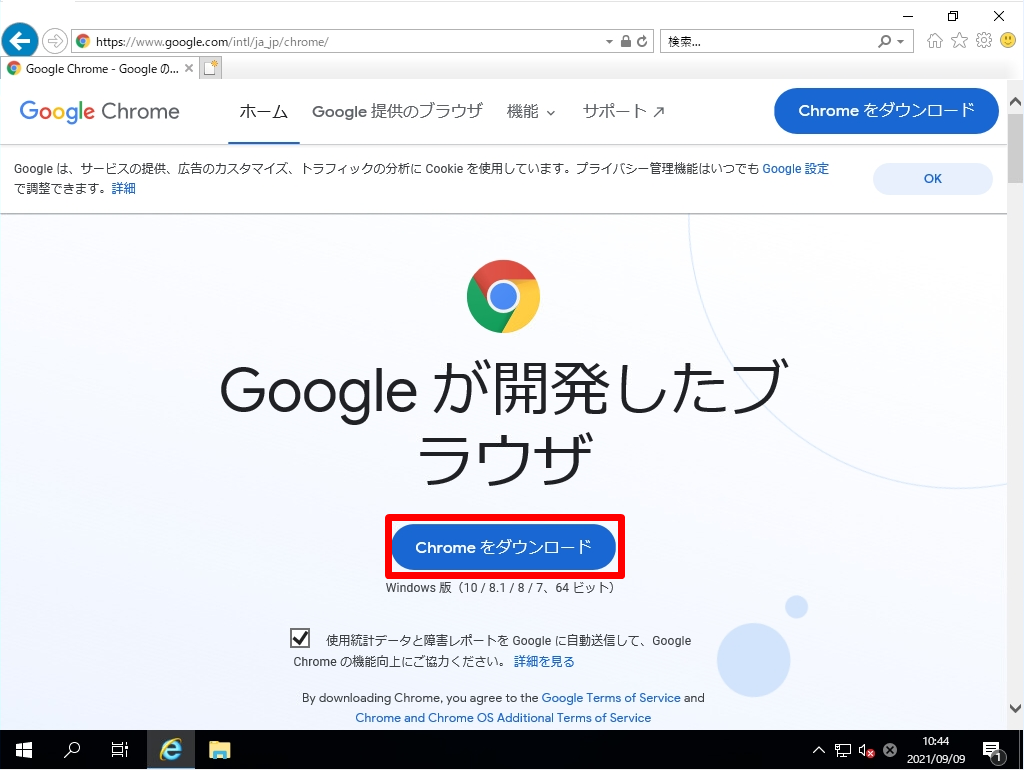
手順 2:
「Chrome をダウンロード」を選択します。
手順 3:
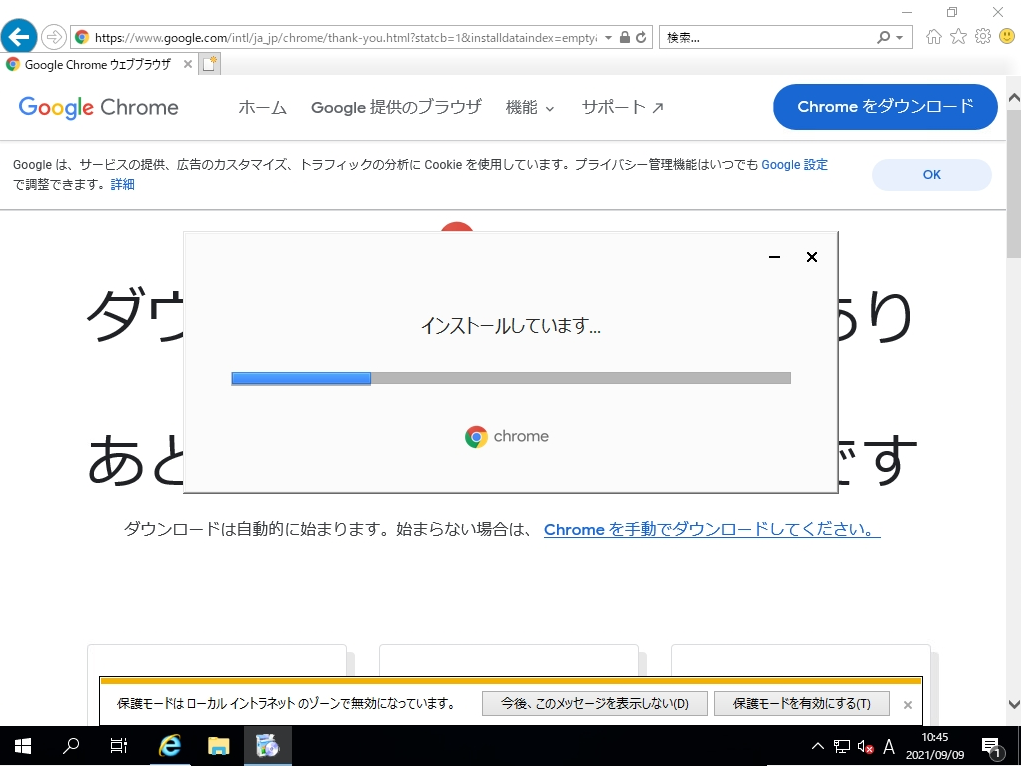
ダウンロードした「ChromeSetup.exe」 を実行します。
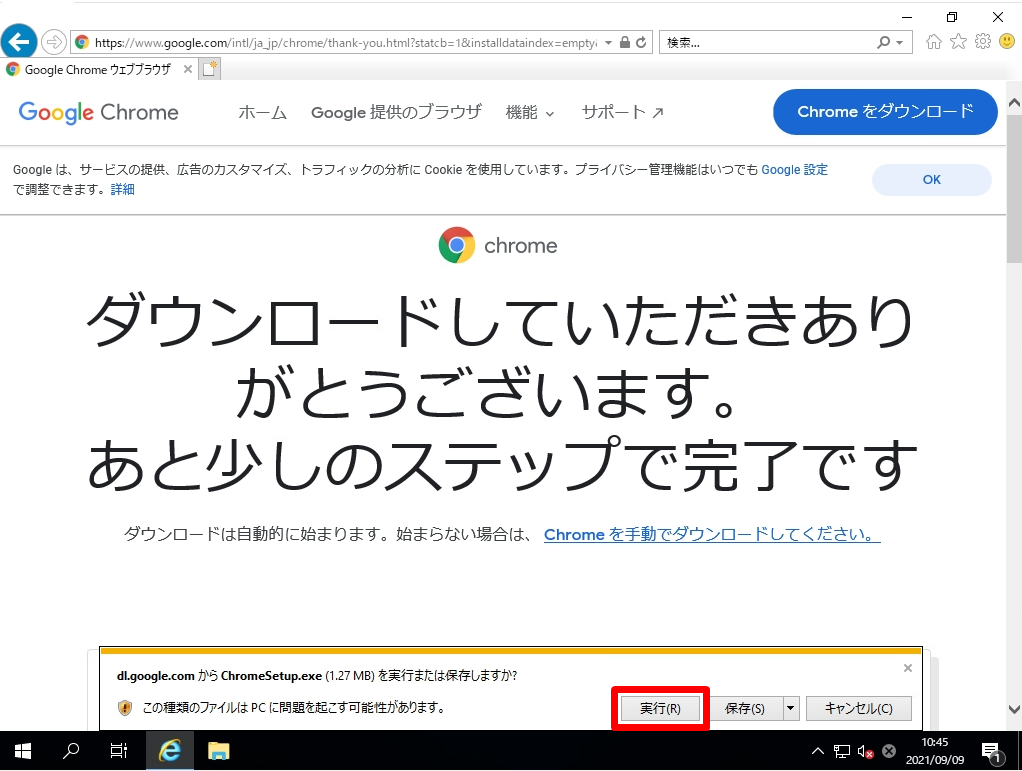
自動でGoogle Chromeダウンロード処理が開始されます。
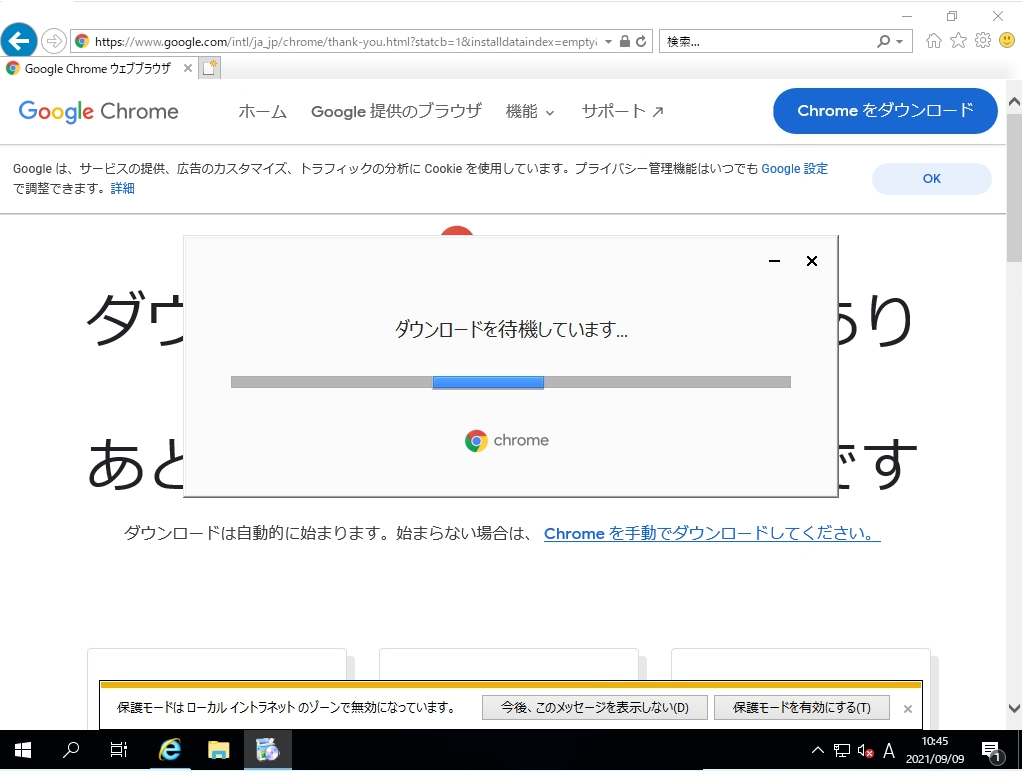
自動でGoogle Chromeインストール処理が開始されます。
手順 4:
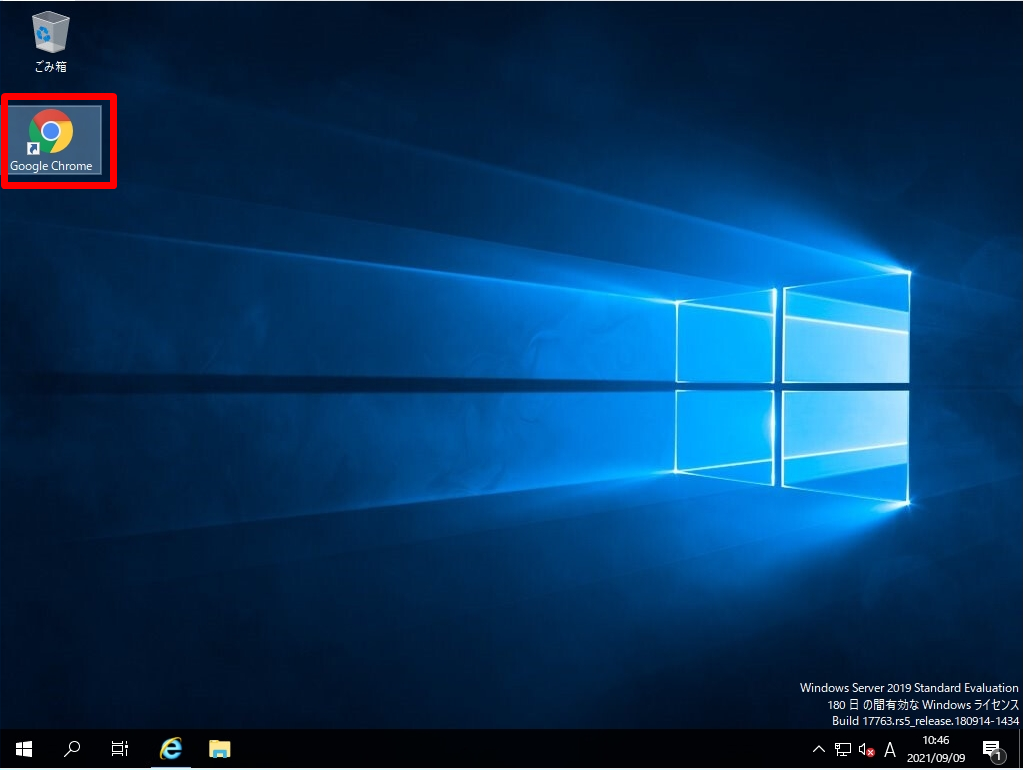
Google Chromeインストール完了です。デスクトップ上にショートカットアイコンが表示されます。
2.オフライン接続環境: Google Chrome インストール
Windows Server 2019からインターネットに接続できない環境の場合は、オフライン版 Google Chrome インストーラーをWindows 7 / 8 /10などのクライアント端末から Google 公式サイトに接続し.exeファイルをダウンロードします。
手順 1:
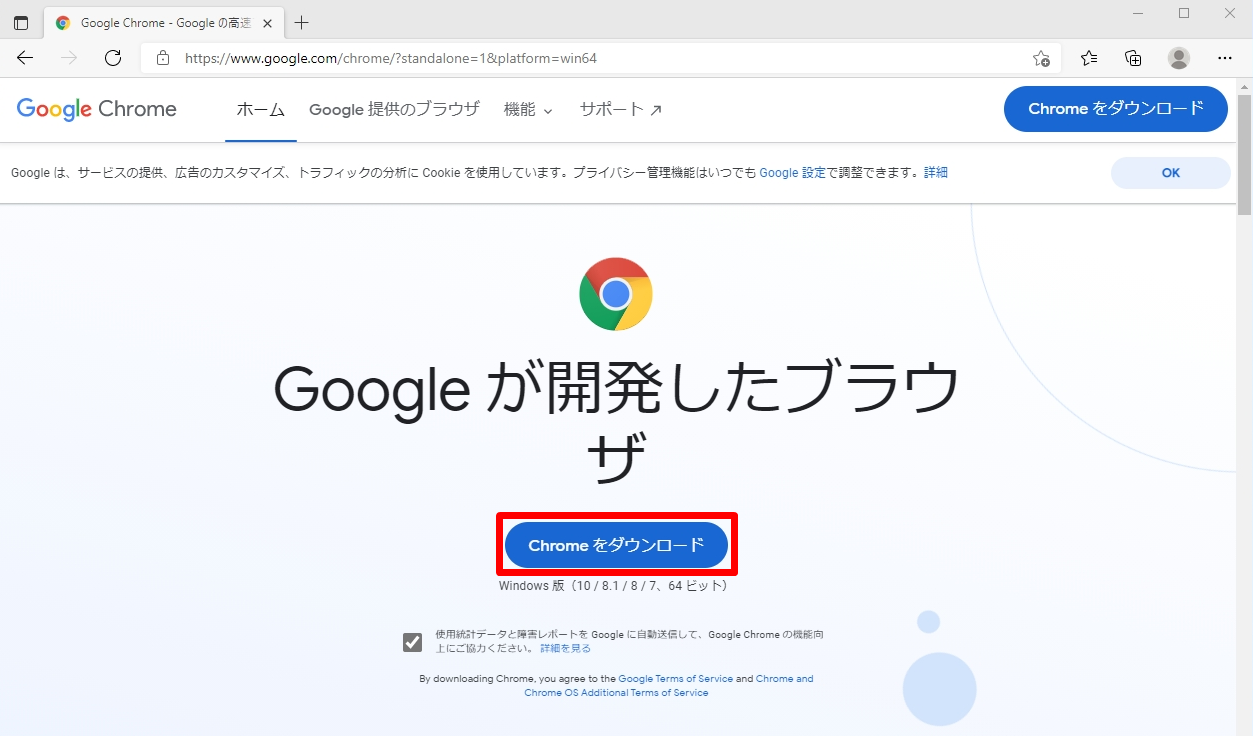
クライアント端末で利用しているブラウザを起動し以下、Google公式サイトに接続 ->「Chromeをダウンロード」を選択します。
※Google公式サイト:https://www.google.com/chrome/?standalone=1&platform=win64
手順 2:
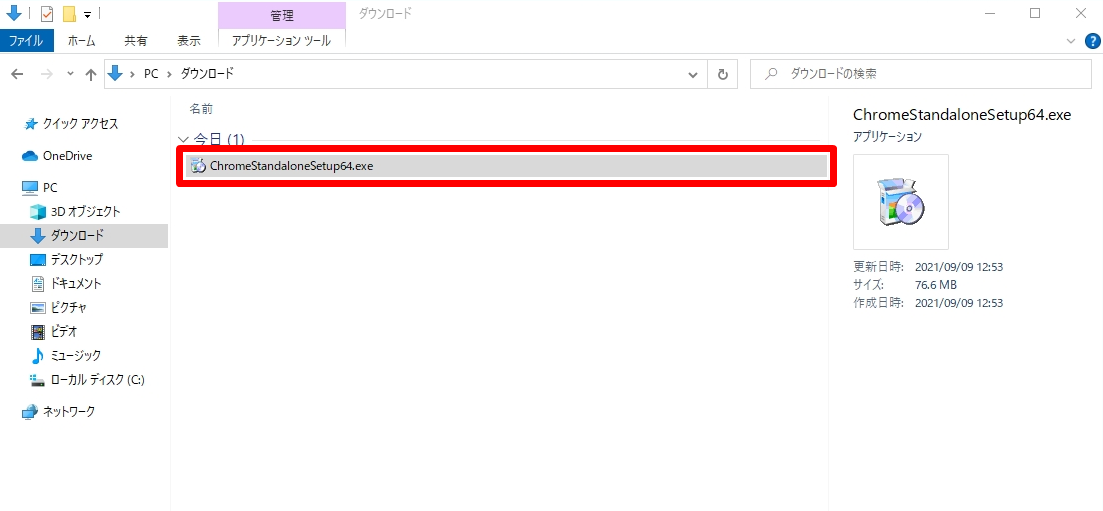
Windows Server 2019にインストールする オフライン版 Google Chrome インストーラー「ChromeStandaloneSetup64.exe」がダウンロードされたことを確認します。
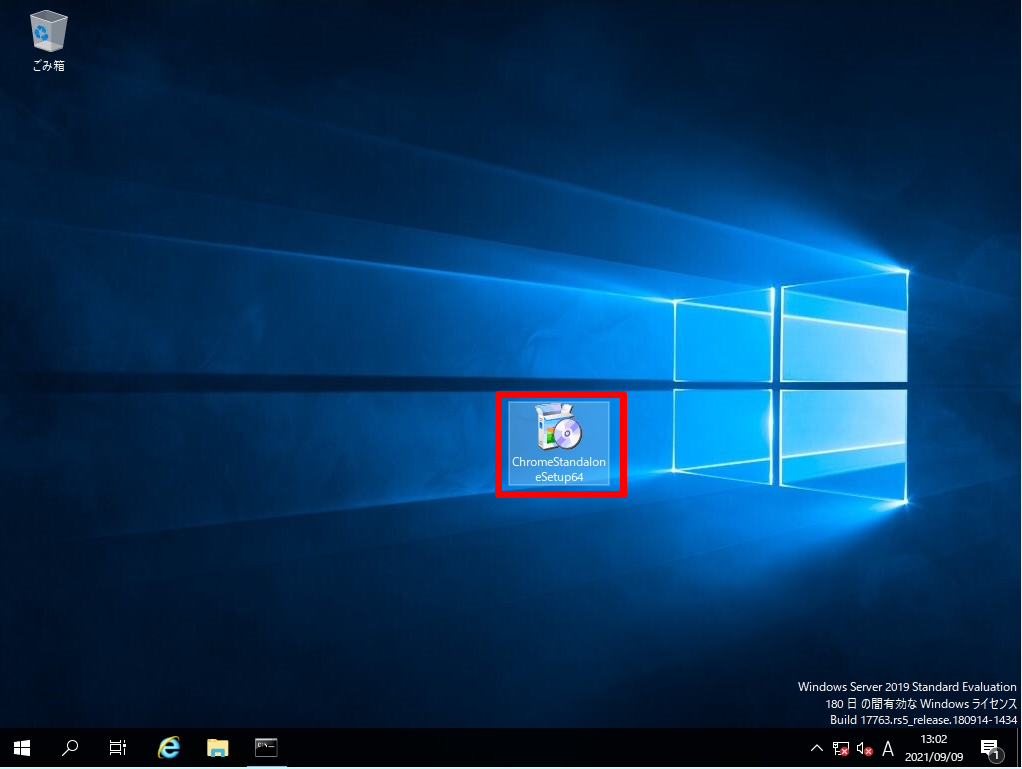
手順 3:
Windows Server 2019にリモートデスクトップ接続し「ChromeStandaloneSetup64.exe 」を貼り付け、ダブルクリックしてインストーラーを起動します。
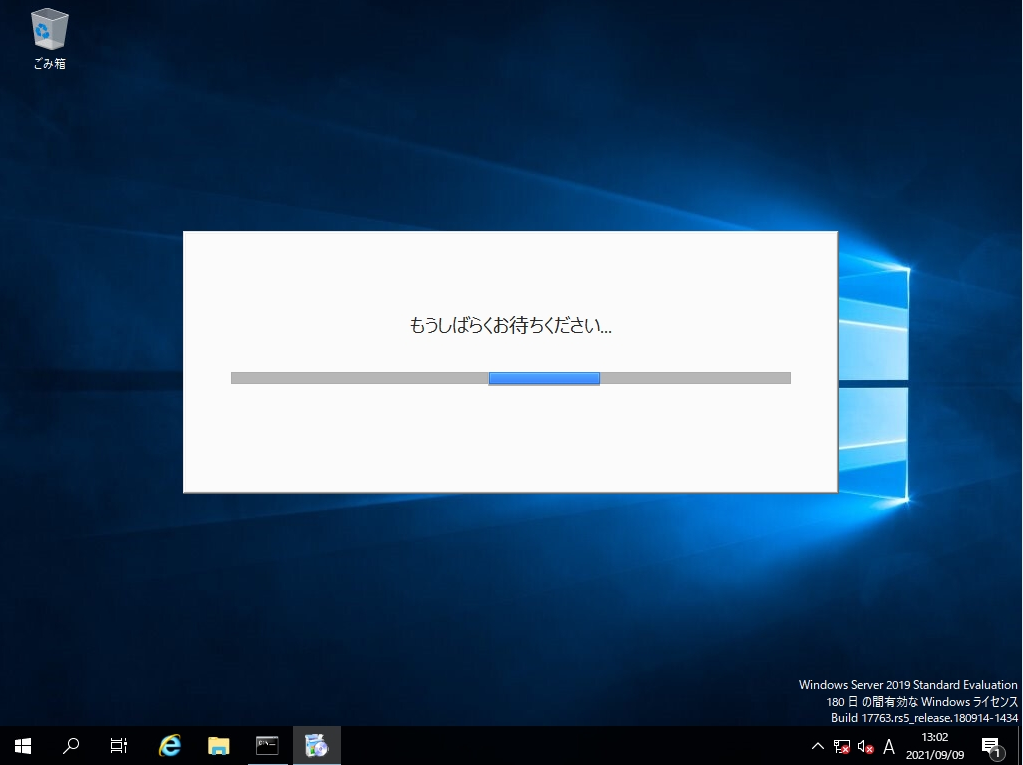
自動でインストール処理されます。インストール終了するまで少し待ちます。
手順 4:
Windows Server 2019にGoogle Chromeがインストールされたことを確認します。
