Ubuntuはデスクトップ用途として人気が高いLinuxディストリビューションです。Windows11のHyper-Vで Ubuntu 18.04.3 LTSを利用するためにはコントロールパネルからHyper-Vを有効化->オペレーティングシステムの選択画面でUbuntu 18.04.3 LTSを選択 -> 仮想マシンを作成することで無償で Ubuntu 18.04.3 LTS をインストールすることができます。
本記事では、Windows11 Proに搭載されているHyper-Vで Ubuntu 18.04.3 LTS をGUIで操作できるよう一連の手順・操作方法を画像で説明します。※Windows11 HomeエディションにはMicrosoft Hyper-Vは搭載されていないため有効化できません。
目次
1. Windows 11:Microsoft Hyper-V 有効化
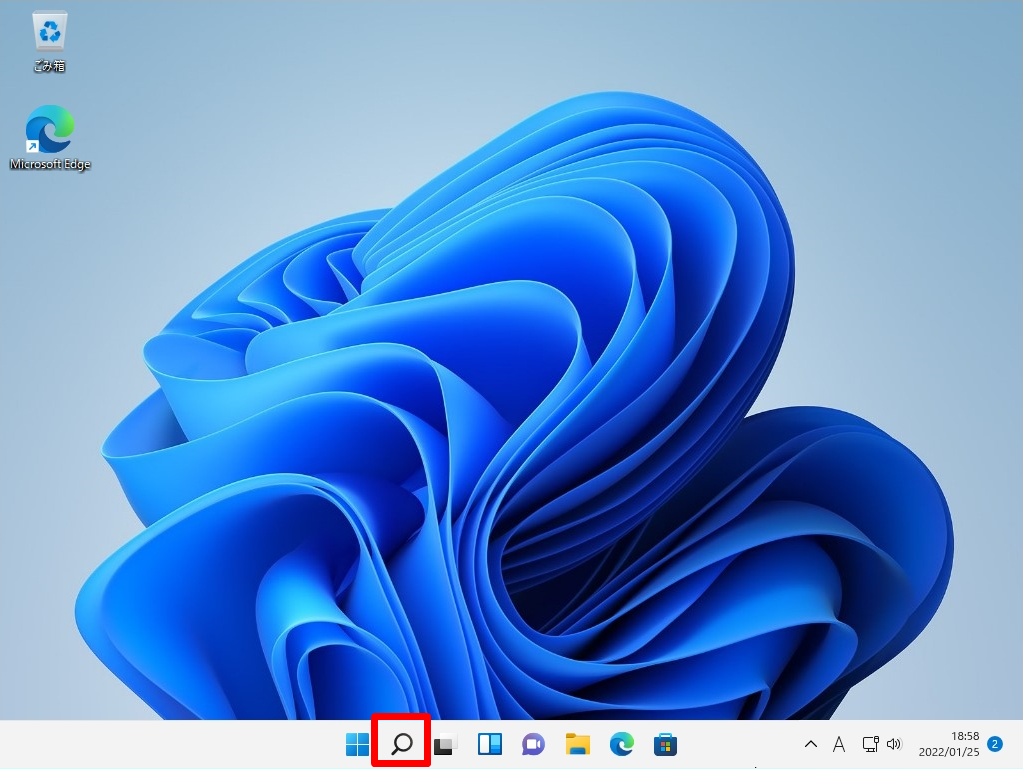
手順 1:
タスクバー上の「検索ボックス」を選択します。
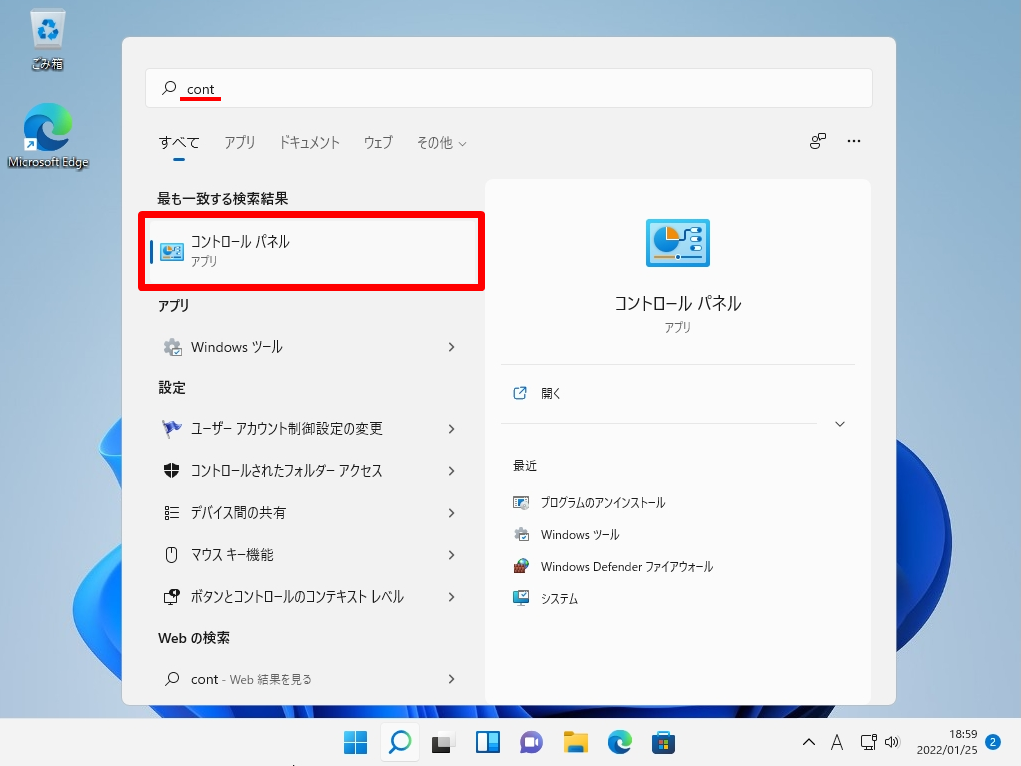
手順 2:
「cont」を入力 ->「コントロールパネル」を選択します。
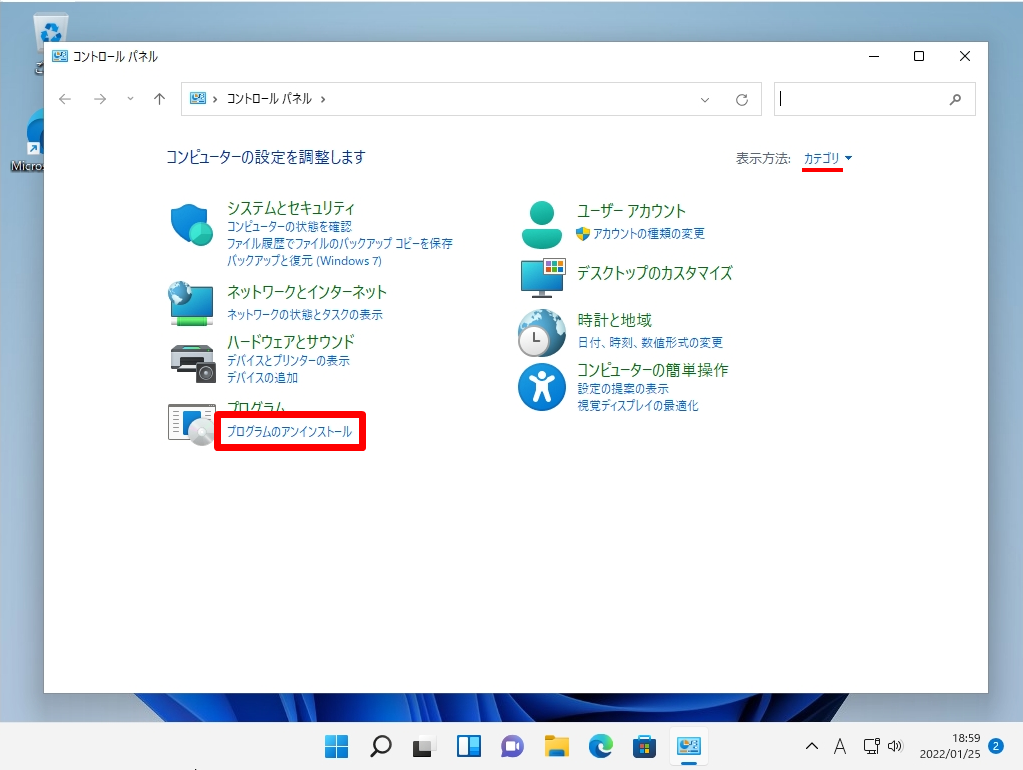
手順 3:
コントロールパネル画面:表示方法 カテゴリ ->「プログラムのアンインストール」を選択します。
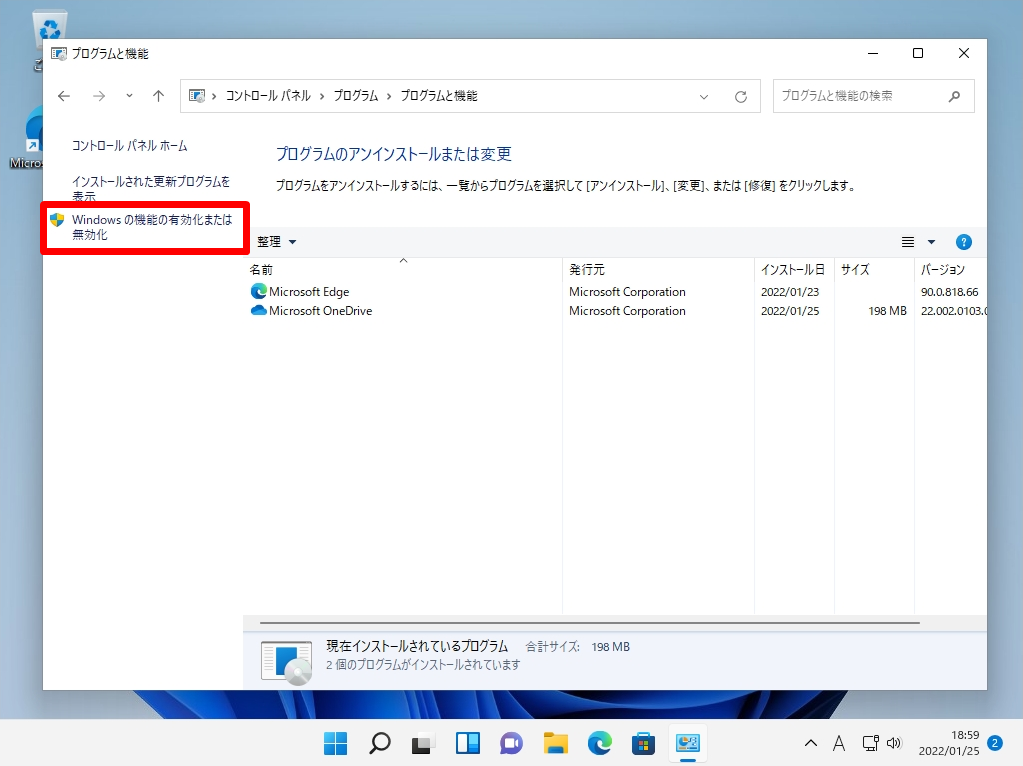
手順 4:
プログラムと機能画面:「Windowsの機能の有効化または無効化」を選択します。
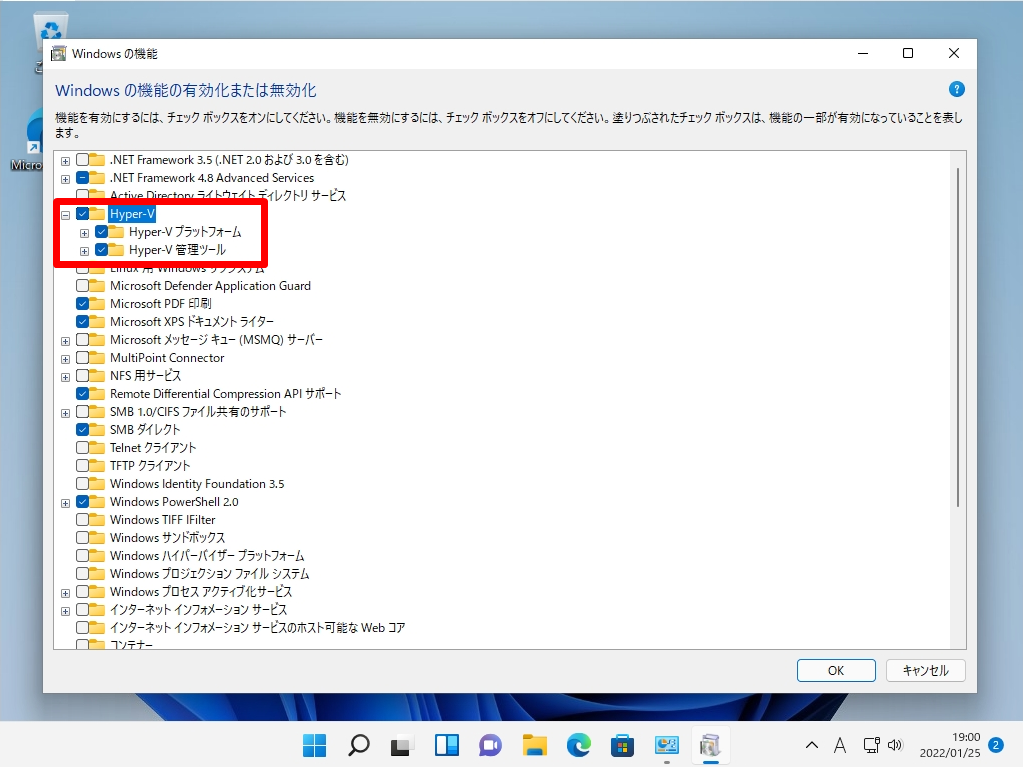
手順 5:
「Hyper-V 」を有効化 ->「OK」を選択します。
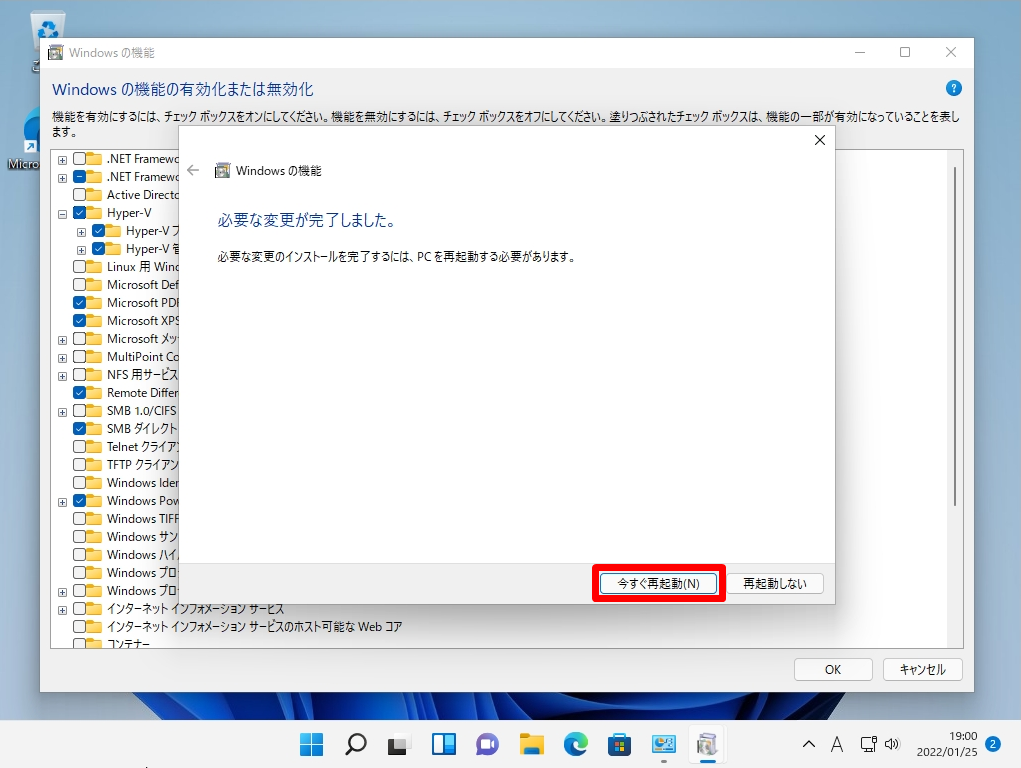
手順 6:
「 今すぐ再起動 」を選択します。
2. Windows 11 Hyper-V:Ubuntu 18.04.3 LTS インストール/仮想マシン作成
手順 1:
タスクバー上「(Windowsマーク)」を選択します。

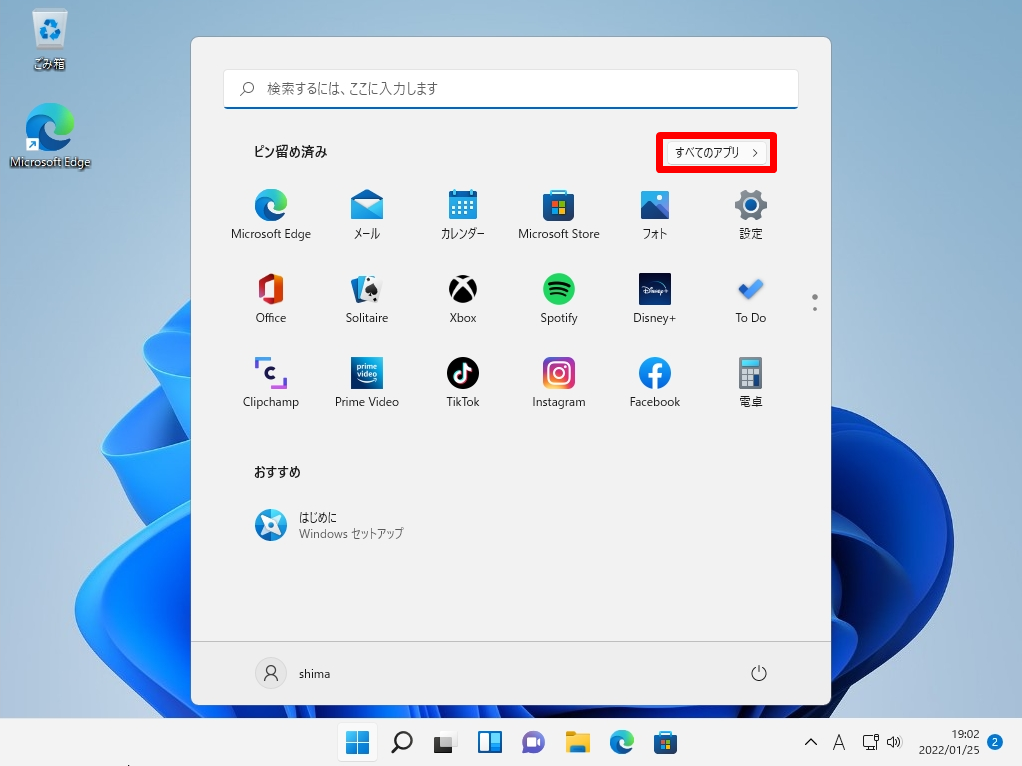
手順 2:
「すべてのアプリ」を選択します。
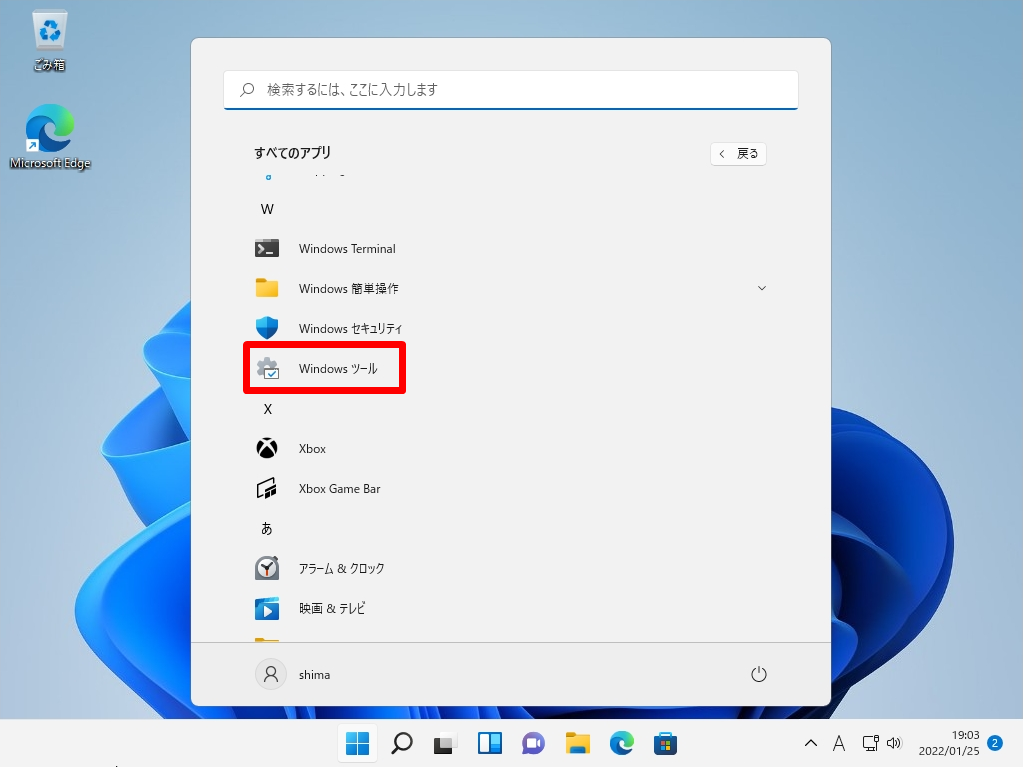
手順 3:
「Windows ツール」を選択します。
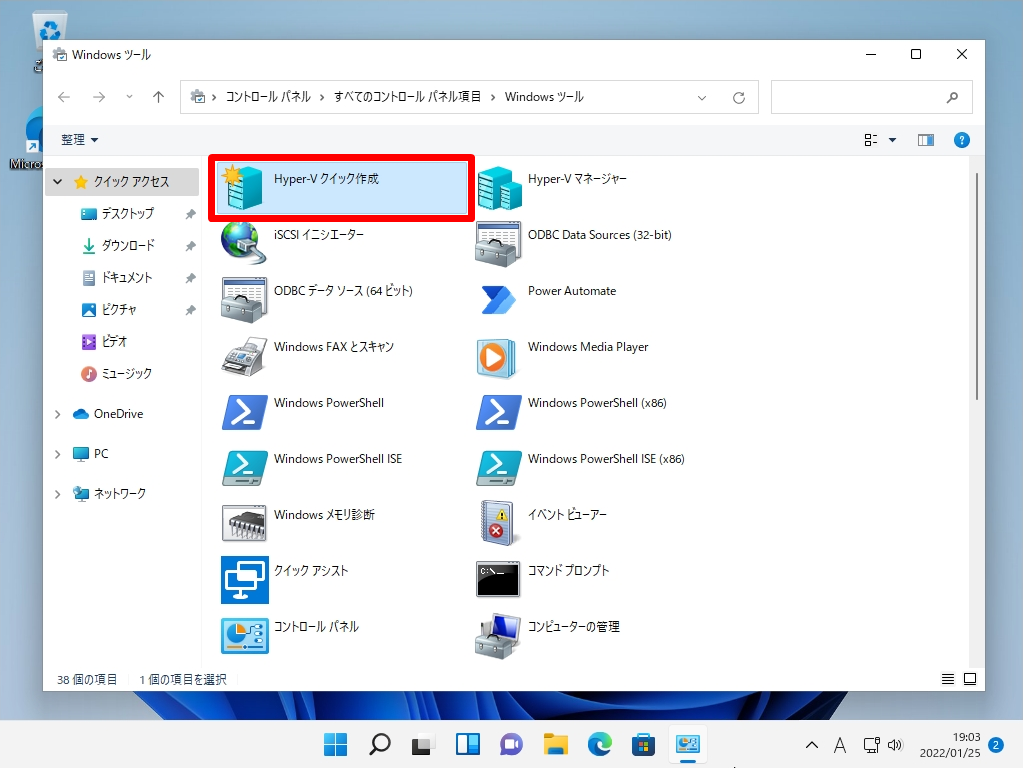
手順 4:
「 Hyper-V クイック作成」を選択します。
手順 5:
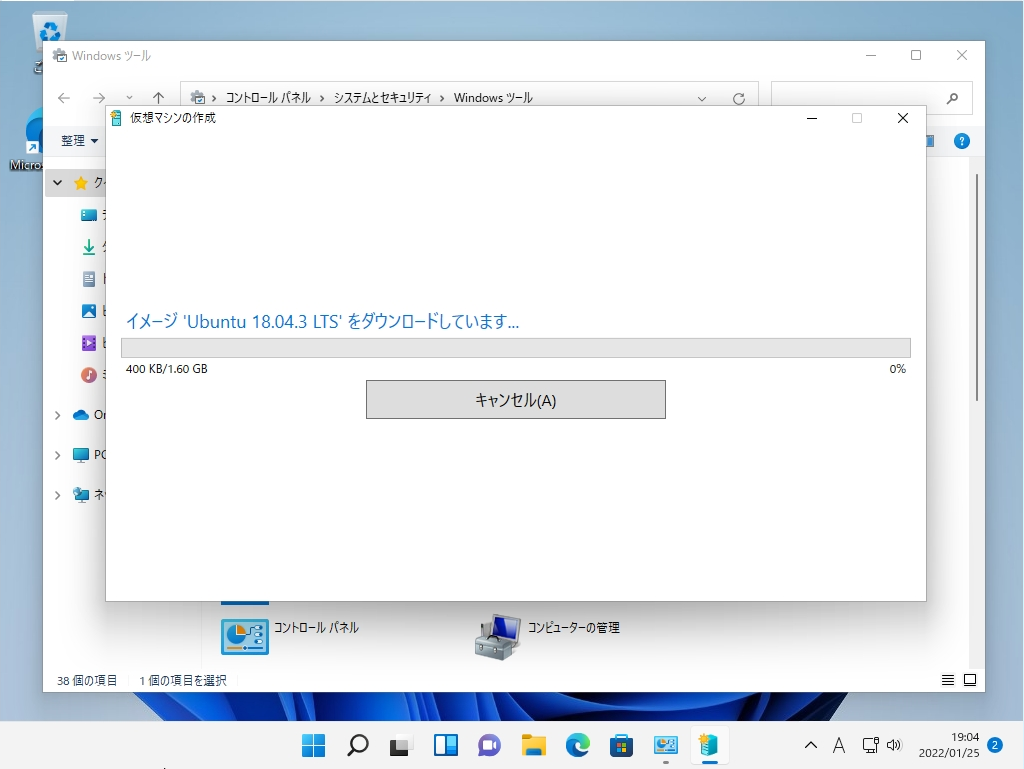
Ubuntu 18.04.3 LTSを選択 –>「 仮想マシンの作成 」を選択します。
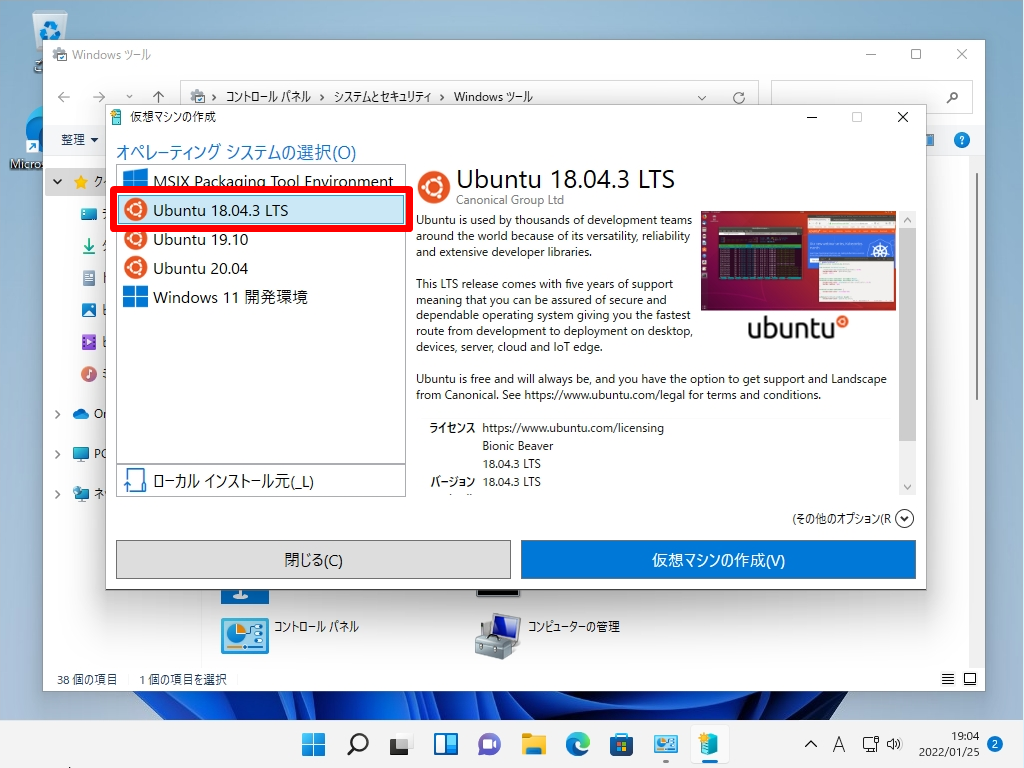
イメージ Ubuntu 18.04.3 LTS のダウンロード・仮想マシン作成処理が開始されます。終了するまで少し待ちます。
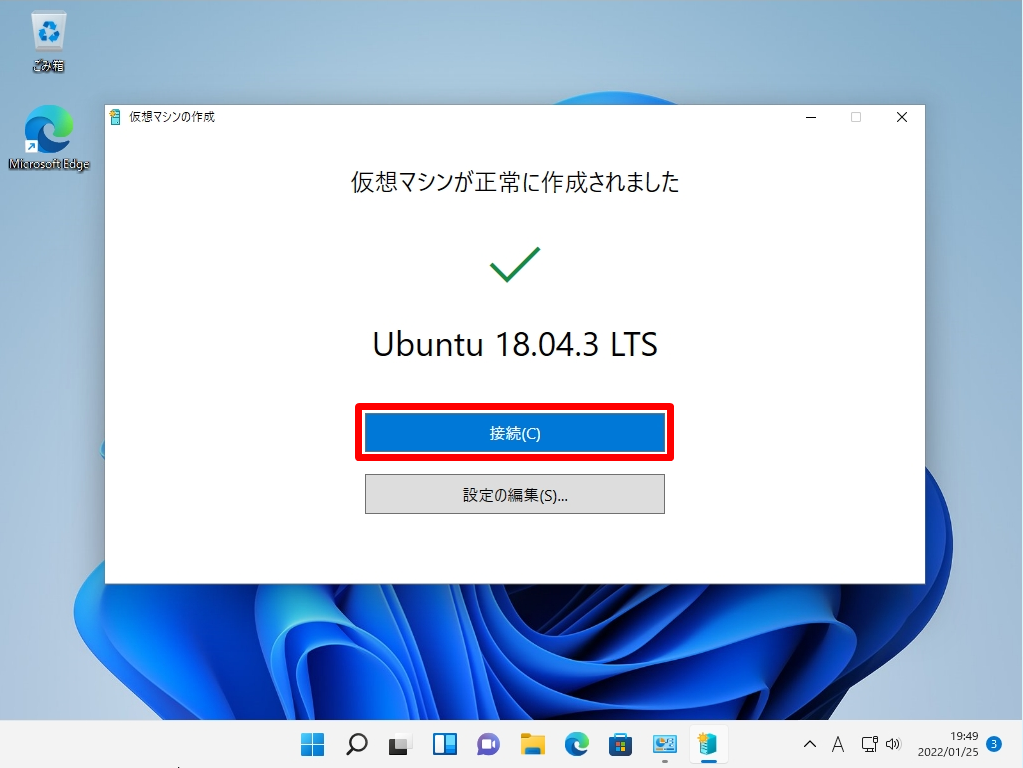
3. Windows 11 Hyper-V:Ubuntu 18.04.3 LTS 初期設定
手順 1:
「 接続 」を選択します。
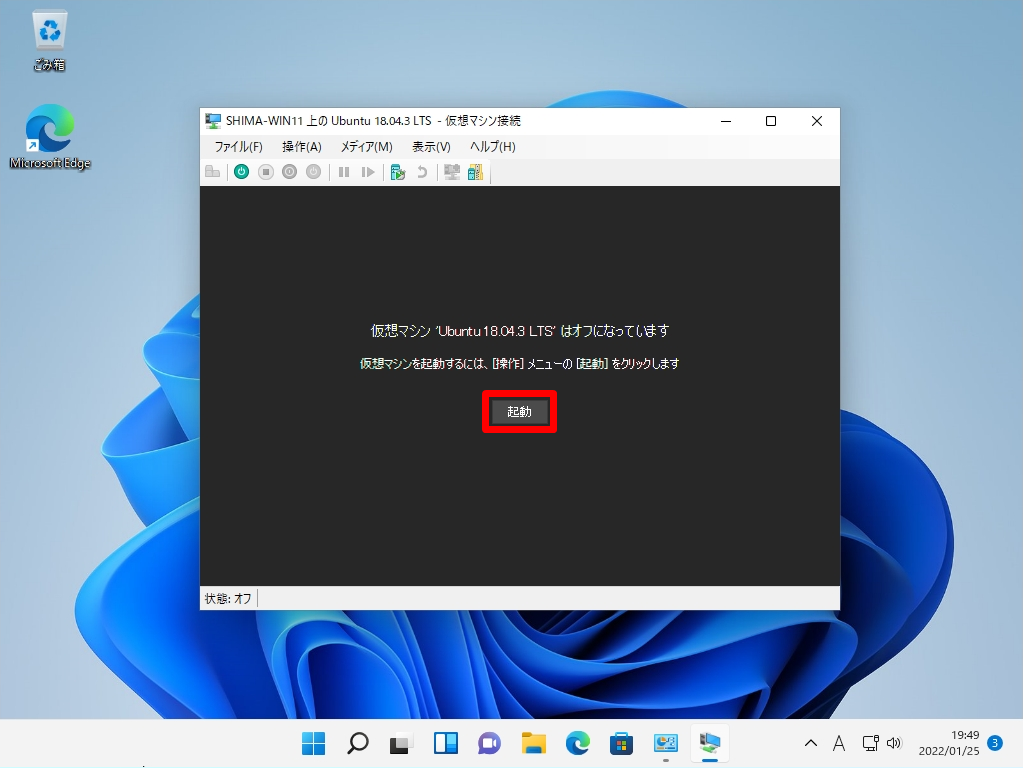
手順 2:
「 起動 」を選択します。
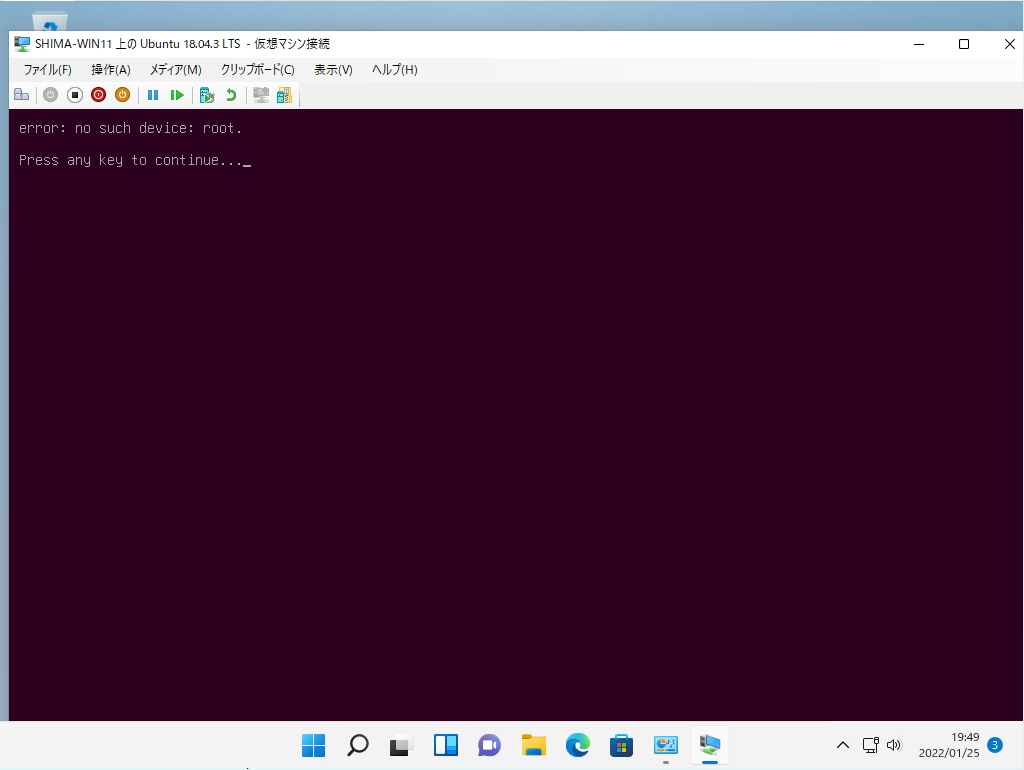
手順 3:
「Press any key to continue…」画面:数秒待つと自動で Ubuntu 18.04.3 LTS が起動します。
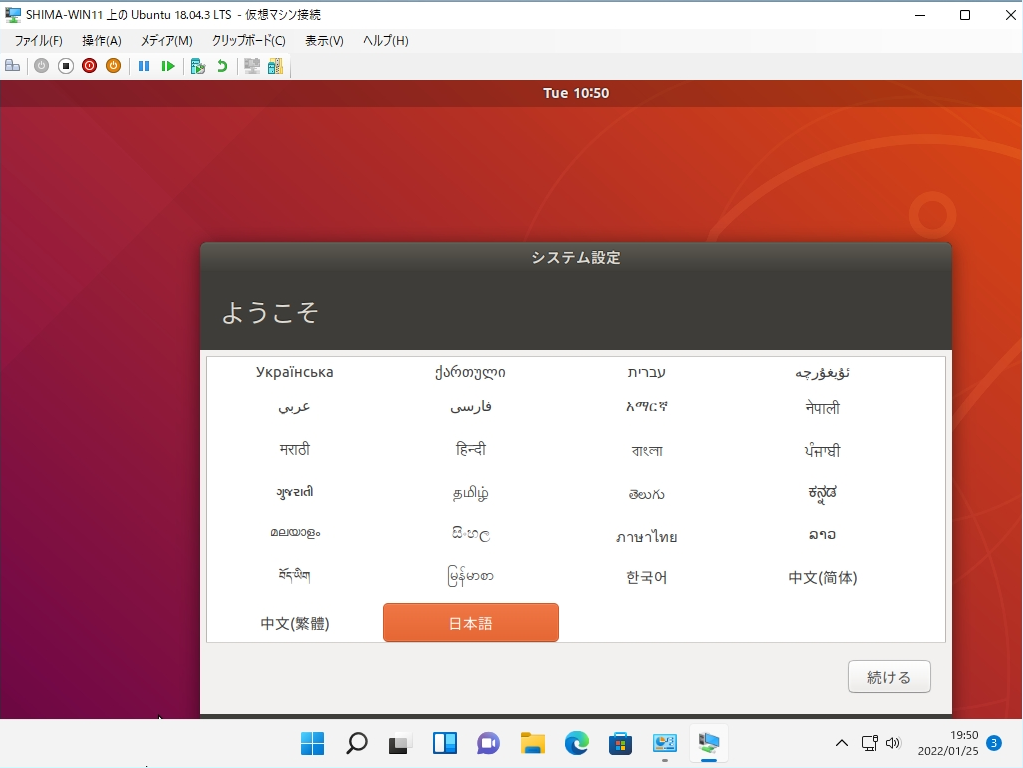
手順 4:
使用する言語を選択し「 続ける 」を選択します。
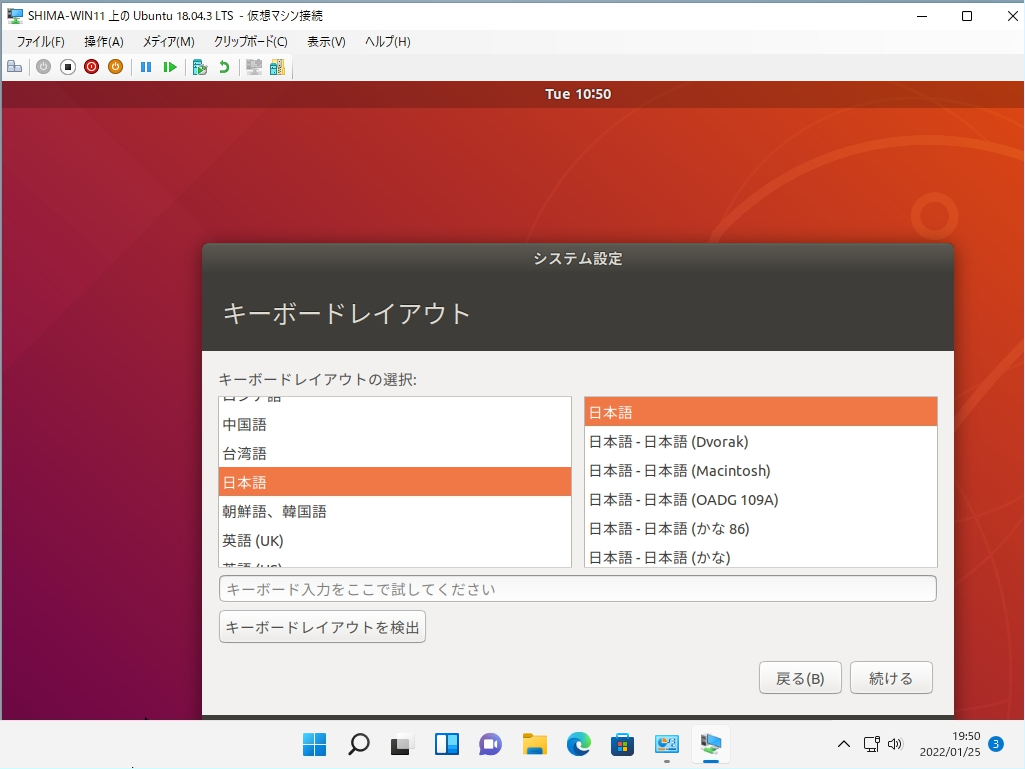
手順 5:
キーボードレイアウトの言語を選択し「 続ける 」を選択します。
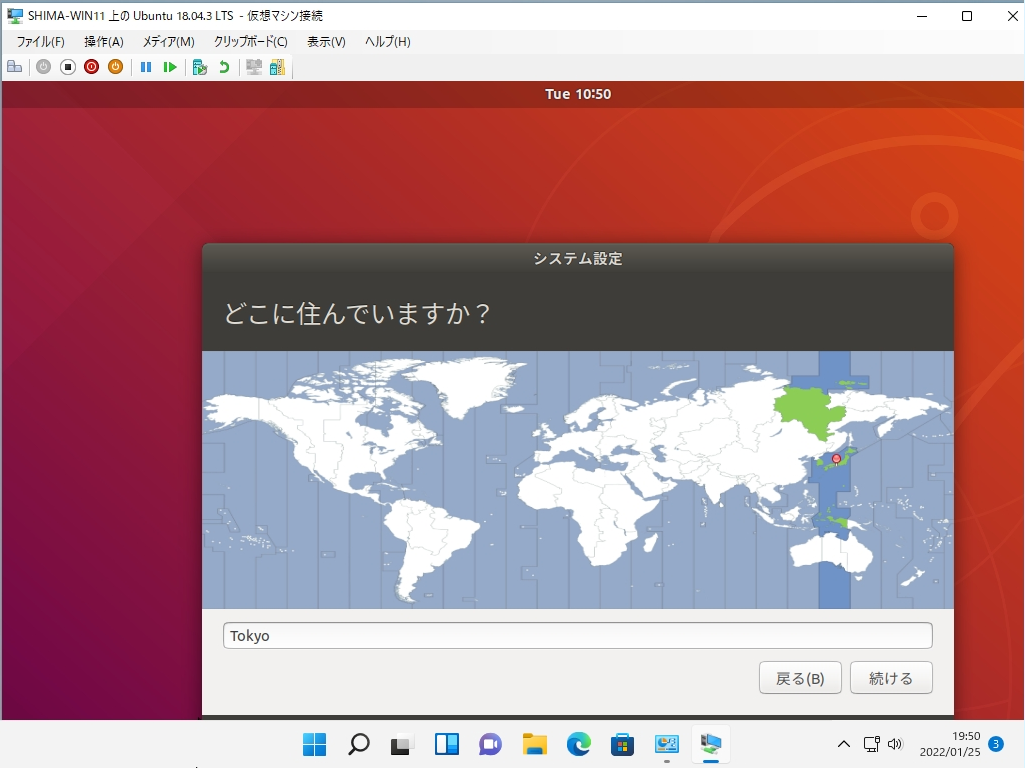
手順 6:
ロケーション(地域)をクリックし「 続ける 」を選択します。
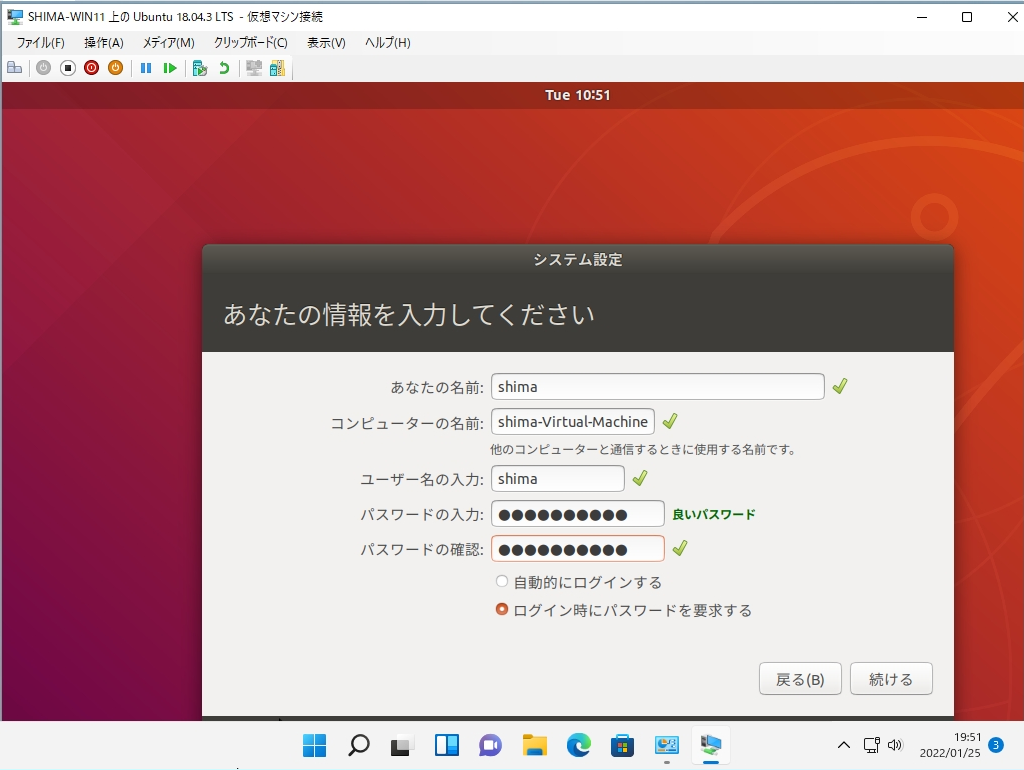
手順 7:
あなたの名前(ログインアカウント)・パスワードを入力 –>「 続ける 」を選択します。
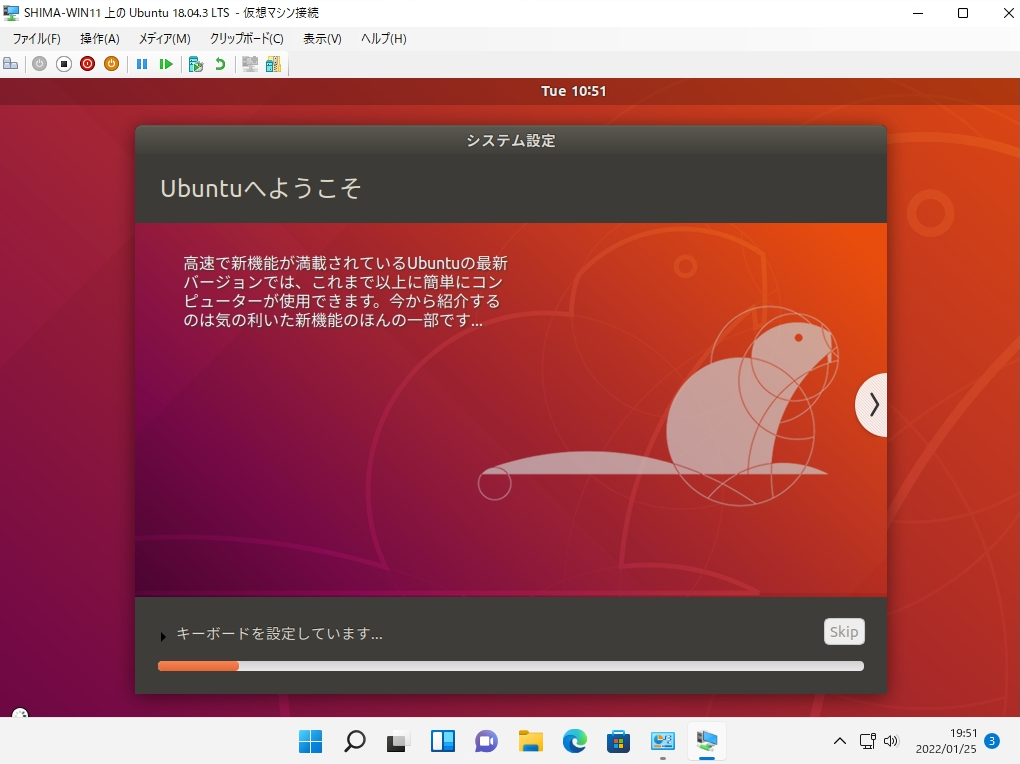
Ubuntu 18.04.3 LTS の初期設定処理が開始されます。終了するまで少し待ちます。
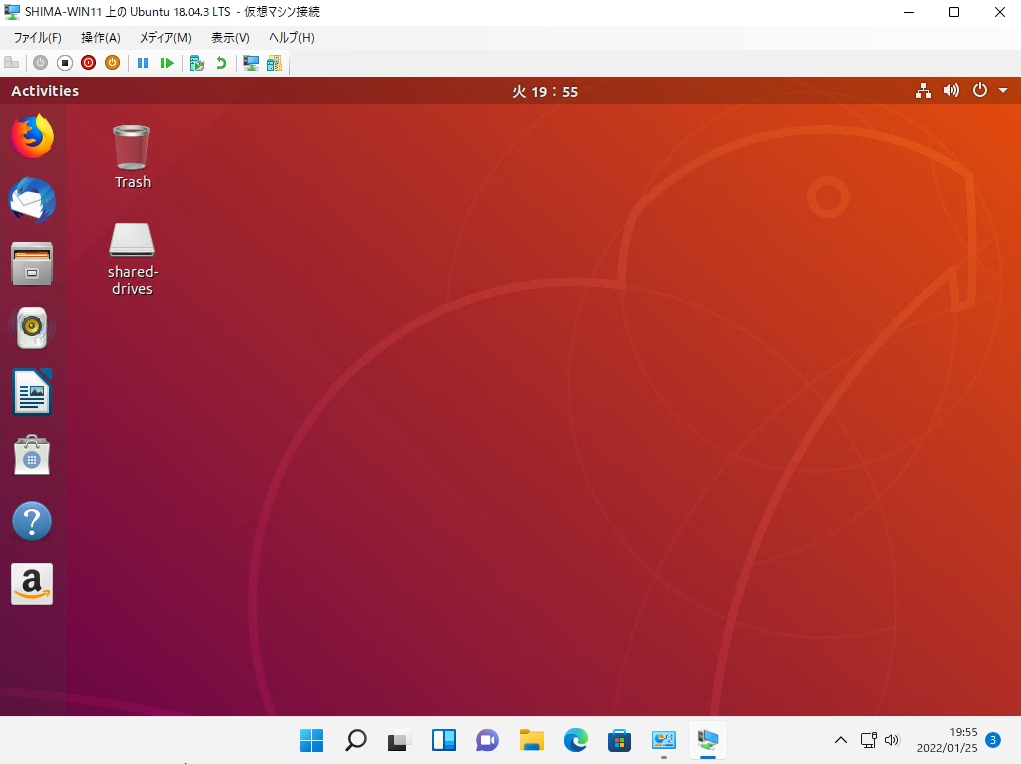
4. Windows 11 Hyper-V:Ubuntu 18.04.3 LTS ログイン
手順 1:
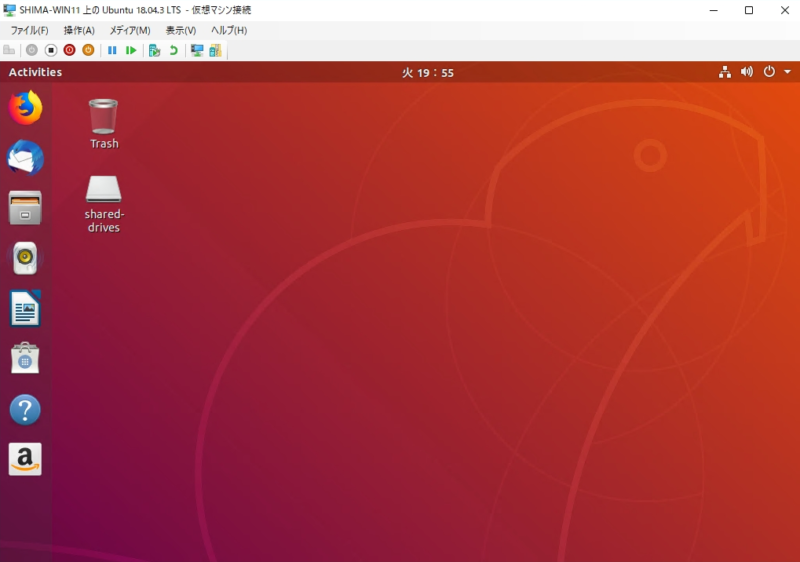
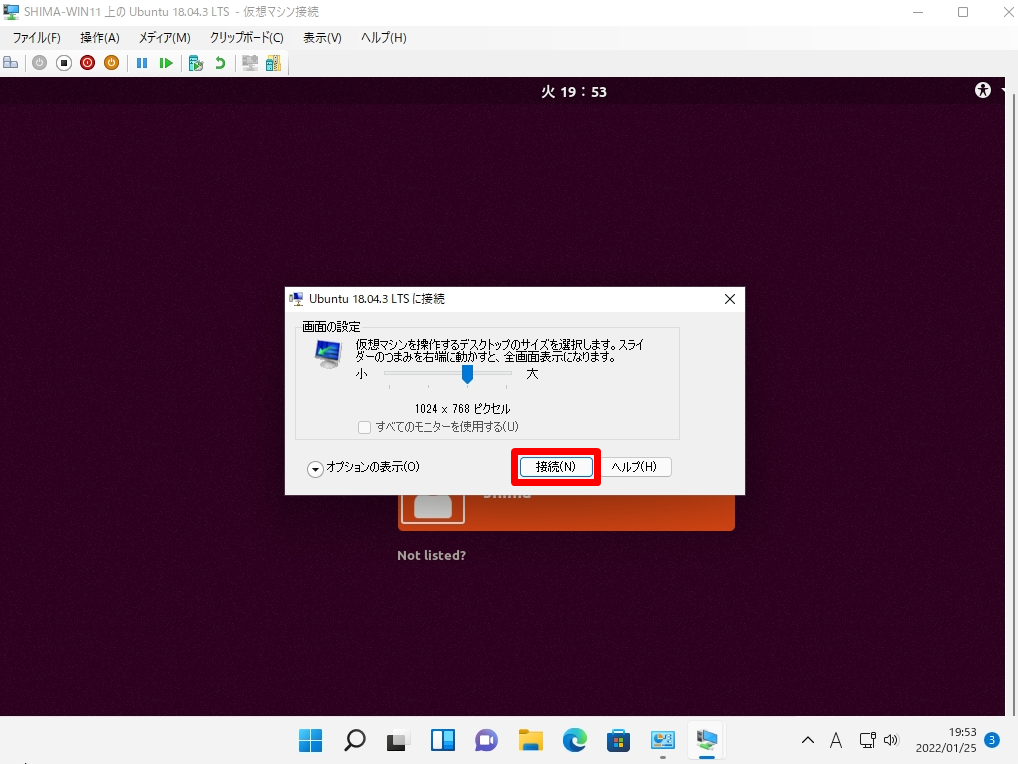
「 接続 」を選択します。※表示する画面の大きさは好みで可変できます。
手順 2:
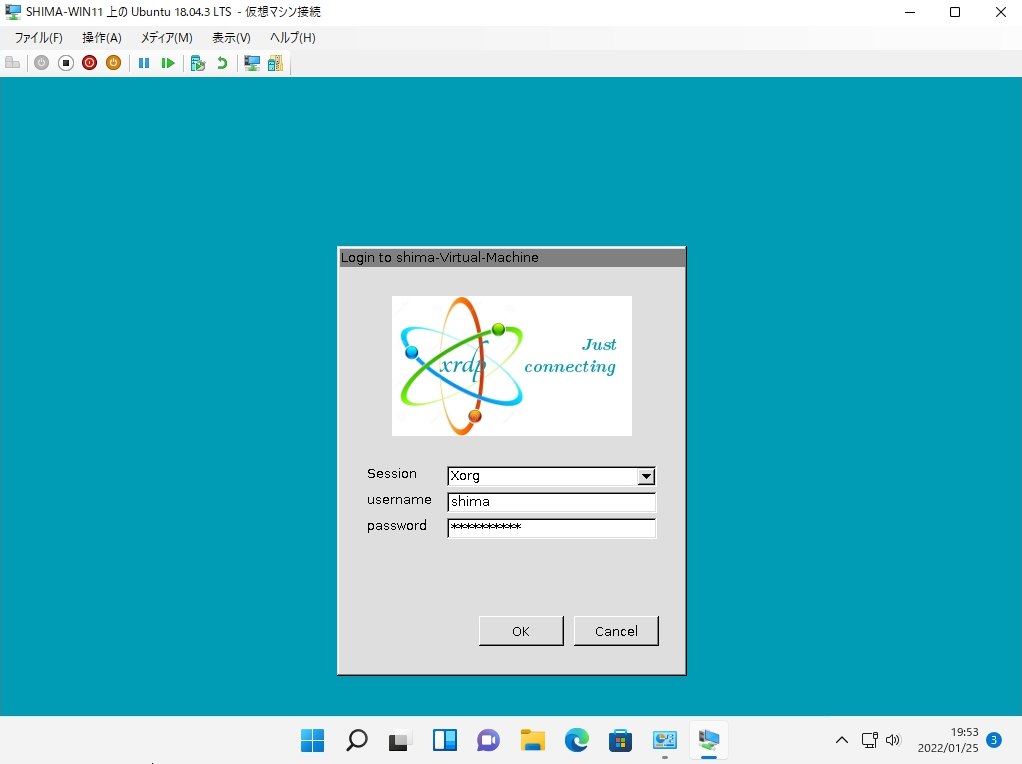
Ubuntu仮想マシンにログインする以下、情報を入力します。
■Session:Xorg (デフォルト)
■ username:前手順で設定した「あなたの名前」を入力
■ password:前手順で設定したパスワードを入力
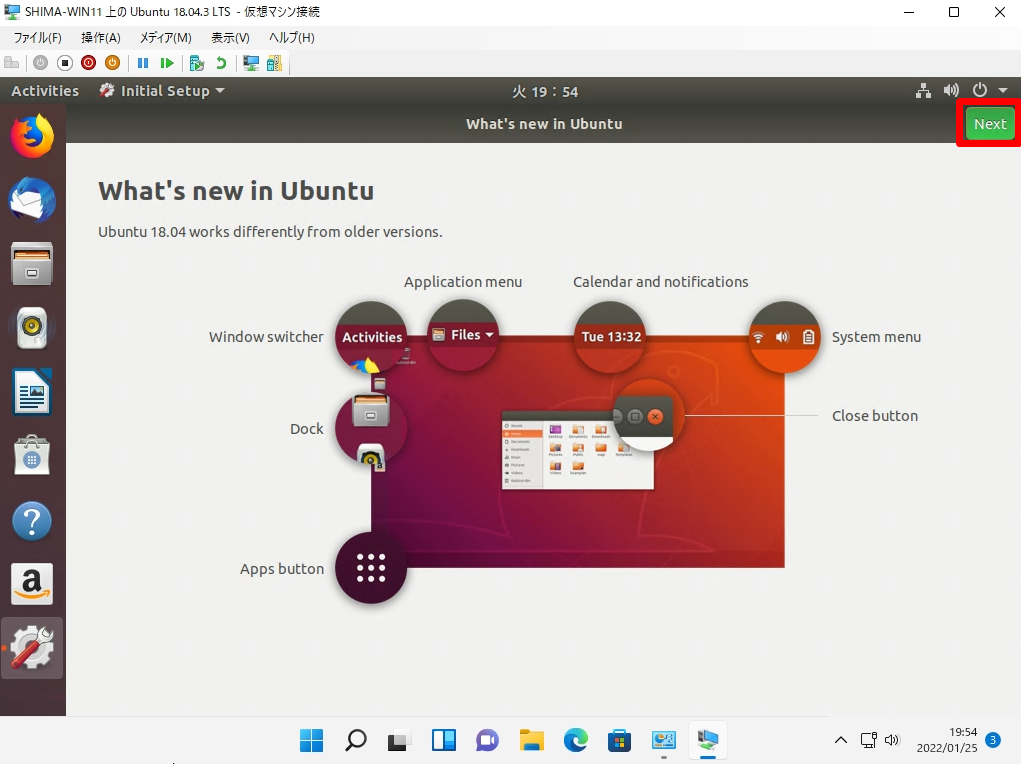
手順 3:
「 Next 」を選択します。
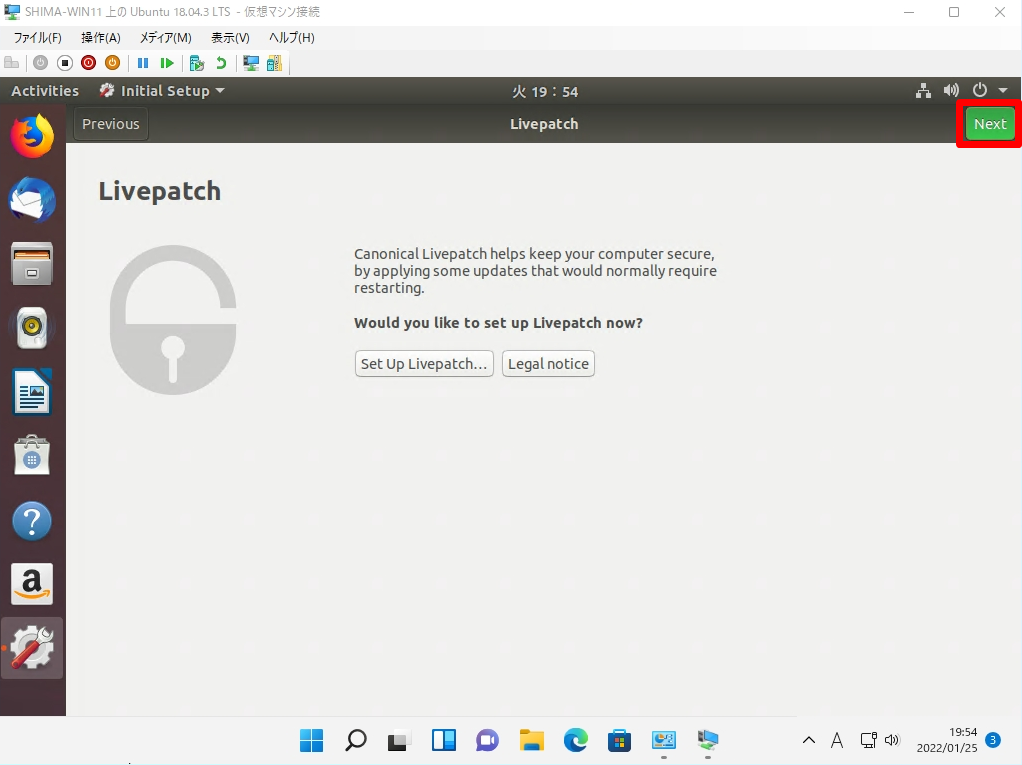
手順 4:
本記事では、OSインストールのみが目的のためLivepatchは適用せず「Next」を選択しました。
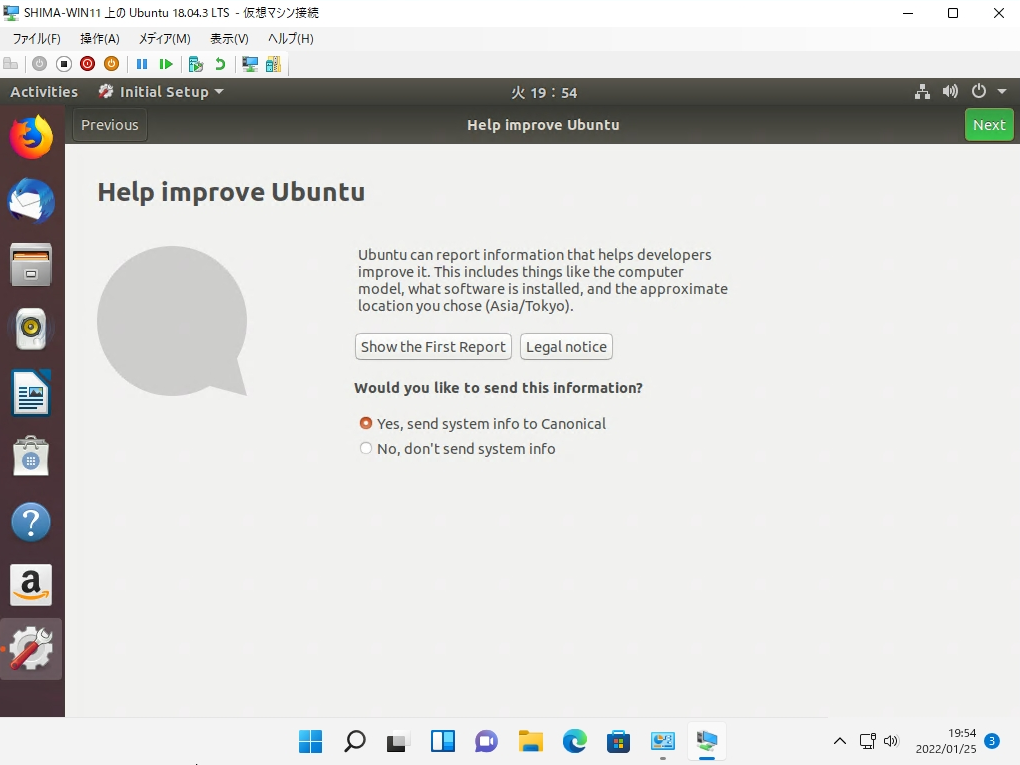
手順 5:
Help improve Ubuntu画面(Ubuntuの改善にご協力ください):Yes or Noを選択 –>「 Next 」を選択します。
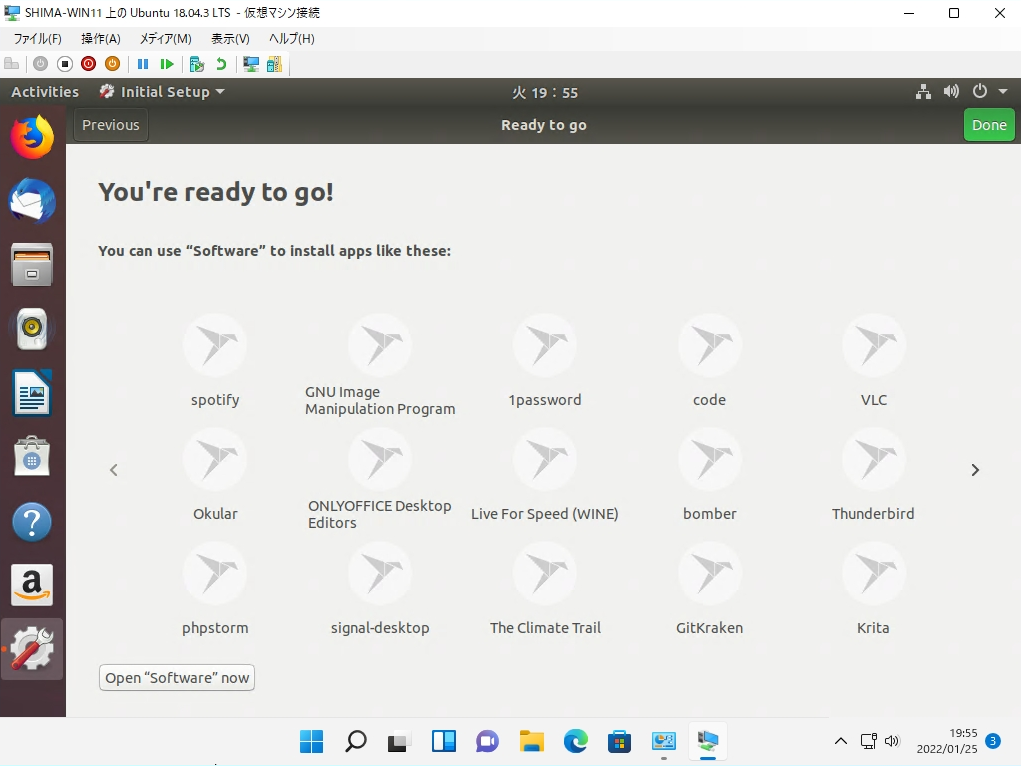
手順 6:
本記事では、OSインストールが目的のため、表示されたアプリをインストールしないで「 Done 」を選択しました。※「You’re ready to go」画面は表示されたアプリをインストールできます。
手順 7:
Windows11 Hyper-Vに Ubuntu 18.04.3 LTS インストール完了です。