PostgreSQL(ポストグレスキューエル)はオープンソースのリレーショナルデータベース管理システムです。Windows・Linux、macOSなどのOSに対応しています。オープンソースのため、ソースが公開しており無料で利用できます。本記事では、Linux ディストリビューション CentOS 8 にGUI(グラフィカルな操作)・CUI(コマンド操作)を利用し、PostgreSQL をダウンロード、インストールする手順を解説します。
PostgreSQL ダウンロード・インストール
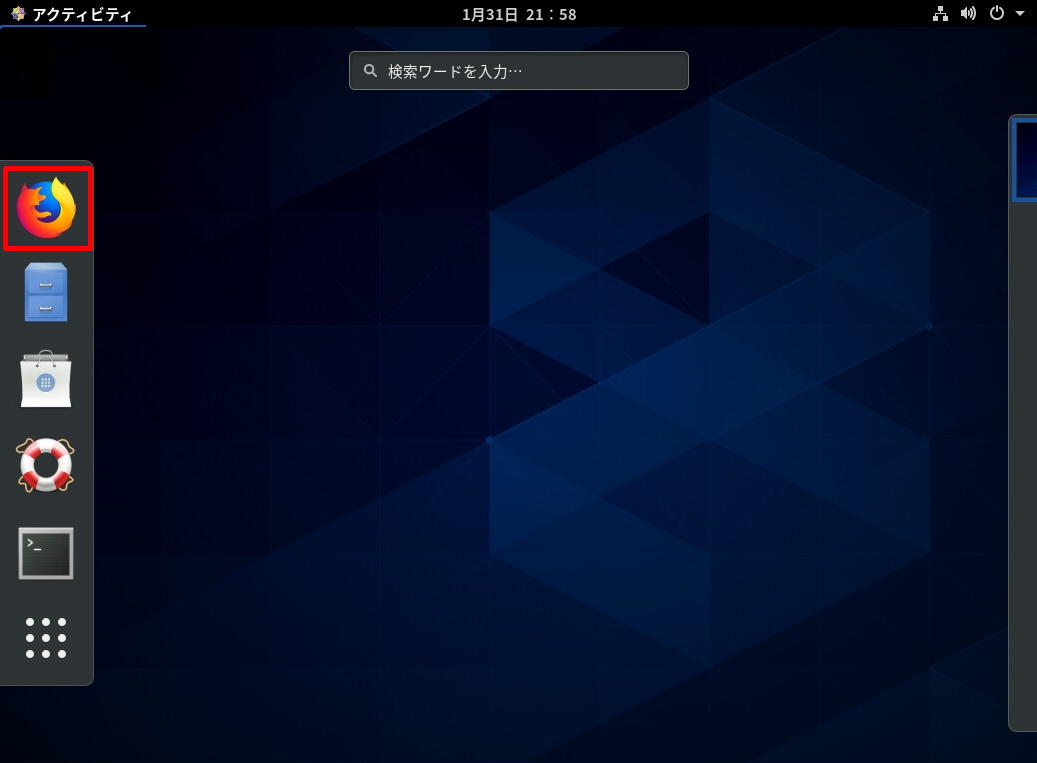
手順 1 :
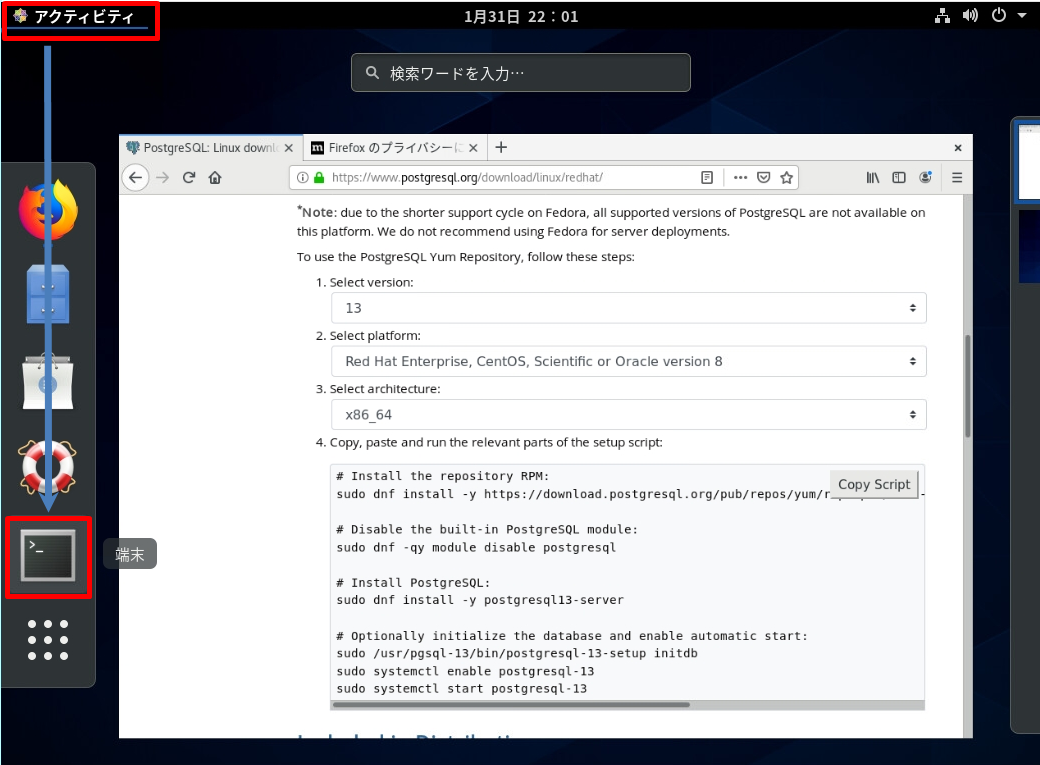
「アクティビティ」->「Firefox」ブラウザを使用し以下URLに接続します。
PostgreSQLダウンロード公式サイト:https://www.postgresql.org/download/linux/redhat/
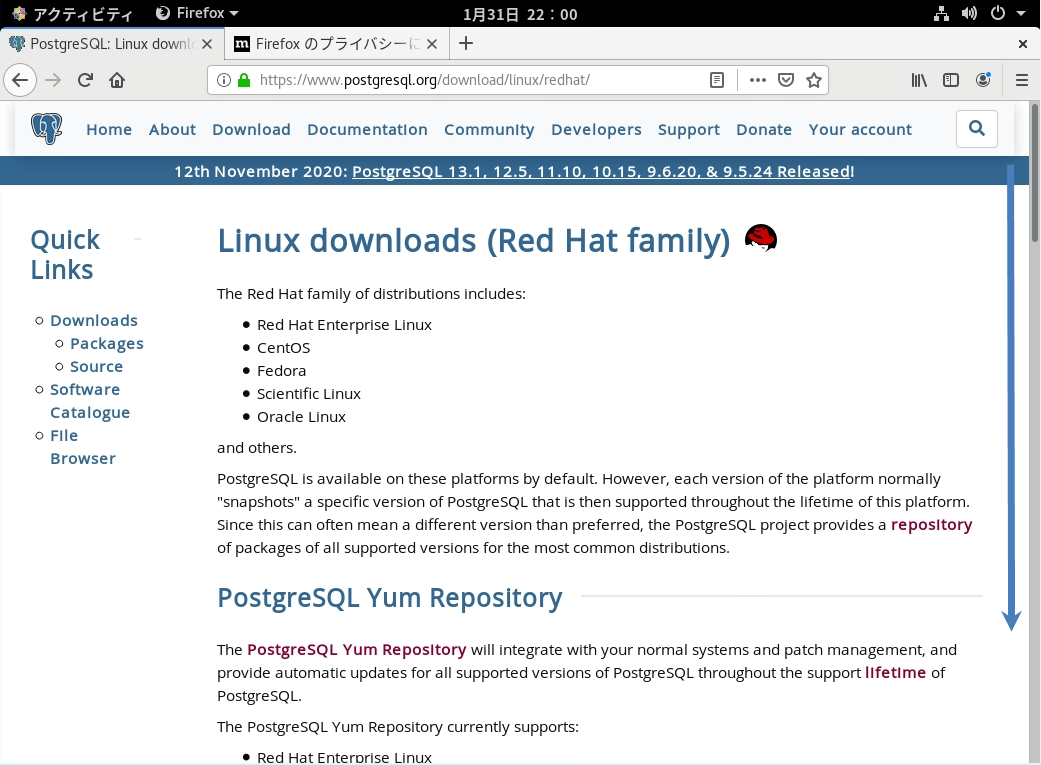
手順 2:
画面を下にスクロールし、以下の項目が表示されている画面にスクロールします。
1.Select version:
2.Select platform:
3.Select architecture:
4.Copy paste and run the relevant parts of the setup script
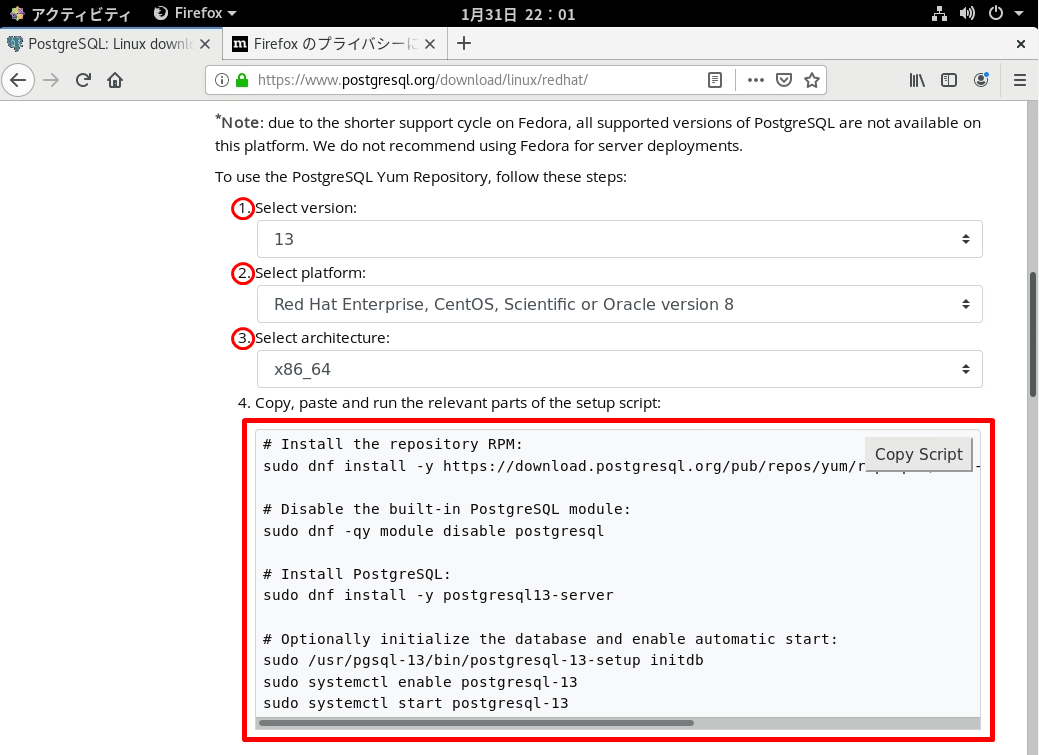
手順 3:
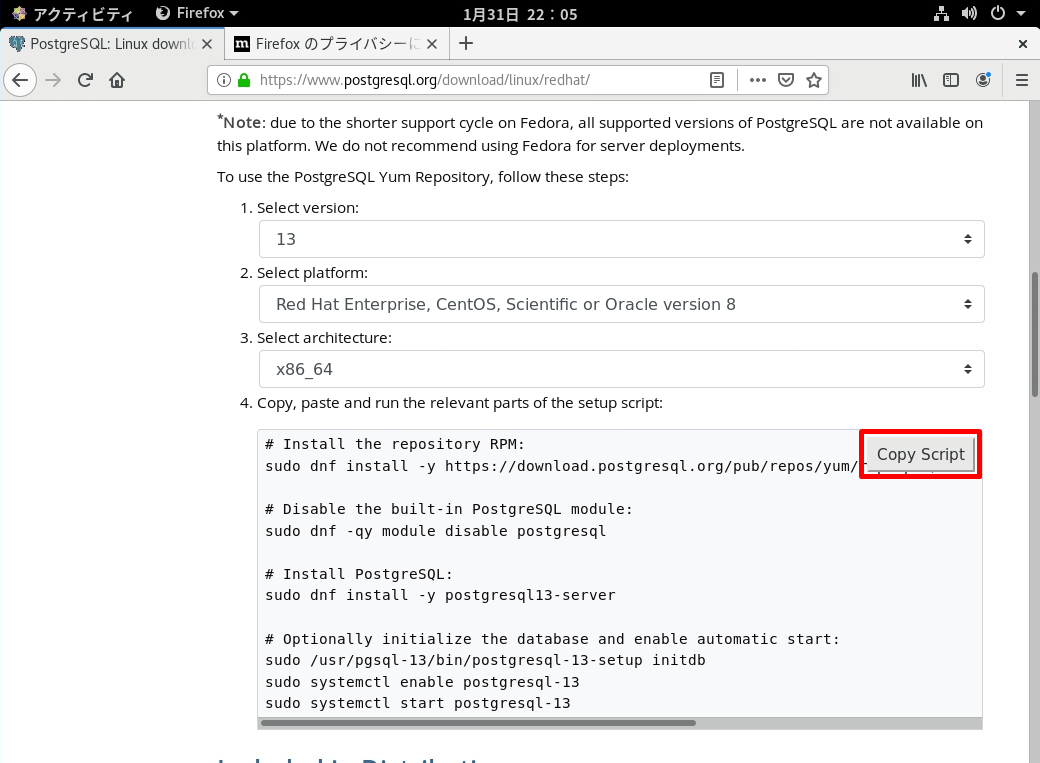
①~③の項目を選択後、スクリプトが表示されることを確認します。
1.Select version:PostgreSQLのバージョンを指定します。
2.Select platform:Red Hat Enterprise, CentOS, Scientific or Oracle version 8 を選択します。
3.Select architecture:「x86_64」・「ppc64le」・「aarch64」から選択します。
4.Copy, paste and run the relevant parts of the setup script:上記項目選択後、自動でスクリプトが生成されます。
手順 4 :
表示されたスクリプトを「端末」から実行します。
「アクティビティ」->「端末」を起動します。
手順 5 :
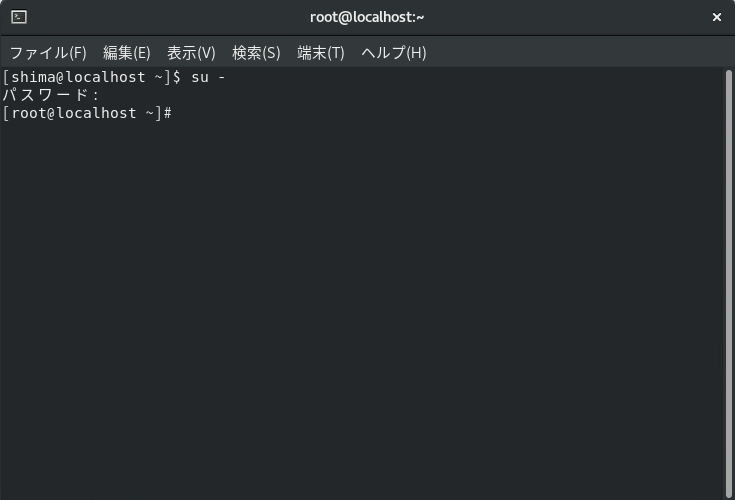
パッケージのインストールにはroot権限が必要のため、権限があるユーザーにスイッチします。
手順 6:
スクリプトの表示画面で「Copy Script」を選択します。
手順 7:
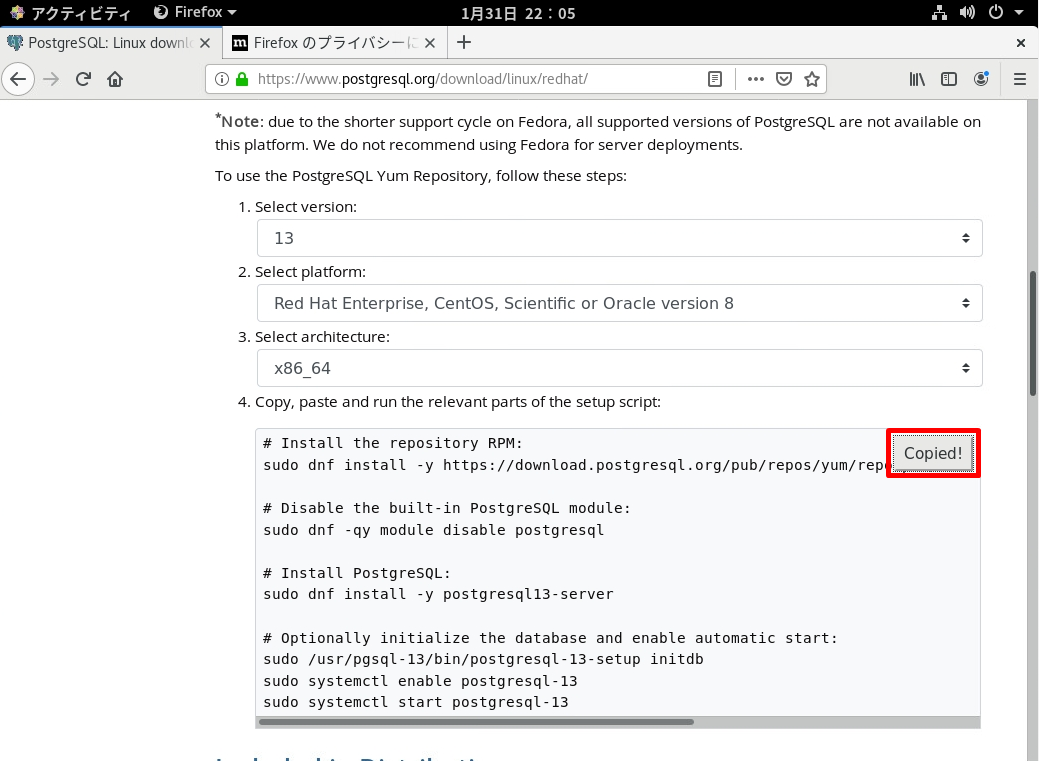
スクリプトがコピーされ「Copied!」になったことを確認します。
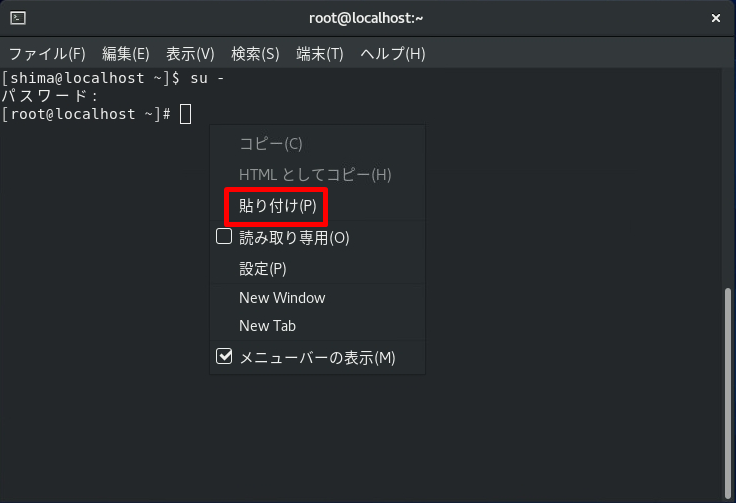
手順 8:
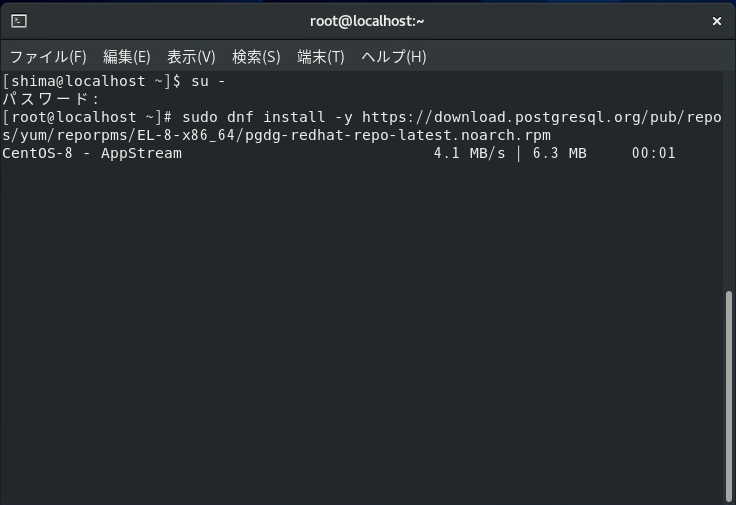
「端末」でコピーしたスクリプトを貼り付けインストールを開始します。
自動でインストール処理が開始され、プロンプトが返ってくるまで待ちます。
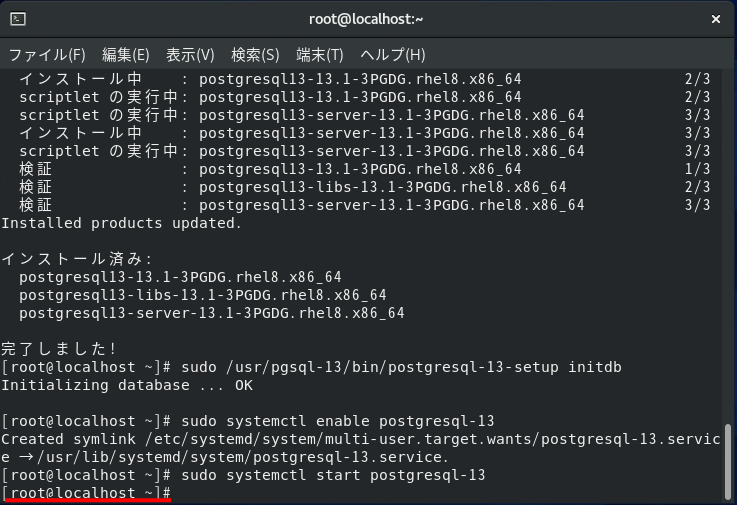
手順 9:
実行コマンド終了後、プロンプトが返ってくることを確認します。
手順 10:
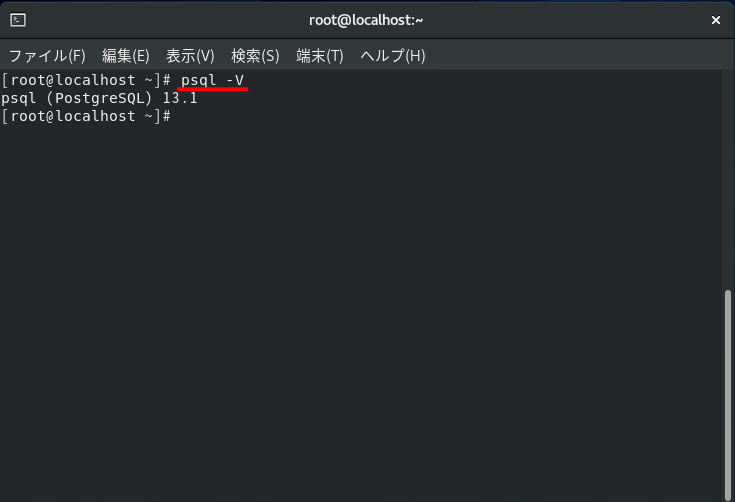
PostgreSQL(ポストグレスキューエル)がインストールされたかバージョン情報を確認します。
実行コマンド
psql -V