Ubuntu Serverはサーバー用途として利用されることが多いLinuxディストリビューションです。無償でISOイメージファイルがダウンロード・インストールすることができます。今回は、VMware Workstation PlayerにUbuntu Serverを構築できるように画像を交え解説します。
目次
1.Ubuntu-Server-20.04 LTS ISOファイルダウンロード
手順 1:
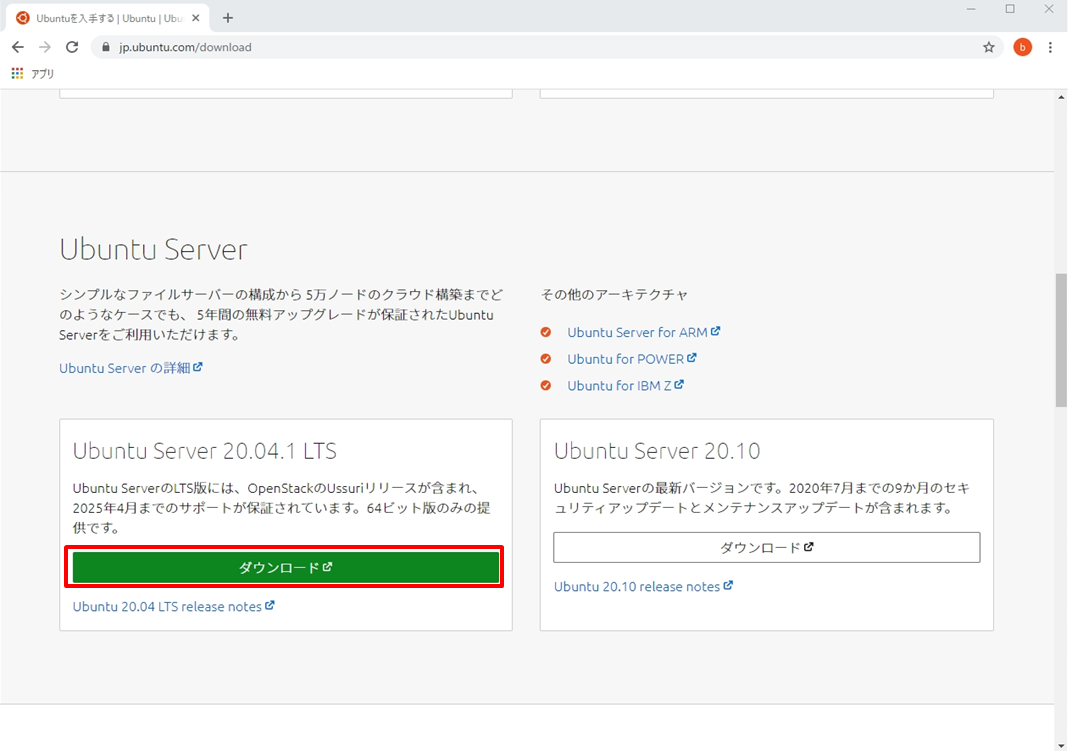
ブラウザでUbuntu公式サイトに接続 –> Ubuntu Server 20.04 LTSのISOイメージファイルをダウンロードします。
Ubuntu公式ダウンロードサイト:https://jp.ubuntu.com/download
手順 2:
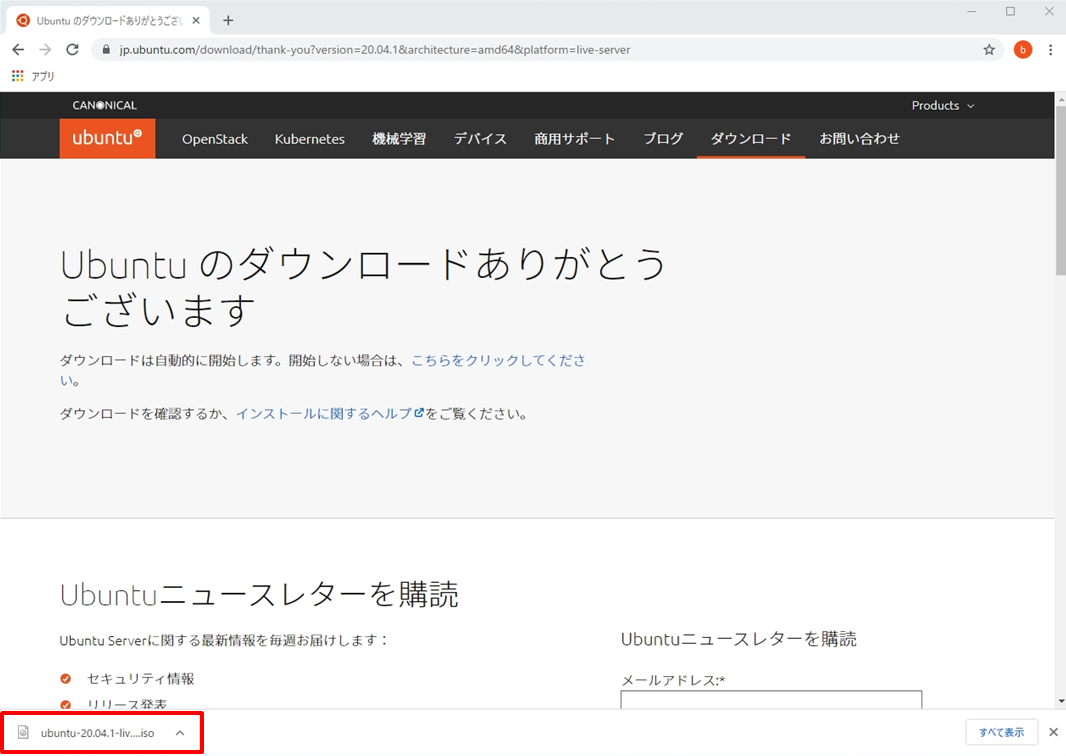
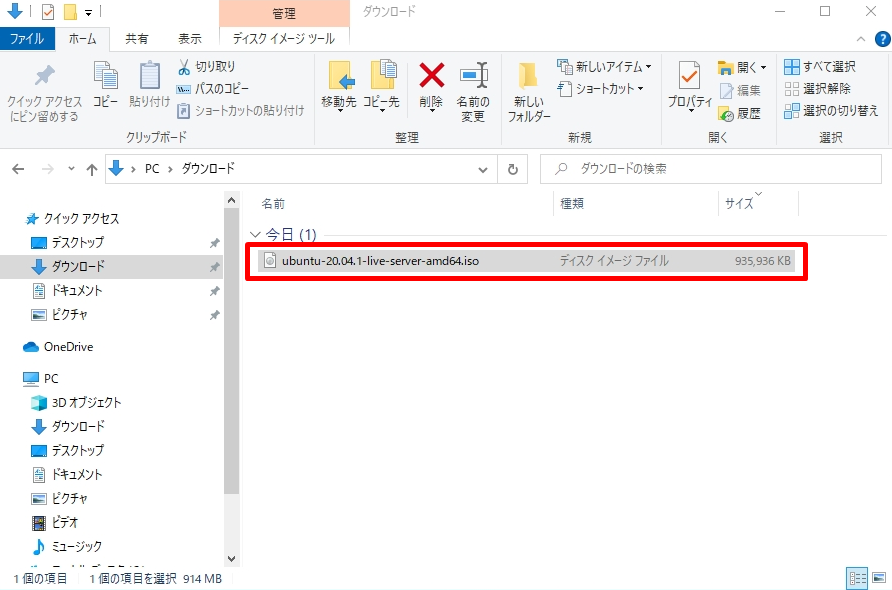
Ubuntu Server 20.04 LTSのISOイメージファイルがダウンロードされたことを確認します。
※本記事では、「Google Chrome」ブラウザを利用しダウンロードしました。
手順 3:
「ダウンロード」フォルダにISOイメージファイルが格納されたことを確認します。
2.VMware Workstation Player ISOファイルマウント
手順 1:
「 VMware Workstation Player 」を起動します。※VMware Workstation Playerは、VMware公式サイトからダウンロードできます。VMwareダウンロードサイト:https://www.vmware.com/jp/products/workstation-player/workstation-player-evaluation.html
手順 2:
「 新規仮想マシンの作成」を選択します。

手順 3:
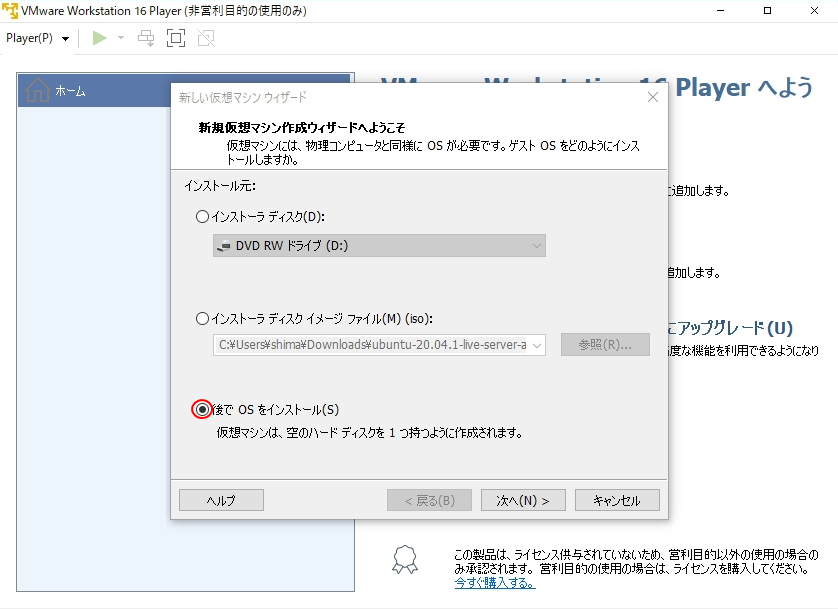
「後でOSをインストール」選択 –>「次へ」を選択する。
手順 3:
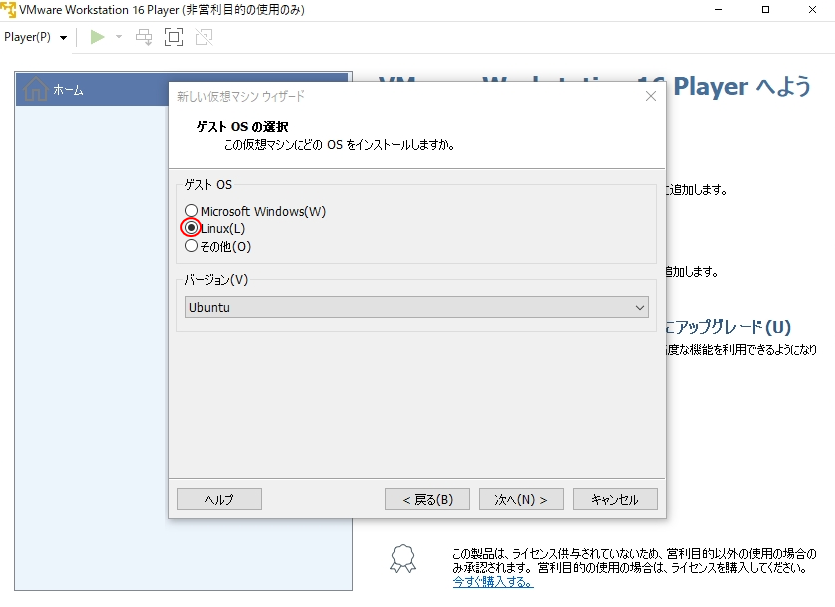
ゲストOS:Linux、バージョン:Ubuntu -> 「次へ」を選択します。
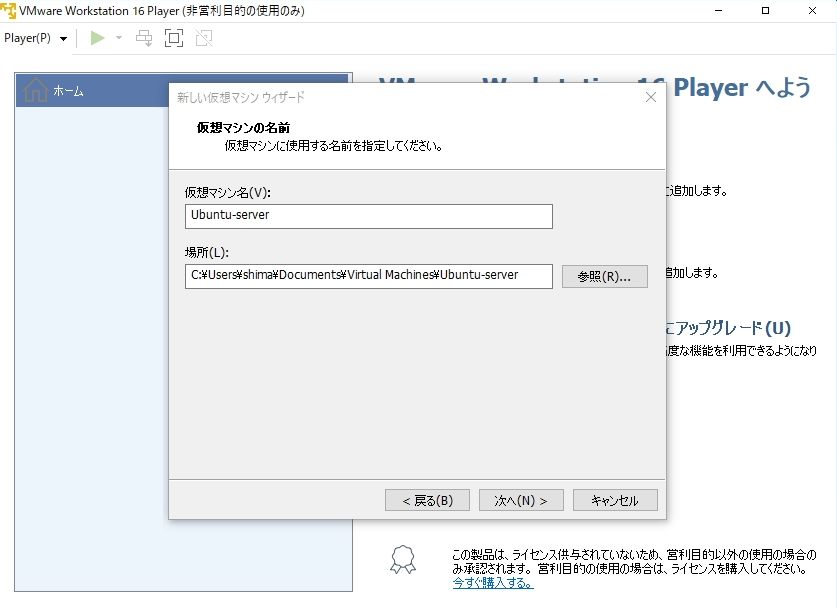
手順 4:
仮想マシン名に「任意の名前を入力」–>「次へ」を選択します。
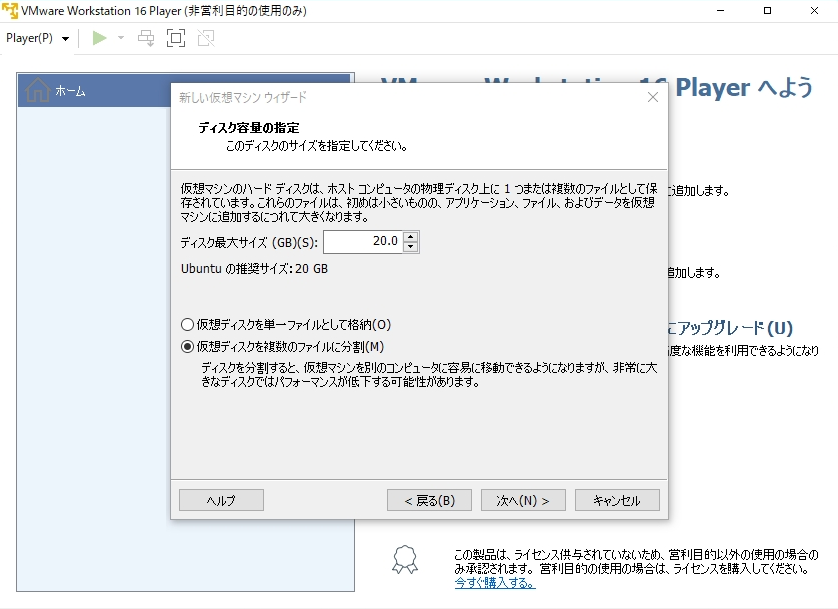
手順 5:
ディスク容量の指定画面で、任意のディスクサイズを入力し「次へ」を選択します。
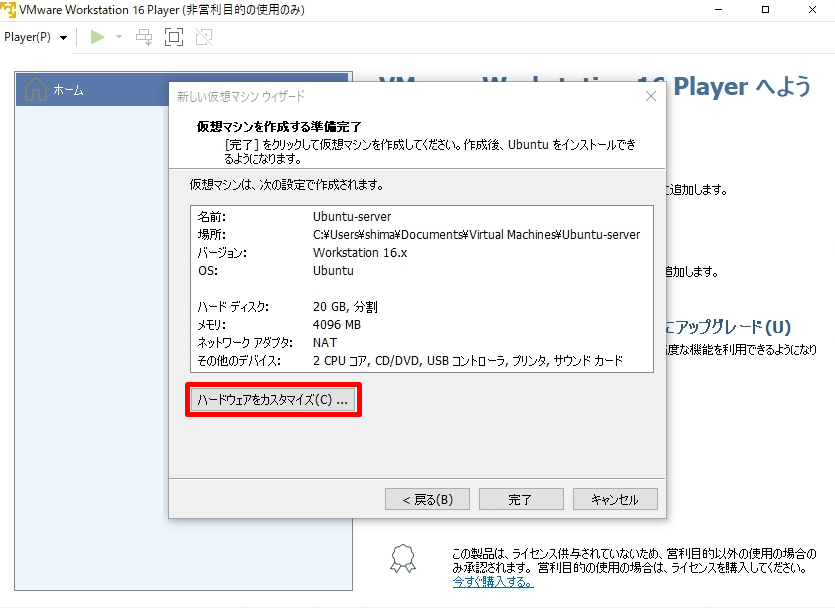
手順 6:
ダウンロードしたUbuntu Server のISOイメージファイルを読み込ませるため「ハードウェアをカスタマイズ」を選択します。
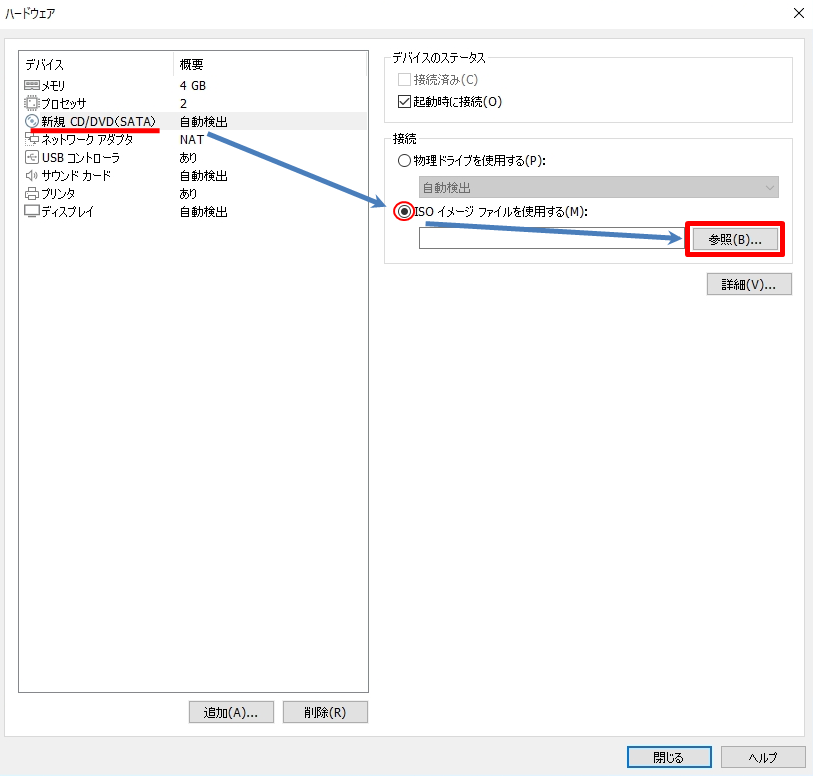
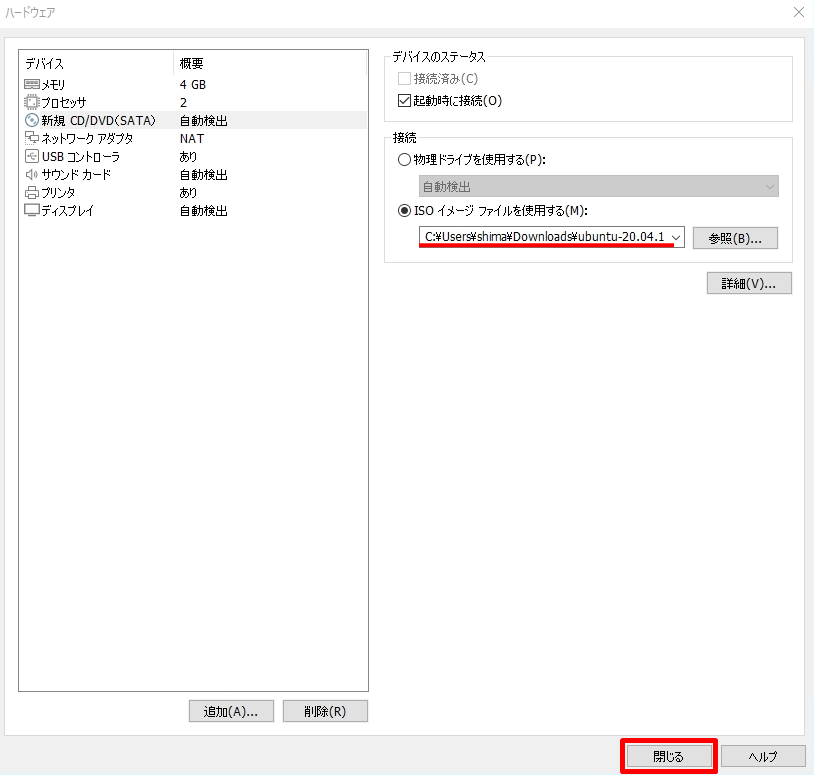
手順 7:
「新規CD/DVD」 –> 「ISOイメージファイルを使用する」 –> 「参照」を選択します。
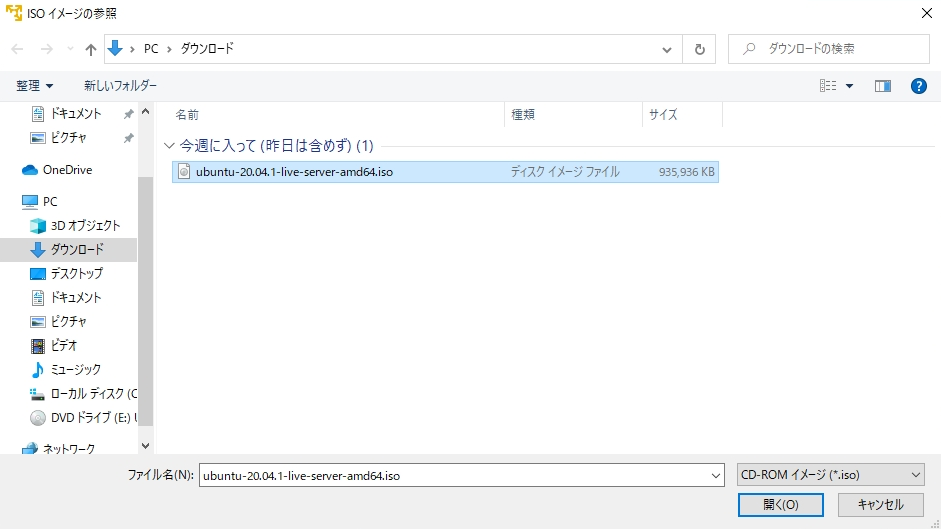
手順 8:
ダウンロードしたUbuntu Server ISOファイルを指定します。
手順 9:
ISOイメージファイルが指定されたことを確認し「閉じる」を選択します。
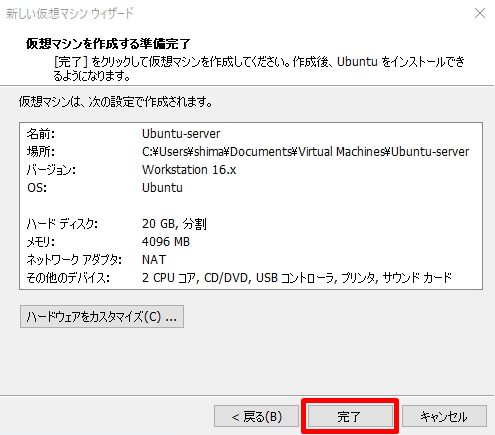
手順 10:
「完了」を選択します。
3.Ubuntu Server インストール
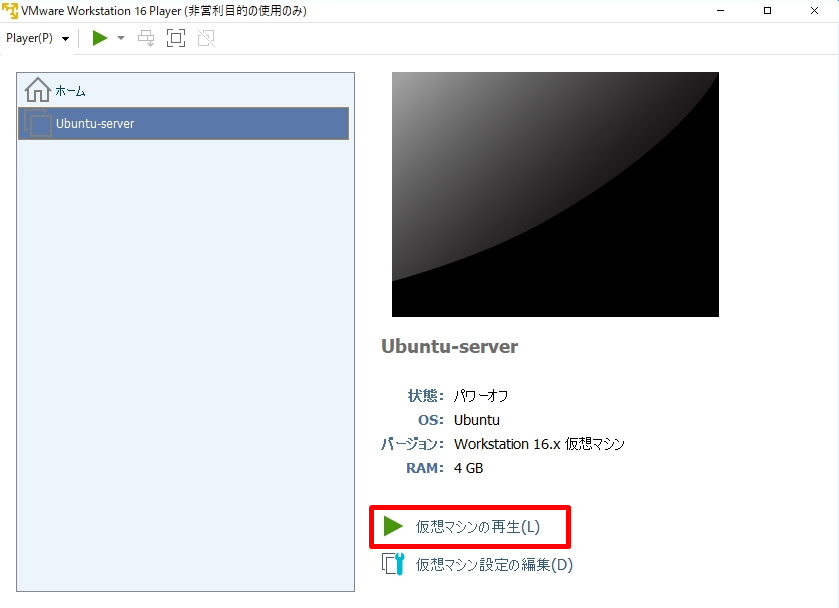
手順 1:
新規作成された仮想マシン –> 「仮想マシンの再生」を選択します。
手順 2:
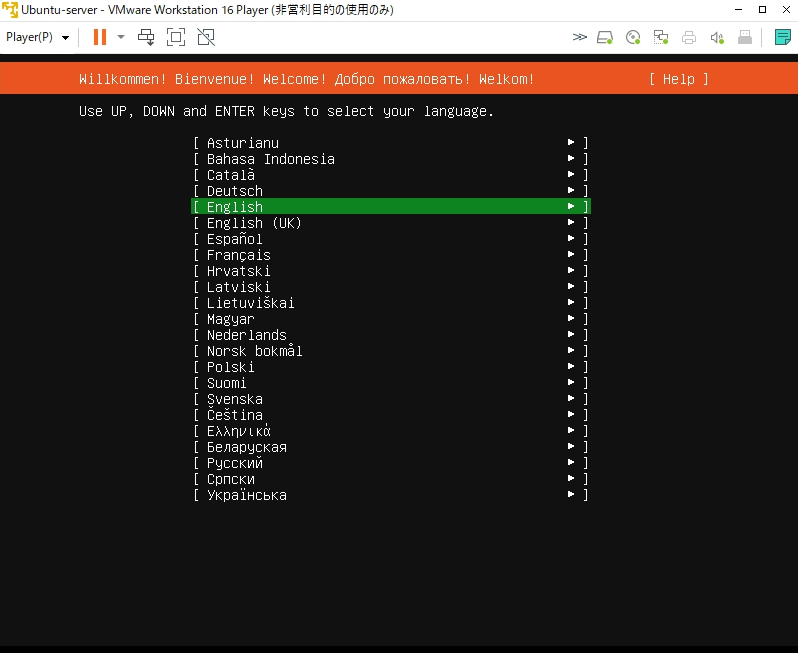
言語選択画面です。Languageの選択項目に「Jananese(日本語)」がないためEnglishを選択しています。
手順 3:
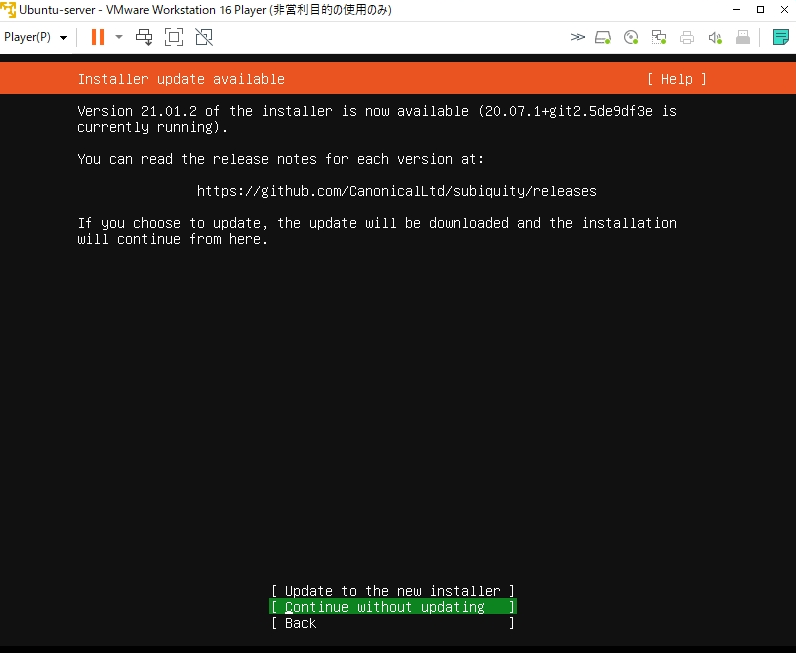
最新版にするかどうかの選択画面です。「Continue without updating」を選択します。
手順 4:
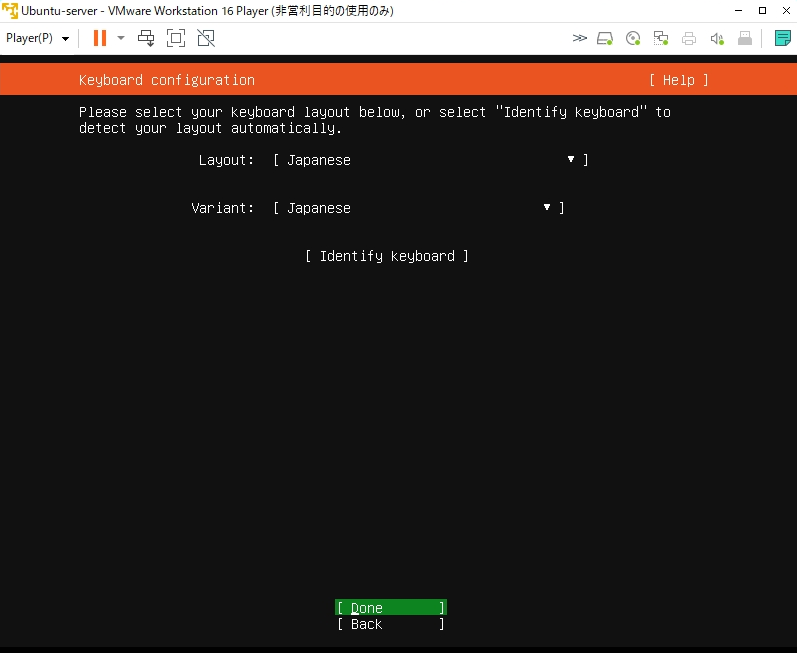
キーボードレイアウト選択画面です。タブキー、もしくは矢印キーで移動 ->Enter キーでLayoutを変更します。
手順 5:
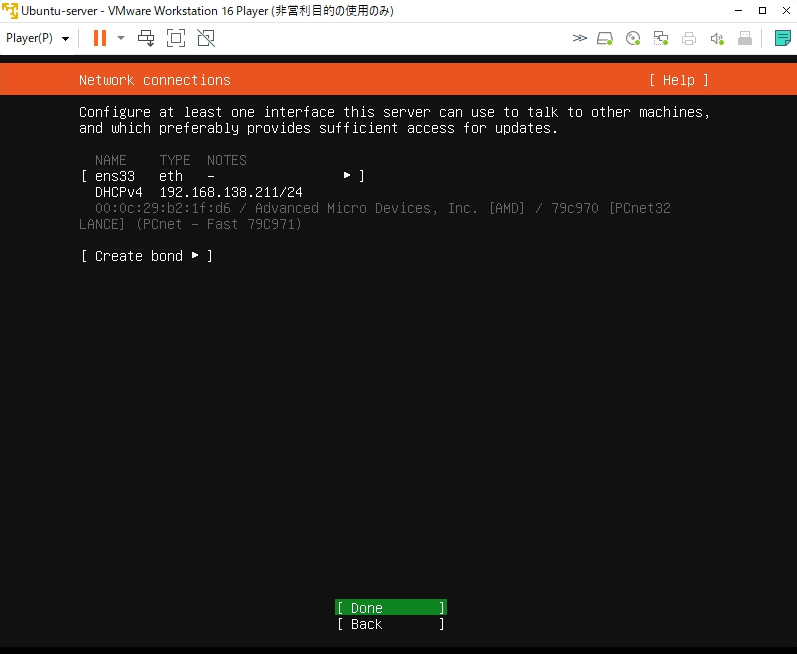
ネットワーク接続設定画面です。ローカルに DHCP サーバーが稼働していればIPアドレスが自動で取得されます。手動でIPアドレスを指定することもできます。
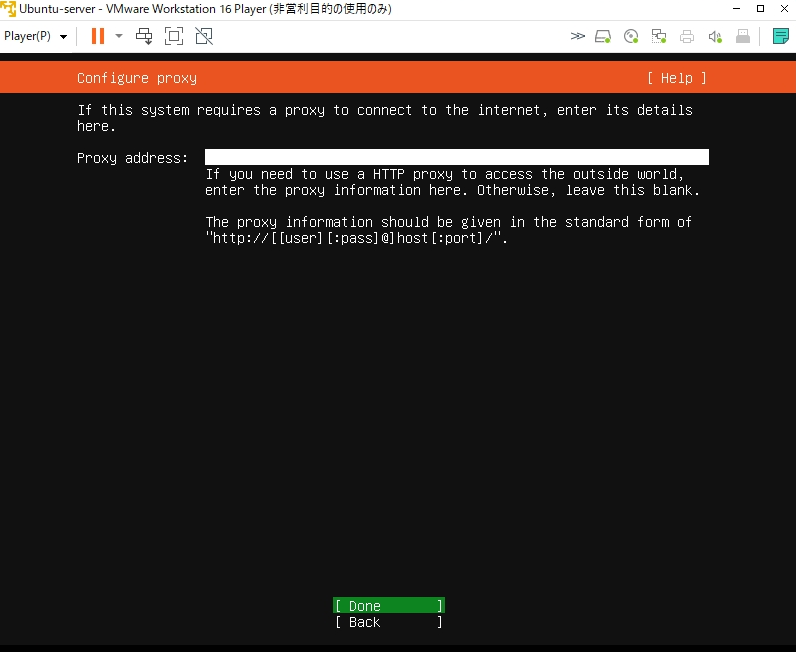
手順 6:
Proxy設定画面です。必要がなければ設定しないで良いです。
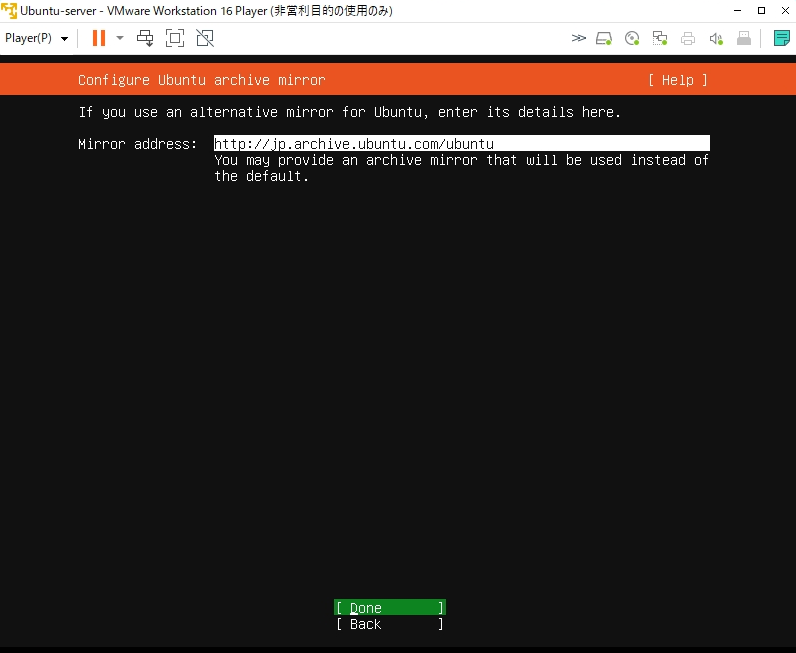
手順 7:
Ubuntu Server のアップデート・新しいパッケージをインストールする場合に参照するミラーサーバー設定画面です。 通常、接続元ロケーションから近くのミラーサーバーが自動的に選択されます。
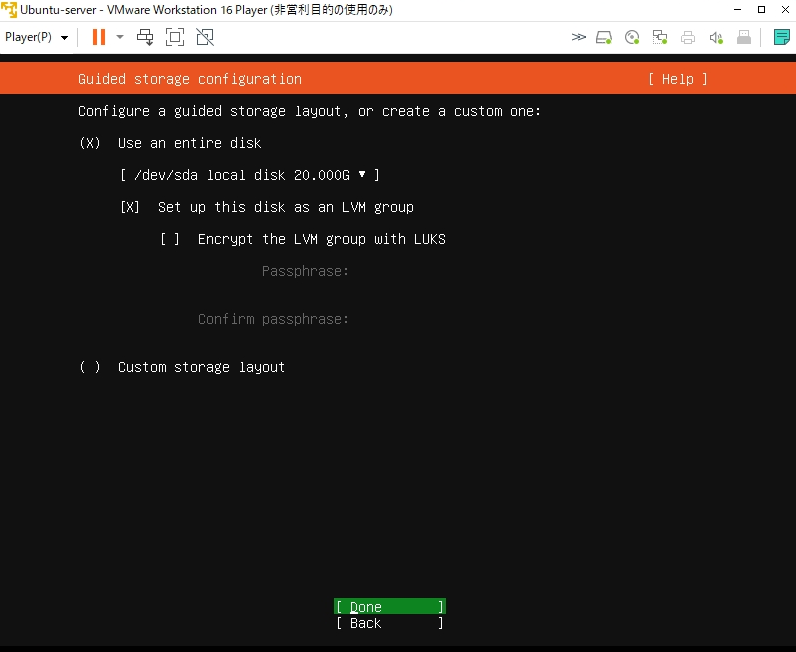
手順 8:
ストレージの設定画面です。ディスクのパーティションレイアウトが設定できますが、要件がない場合はそのまま進めて良いです。
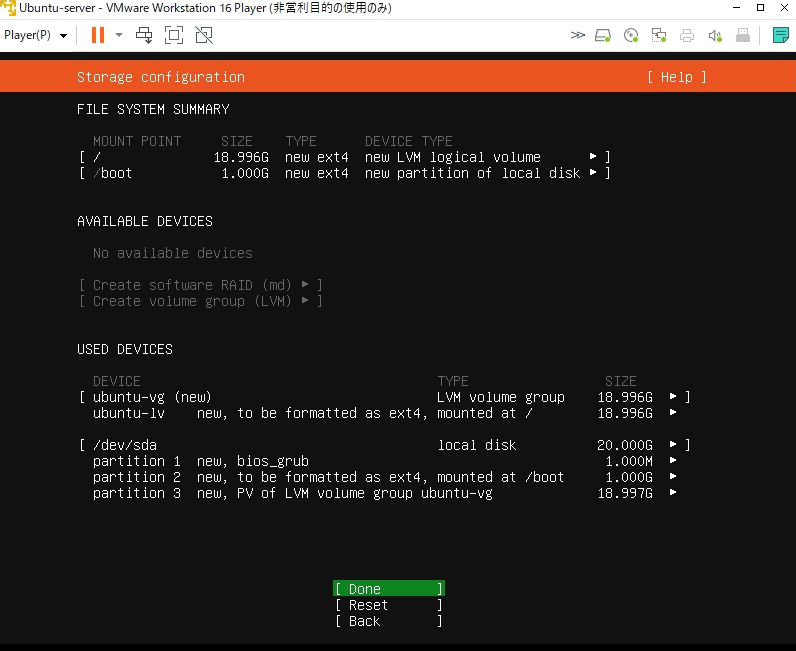
手順 9:
ストレージの設定の確認画面です。内容を一読し 次へ進みます。
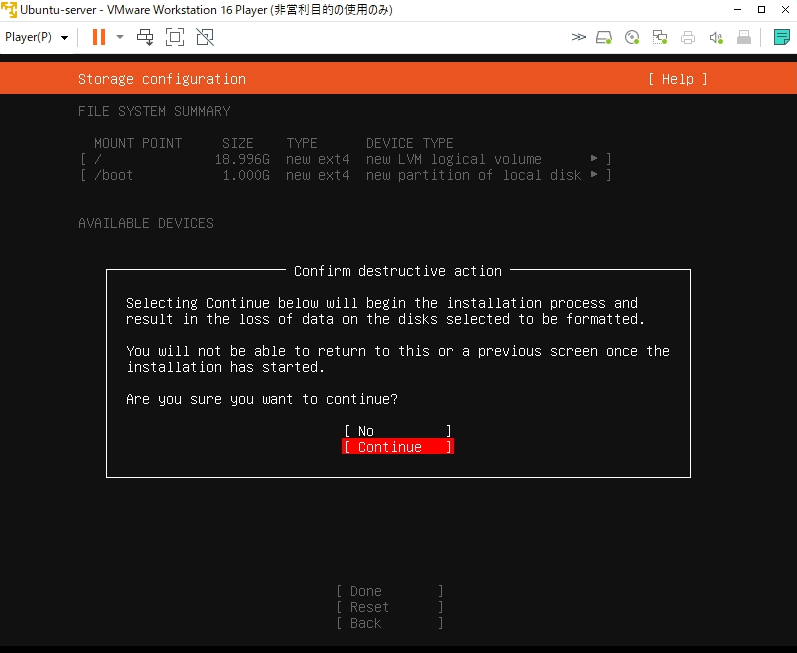
手順 10:
インストールを進めるかの確認画面です。「 VMware Workstation Player 」に新規でUbuntuサーバーを構築するため [Continue] を選択します。
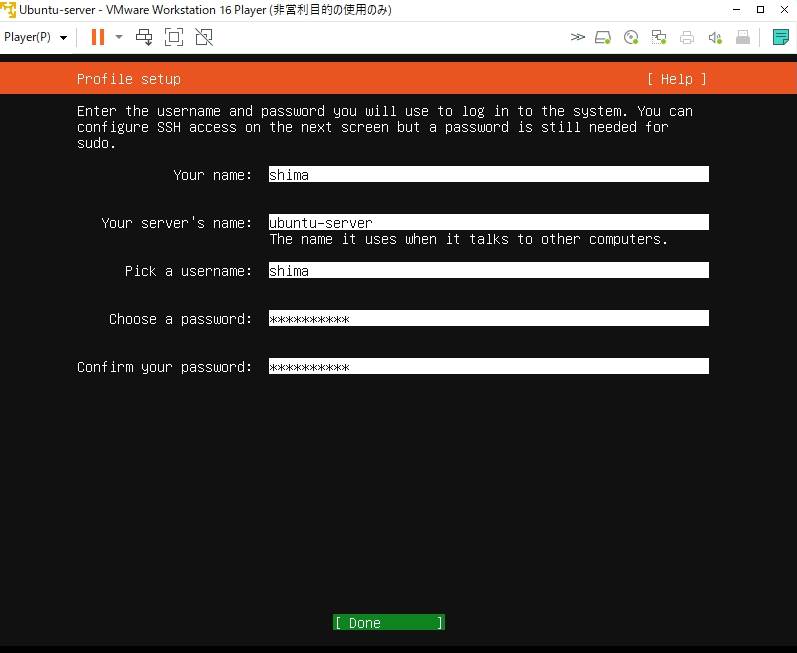
手順 11:
管理者ユーザーアカウントの設定画面です。任意の名前・パスワードを入力します。
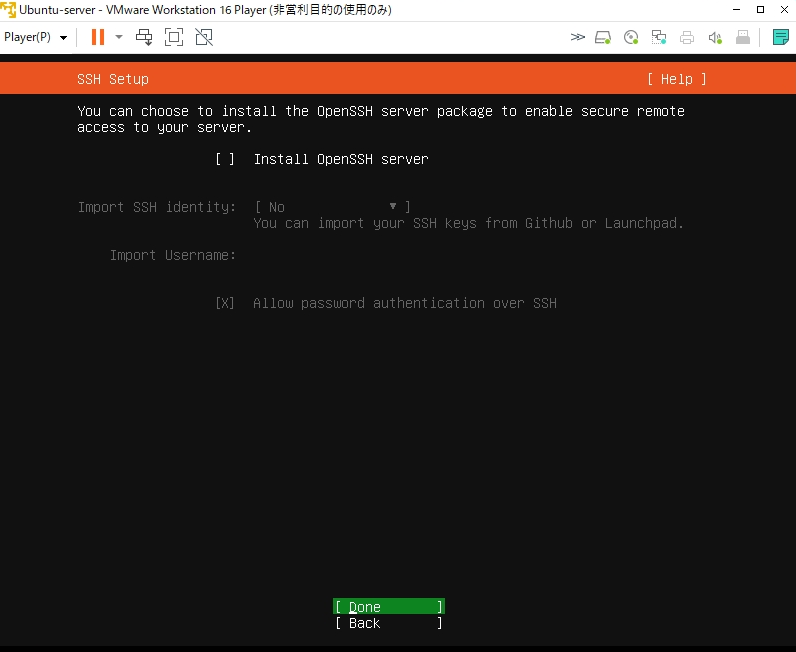
手順 12:
OpenSSH serverのインストール画面です。必要に応じて選択ください。※構築後、OpenSSH serverをインストールすることができるためインストールしないで進めています。
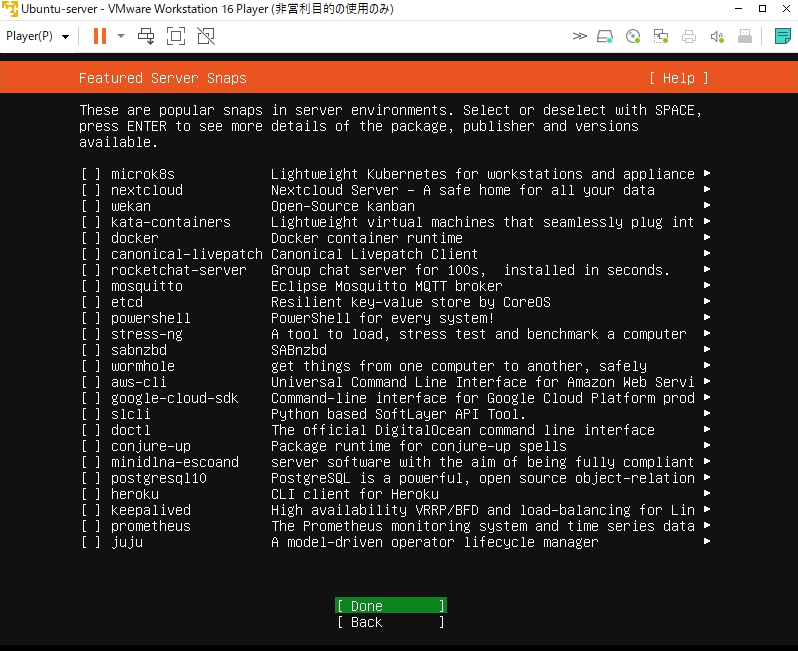
手順 13:
サーバー用途でよく使用される機能をインストールする画面です。必要に応じて選択ください。
手順 14:
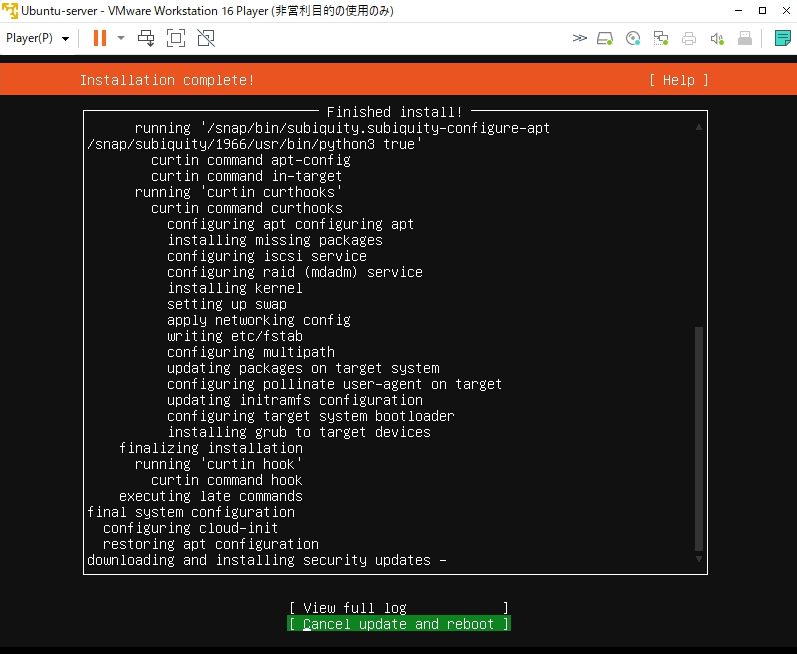
Ubuntu-Serverのインストールは完了しました。「Cancel update and reboot」を選択します。
※バージョンによって「Reboot Now」と表示される場合もあります。
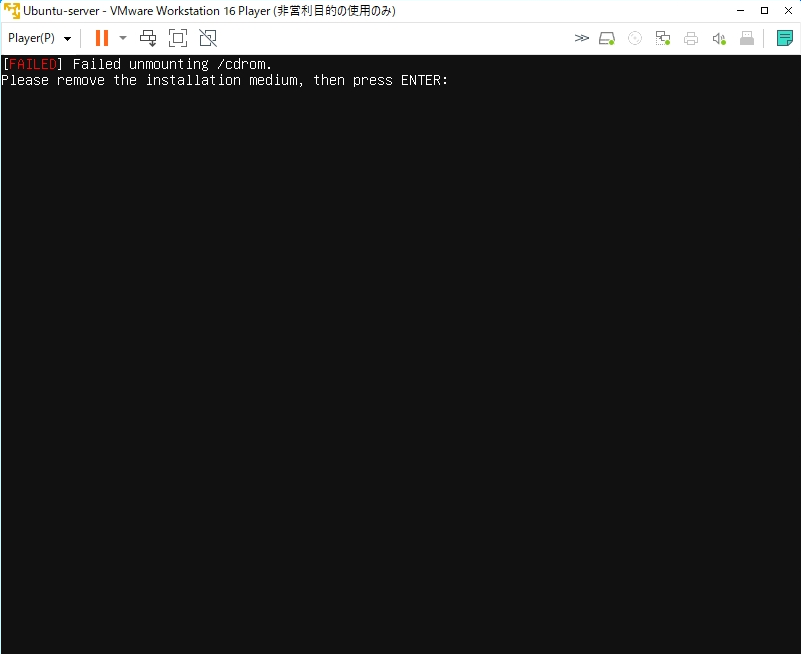
手順 15:
「Please remove the installation medium, then press Enter:」が表示されたら、キーボードのEnterキーを押します。
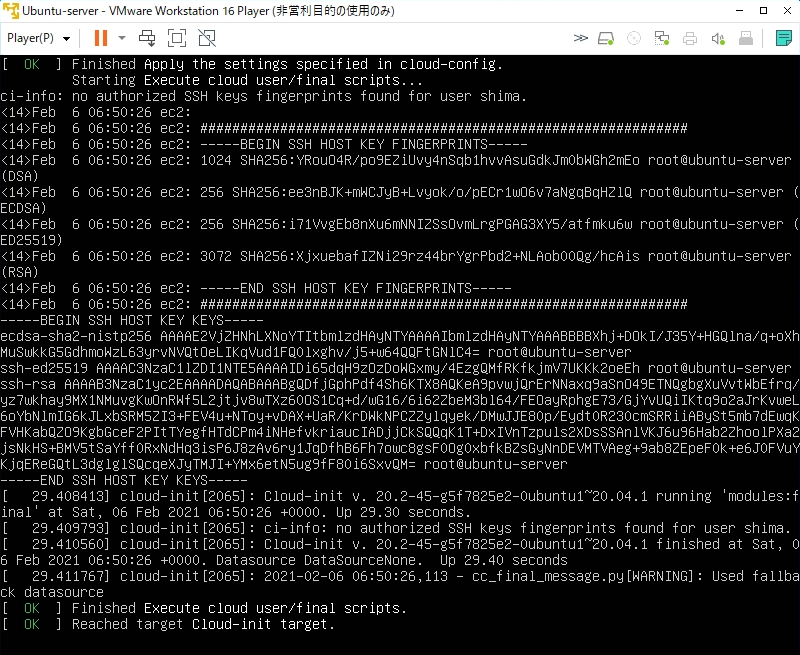
手順 16:
再起動後、以下のような画面になります。Enterキーを押します。
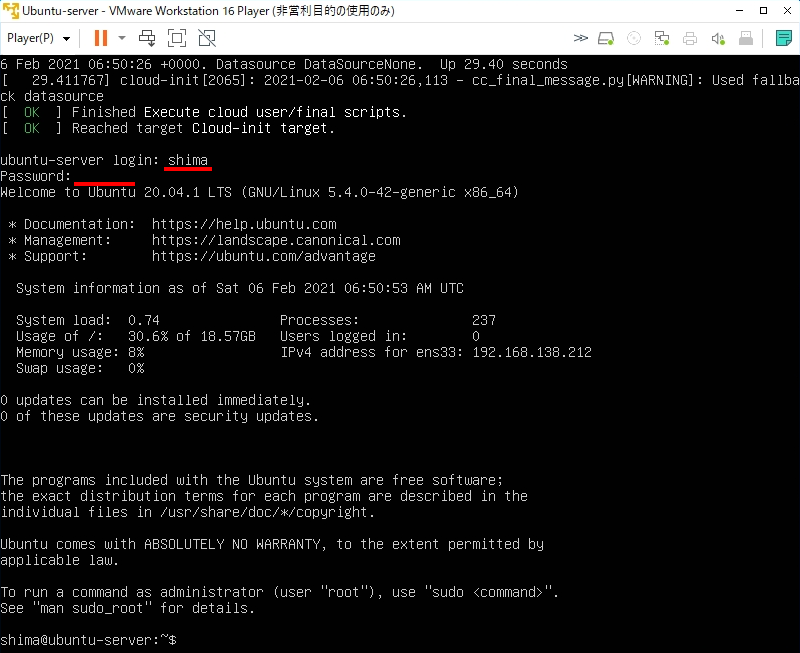
手順 17:
インストール時に設定したユーザ名とパスワードを入力しログインします。