VMware Workstation Player は、Oracle VM VirtualBox・Hyper-Vと同じような仮想端末作成ソフトです。今回、 VMware Workstation Player上に構築するWindowsサーバー製品のWindows Server 2022は一定の期間、無償バージョンの評価版(evaluation)ISOイメージファイルがフリーでマイクロソフト公式サイトからダウンロードすることができ VMware Workstation Player 上で ISOファイルを読み込ませることでOSを動かすことができます。 利用することができるWindows Server 2022のエディションはStandard、Datacenterです。
Windows Server 2022以外にも以下、対応OSをはじめとするOSの利用が可能です。
- Windows OS:Windows10、Windows Server 2016、Windows Server 2019など
- Linux OS:Red Hat Enterprise Linux、Ubuntu、CentOS、Fedoraなど
- mac OS
- Solaris
本記事では、仮想端末のゲストOSにWindows Server 2022のインストール 手順・操作方法を画像を交え説明します。
目次
1.Windows Server 2022 ISOファイルダウンロード
ブラウザを起動し、 Microsoft公式 ISOファイルダウンロードページに画面遷移しISOファイルをダウンロードします。※ダウンロードサイトのURL・画面は都度変更されます。
マイクロソフト公式ISOダウンロードサイト:https://info.microsoft.com/ww-landing-windows-server-2022.html
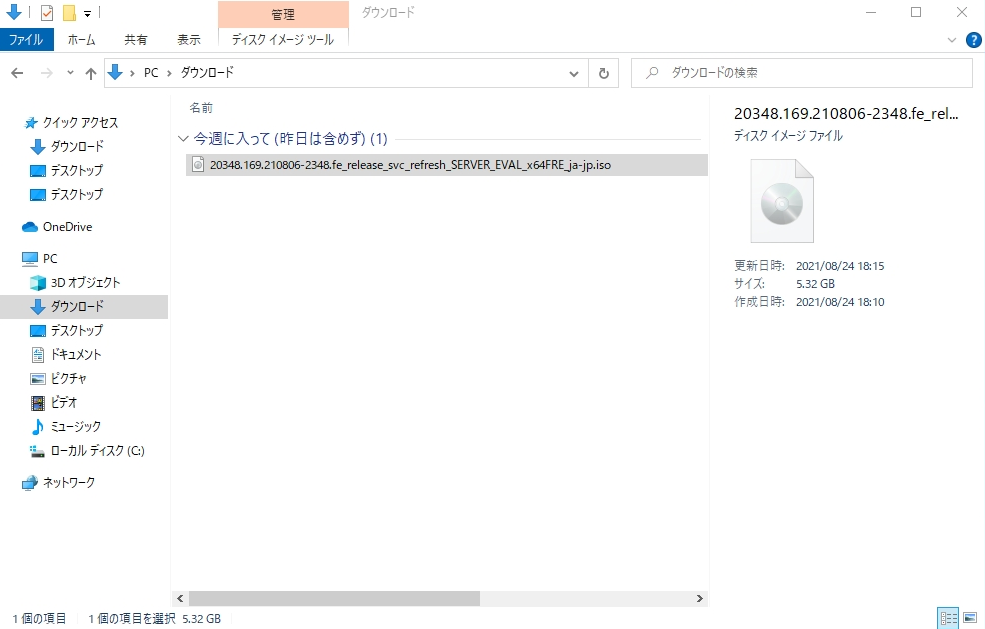
Windows Server 2022 ISOファイルがダウンロードされたことを確認します。
※Windows Server 2022のISOイメージファイルサイズは約5.3GBありました。
2.VMware Workstation Player:ISOファイルマウント
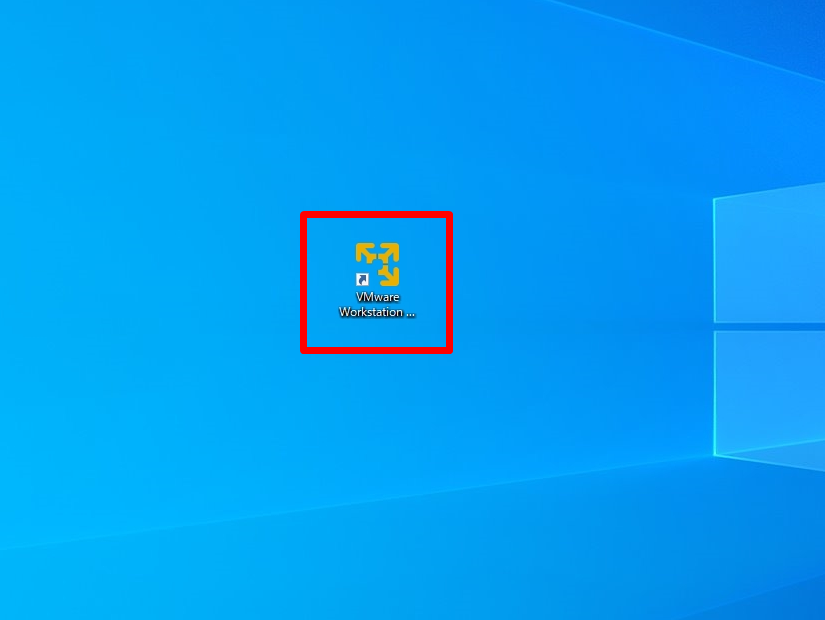
手順 1:
「 VMware Workstation Player 」を起動します。※VMware Workstation Playerは、VMware公式サイトからダウンロードできます。VMwareダウンロードサイト:https://www.vmware.com/jp/products/workstation-player/workstation-player-evaluation.html
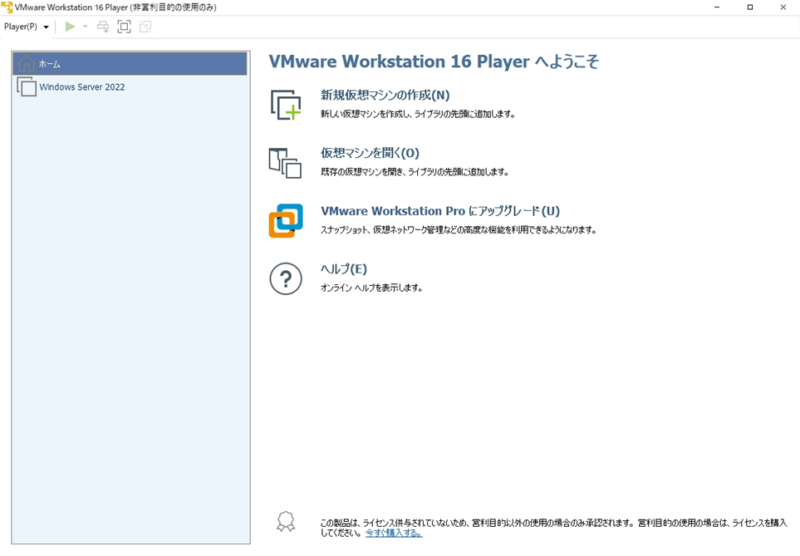
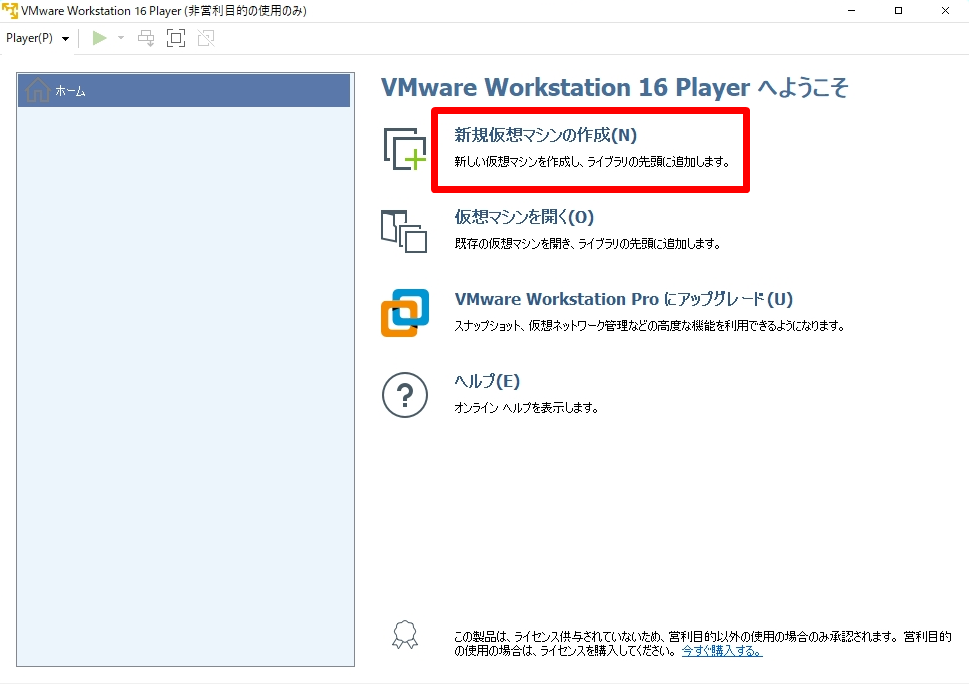
手順 2:
「 新規仮想マシンの作成」を選択します。
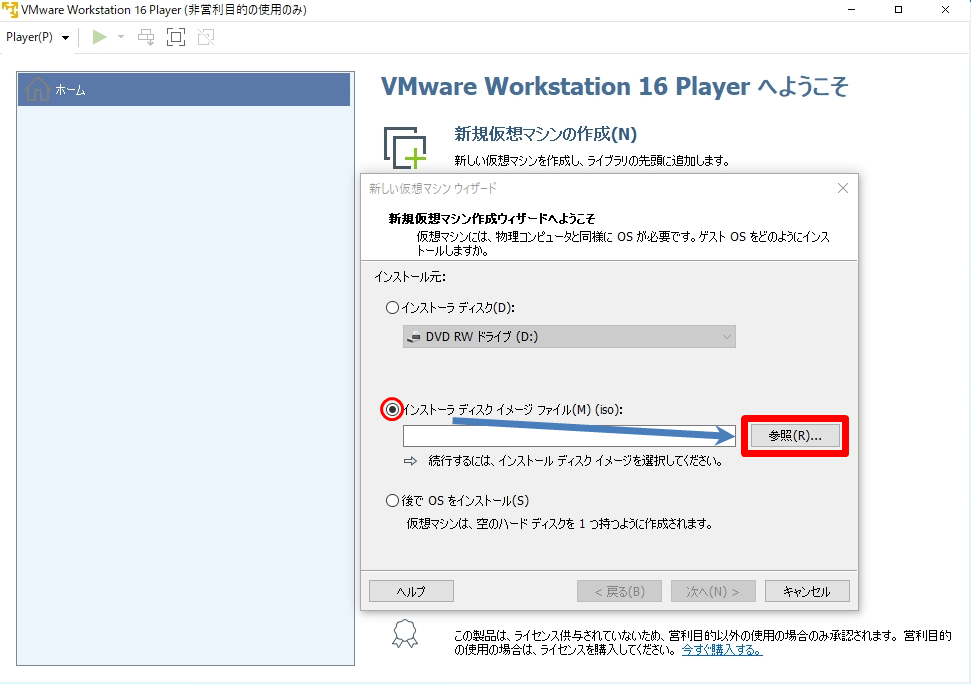
手順 3:
「 インストーラディスクイメージファイル」-> 「参照」を選択します。
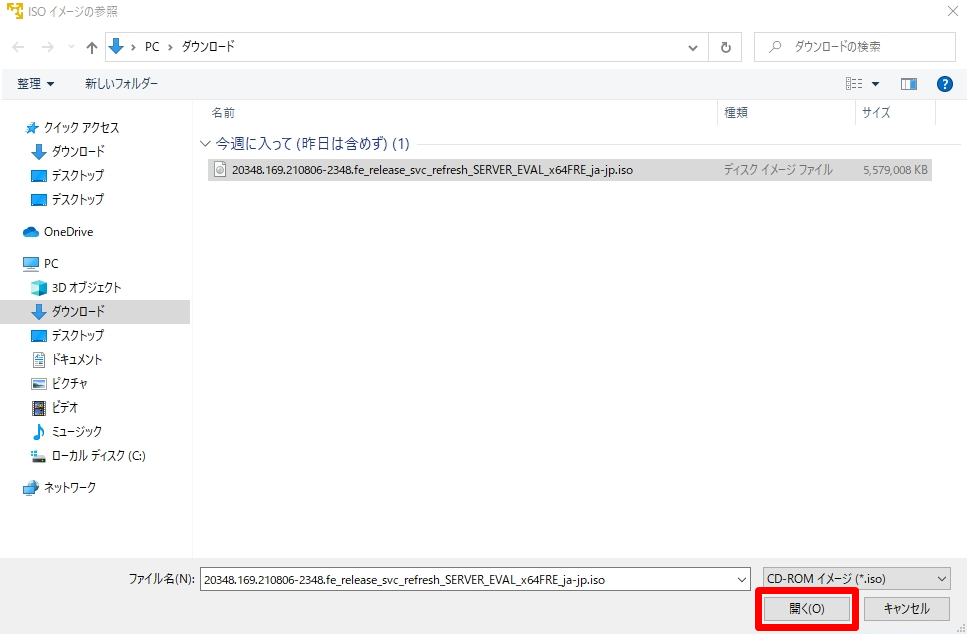
手順 4:
ダウンロードしたWindows Server 2022 ISOファイルを指定 –>「開く」を選択します。
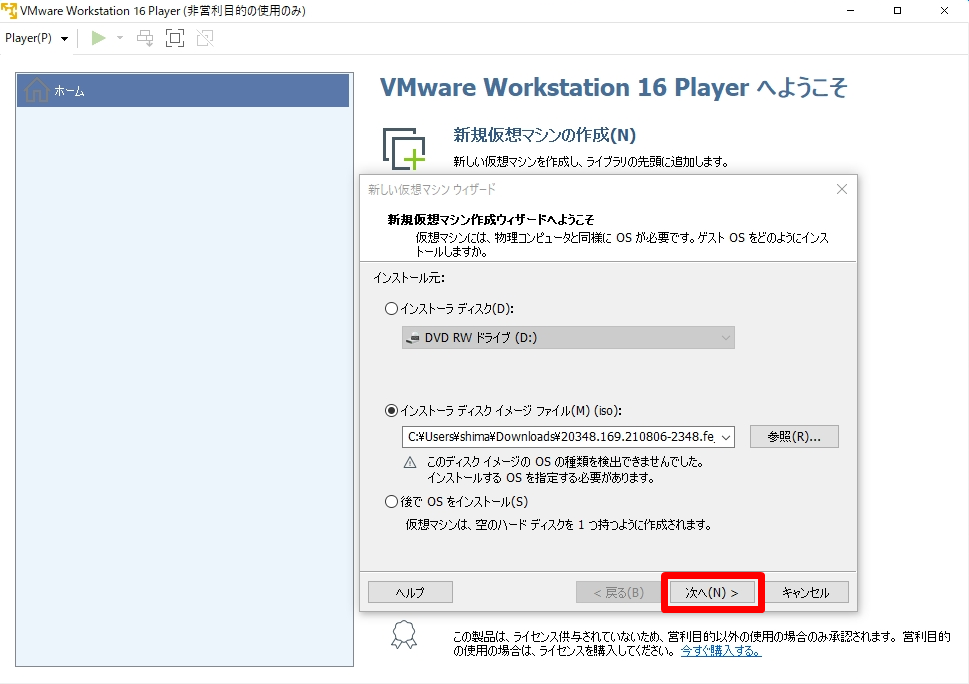
手順 5:
Windows Server 2022 ISOファイルが指定されていることを確認し 「次へ」を選択します。
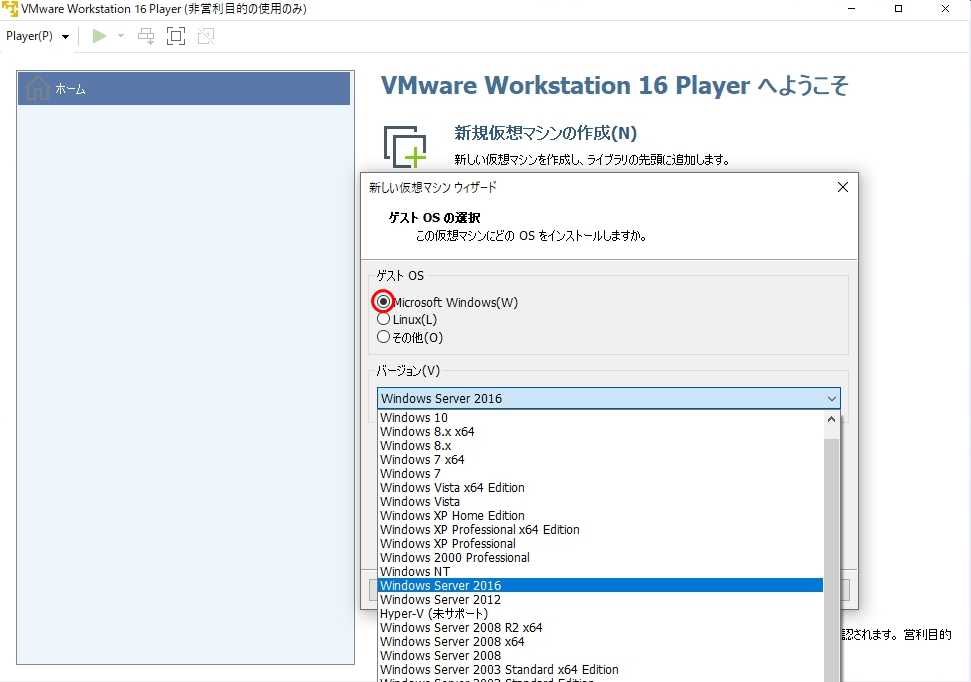
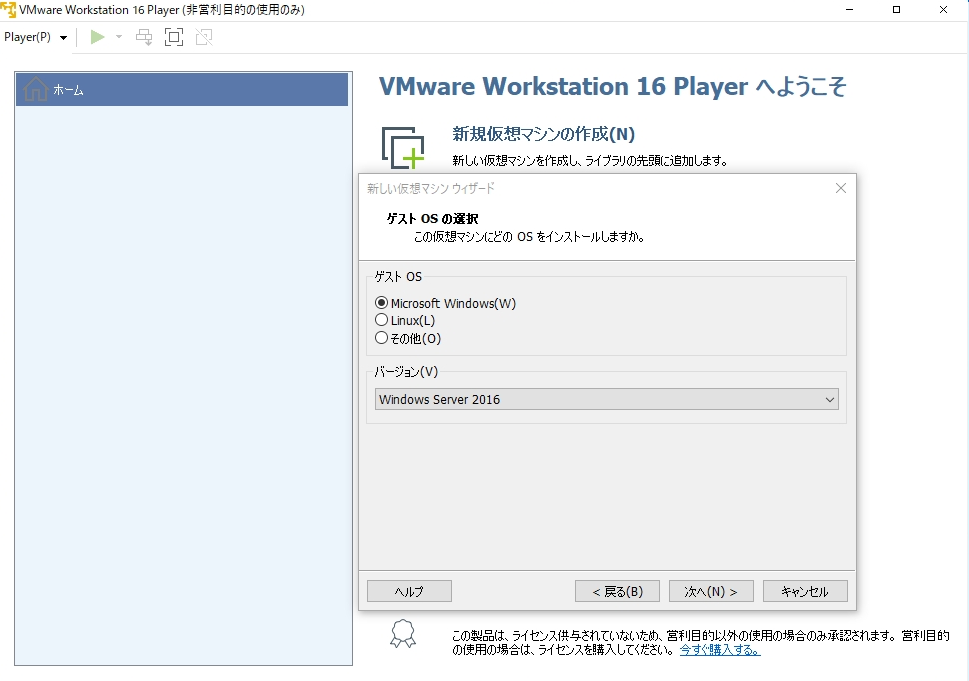
手順 6:
ゲストOSは「Microsoft Windows」を選択、バージョンはWindows Server 2016を指定します。
手順 7:
「次へ」を選択します。
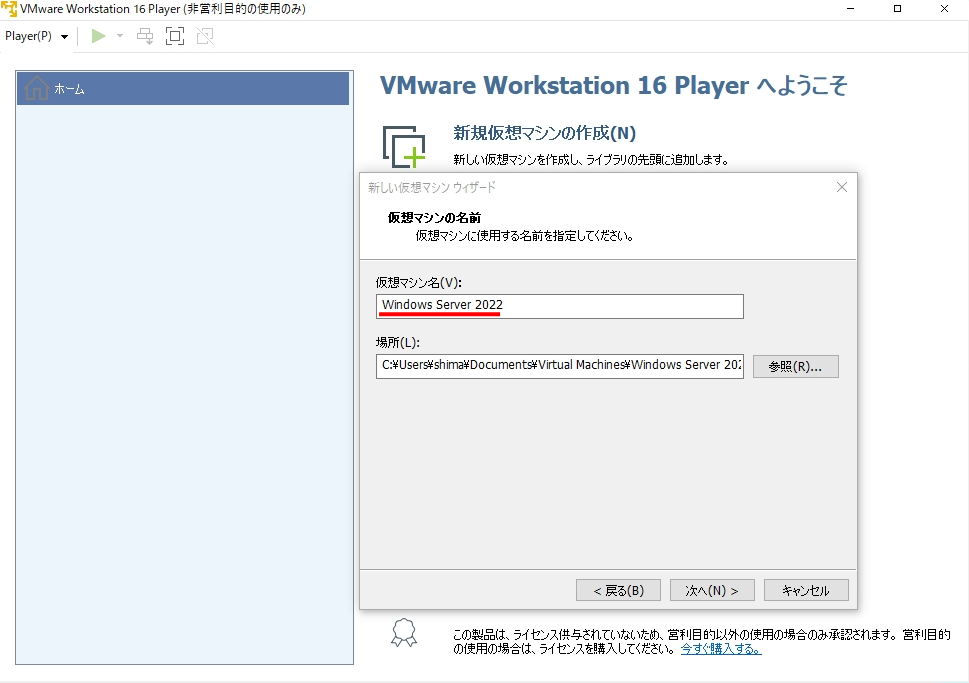
手順 8:
「任意の名前を入力」–>「インストール先を指定」–>「次へ」を選択します。
本記事では、分かりやすい名前を付けたため「Windows Server 2022」としています。
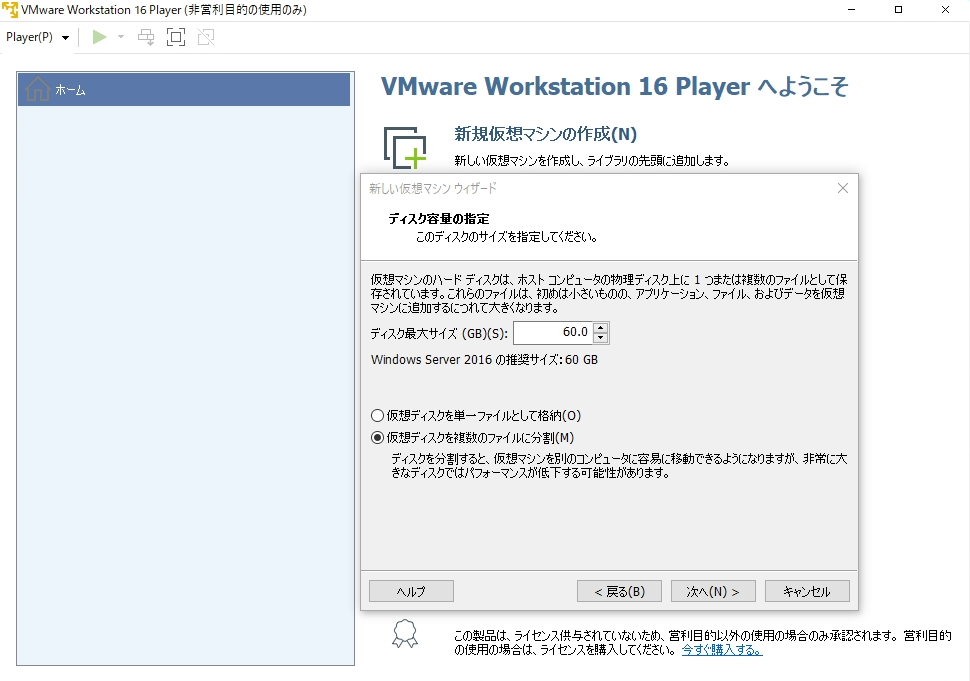
手順 9:
ディスク最大サイズを指定するのであればサイズを変更し「次へ」を選択します。
特に変更する理由がなければデフォルトのサイズで良いです。
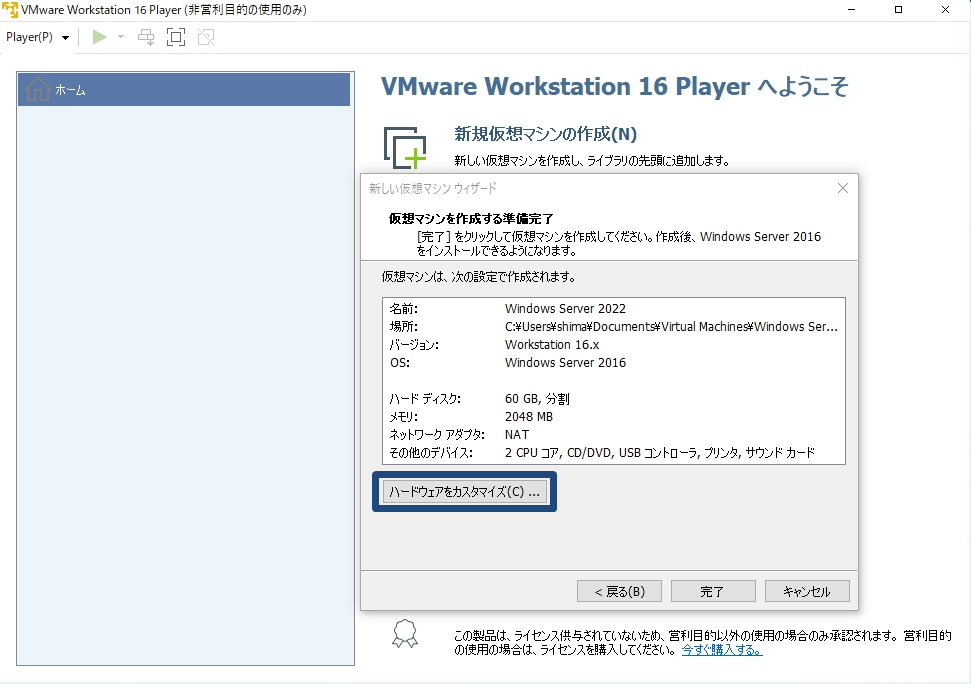
VMware Workstation Player でCPU・メモリーサイズを変更する場合「ハードウェアをカスタマイズ」を選択することで仮想マシンのスペックを変更することができます。本記事では参考として CPU・メモリサイズ の変更画面を記載します。
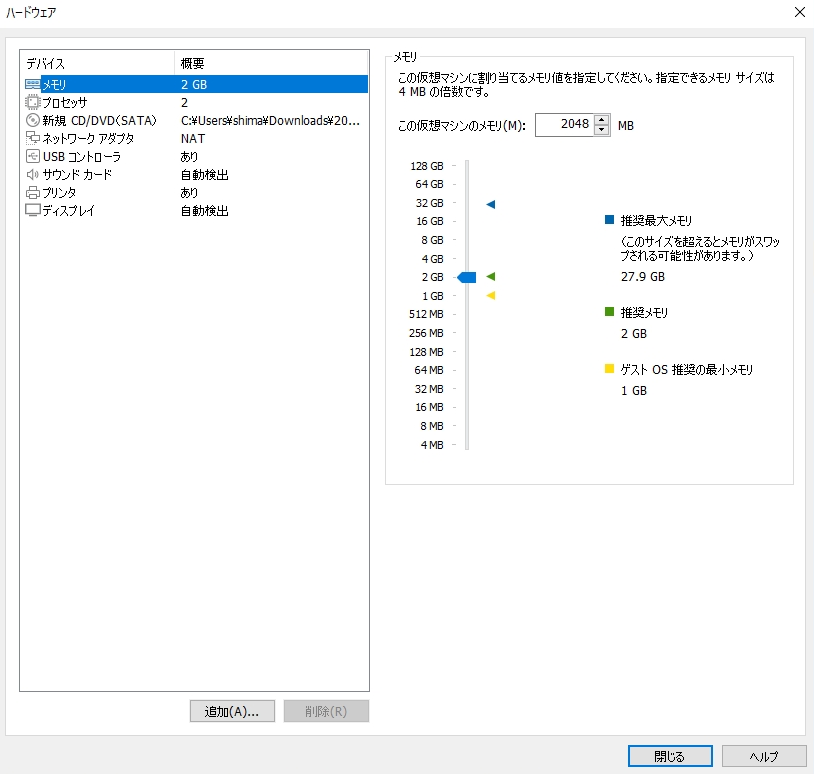
ハードウェア:メモリ項目で仮想マシンのメモリを変更することができます。
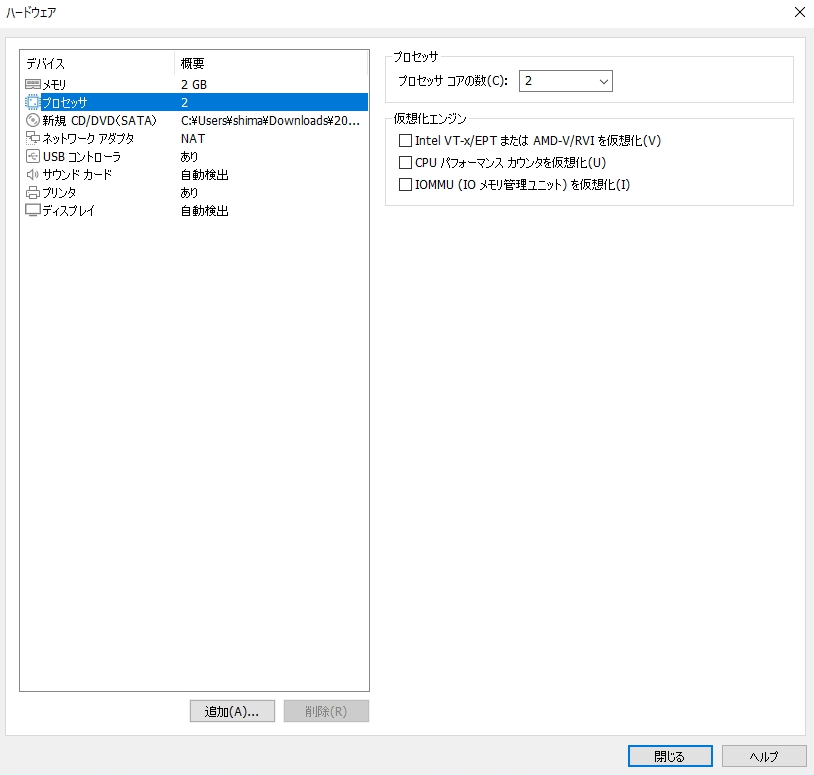
ハードウェア:プロセッサ項目でプロセッサコアの数を変更することができます。
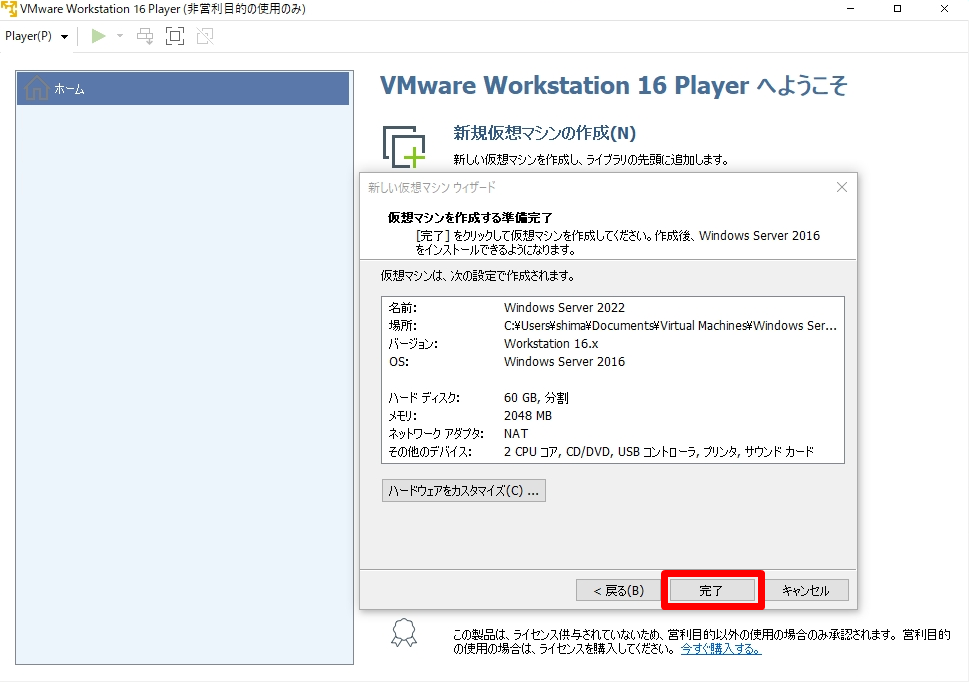
手順 10:
「完了」を選択します。
3.VMware Workstation Player:Windows Server 2022インストール
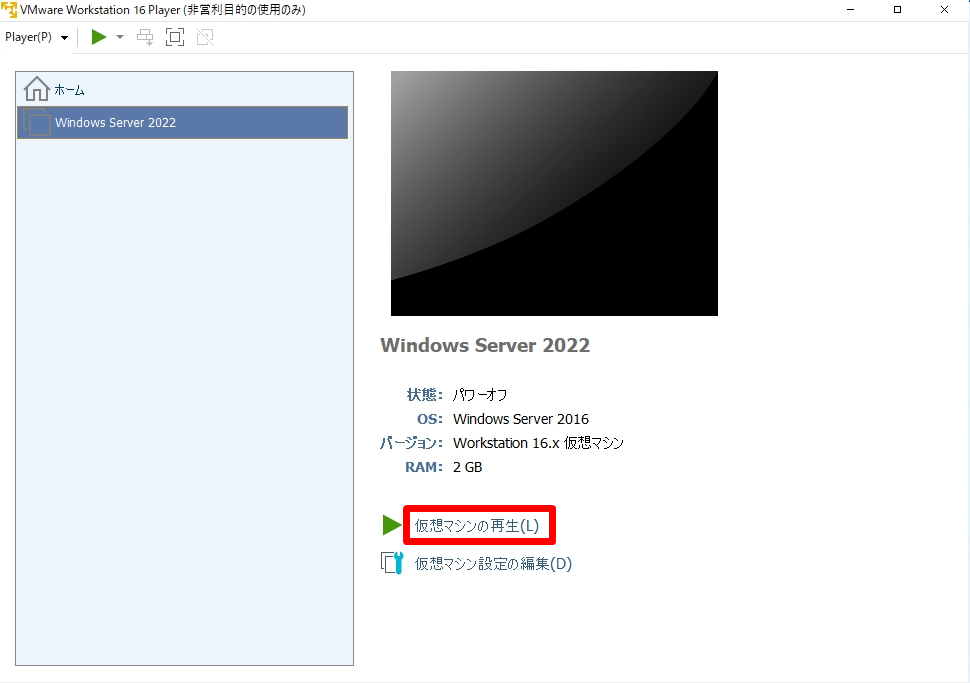
手順 1:
作成した仮想マシン「Windows Server 2022」–>「仮想マシンの再生」を選択します。
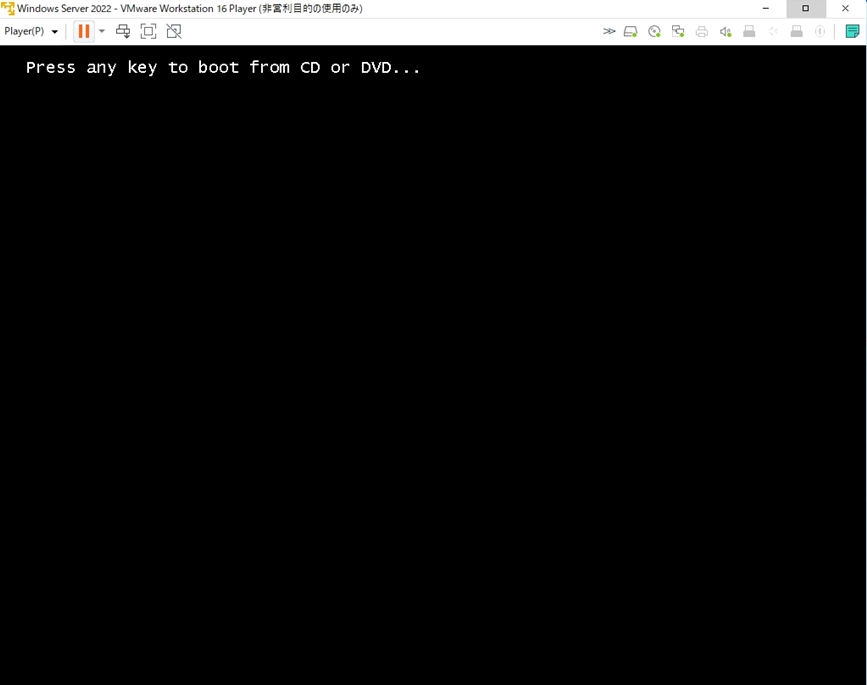
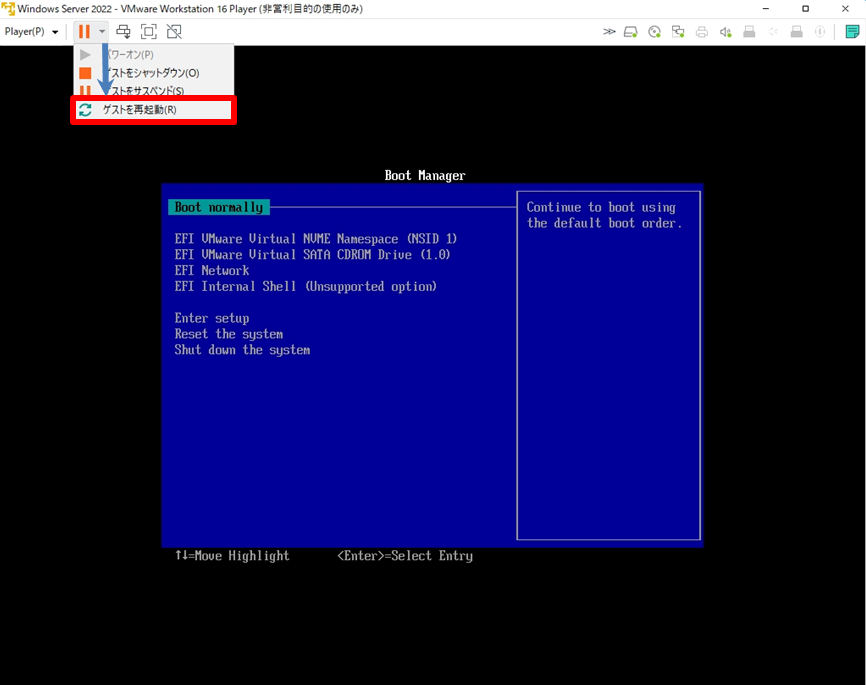
手順 2:
「 Press any key to boot from CD or DVD… 」画面が表示されたら画面内にマウスを合わせ「Enter」キーを押下します。
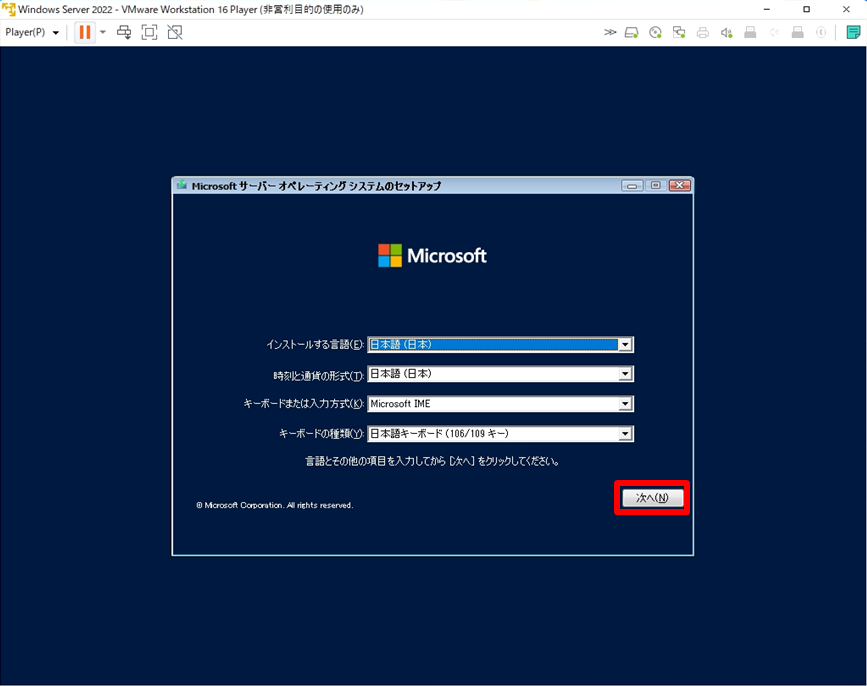
手順 3:
「 次へ 」を選択します。
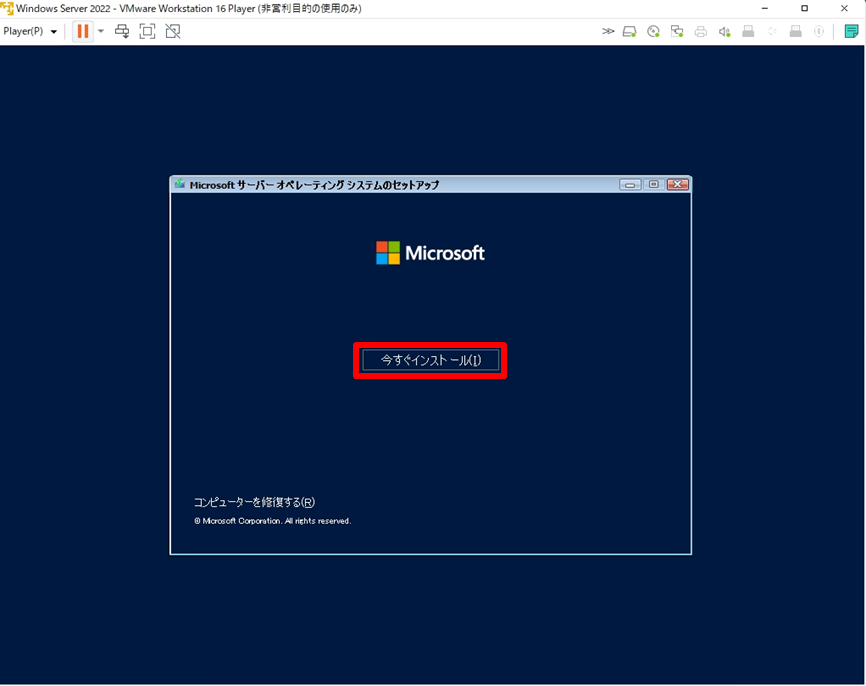
手順 4:
「 今すぐインストール 」を選択します。
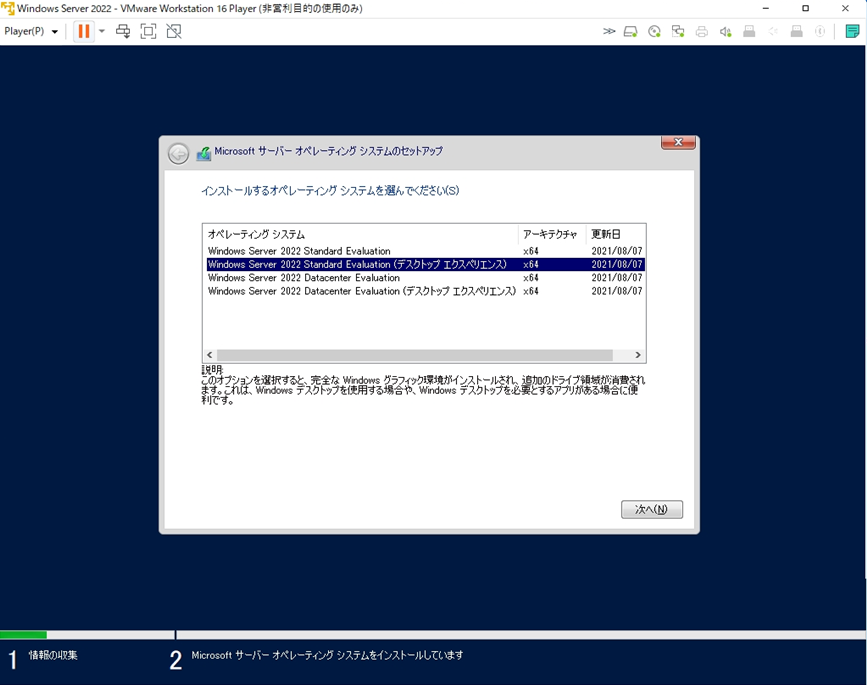
手順 5:
デスクトップエクスペリエンス選択します。 ※本記事では、Windows従来のグラフィカルな操作をするため(デスクトップエクスペリエンス)を選択します。
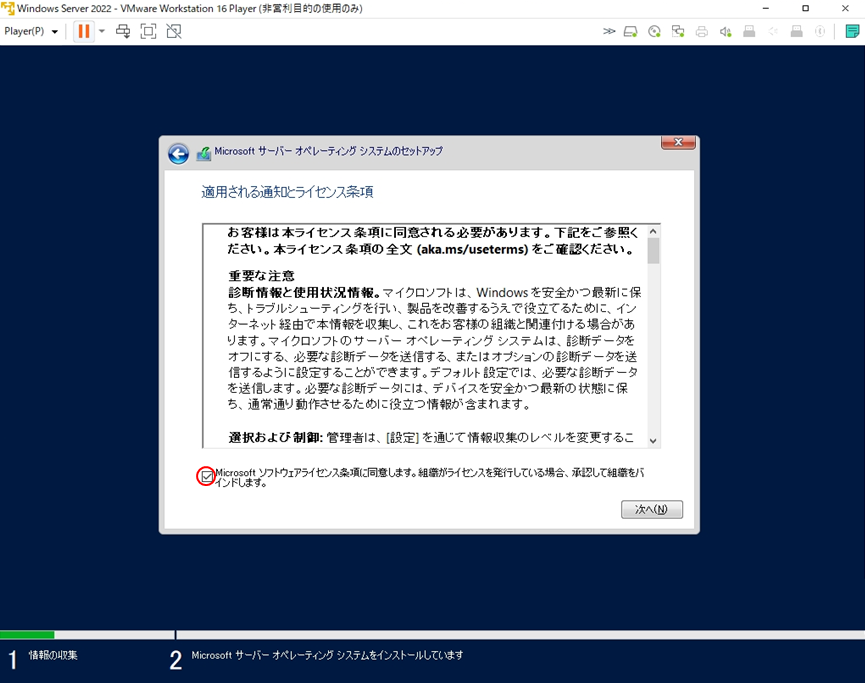
手順 6:
「同意します」を有効化 –>「次へ」を選択します。
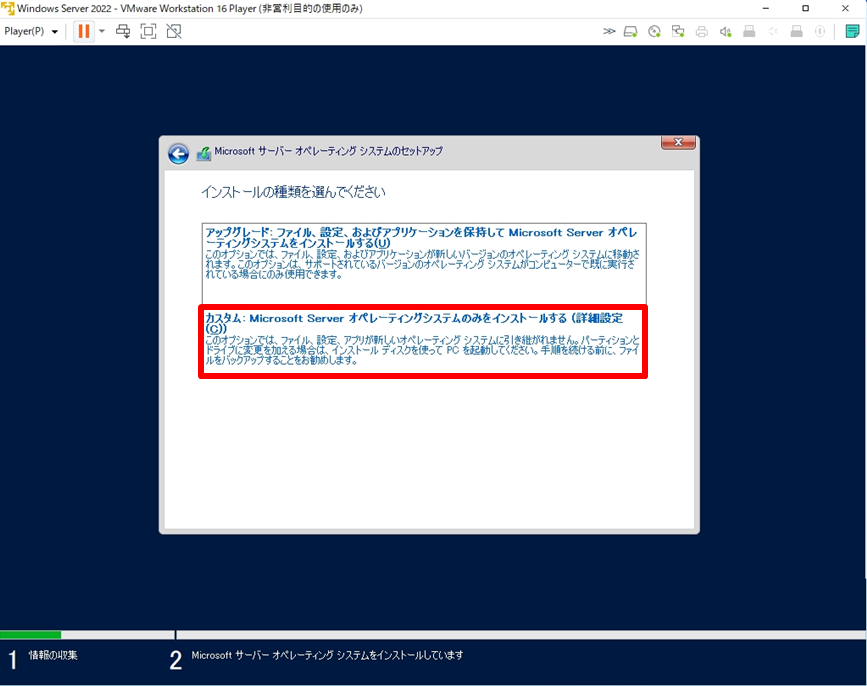
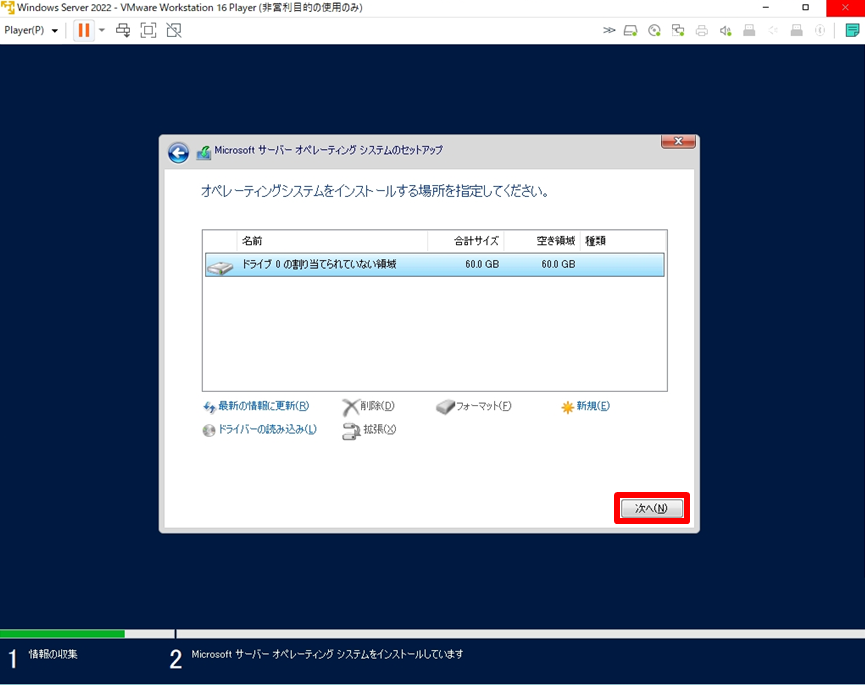
手順 7:
新規インストールのため「カスタム:Microsoft Server オペレーティングシステムのみをインストールする」を選択します。
手順 8:
「次へ」を選択します。
手順 9:
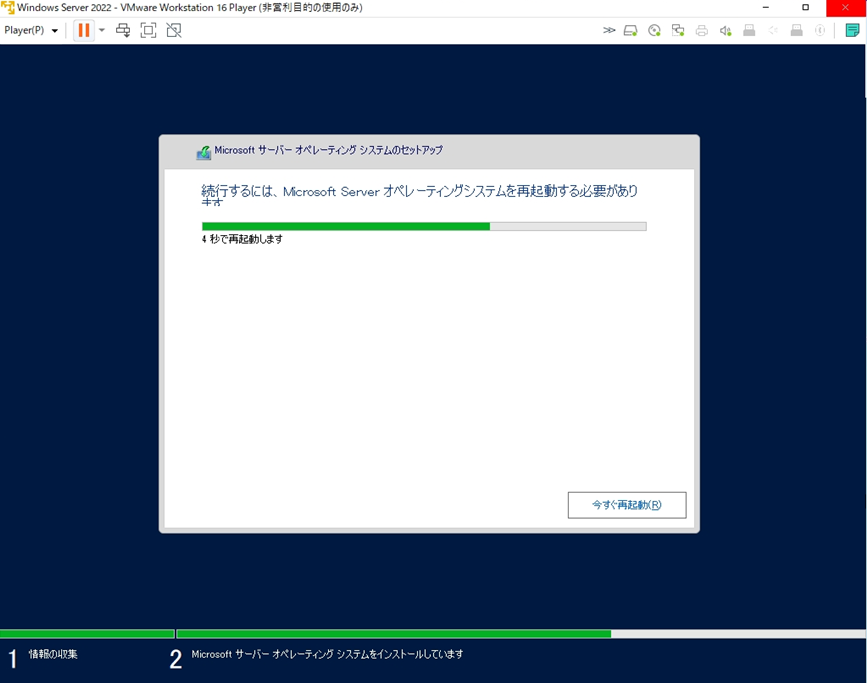
インストールが開始されます。 インストール処理が終わるまで少し待ちます。
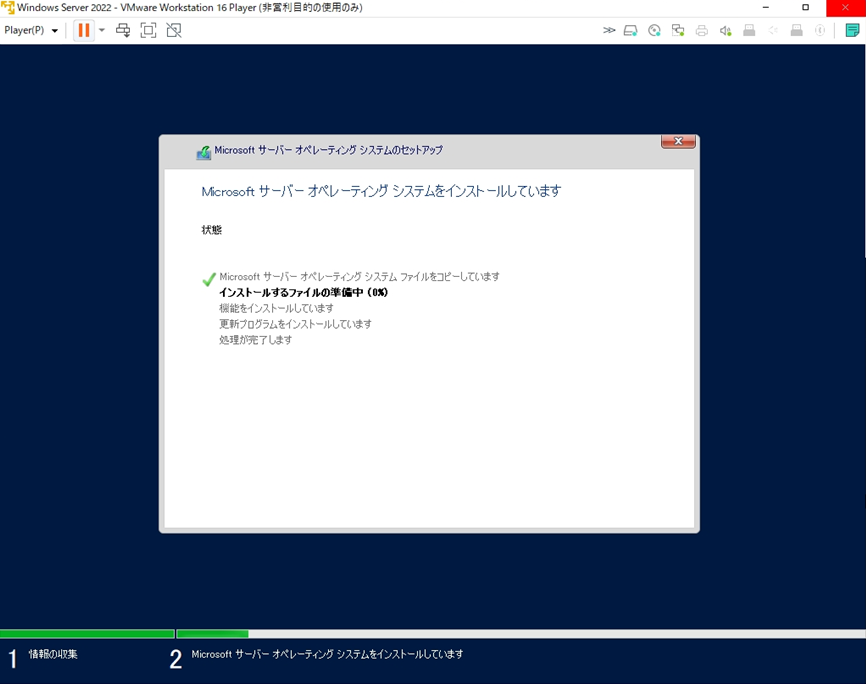
インストール処理完了後、サーバーが自動で再起動します。
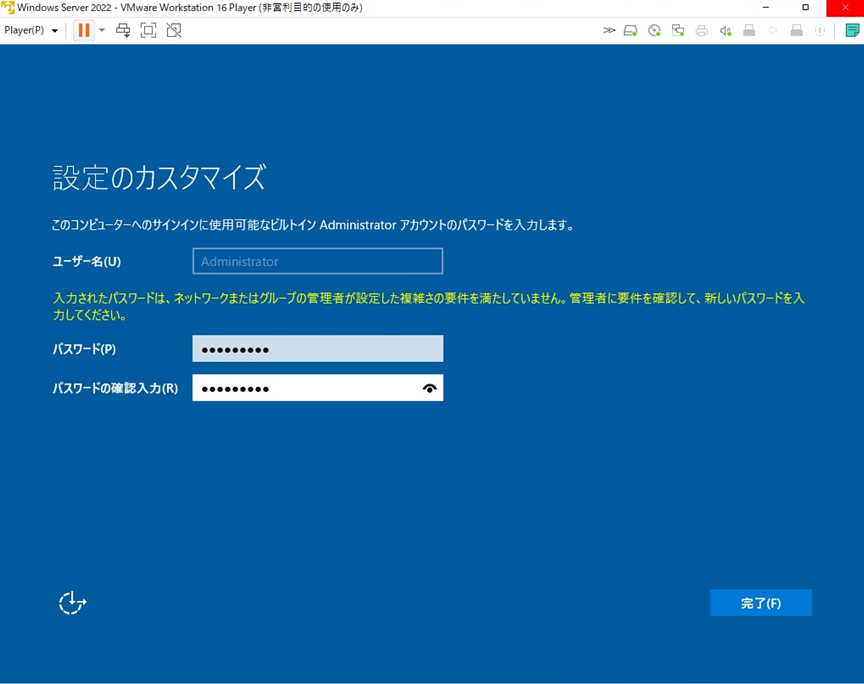
手順 10:
「 パスワードを入力 」–>「完了」を選択します。
※以下、条件でなければ「煩雑さの要件を満たしていません。」が表示され新しいパスワード入力を求められます。(煩雑さの要件を満たすパスワードの例:Passw@rd1、p@ssw0rdなど)
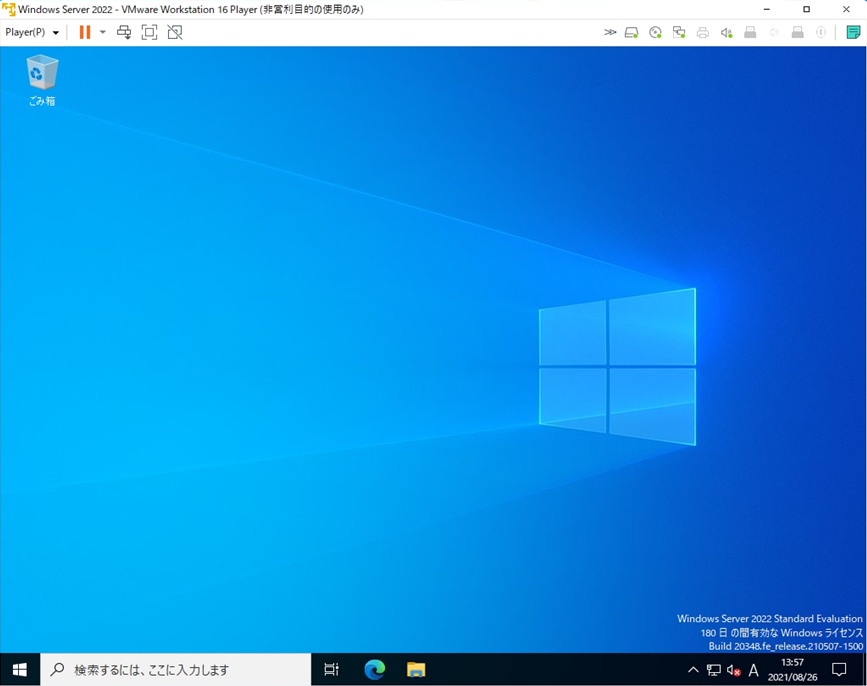
4.VMware Workstation Player:Windows Server 2022 ログイン
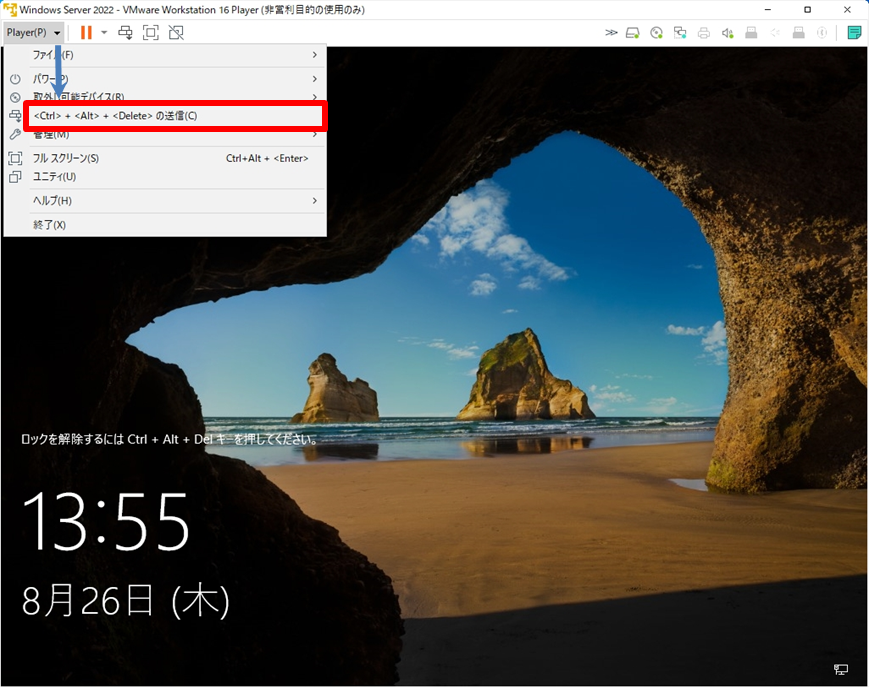
手順 1:
「Player」–>「 Ctrl + Alt + Deleteの送信 」を選択します。
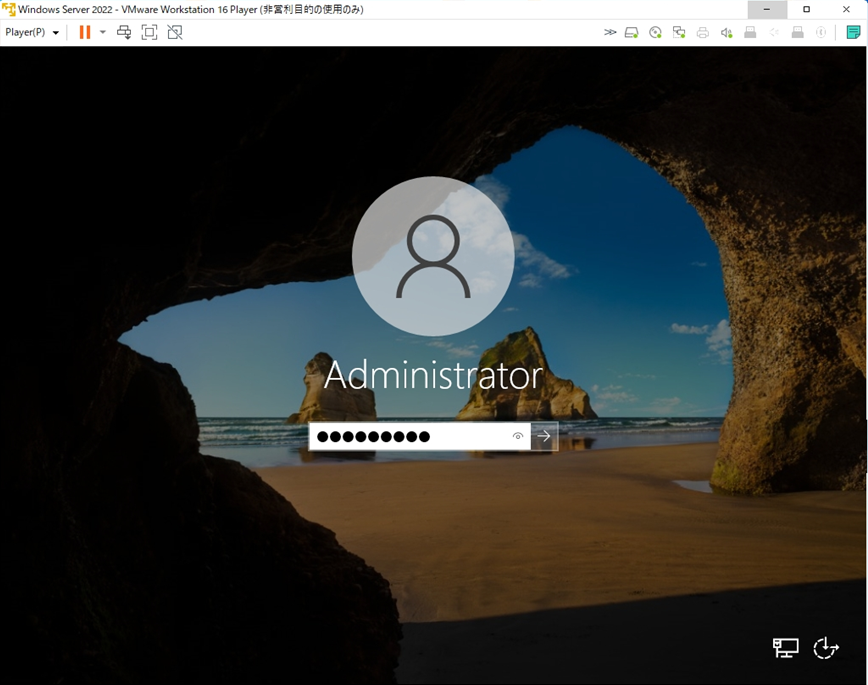
手順 2:
前手順で設定したパスワードを入力し、Enterキーを実行します。
手順 3:
Windows Server 2022にログイン完了です。