RHEL(Red Hat Enterprise Linux)8は、サーバー用途として多くの企業で導入されているLinuxディストリビューションです。商用版だけではなく試用版の利用も可能でRed Hat公式サイトからISOイメージをダウンロードできます。試用版の利用できる期間は30日となりますが期間が過ぎた場合、アップデートが出来ませんが継続利用することができます。今回は、事前に試用版のISOイメージを準備し端末にRHEL8をインストールする手順を解説します。
Red Hat Enterprise Linux 8インストール
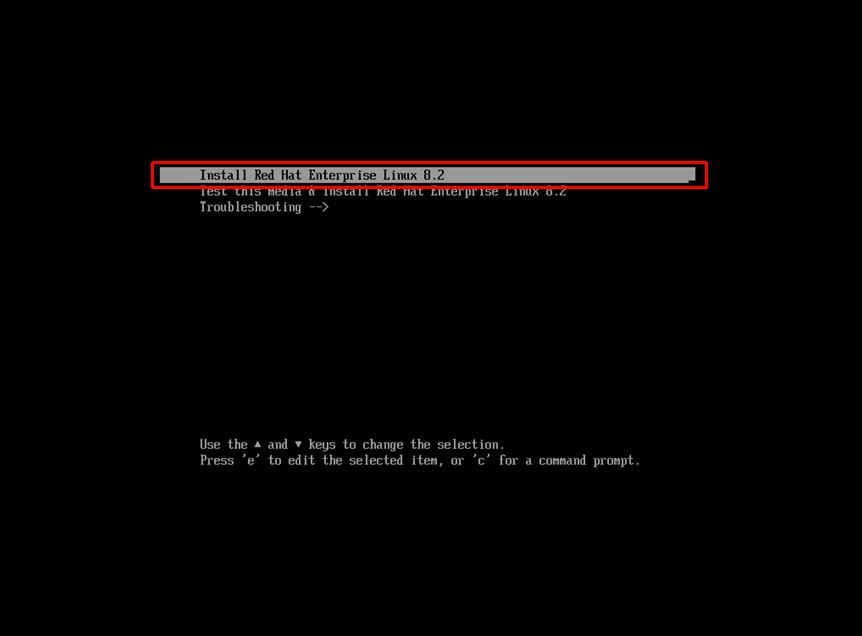
手順 1:
「 Install Red Hat Enterprise Linux 8.x」を選択します。
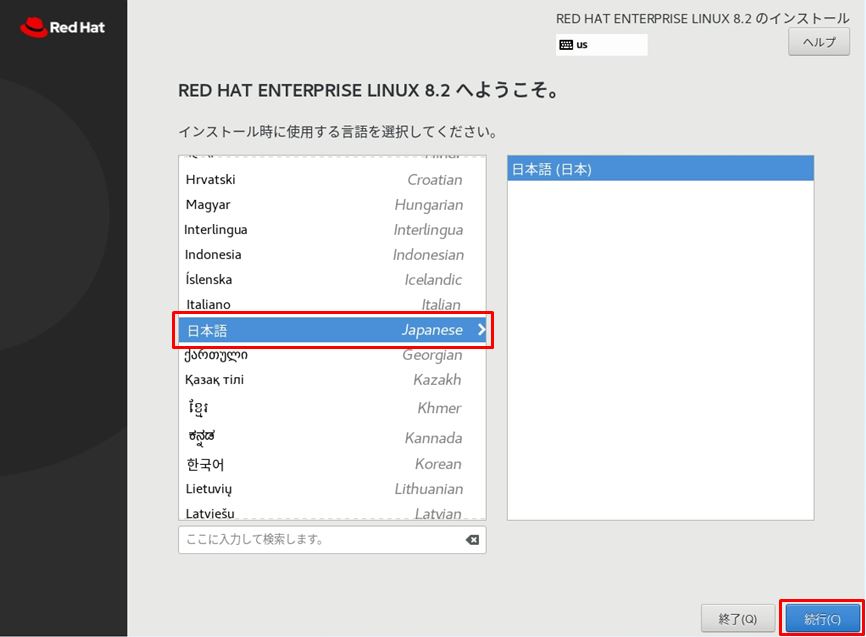
手順 2:
「 日本語 」 –> 「続行」を選択します。
手順 3:
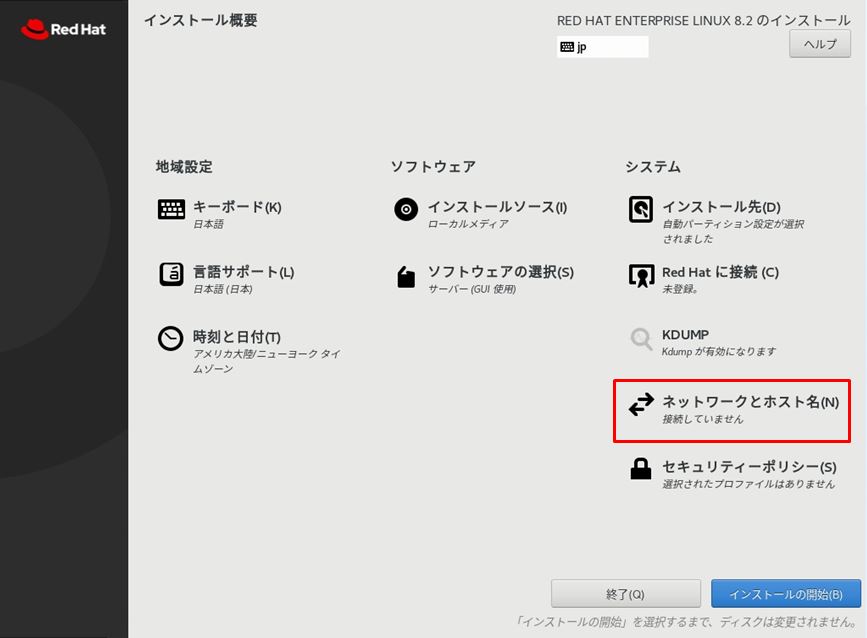
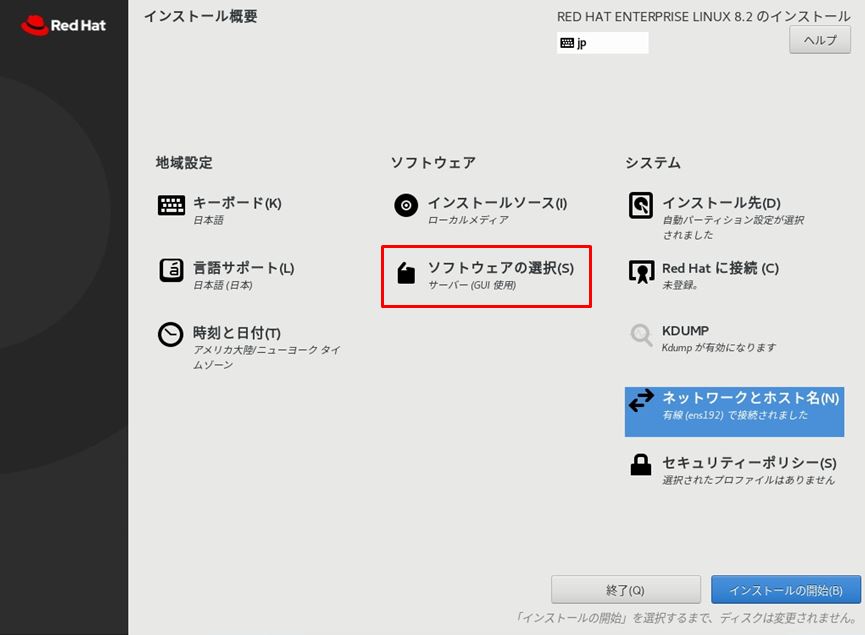
インストールに必要な機能を集めた「インストール概要」画面が表示されます。
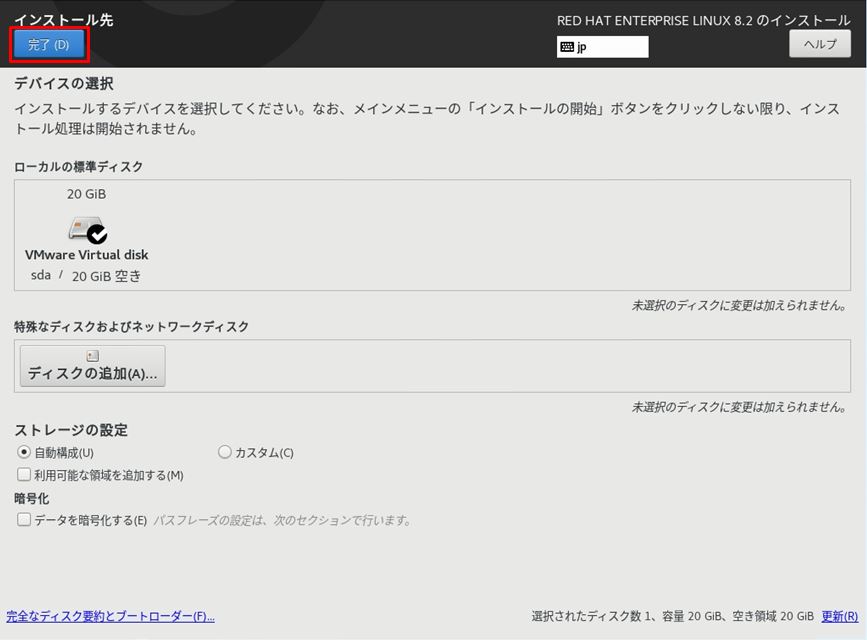
「インストール先」を選択します。
推奨は以下設定です。次項で説明致します。
・ネットワークとホスト名
・ソフトウェアの選択
・時刻と日付
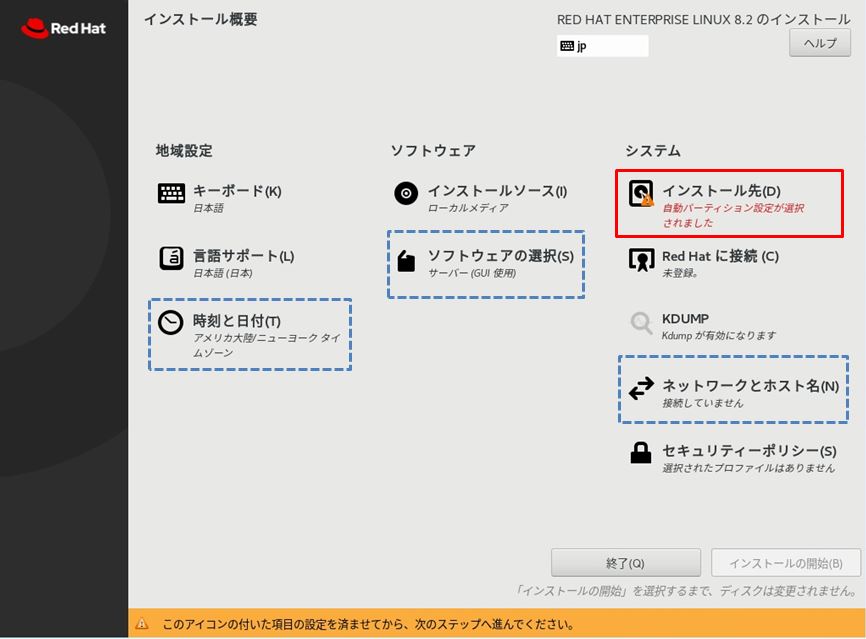
インストール先は、特に設定変更理由がなければデフォルトで問題ありません。
ディスクが1つしかない場合は、既にチェックが入っているため選択は不要です。
手順 4:
ネットワーク設定を行います。「ネットワークとホスト名」を選択します。
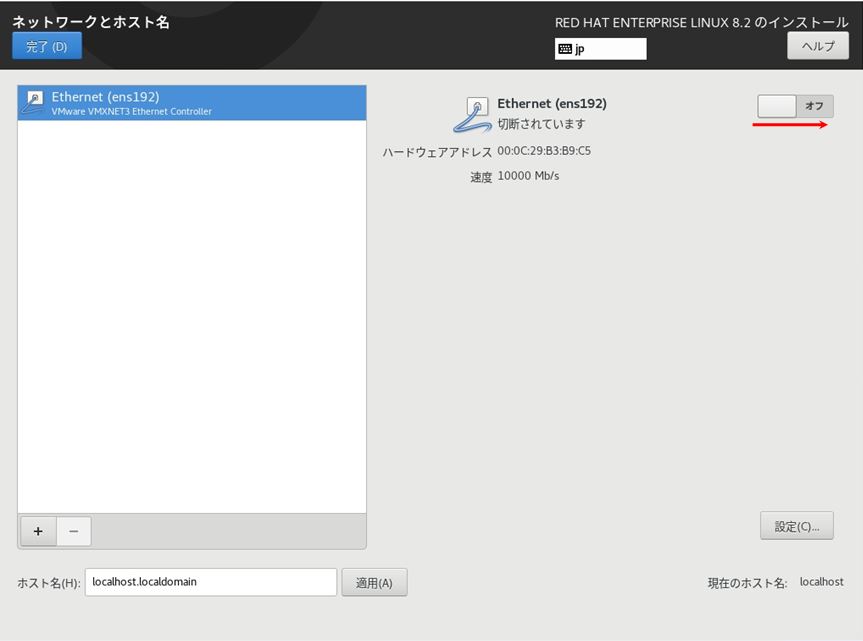
手順 5:「Ethernet」をオン(有効化)にします。
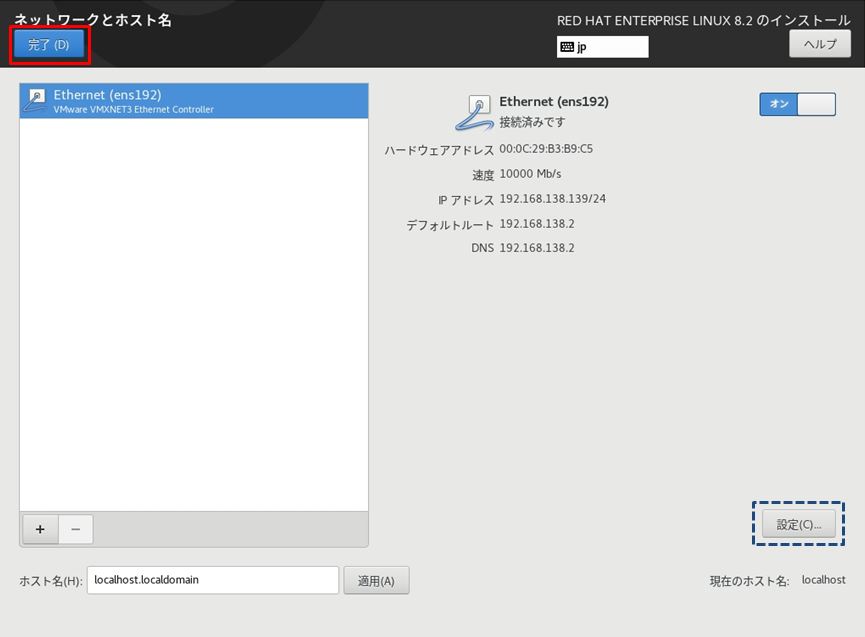
手順 6:
「完了」を選択すればDHCPで自動でプライベートIPアドレスが払い出され設定されます。
手動で固定IPアドレスを設定する場合は「設定」を選択します。
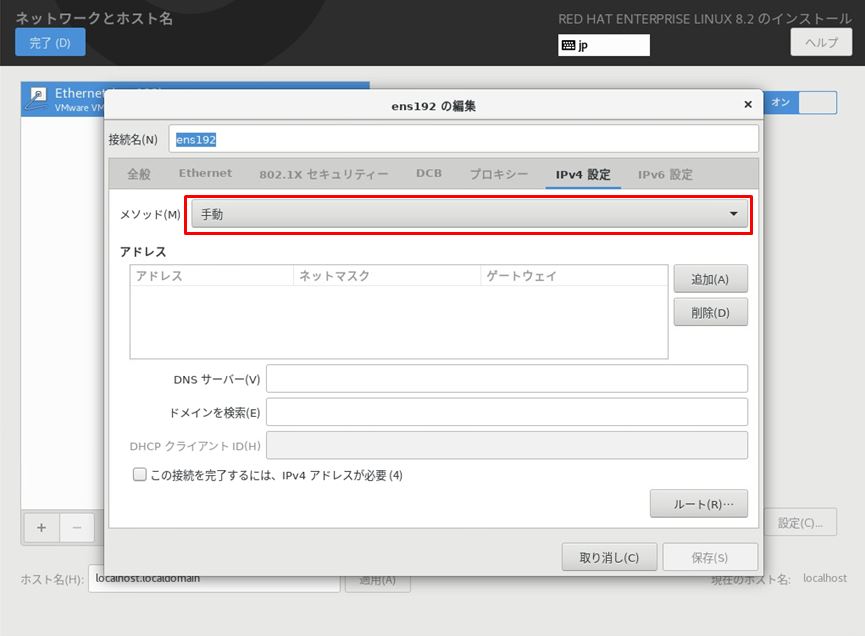
「IPv4 設定」タブ を選択します。
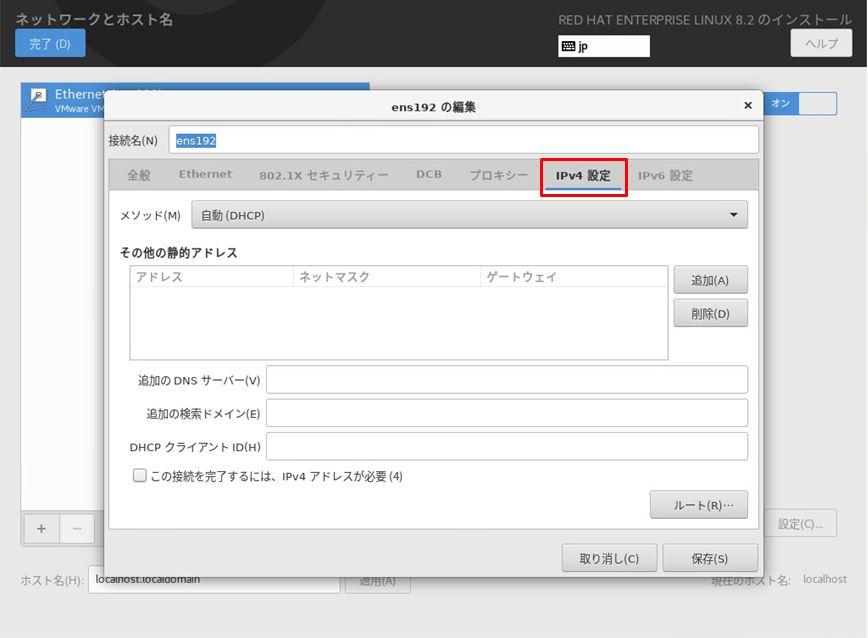
「メソッド」でDHCP→手動を選択し、アドレスを入力します。
手順 7:
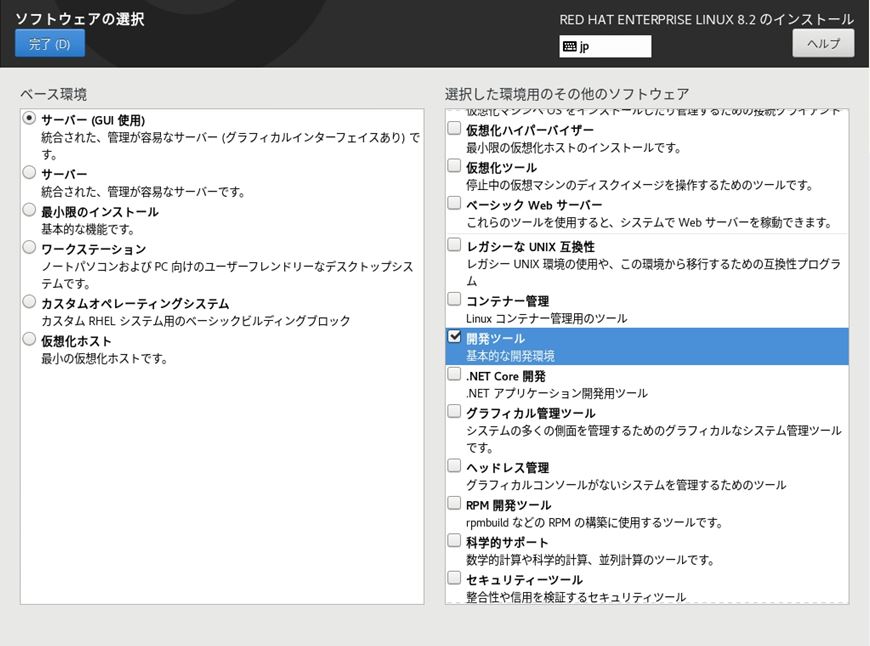
「ソフトウェアの選択」を選択します。
手順 8:
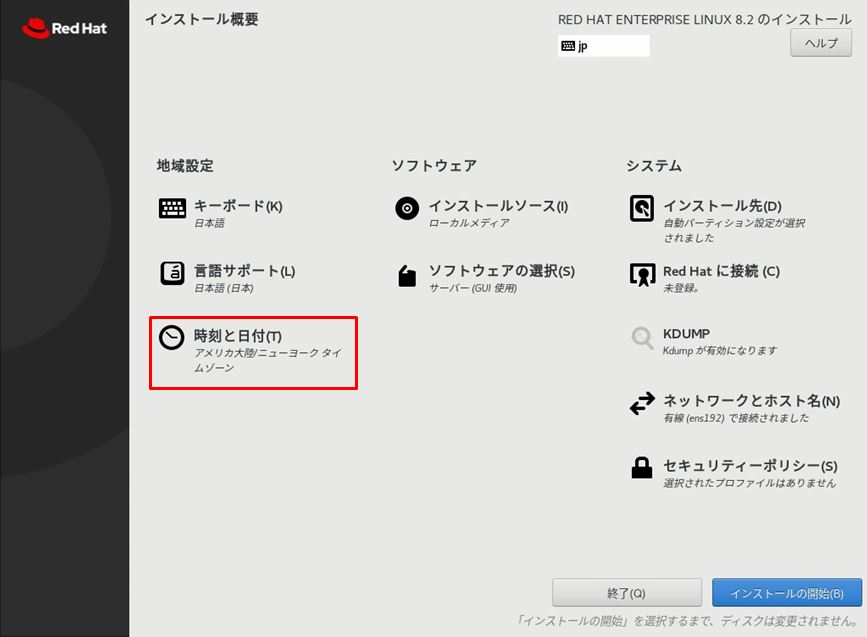
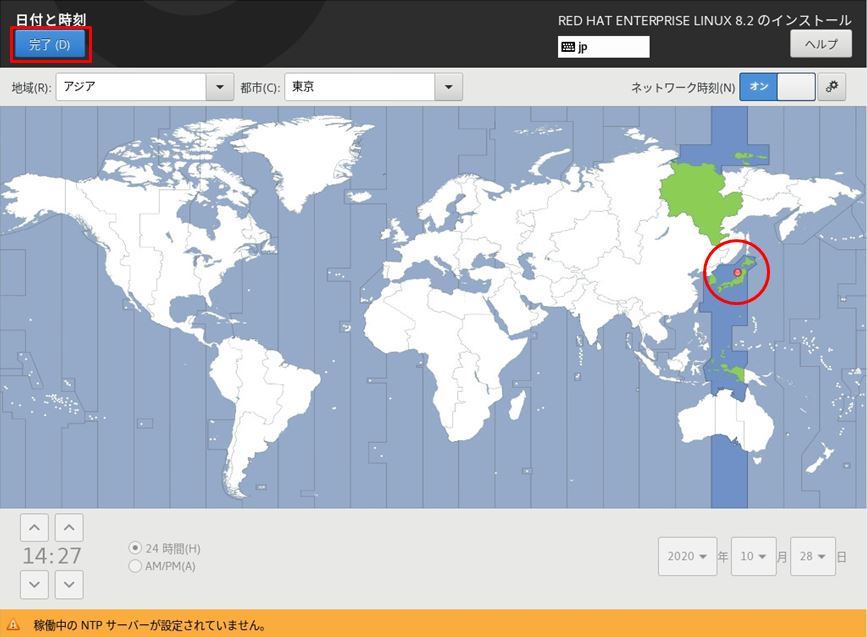
タイムゾーンを変更するため時刻と日付設定を行います。
「 時刻と日付 」 –> 「 日本 」を選択 –> 「 完了 」を選択します。
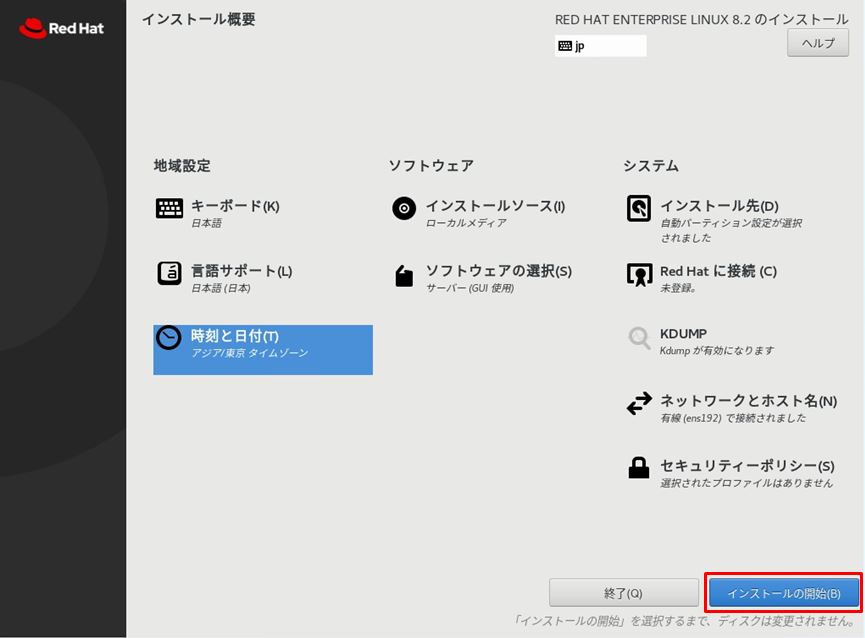
手順 9:
「インストールの開始」を選択します。
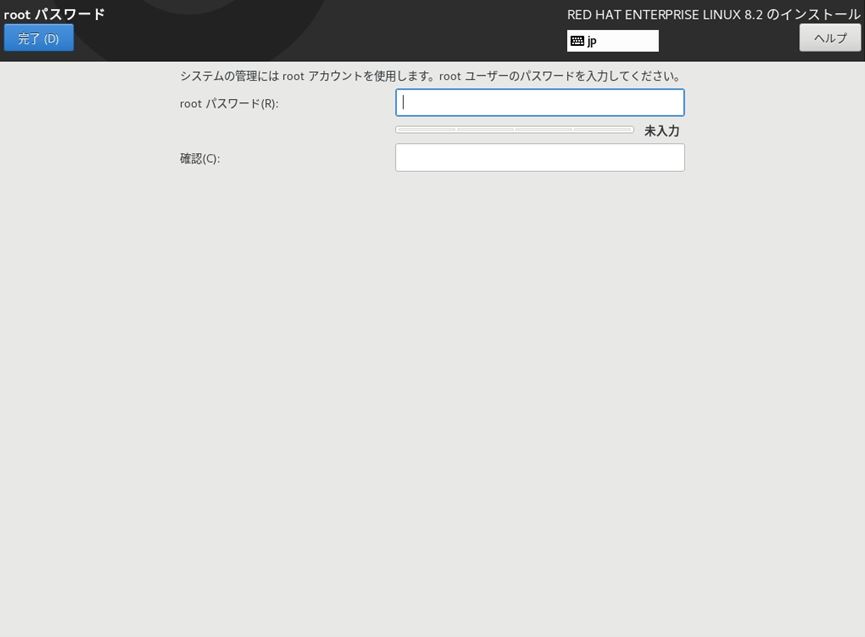
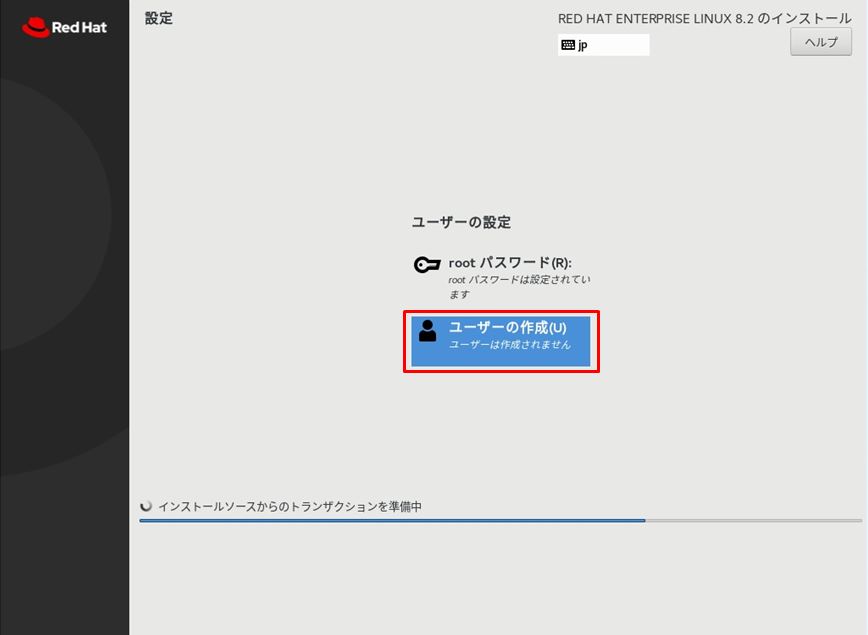
手順 10:
インストール処理中にシステムの管理者であるrootユーザーのパスワードを設定します。

手順 11:
「パスワードを入力」 –> 「 完了 」を選択します。
手順 12:
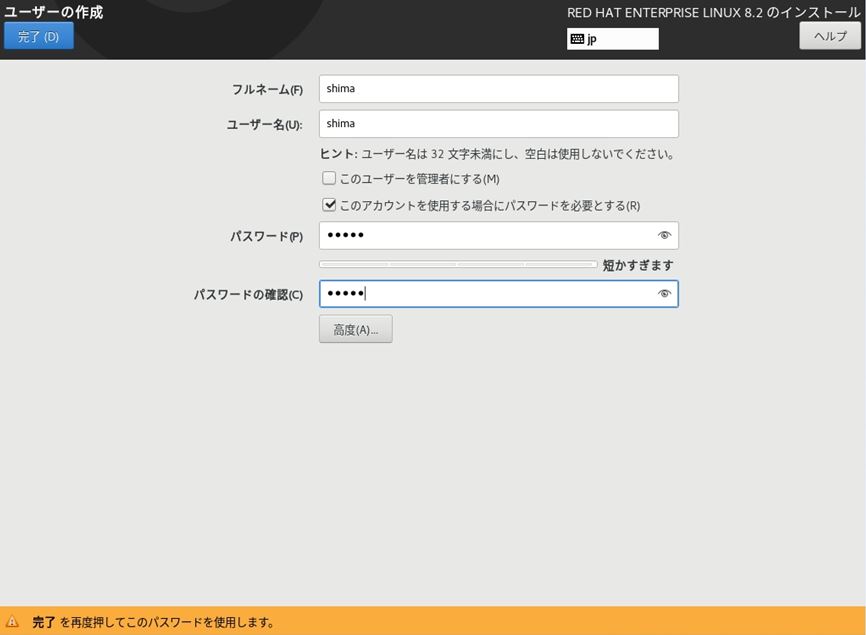
続いて一般ユーザーの設定を行います。以下の設定値を任意で行ってください。
| フルネーム | ユーザーを認識するための設定値 |
| ユーザー名 | Red Hat Enterprise Linuxへログイン時に指定するユーザーアカウント |
| ユーザーを管理者にする | 管理権限が必要なアカウントにはチェック |
| このアカウントを使用する場合にパスワードを必要とする | ログイン時にパスワードを利用する ※チェックを推奨します |
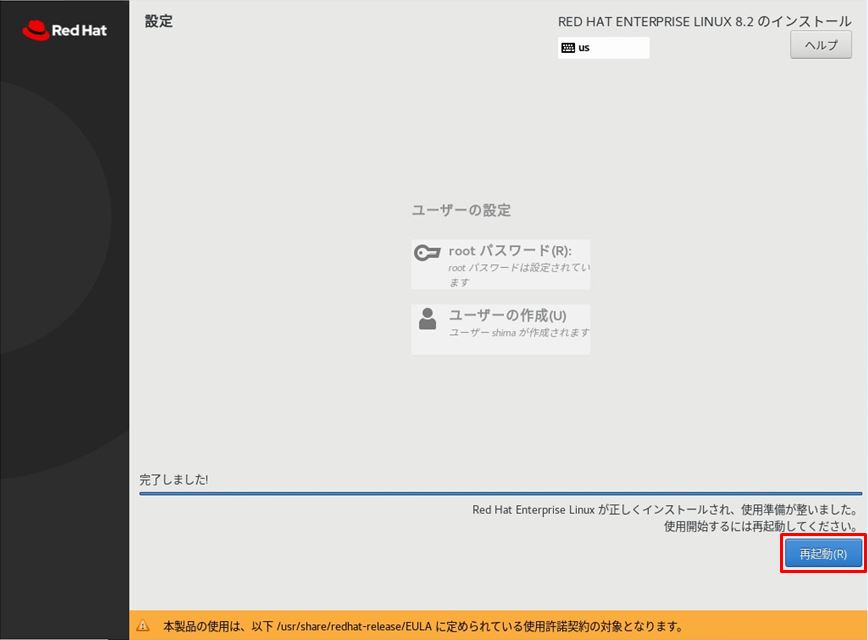
手順 13:
画面左下の「完了しました!」を確認後 –>「再起動」を選択します。
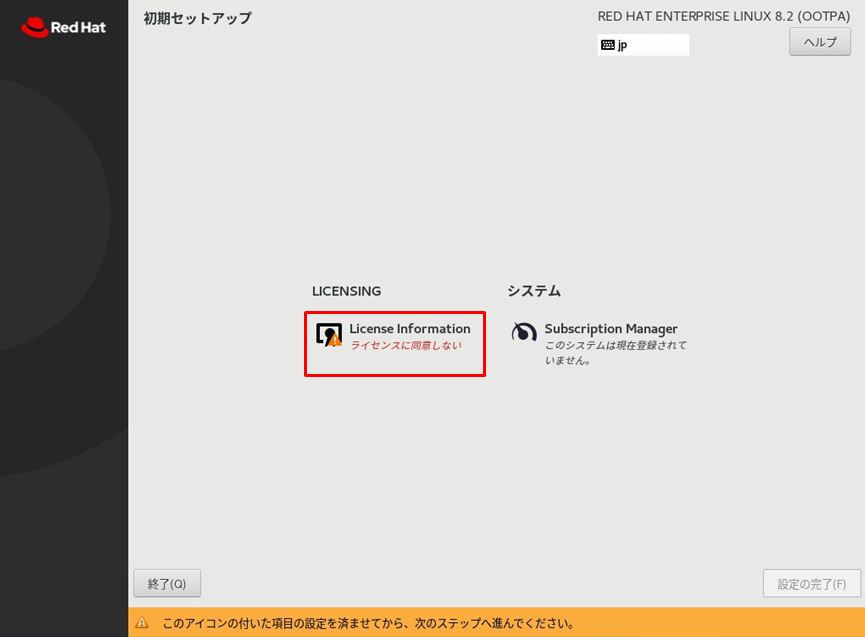
手順 14:
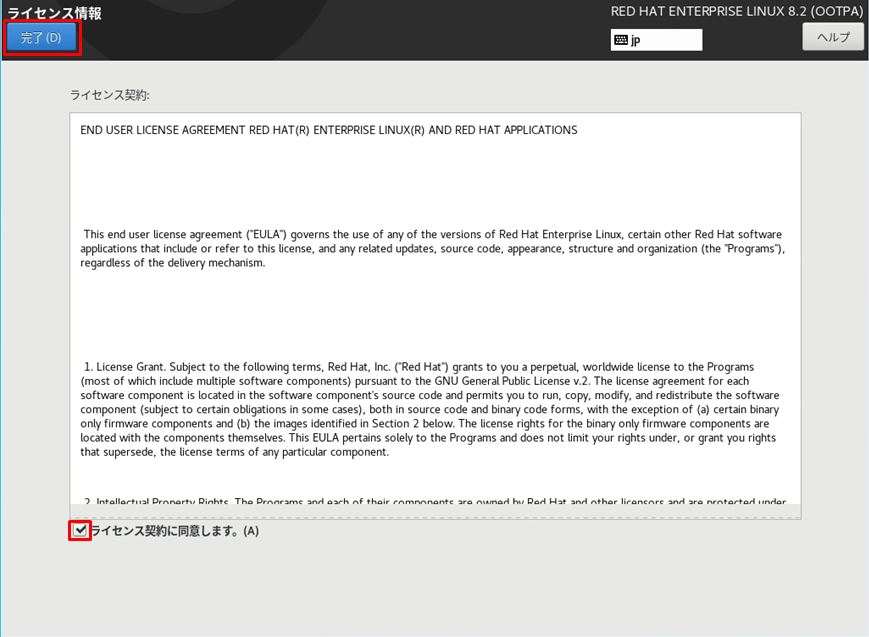
自動的にRed Hat Enterprise Linux 8が起動します。再起動後にライセンス認証が必要になります。
「License Information」を選択 –> 「ライセンス契約に同意します」を有効 –> 「完了」を選択します。
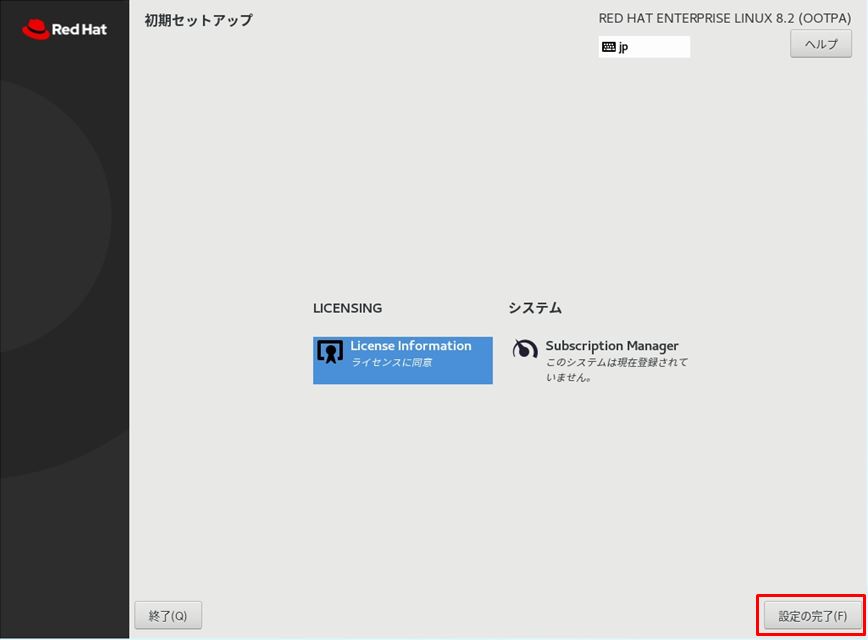
手順 15:
「 設定の完了 」を選択します。
Red Hat Enterprise Linux 8 ログイン
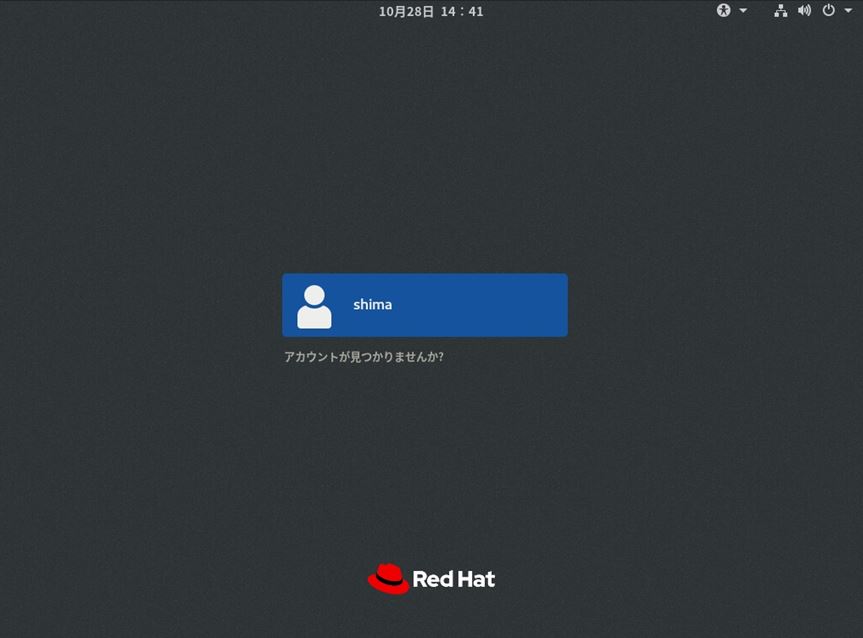
手順 1:
前手順で作成したユーザーを選択します。
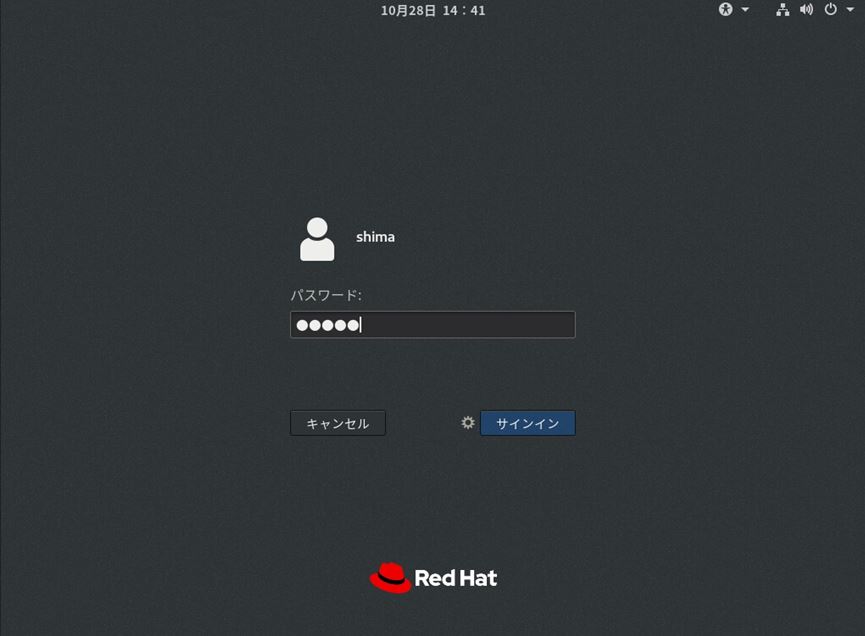
手順 2:
前手順で設定したパスワード入力 –> 「 サインイン 」を選択します。
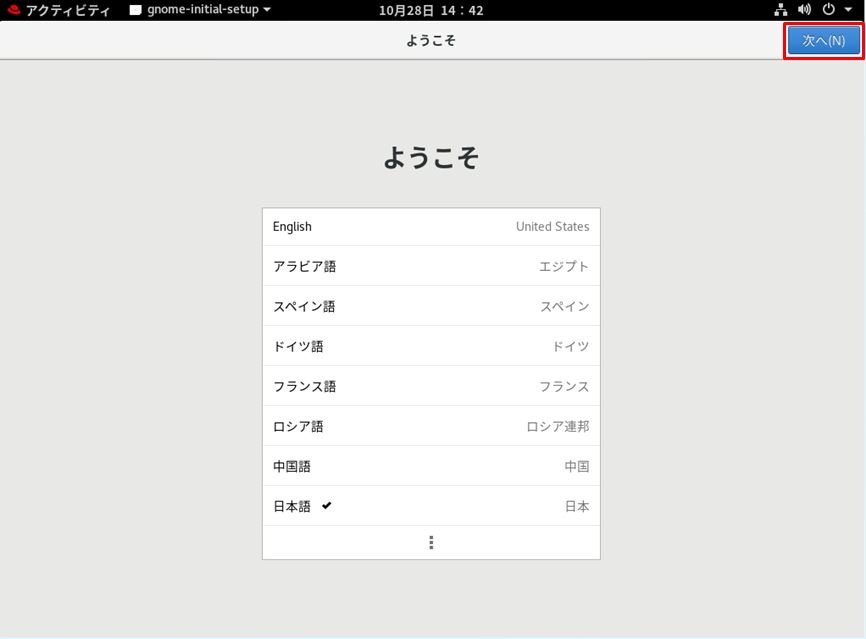
手順 3:
ようこそ画面で、日本語が選択されていることを確認し「次へ」をクリックします。
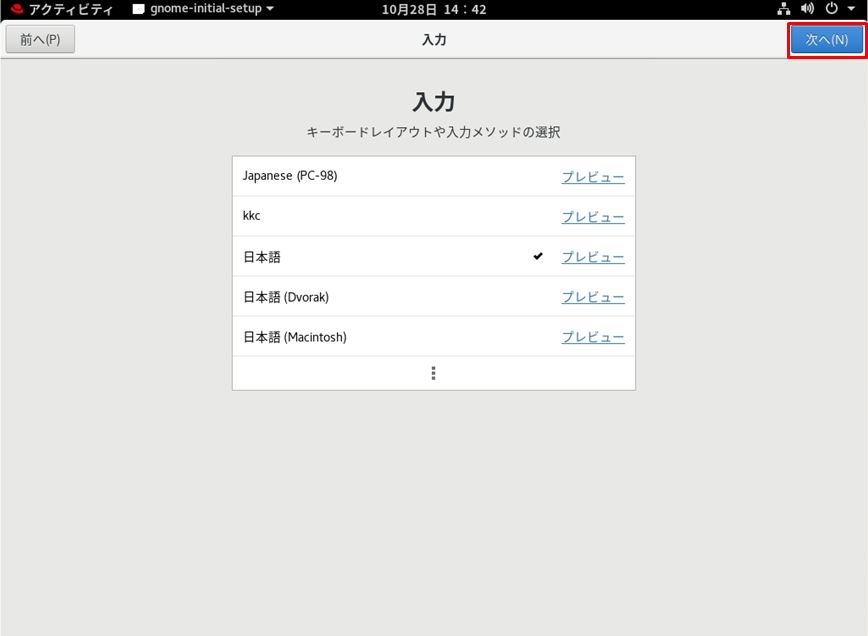
手順 4:
「次へ」をクリックします
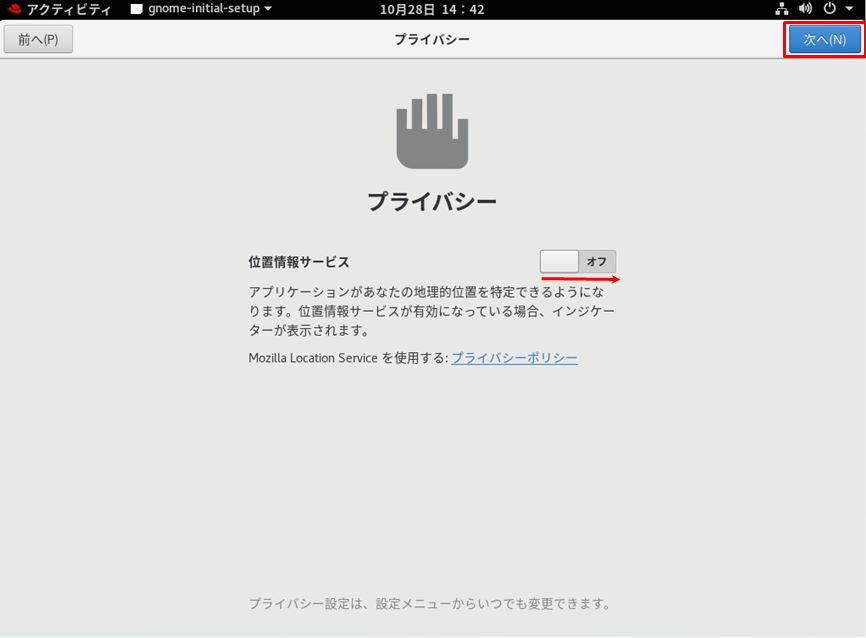
手順 5:
位置情報サービスは使用しないため、本記事では無効にしています。
「位置情報サービス」をオフ –> 「次へ」をクリックします
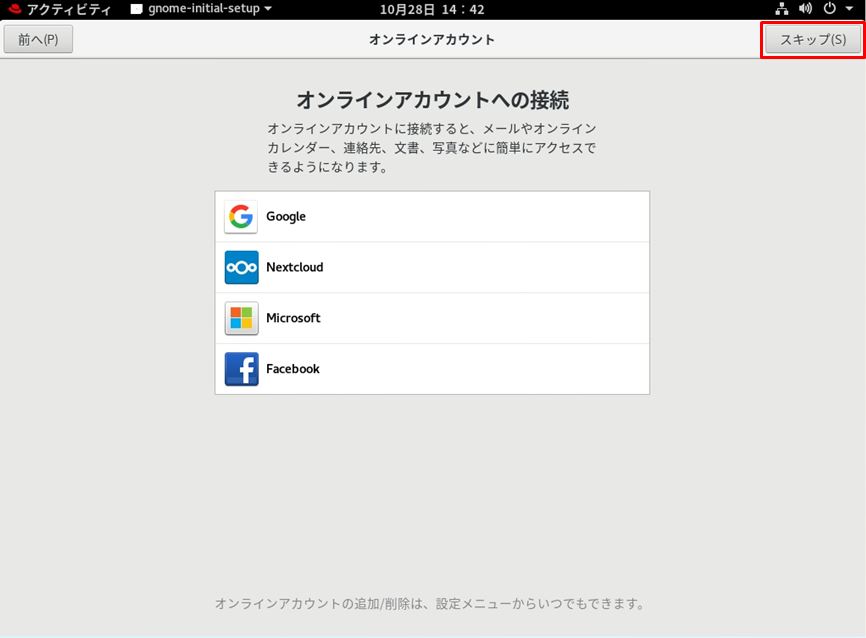
手順 6:
外部アカウントとの連携画面が表示されますが「スキップ」をクリックします。
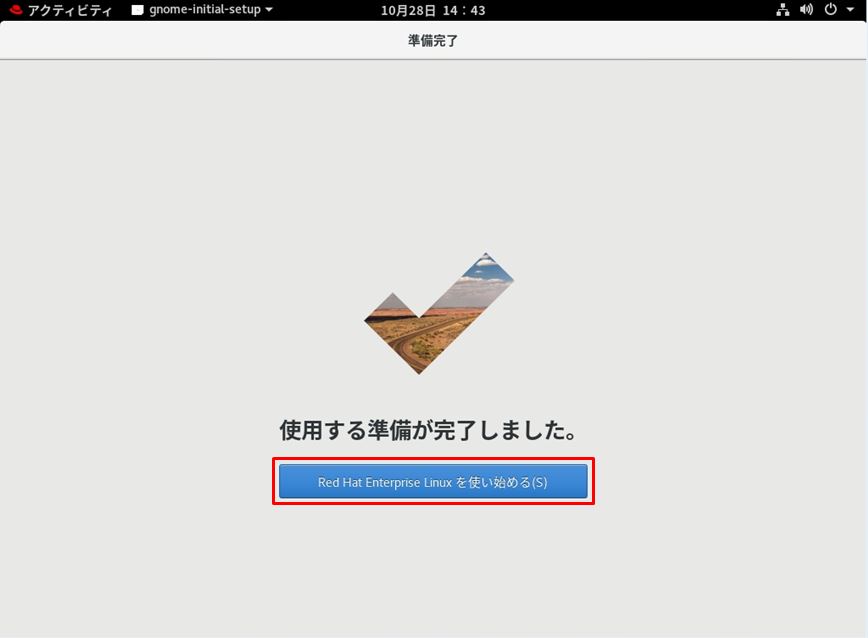
手順 7:
「Red Hat Enterprise Linuxを使い始める」を選択します。
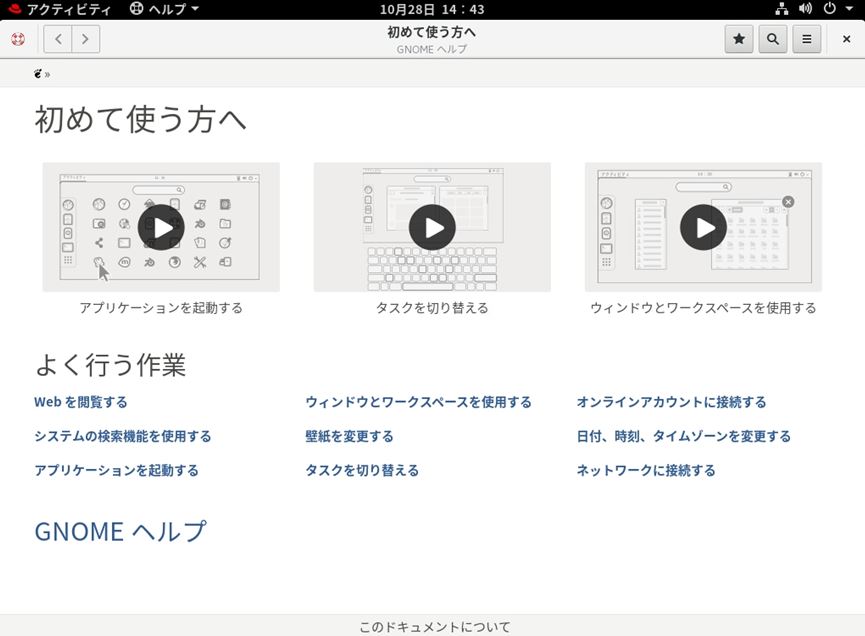
手順 8:
任意で内容を確認してください。「 初めて使う方へ 」画面を閉じる場合は右上の「閉じる」を選択します。
手順 9:
Red Hat Enterprise Linux 8にログイン完了です。