Windows7の「Windows メモリ診断ツール」は、Windows 標準機能で利用することができるメモリに異常がないか確認できるメモリチェックソフトです。 使用端末の利用時に意図しない再起動・突然のブルースクリーンなどのエラーが発生する回数が増えるようになってきたらOS・ディスク・メモリの不具合などが考えられますがメモリが原因になっているケースが多くみられます。
症状の切り分け方は様々な方法がありますが、まずはWindows標準搭載機能の「Windowsメモリ診断」をおすすめします。今回は、Windows 7を利用しメモリ診断ツールの実行と併せイベントビューアーでのログ確認方法を解説します。
Windows7 パソコン:メモリテスト実行
手順 1:
デスクトップ左下「 Windowsマーク 」を選択します。

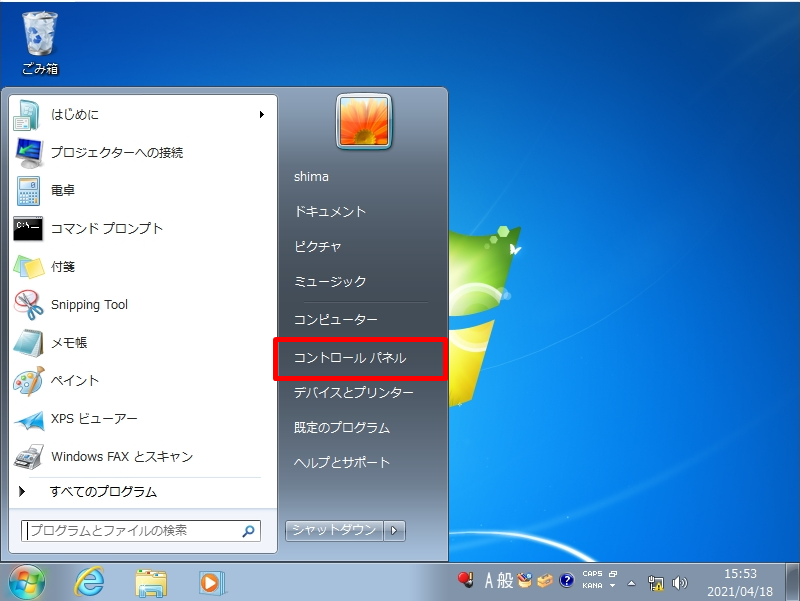
手順 2:
「コントロールパネル」を選択します。
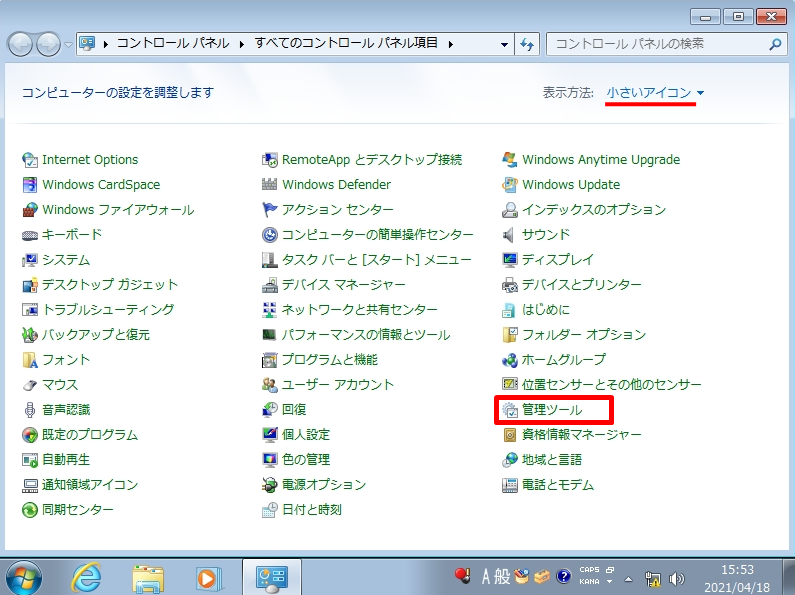
手順 3:
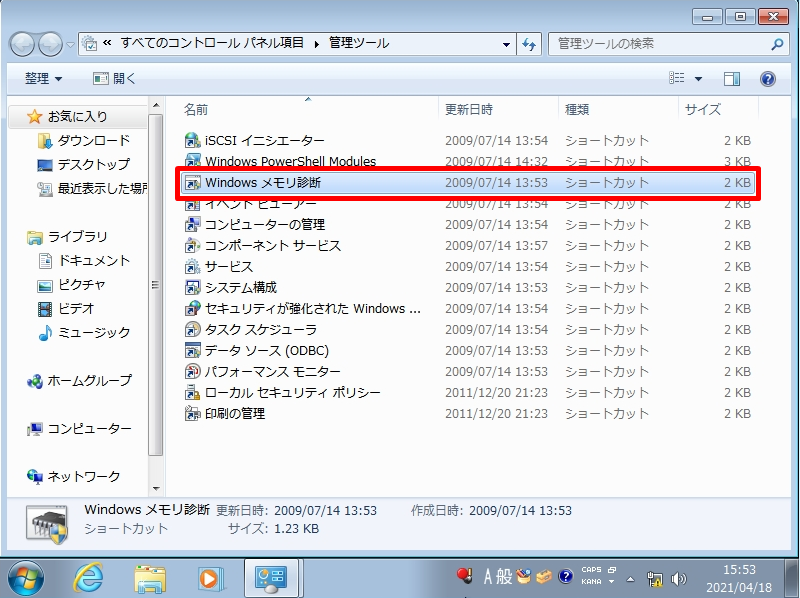
表示方法:小さいアイコン ->「管理ツール」を選択します。
手順 4:
「Windows メモリ診断」をダブルクリックします。
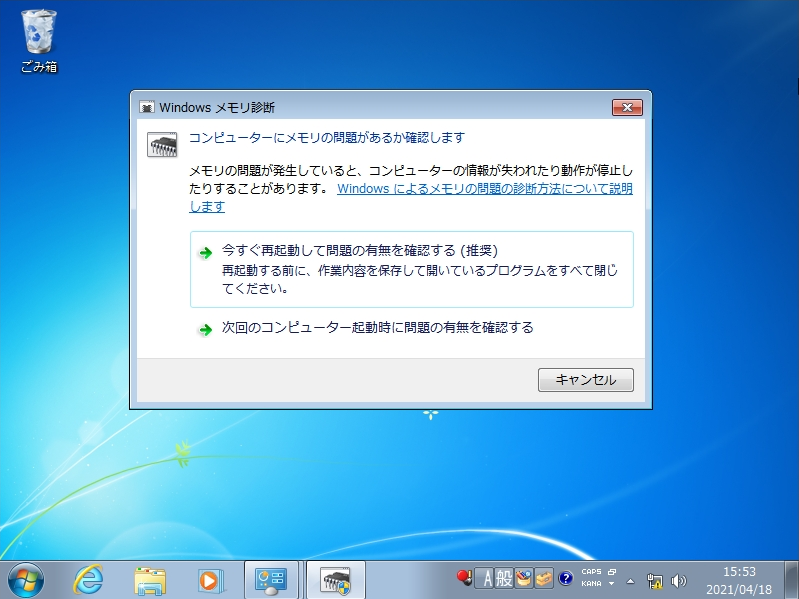
手順 5:
再起動するタイミングを選択します。
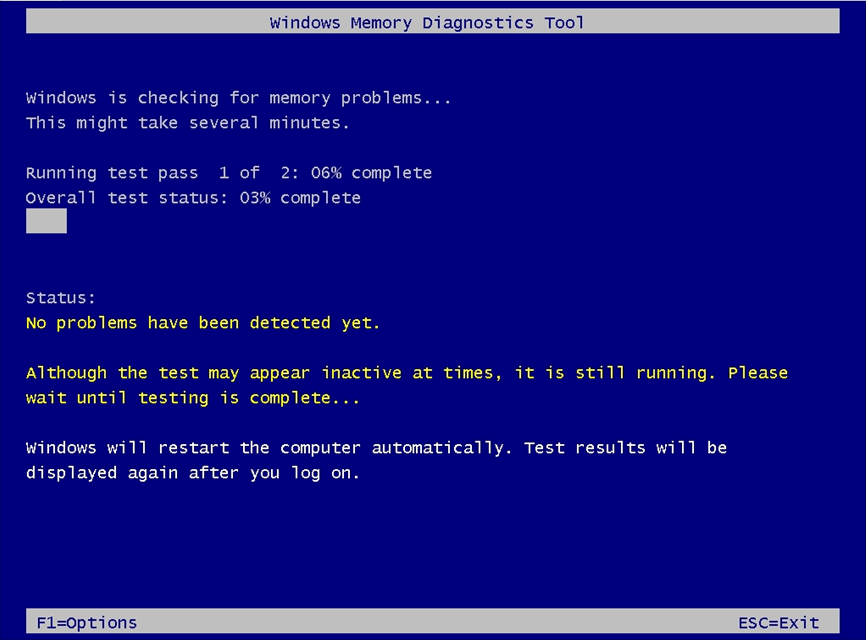
手順 6:
Windowsメモリ診断ツールが開始されます。
※使用しているPC(搭載メモリ)によって診断処理時間は異なります。
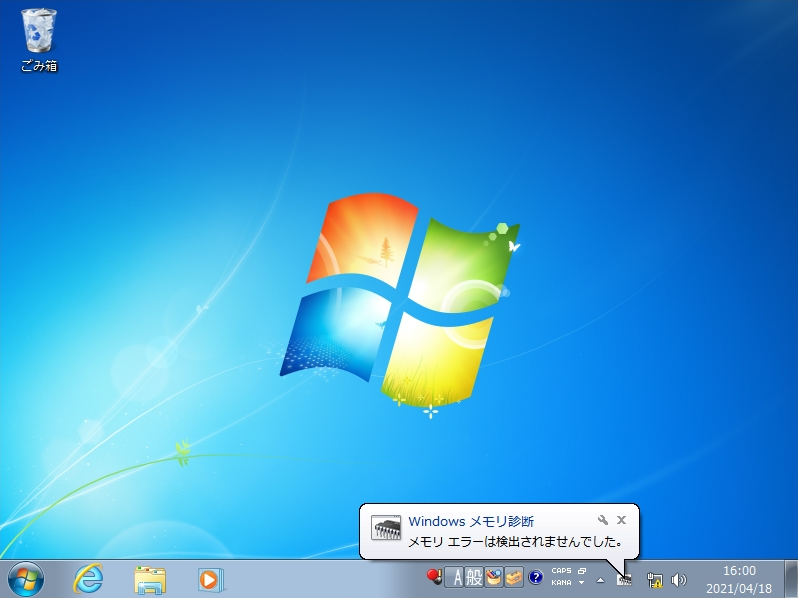
手順 7:
メモリ診断終了後、 少し時間が経つとメモリ診断結果が表示されます。
※今回は2-3分程度で結果画面が表示されました。
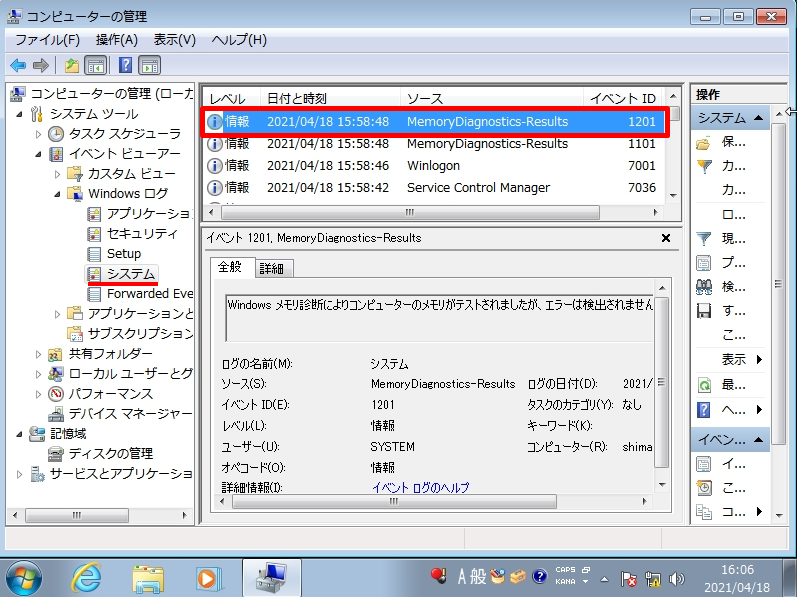
Windows7 パソコン:イベントビューアー ログ確認
手順 1:
メモリ診断結果はイベントビューアーのログで確認することが可能です。デスクトップ左下「 Windowsマーク 」を選択します。
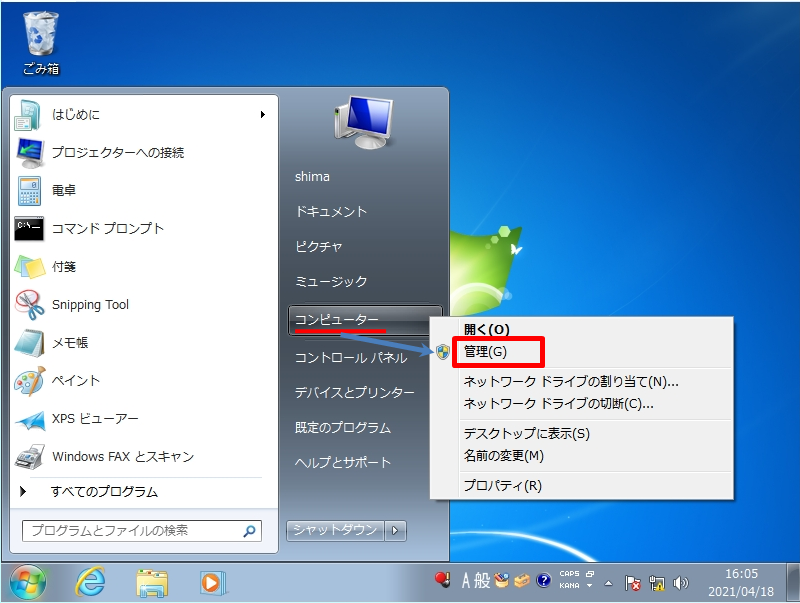
手順 2:
「コンピューター」を右クリック ->「管理」を選択します。
手順 3:
イベントビューアー「システム」項目のソースに「MemoryDiagnostics-Results」のログが出力され結果が表示されます。
コンピューターの管理
- システムツール
- イベントビューアー
- Windows ログ
- システム