Active Directory ドメインサービスは、ドメインのコンピュータ・ユーザーアカウント・プリンターなどの共有資源を管理するための機能です。サービスをインストールするには、「役割と機能の追加」からインストールウィザードを起動し Active Directory ドメインサービスを追加します。
Windows Server 2012 R2:Active Directoryドメインサービス インストール
手順 1:
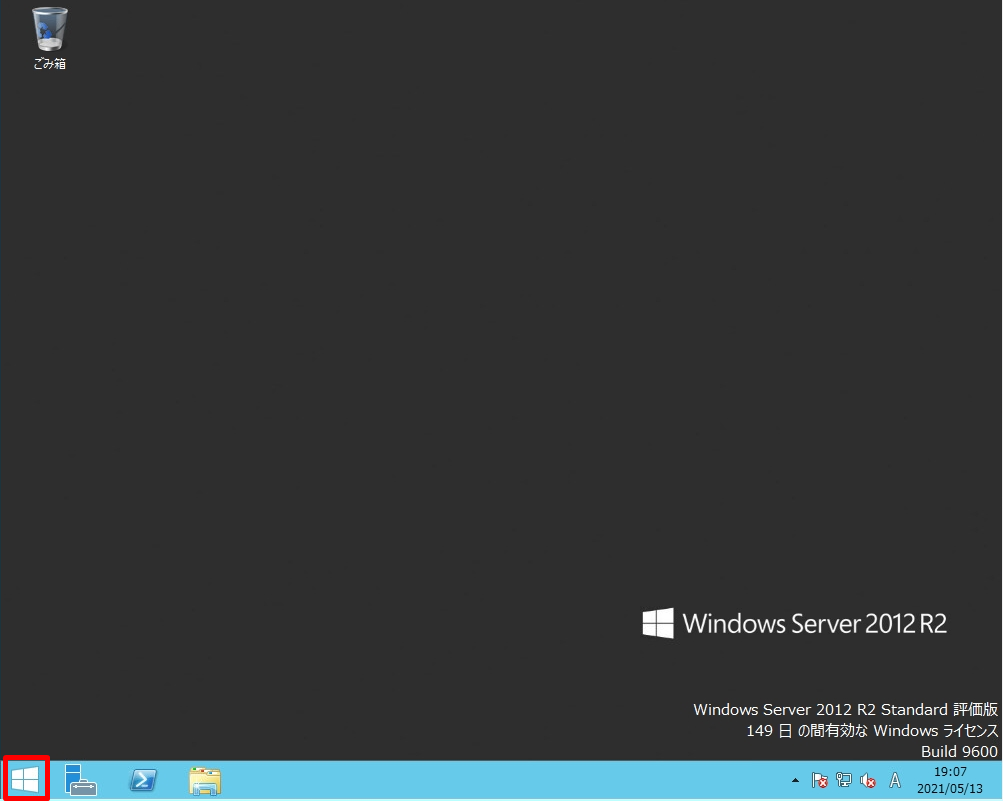
デスクトップ画面左下の「 Windowsアイコン」を選択します。
手順 2:
「サーバーマネージャー」を選択します。

手順 3:
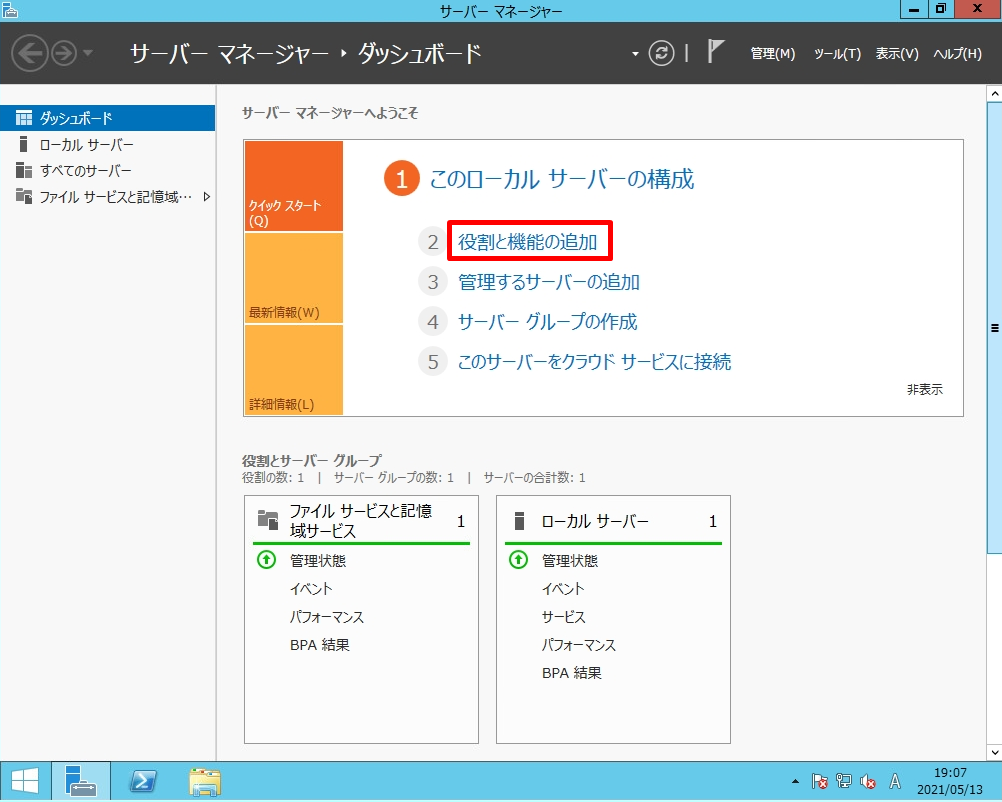
「サーバーマネージャー ダッシュボード」画面 ->「 役割と機能の追加 」を選択します。
手順 4:
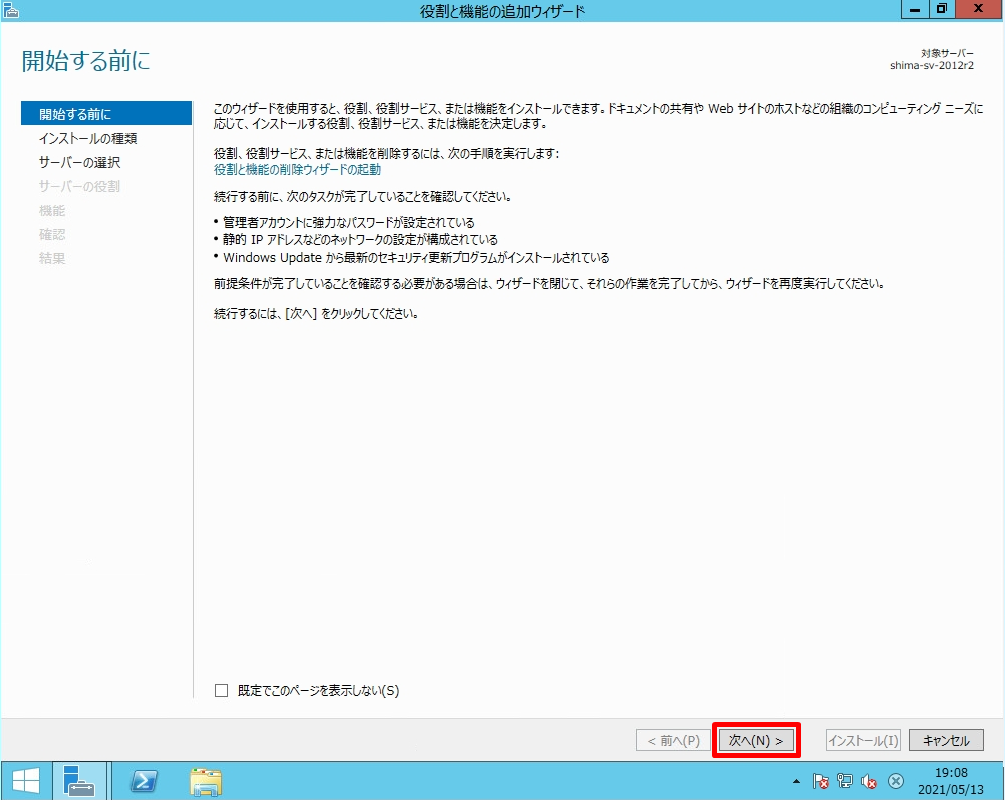
「開始する前に」画面 ->「次へ」を選択します。
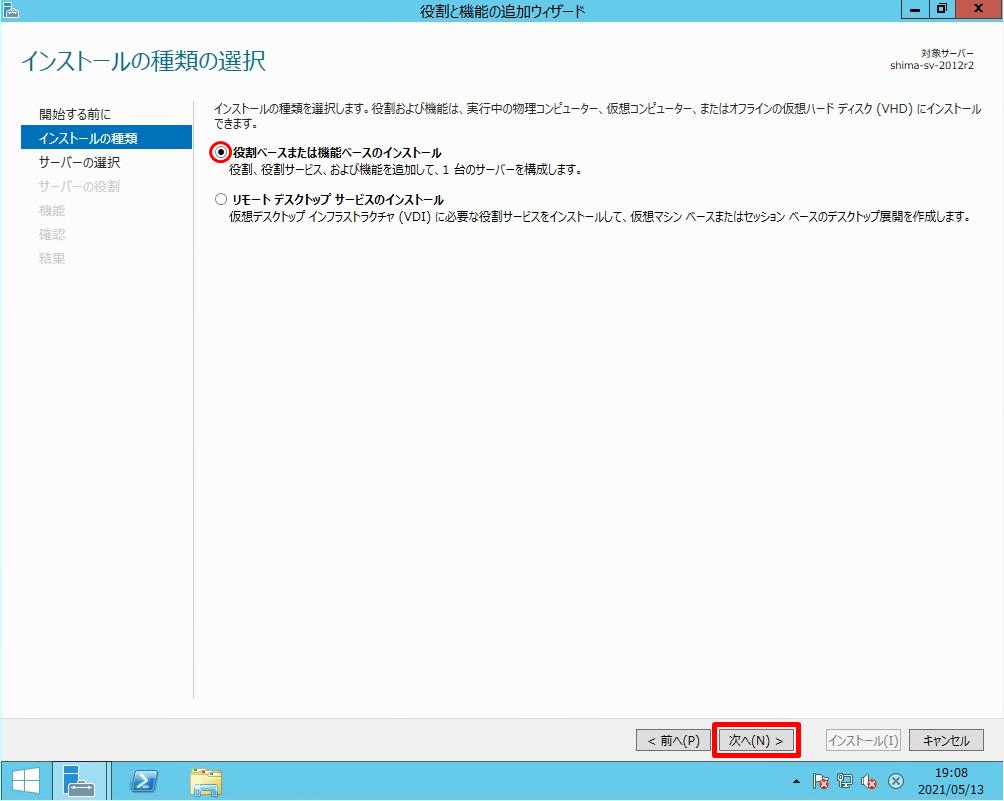
手順 5:
「インストールの種類の選択」画面 -> 役割ベースまたは機能ベースのインストールを選択し「次へ」を選択します。
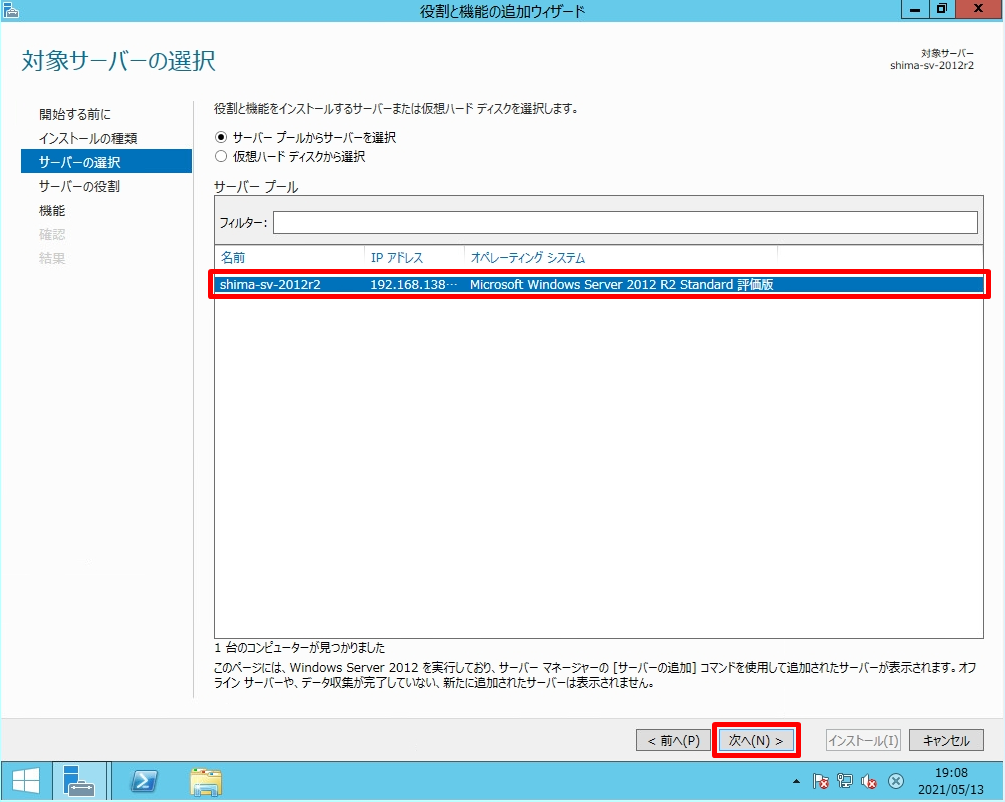
手順 6:
「対象サーバーの選択」画面 -> 自サーバーの名前を選択し「次へ」を選択します。
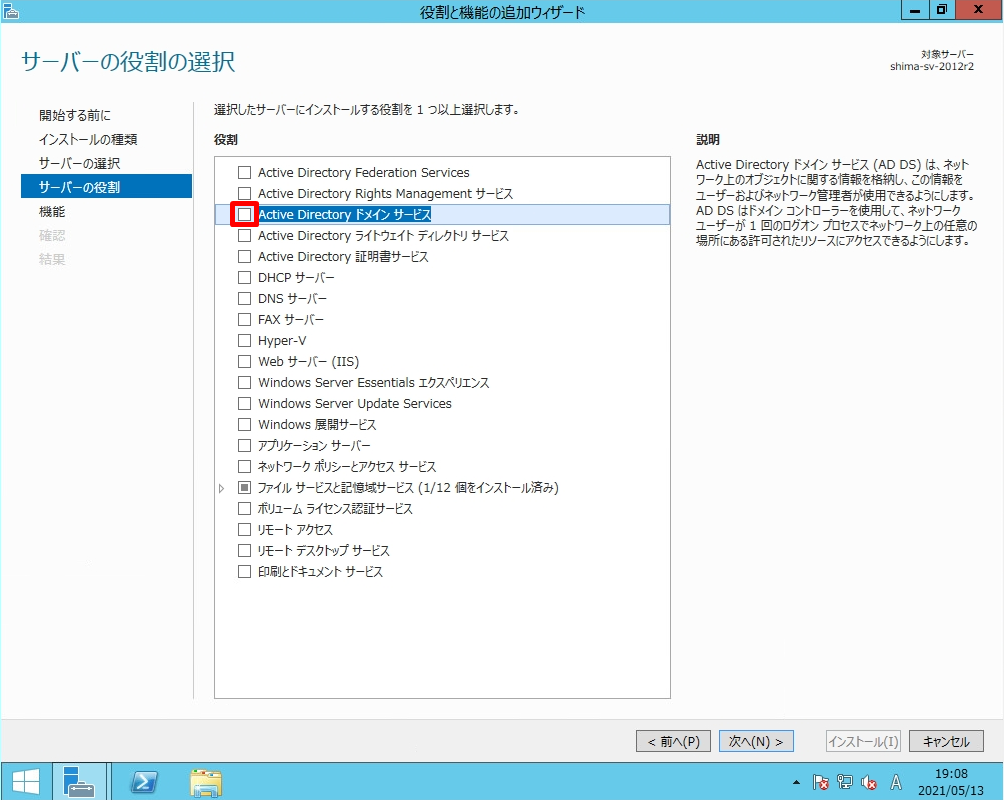
手順 7:
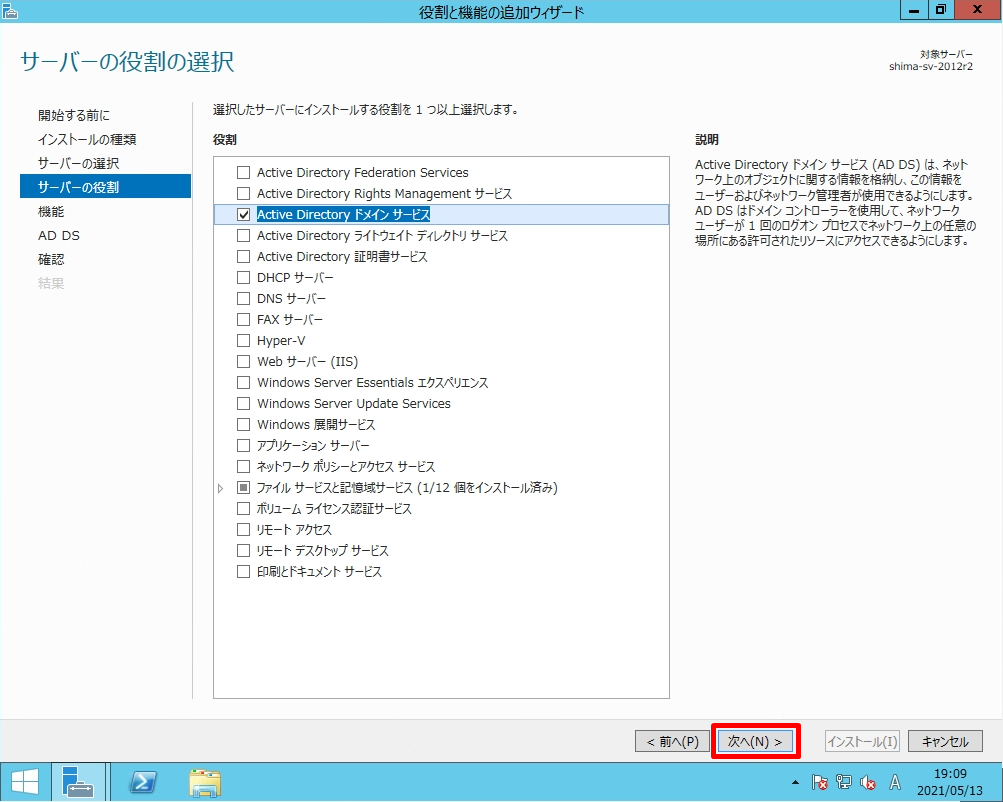
「サーバーの役割の選択」画面 -> 赤枠部分、Active Directory ドメインサービスを選択します。
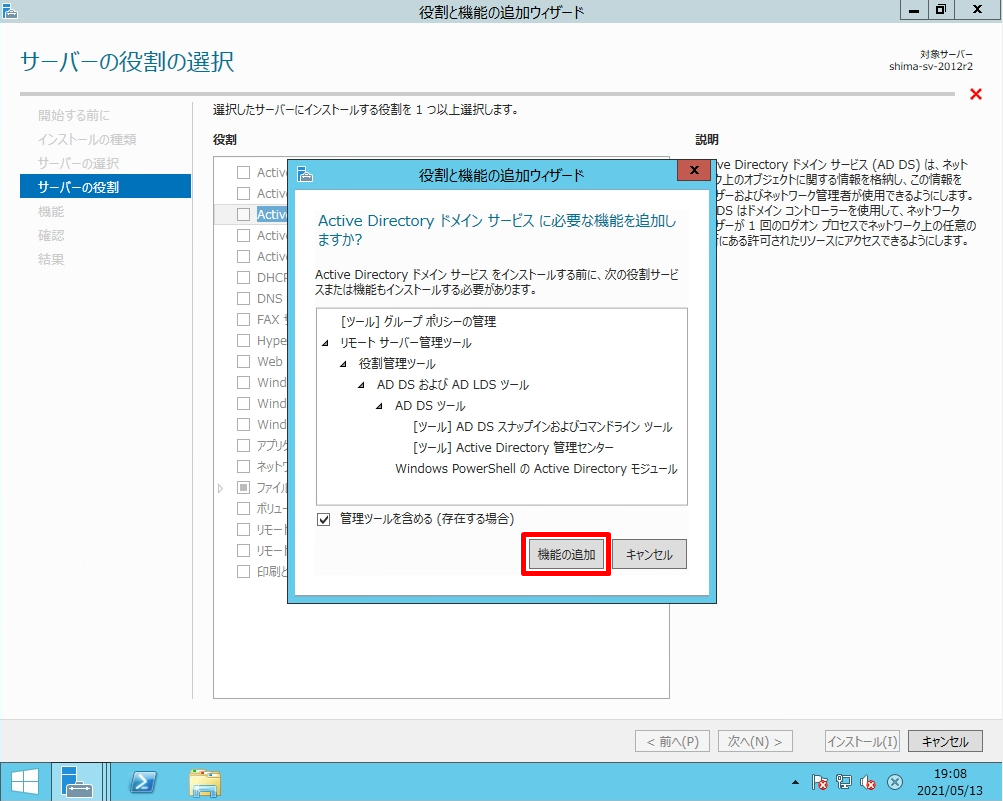
手順 8:
「 機能の追加 」を選択します。
手順 9:
Active Directory ドメインサービスのチェックボックスが有効になったことを確認し「 次へ 」を選択します。
手順 10:
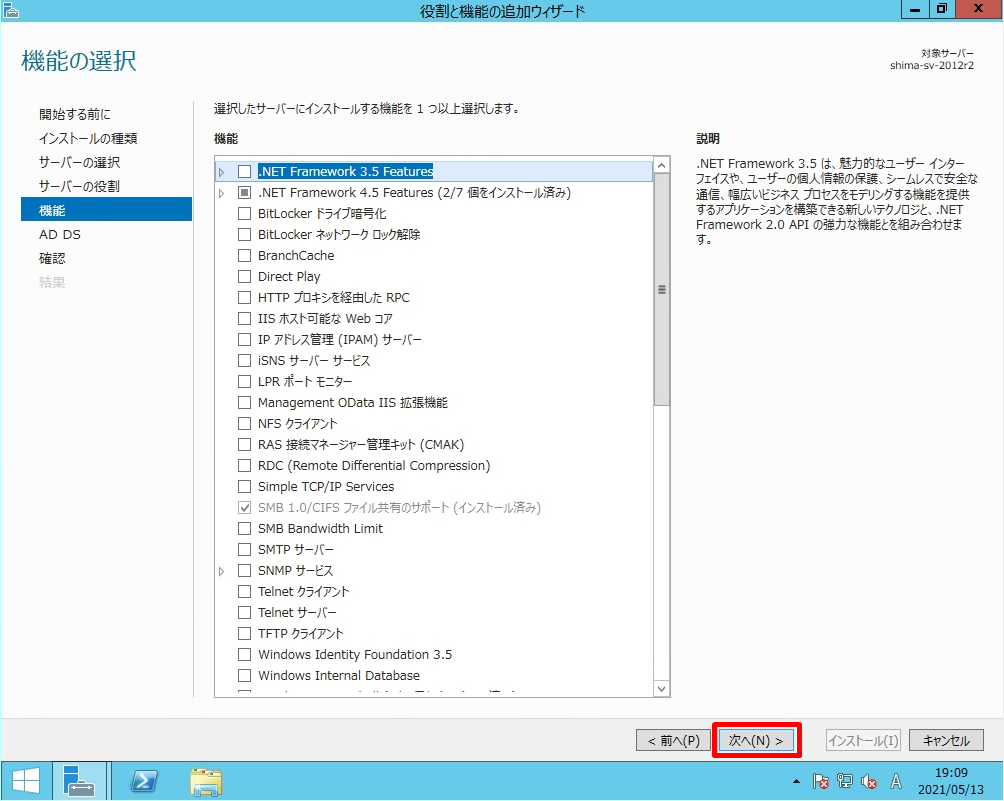
「機能の選択」画面は何も選択しないで「 次へ 」を選択します。
手順 11:
「Active Directory ドメインサービス」画面 ->「 次へ 」を選択します。

手順 12:
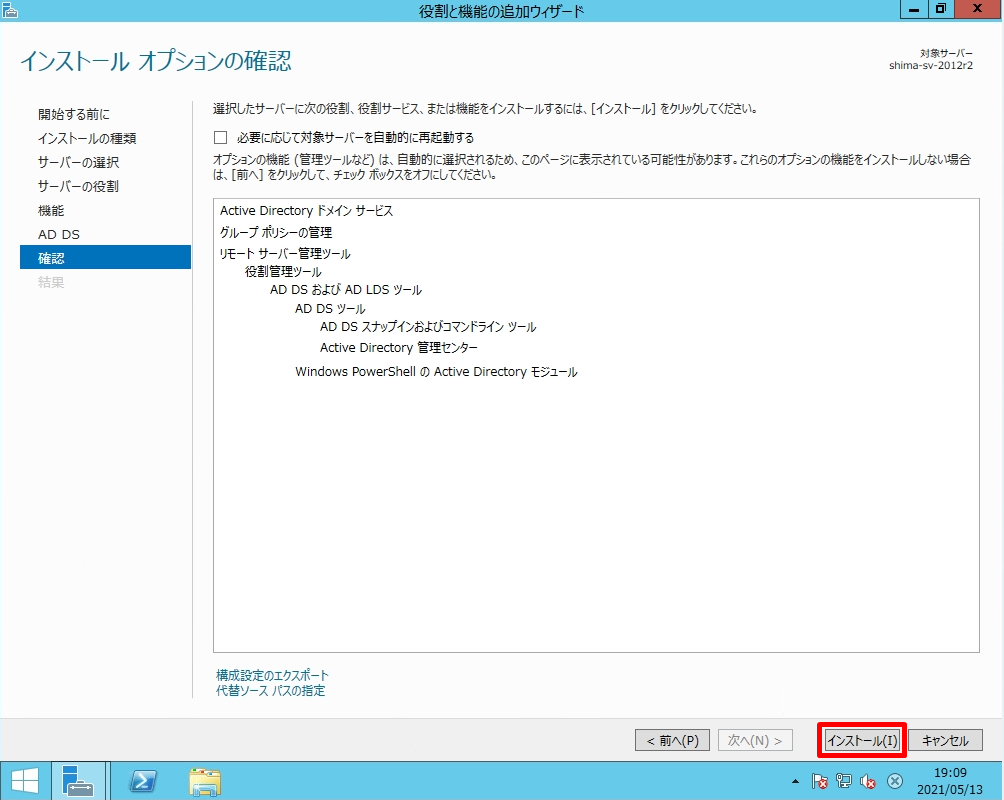
「インストールオプションの確認」画面 ->「 インストール 」を選択します。
手順 13:
「インストールの進行状況」画面 ->「 閉じる 」を選択します。
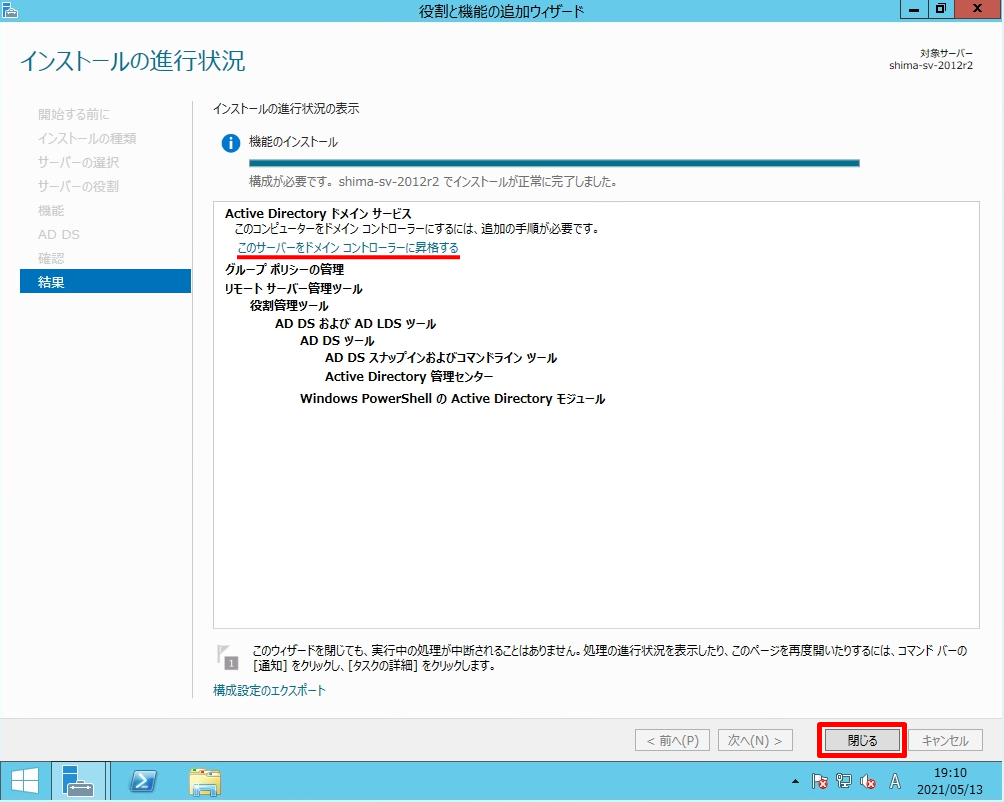
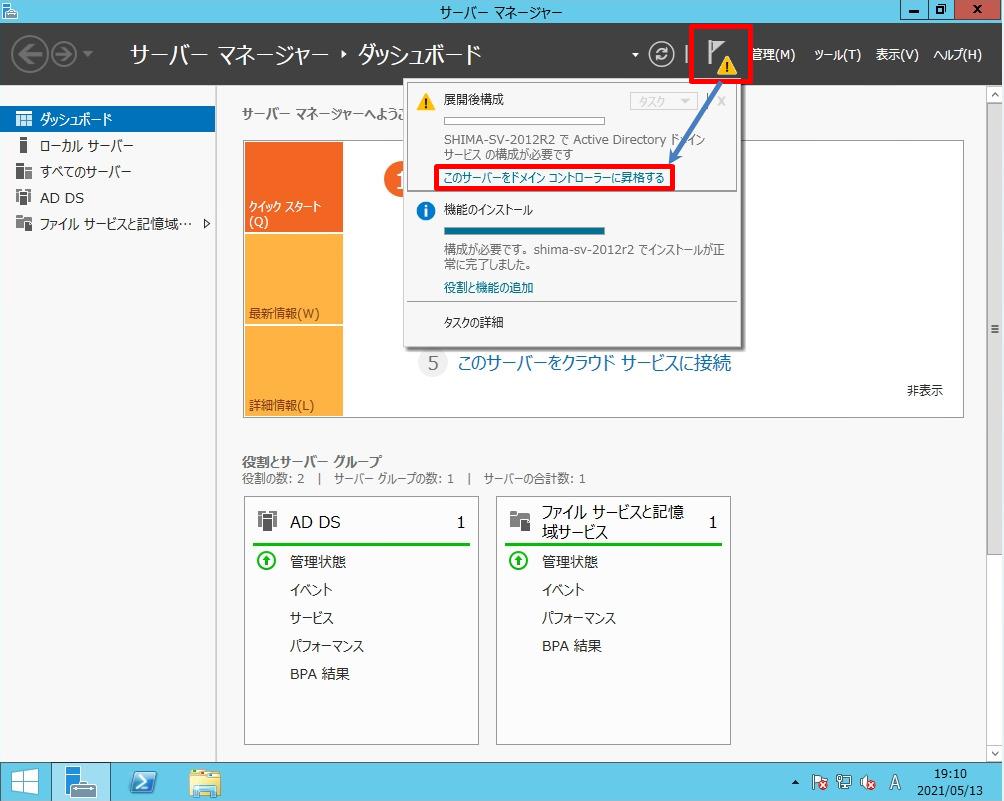
前手順で「閉じる」を選択した場合、「サーバーマネージャー ダッシュボード」画面 ->「このサーバーをドメインコントローラーに昇格する」を選択することでドメインコントローラーのセットアップをすることができます。