Ubuntuはサーバー用途として人気が高いLinuxディストリビューションです。コントロールパネルからMicrosoft Hyper-Vを有効化後、ダウンロードしたUbuntu Server 20.04 LTS のISOファイルを読み込ませ Hyper-V 上の仮想マシンにインストールすることで Ubuntu Server 20.04 LTS を動作させることができます。
本記事では、Windows10 Proに搭載されているHyper-Vで Ubuntu Server 20.04 LTS を構築する一連の手順・操作方法を説明します。
補足としてMicrosoft Hyper-Vを動作させるためのシステム要件を以下に記載します。
- Windows 10 Enterprise、Pro、または Education
- 第 2 レベルのアドレス変換 (SLAT) の 64 ビット プロセッサ
- VM モニター モード拡張機能 (Intel CPU の VT-c) の CPU サポート
- 最小 4 GB のメモリ
引用元:マイクロソフト公式サイト
目次
1. Ubuntu Server 20.04 LTS ISOファイル ダウンロード
手順 1:
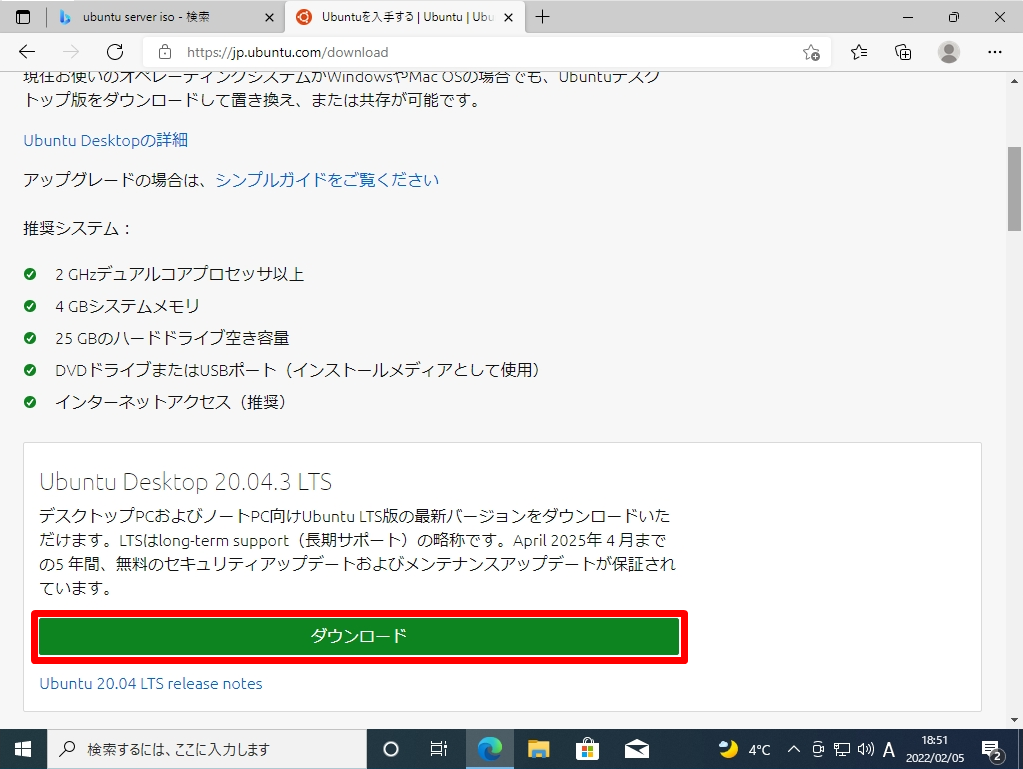
Ubuntu公式ダウンロードサイト に接続します。「Ubuntu Desktop」、「Ubuntu Server」が表示されます。Ubuntu Server項目の「ダウンロード」を選択します。
Ubuntu公式ダウンロードサイト:https://jp.ubuntu.com/download
手順 2:
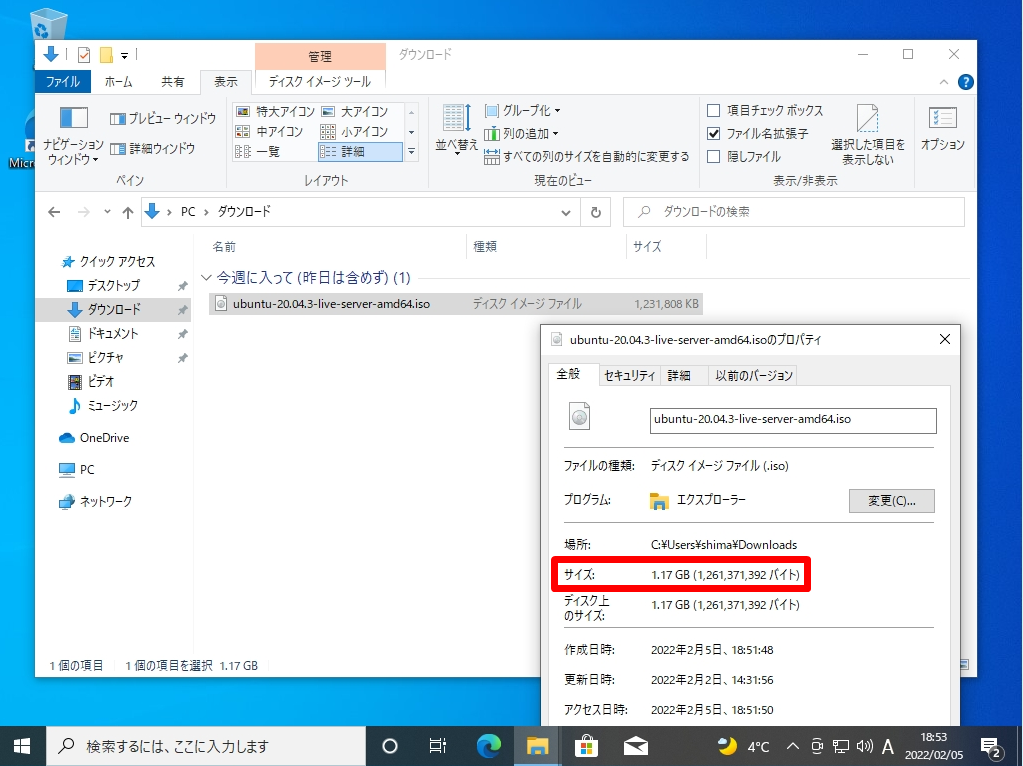
ISOファイルがダウンロードするまで少し待ち、Ubuntu Server 20.04 LTS ISOファイルがダウンロードされたことを確認します。※Ubuntu Server 20.04 LTS ISOファイルサイズは約1.2GBありました。
2. Windows 10:Hyper-V 有効化方法
手順 1:
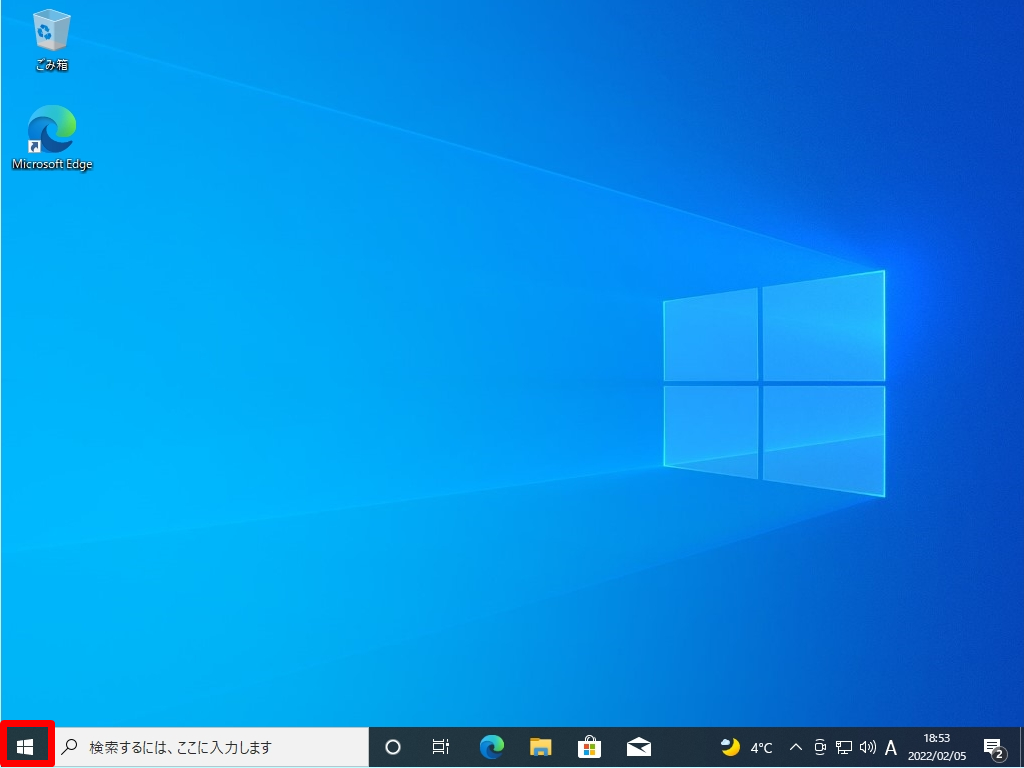
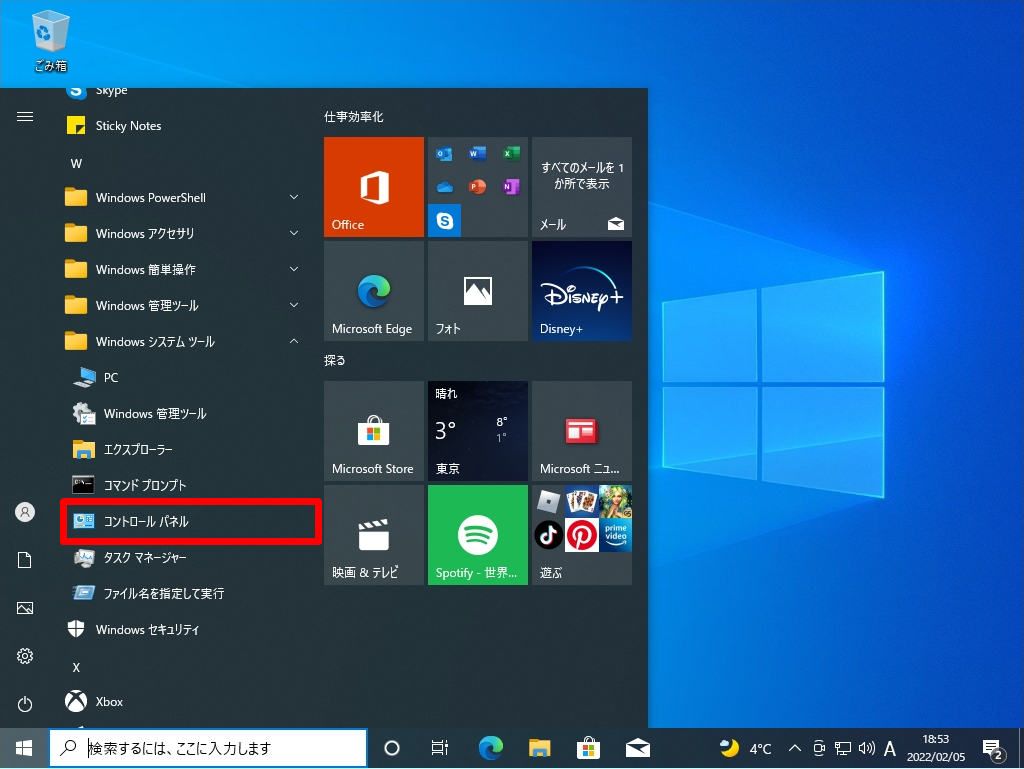
デスクトップ左下「 Windowsマーク 」を選択します。
手順 2:
「Windows システムツール」 ->「コントロールパネル」を選択します。
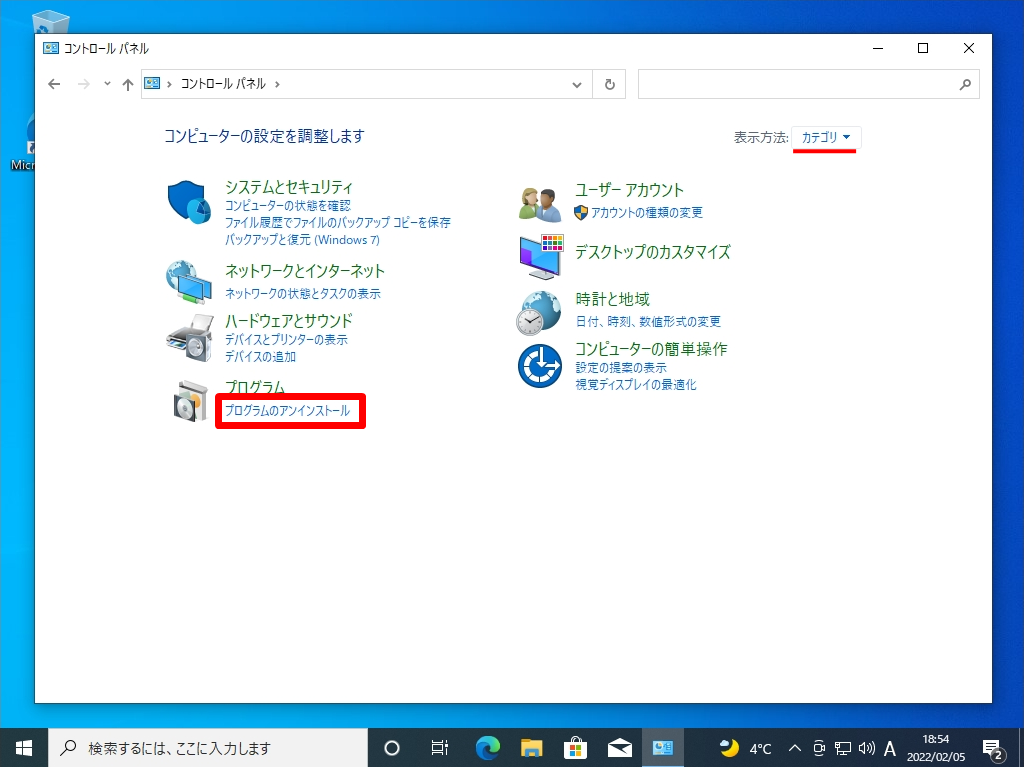
手順 3:
コントロールパネル画面:表示方法 カテゴリ ->「プログラムのアンインストール」を選択します。
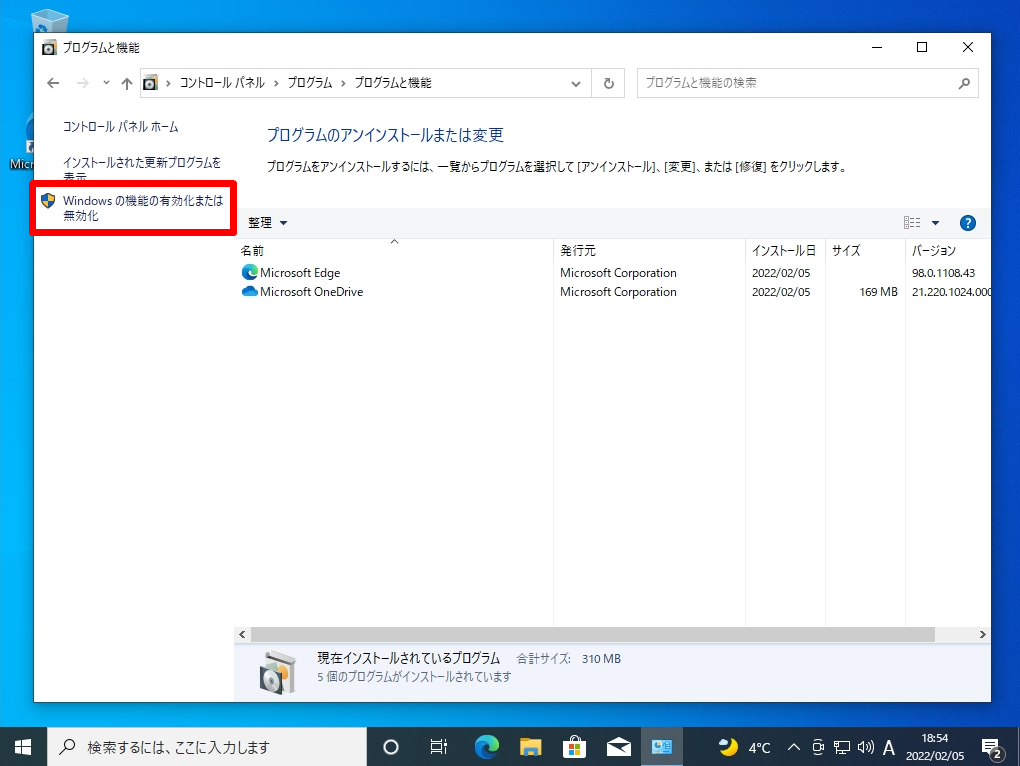
手順 4:
プログラムと機能画面:「Windowsの機能の有効化または無効化」を選択します。
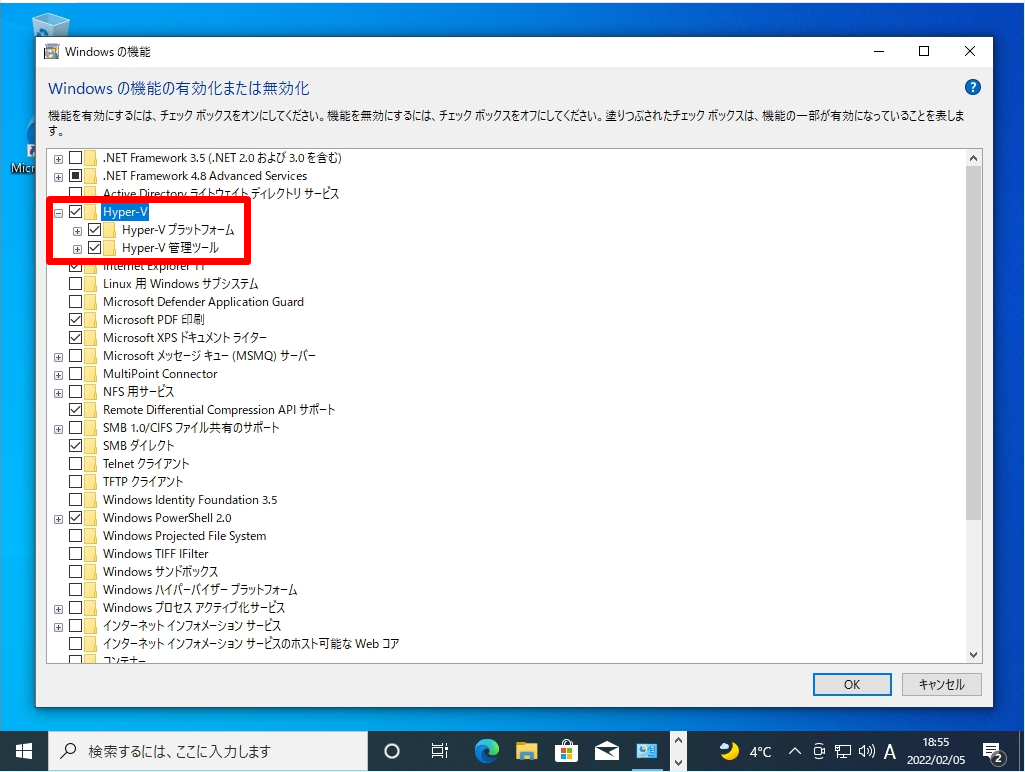
手順 5:
「Hyper-V 」を有効化 ->「OK」を選択します。
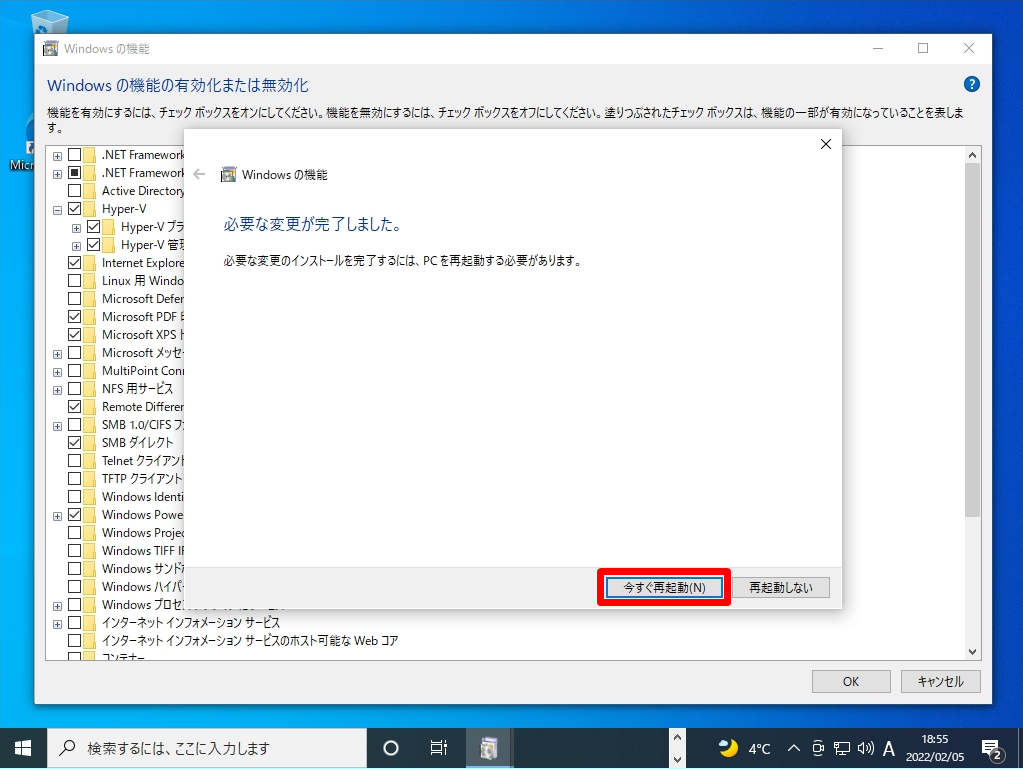
手順 6:
「 今すぐ再起動 」を選択します。
3. Windows 10 Hyper-V:Ubuntu Server 20.04 インストール/仮想マシン作成
手順 1:
デスクトップ左下「 Windowsマーク 」を選択します。

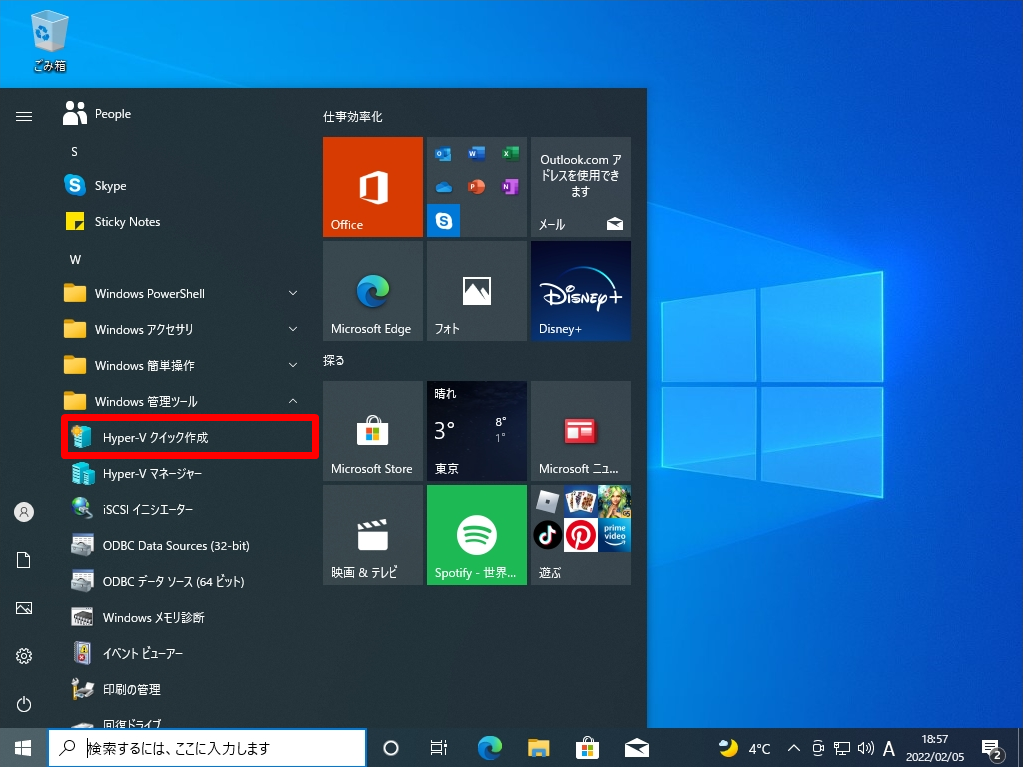
手順 2:
「Windows 管理ツール」->「 Hyper-V クイック作成 」を選択します。
※Hyper-V マネージャー でも仮想マシンの作成は可能です。本記事では少ない操作で Ubuntu Server 20.04 LTS を構築するため「 Hyper-V クイック作成 」を選択しています。
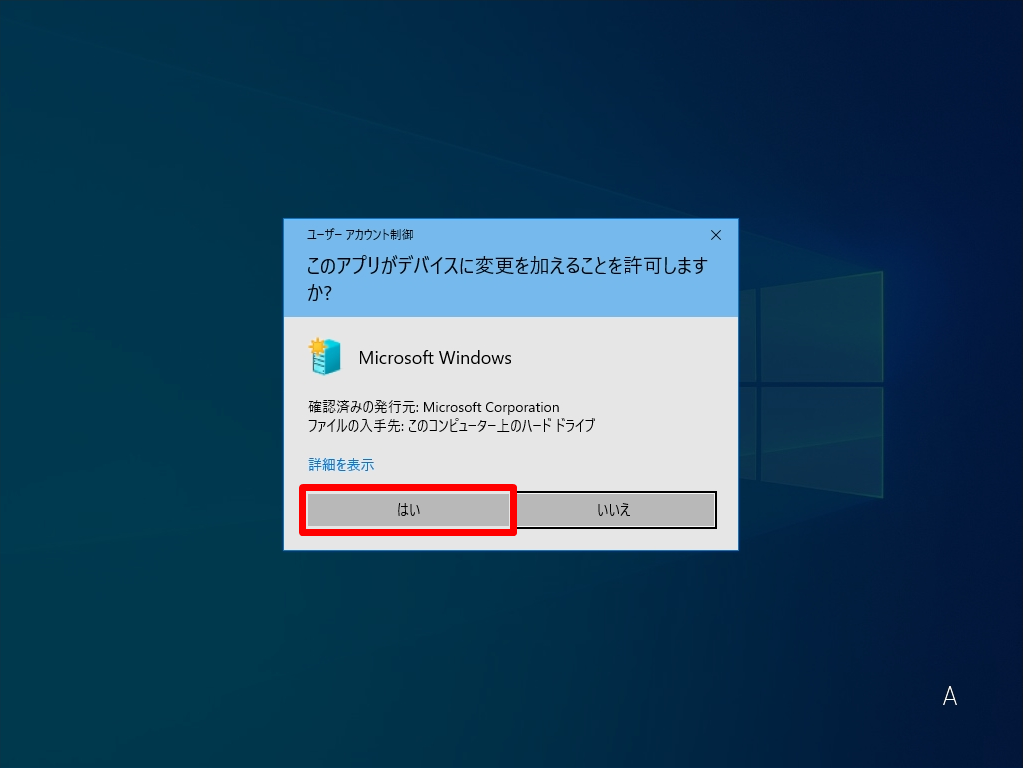
ユーザーアカウント制御画面が表示されたら「はい」を選択します。
手順 3:
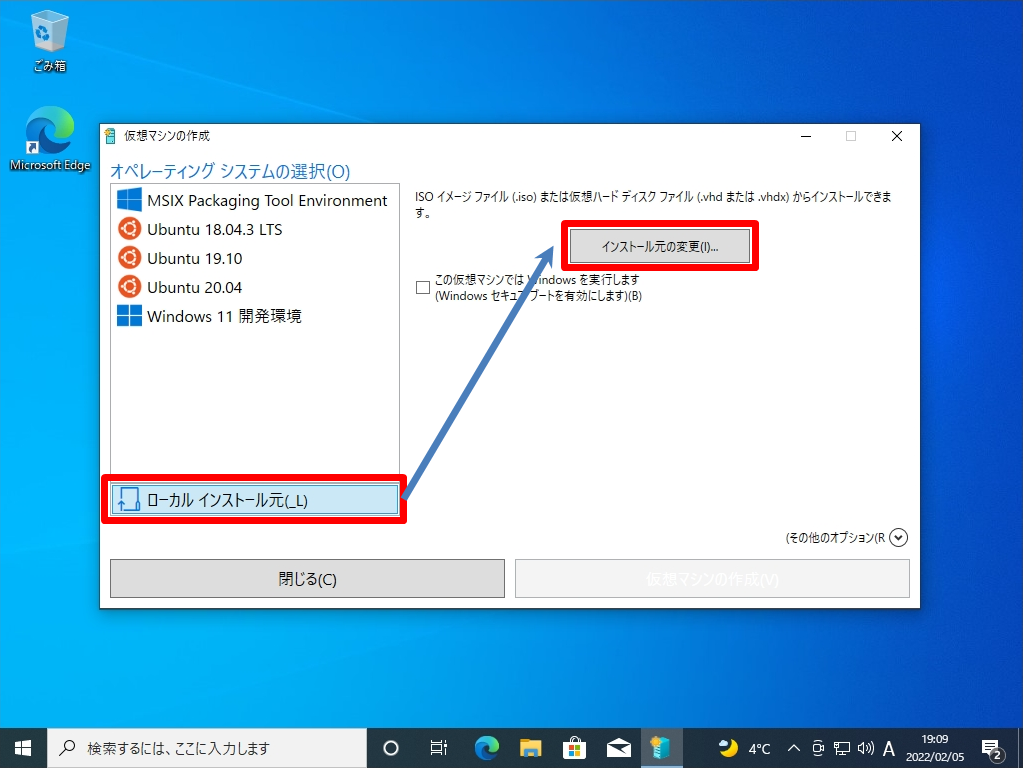
「この仮想マシンではWindows を実行します (Windows セキュアブートを有効にします)」のチェックを外します。
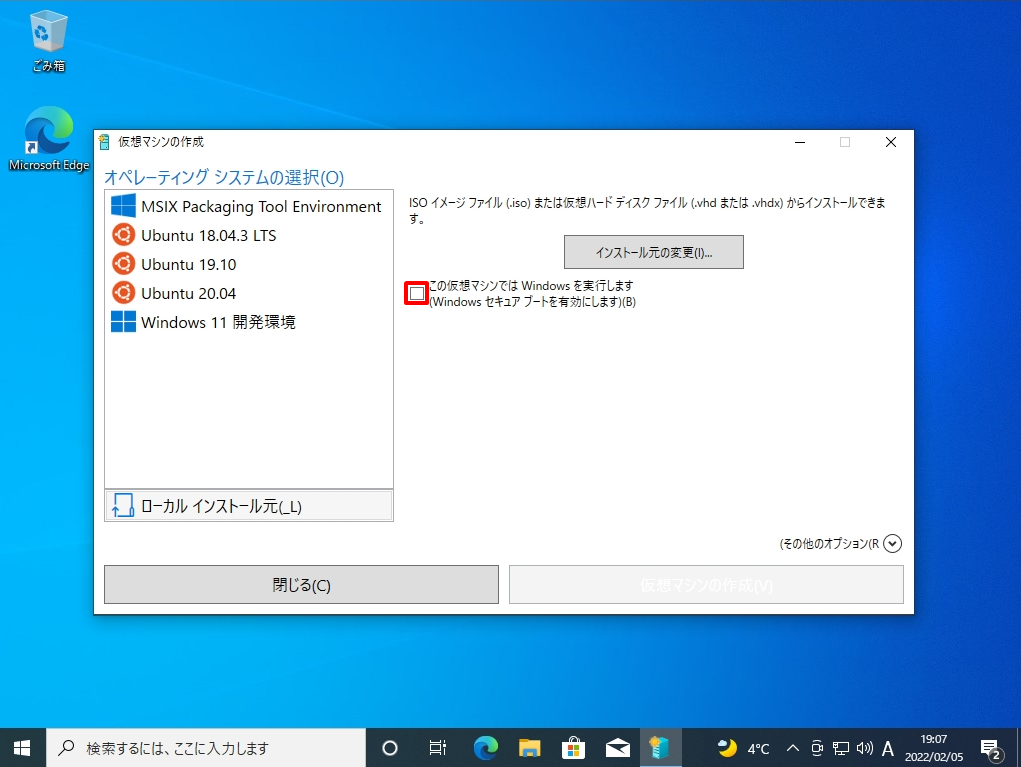
手順 4:
「 ローカル インストール元 」 –>「 インストール元の変更 」を選択します。
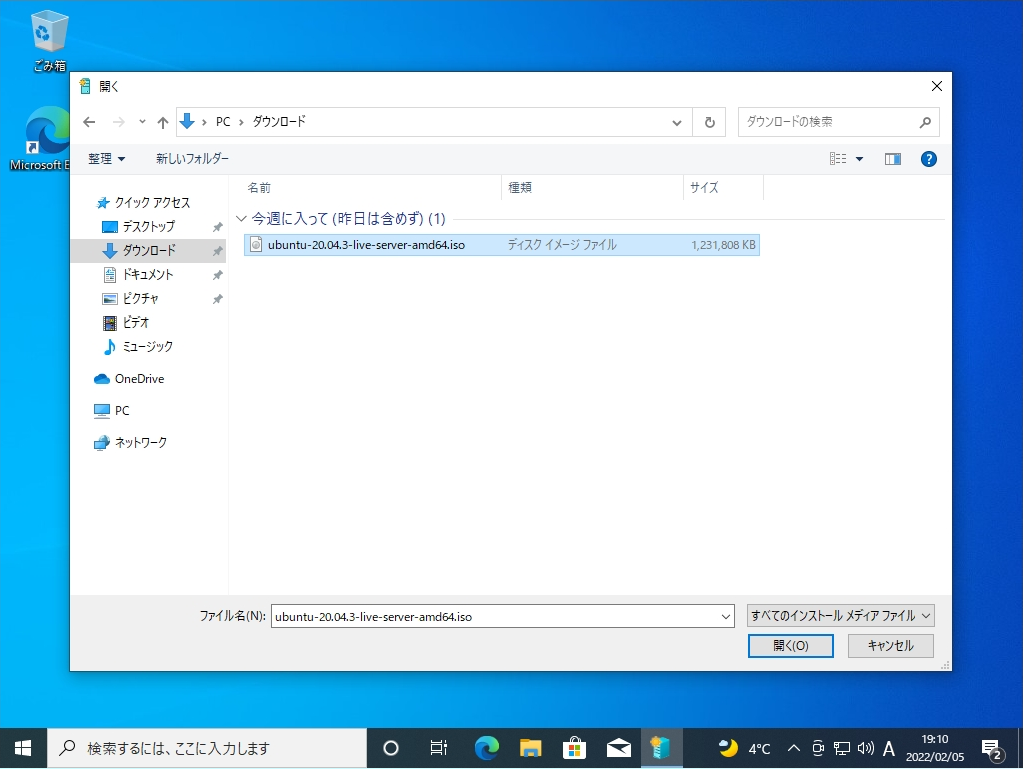
手順 5:
ダウンロードした Ubuntu Server 20.04 LTS のISOイメージファイルを選択 –>「 開く 」を選択します。
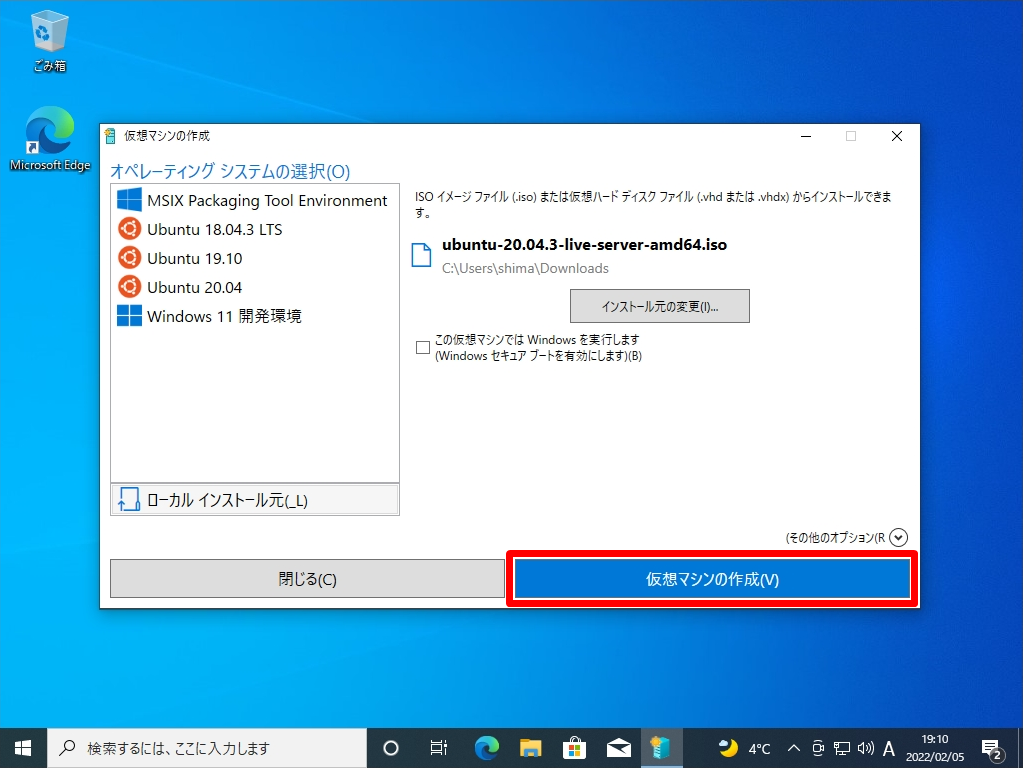
手順 6:
「 仮想マシンの作成 」を選択します。
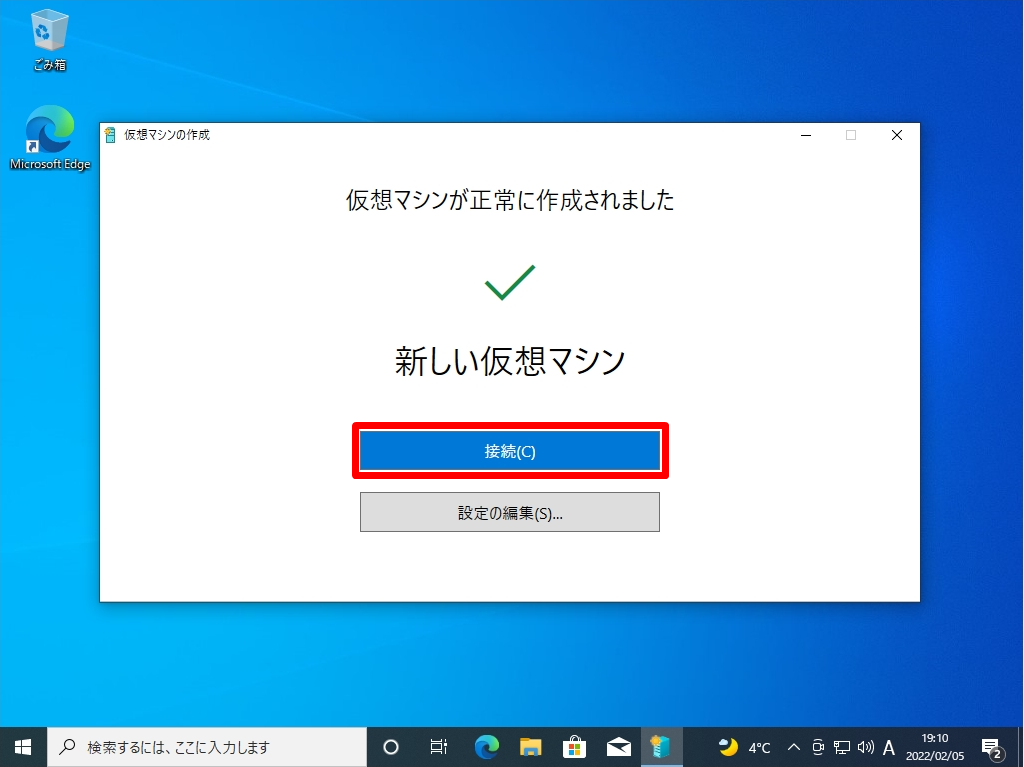
手順 7:
「 接続 」を選択します。
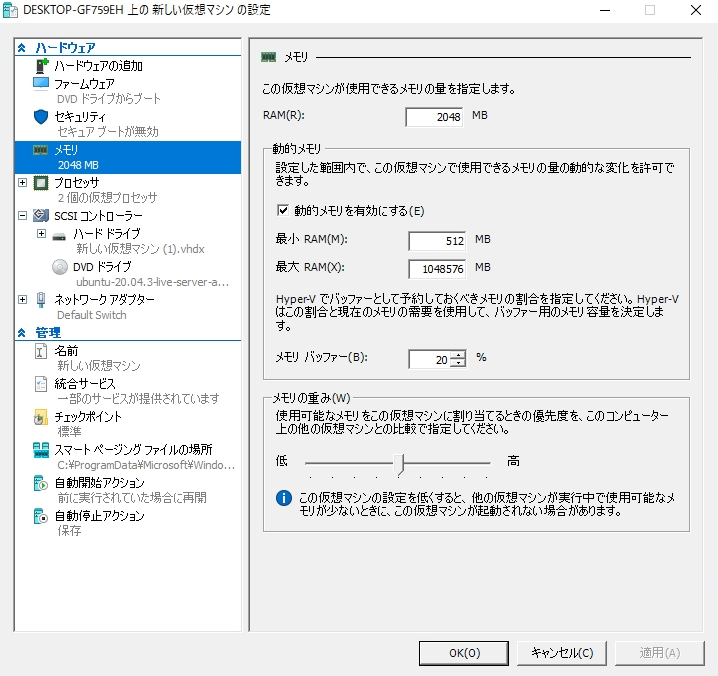
CPU・メモリサイズを変更する場合「設定の編集」を選択することで仮想マシンのスペックを変更することができます。本記事では参考として CPU・メモリサイズの変更画面を記載します。
ハードウェア:メモリ項目で仮想マシンのメモリを変更することができます。
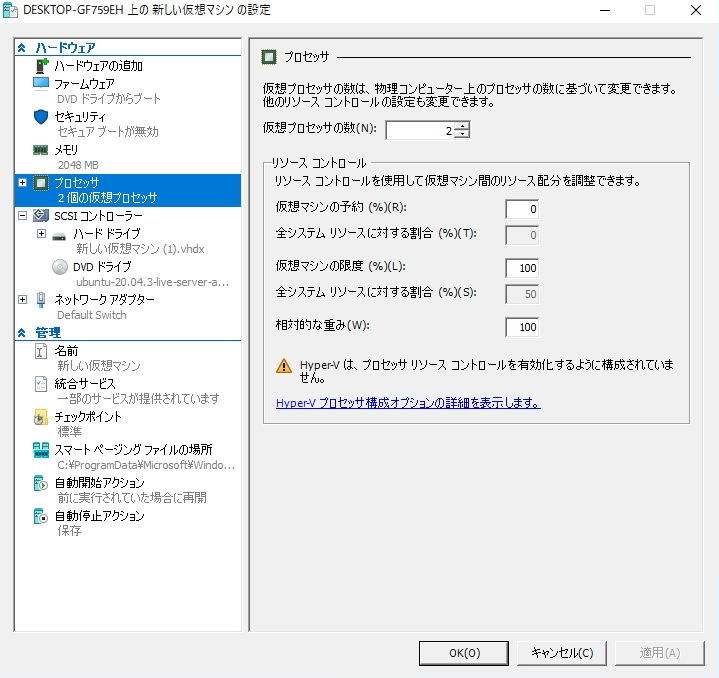
ハードウェア:プロセッサ項目で仮想プロセッサの数を変更することができます。
4. Windows10 Hyper-V:Ubuntu Server 20.04 LTS インストール
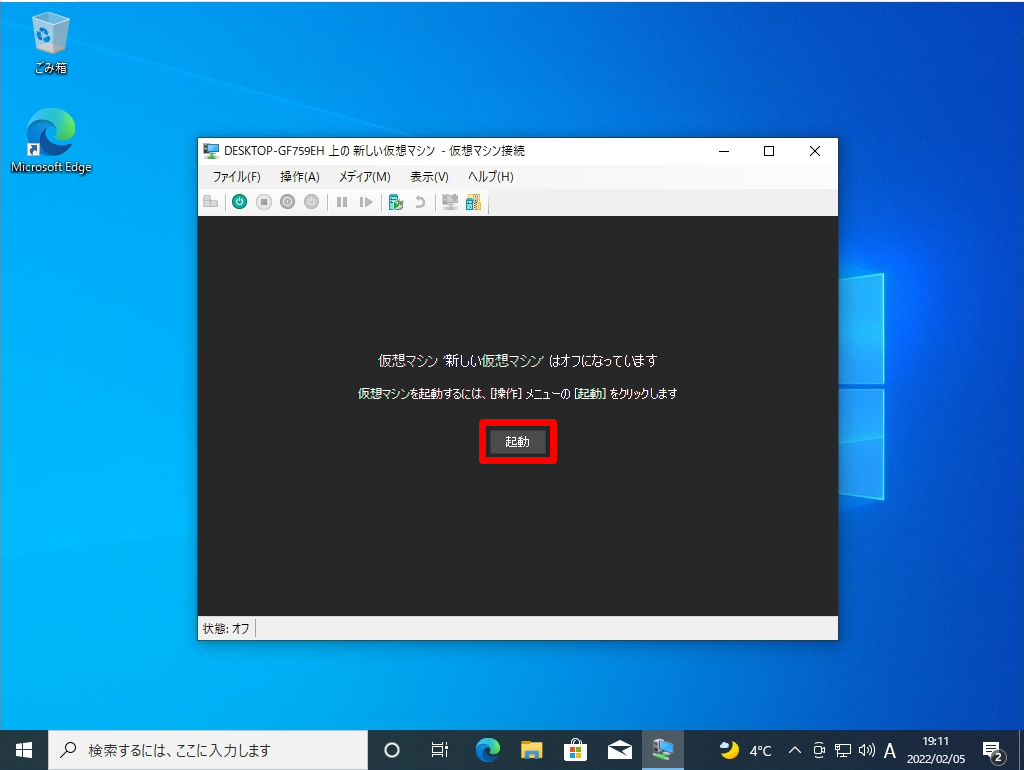
手順 1:
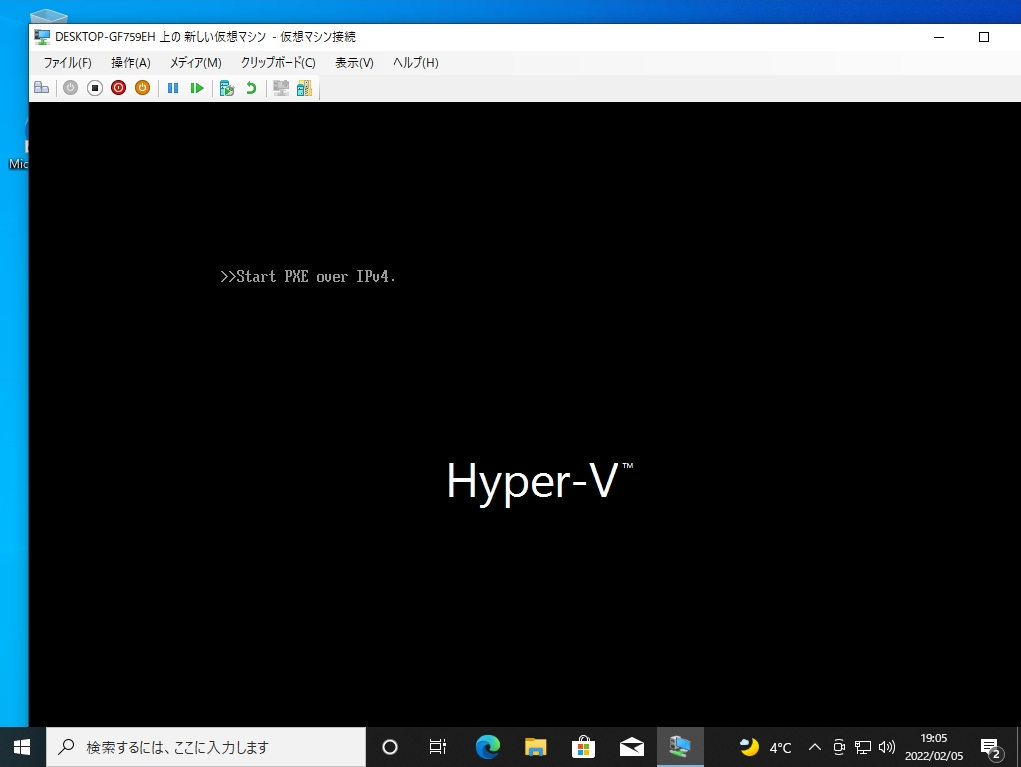
「 起動 」を選択します。
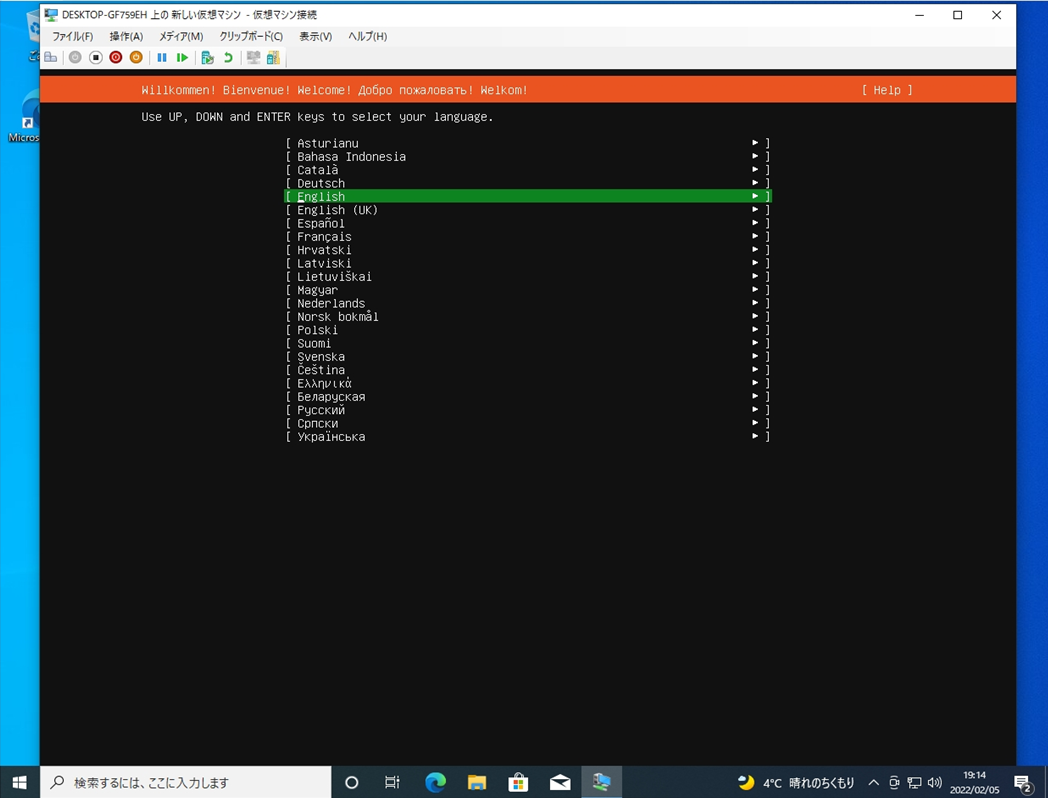
手順 2:
言語選択画面です。Languageの選択項目に「Jananese(日本語)」がないためEnglishを選択しています。
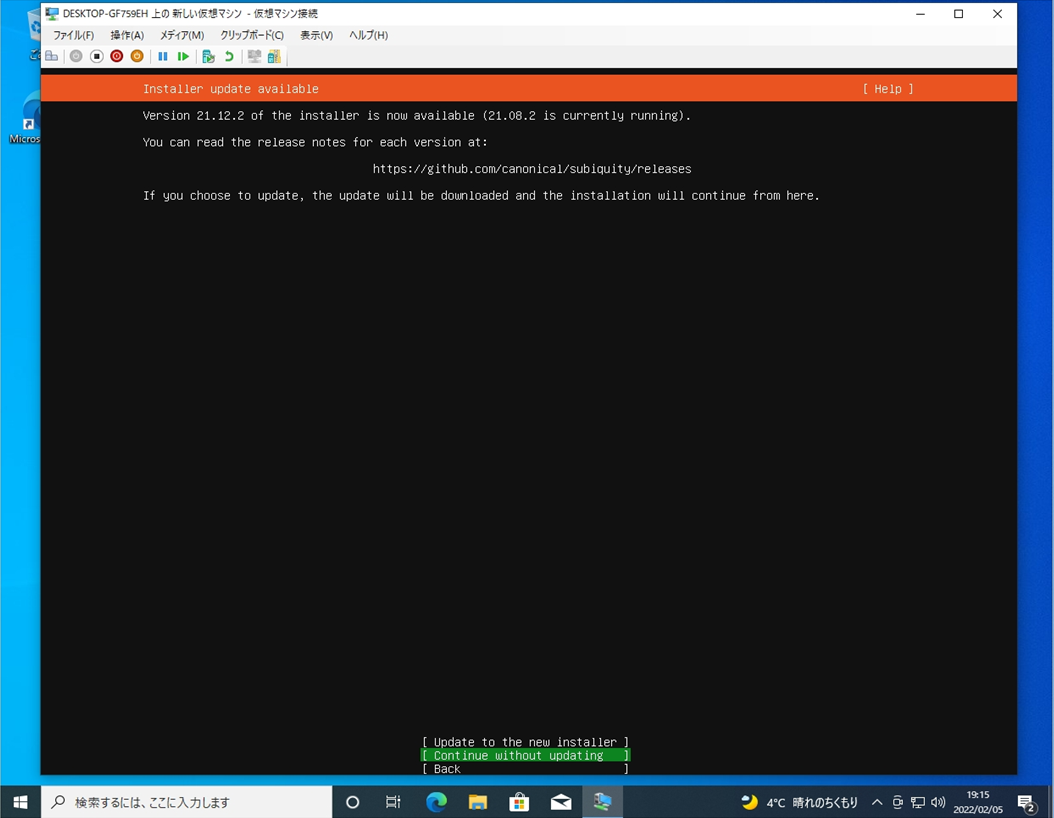
手順 3:
アップデートの画面です。インターネット接続の環境で最新版があれば、アップデートをすることができます。
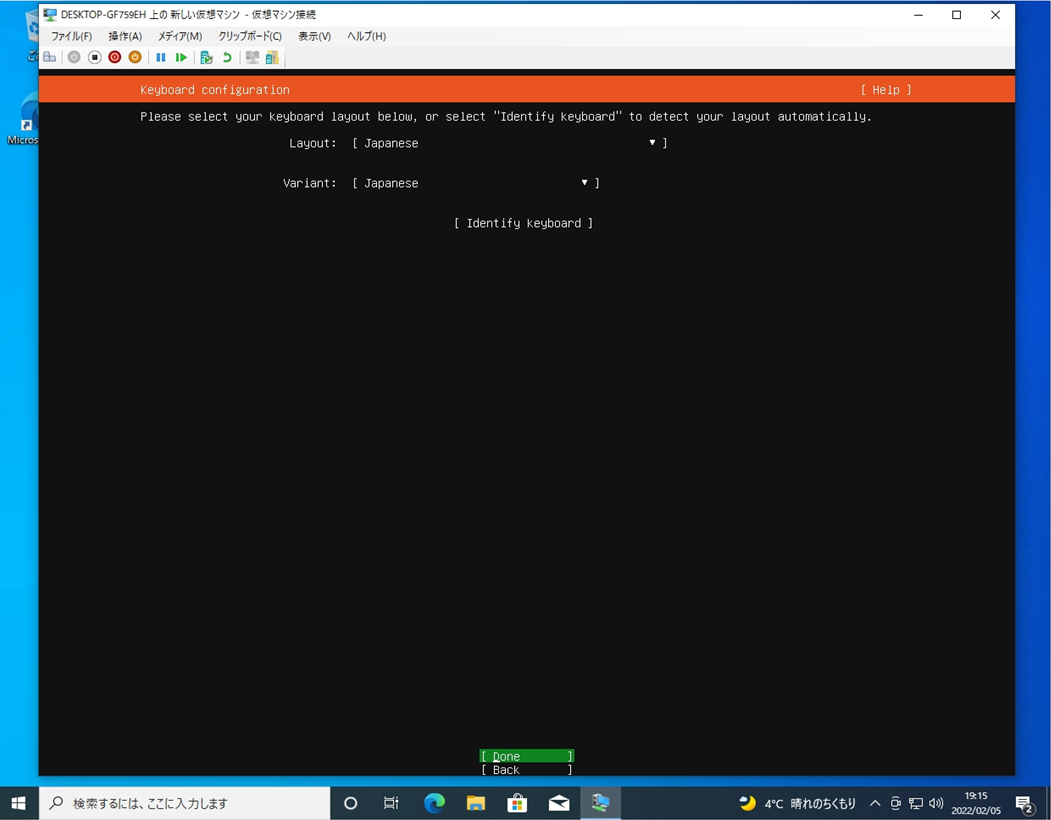
手順 4:
キーボードレイアウト選択画面です。タブキー、もしくは矢印キーで移動し変更します。
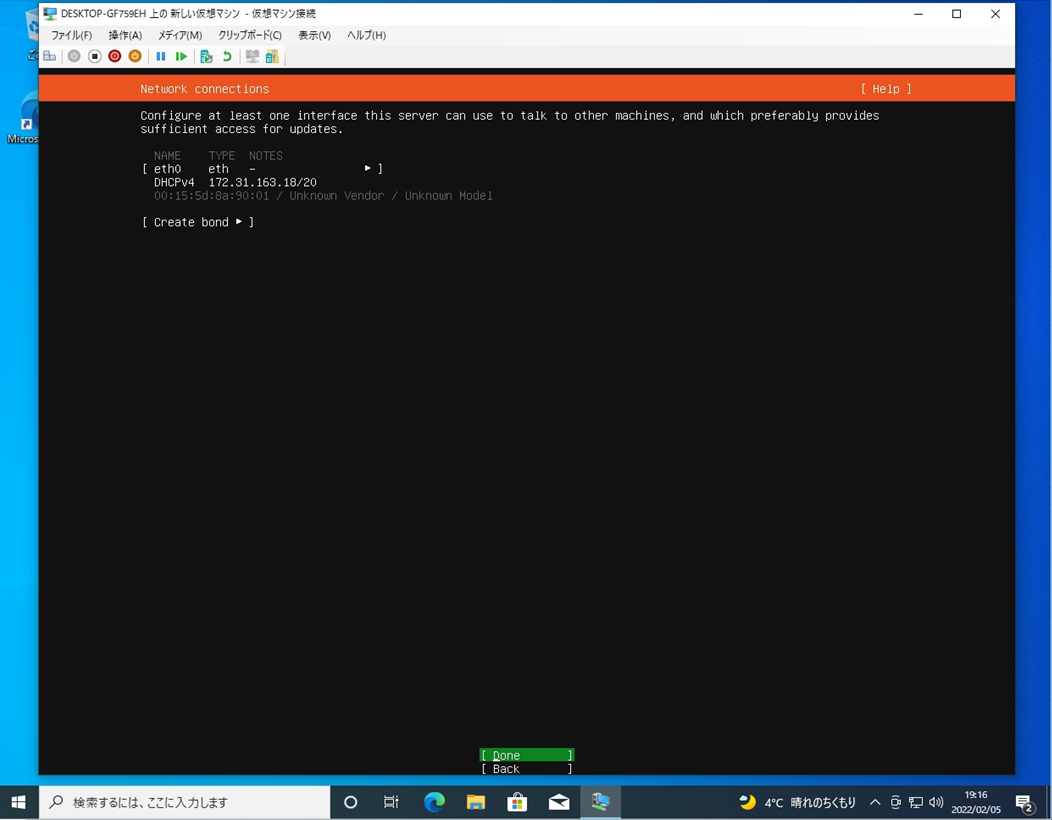
手順 5:
ネットワーク接続設定画面です。ローカルに DHCP サーバーが稼働していればIPアドレスが自動で取得されます。手動でIPアドレスを指定することもできます。
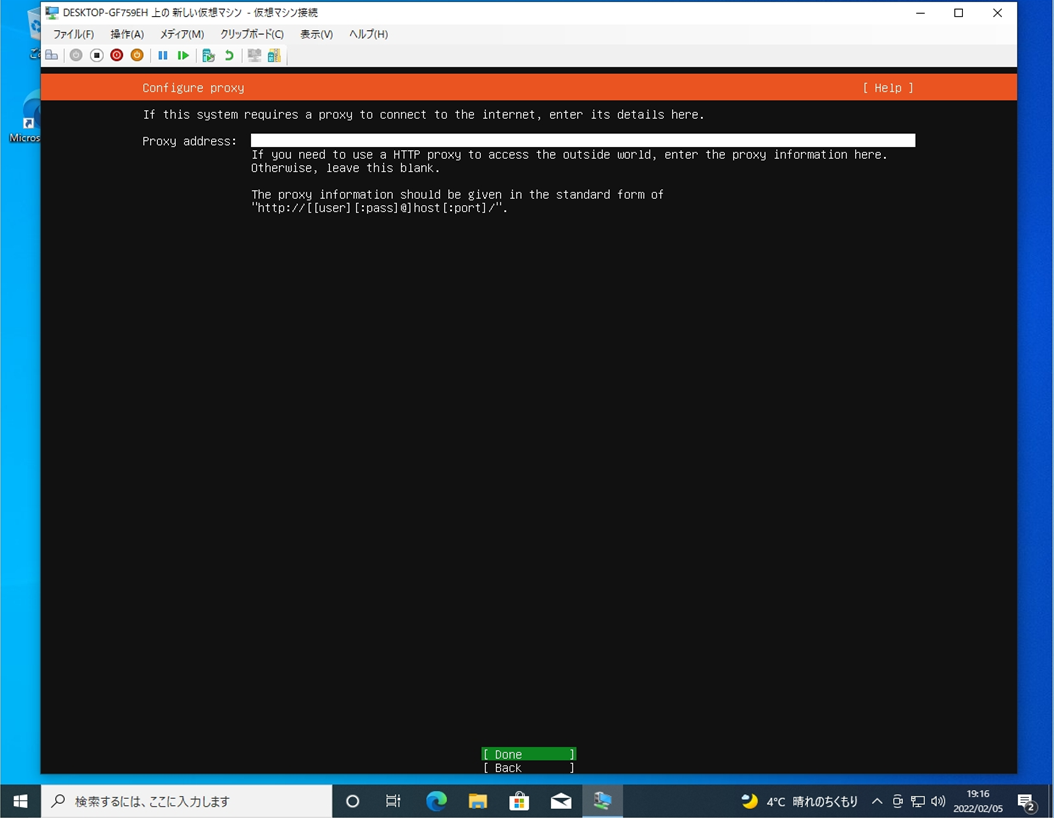
手順 6:
Proxy設定画面です。必要がなければ設定しないで良いです。
手順 7:
Ubuntu サーバーのアップデート・新しいパッケージをインストールする場合に参照するミラーサーバー設定画面です。 通常、接続元ロケーションから近くのミラーサーバーが自動的に選択されます。

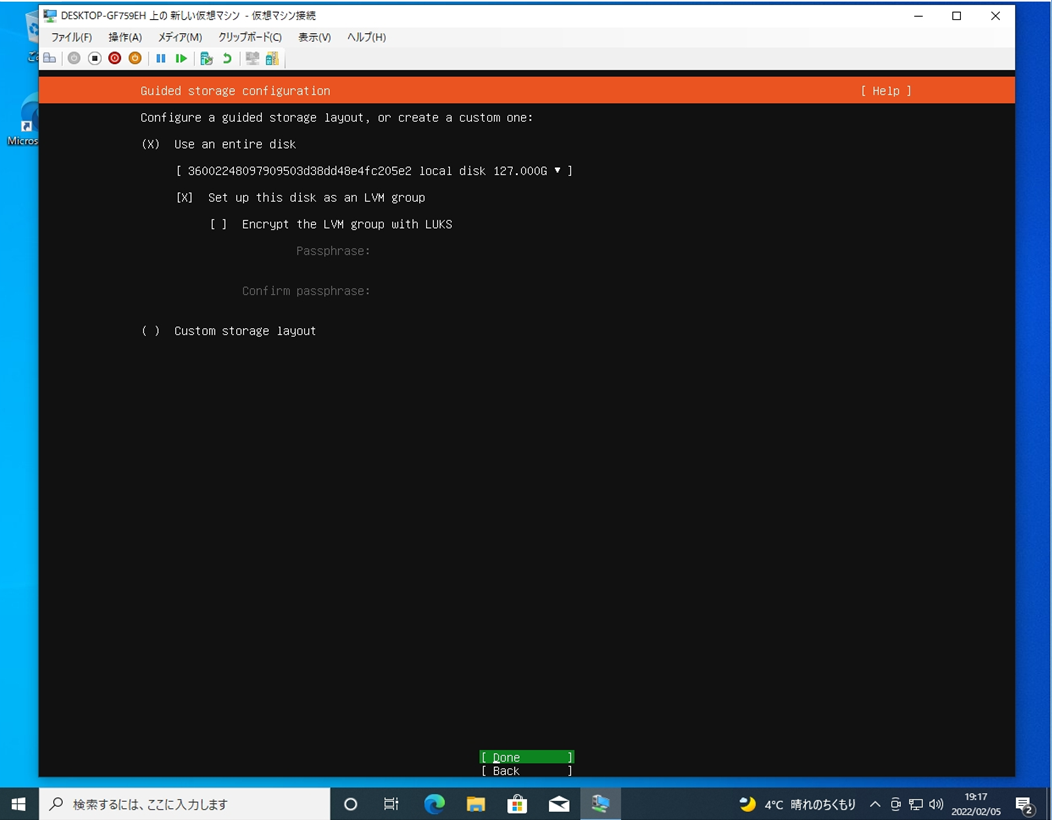
手順 8:
ストレージの設定画面です。ディスクのパーティションレイアウトが設定できますが、要件がない場合はそのまま進めて良いです。
手順 9:
ストレージの設定の確認画面です。内容を一読し 次へ進みます。

手順 10:
インストールを進めるかの確認画面です。「 Hyper-V 」に新規でUbuntuサーバーを構築するため [Continue] を選択します。

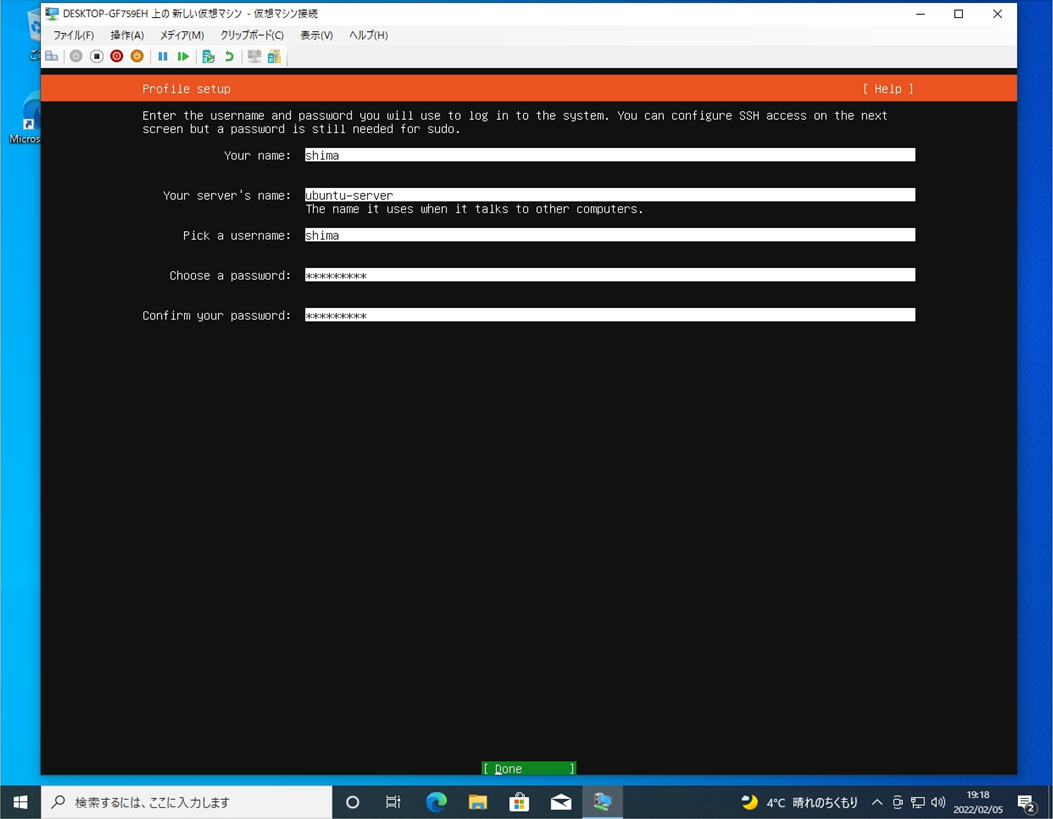
手順 11:
ユーザーアカウントの設定画面です。任意の名前・パスワードを入力します。
手順 12:
OpenSSH serverのインストール画面です。必要に応じて選択してください。※構築後、OpenSSH serverをインストールすることができるためインストールしないで進めています。

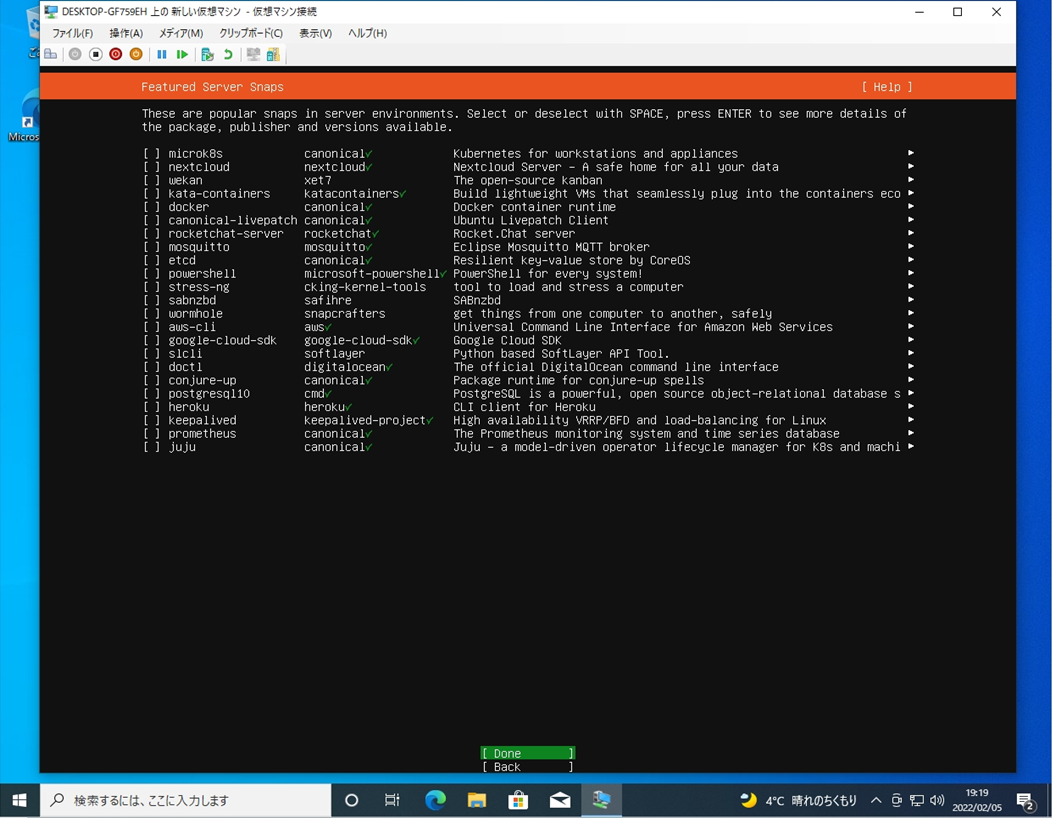
手順 13:
サーバー用途でよく使用される機能をインストールする画面です。必要に応じて選択してください。
手順 14:
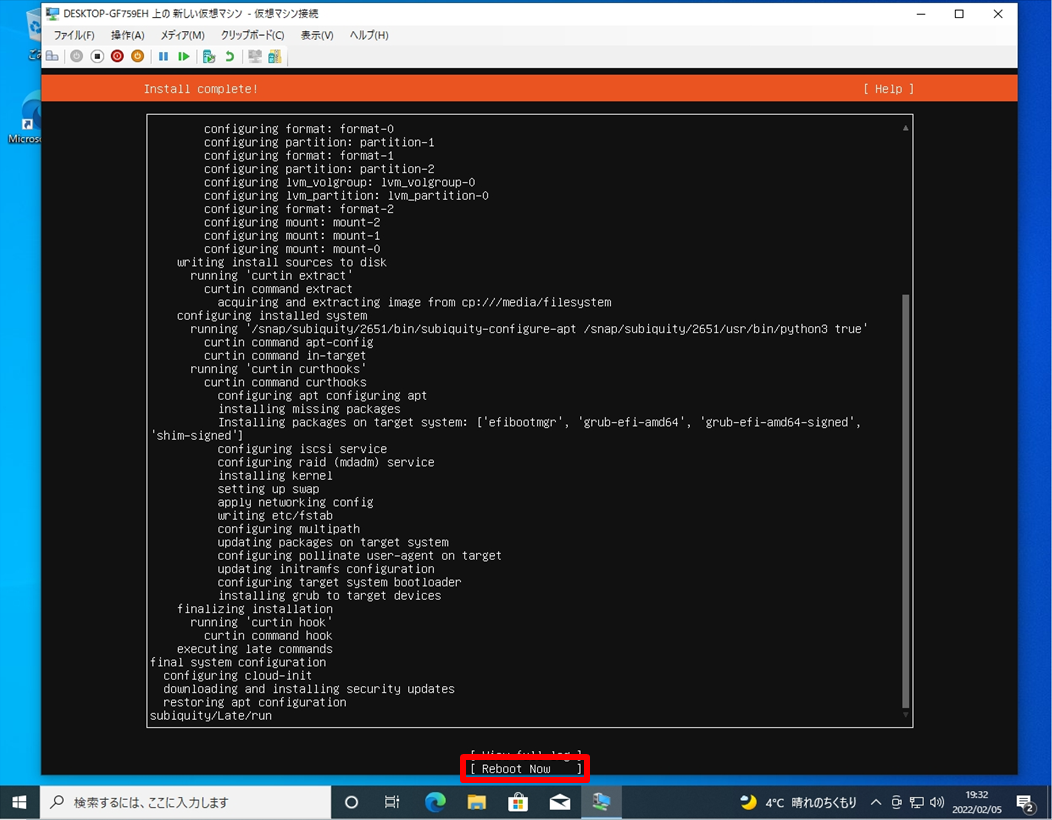
画面上部に「Installation complete!」表示後、少し待つと 「Reboot Now」が表示されます。
「Reboot Now」を選択します。
手順 15:
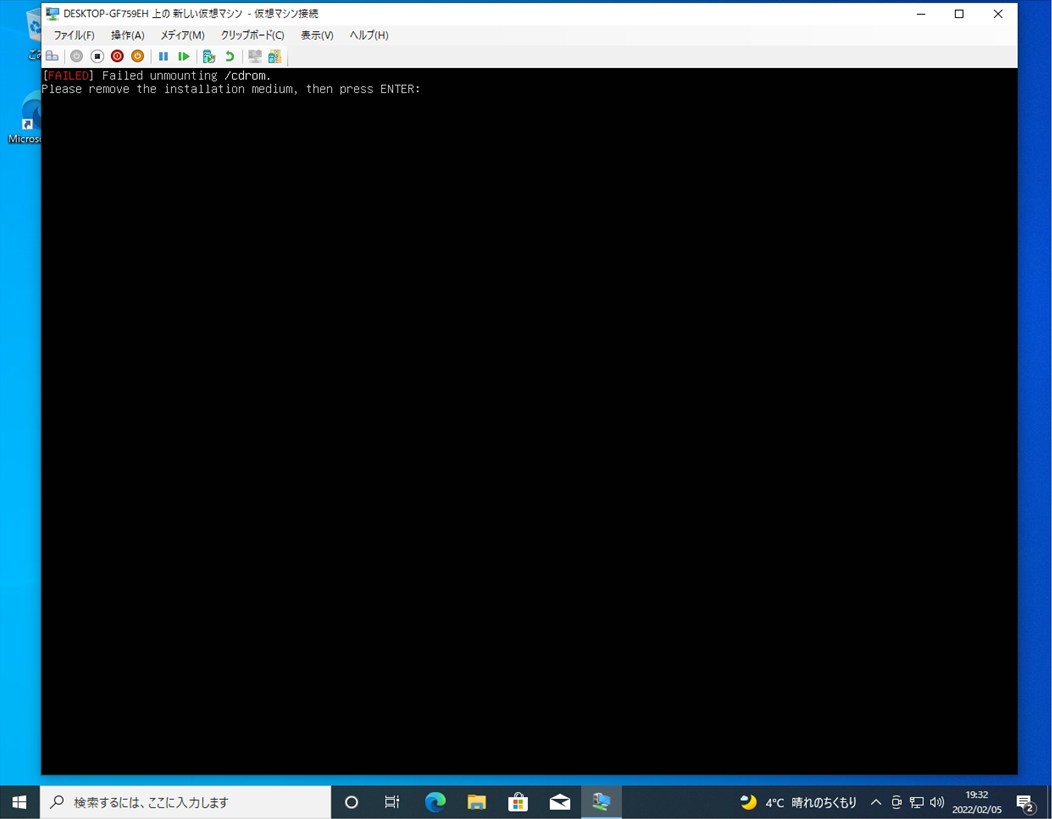
「Please remove the installation medium, then press Enter:」が表示されたら、キーボードのEnterキーを押します。
手順 16:
以下のような画面が表示されたら、Enterキーを押します。
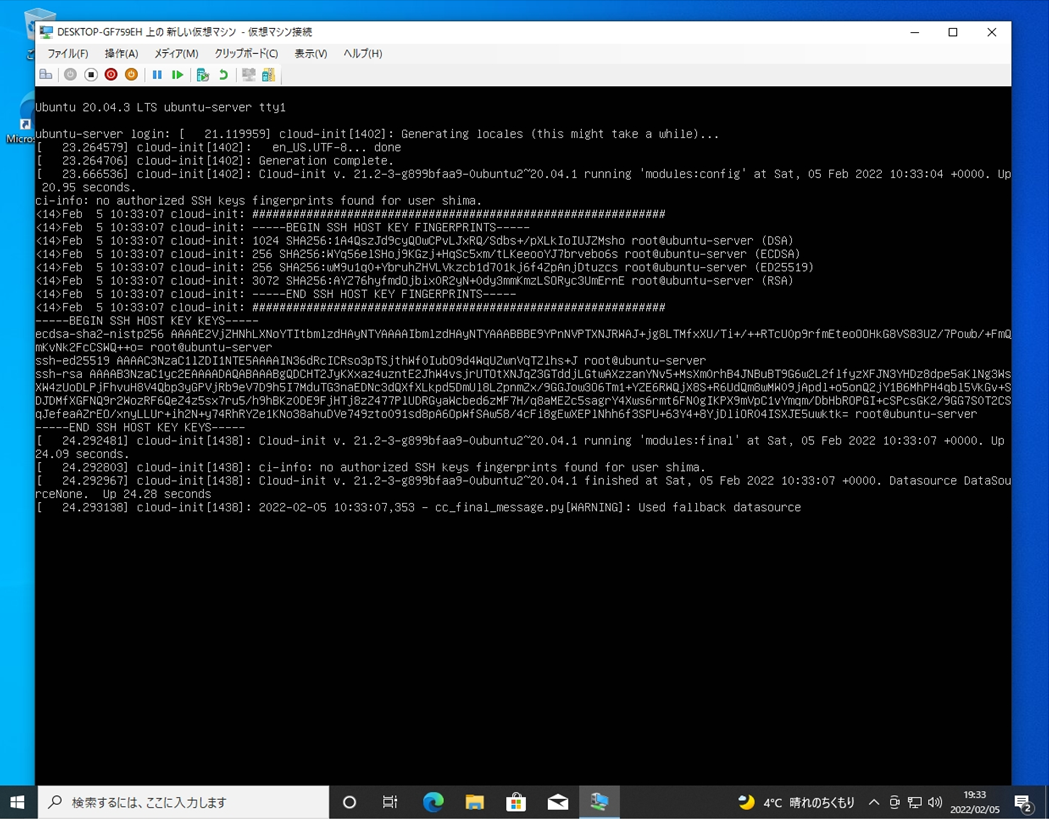
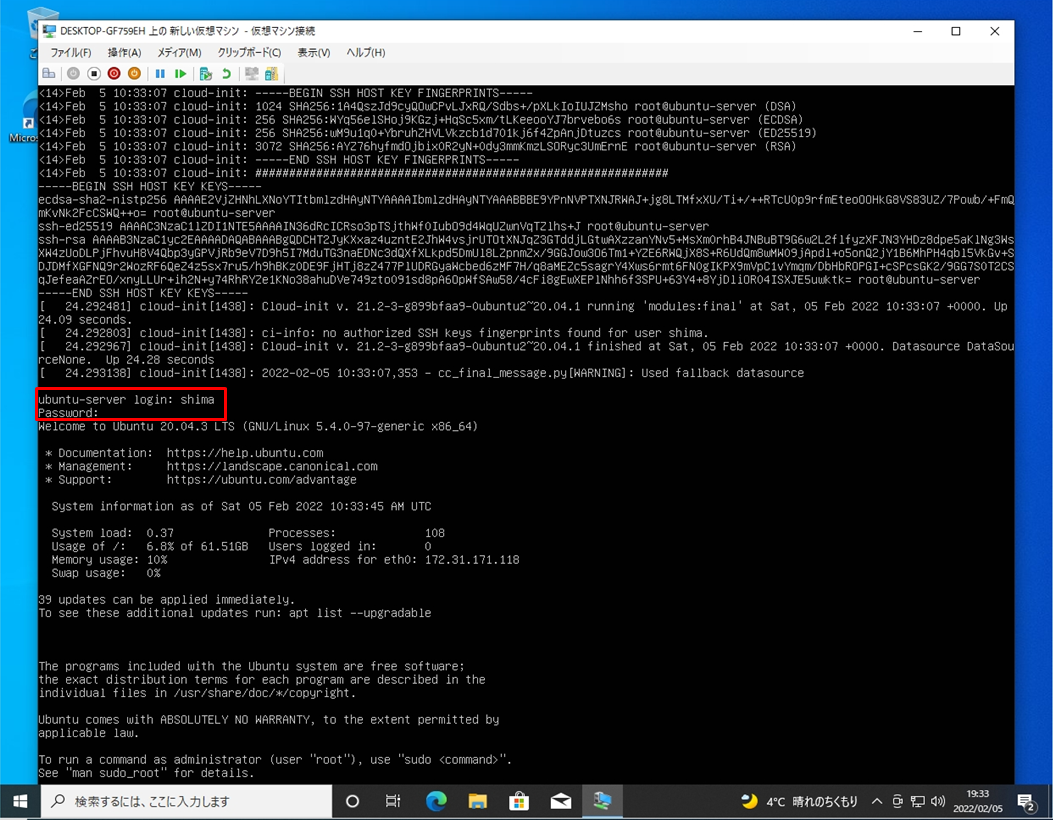
手順 17:
インストール時に設定したユーザ名とパスワードを入力し Ubuntu Server 20.04 LTS にログインします。