In this article, we will explain the procedure to remove a Windows 8.1 Pro edition PC that is domain-joined to AD (Active Directory) from the domain and return it to the workgroup. Changes to the workgroup can be made from the system properties screen.
Windows8.1 PC:Leave the Active Directory domain
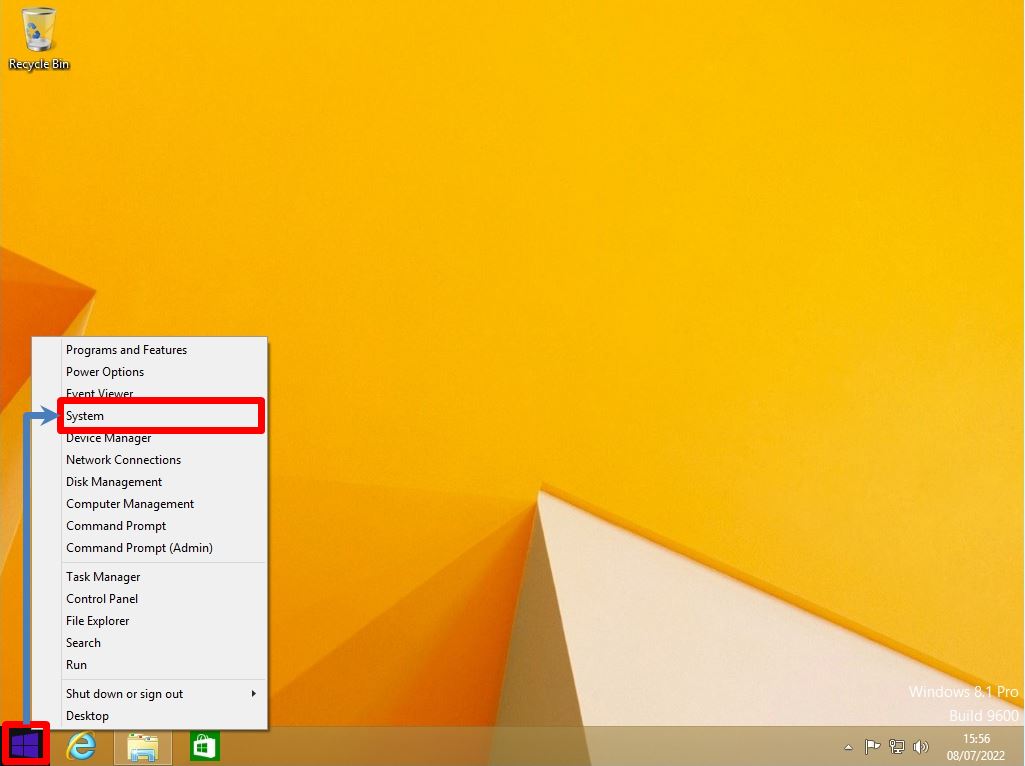
Step 1:
Right-click “Windows Mark” at the bottom left of the desktop screen-> select ” System”.
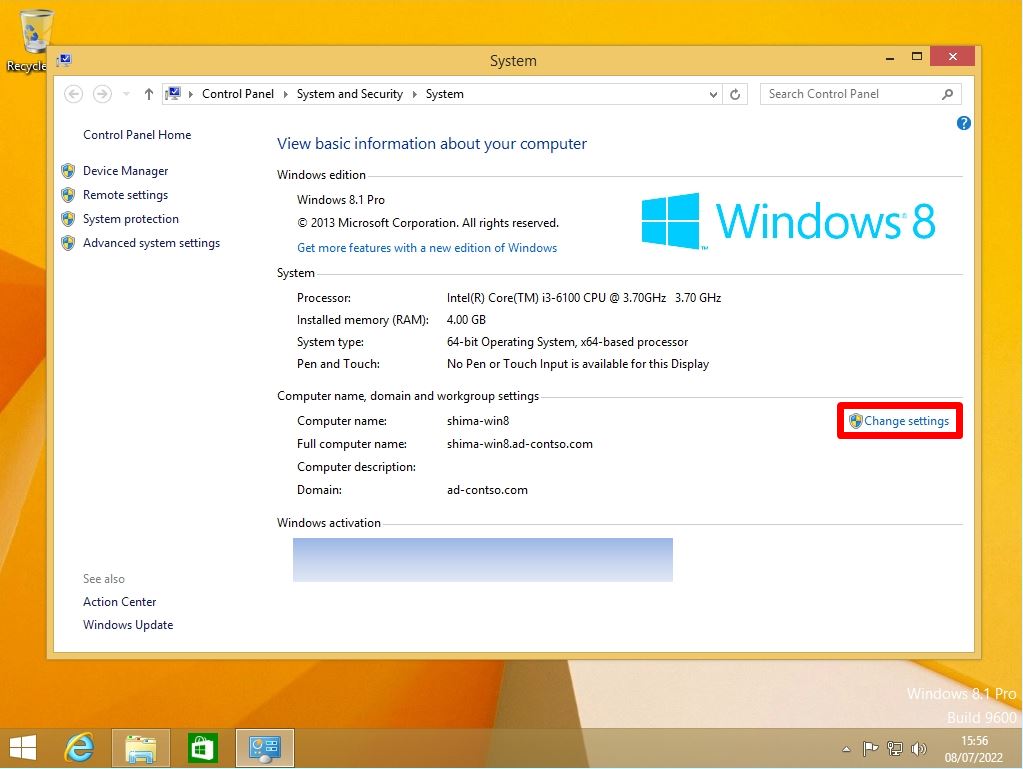
Step 2:
Select “Change settings”.
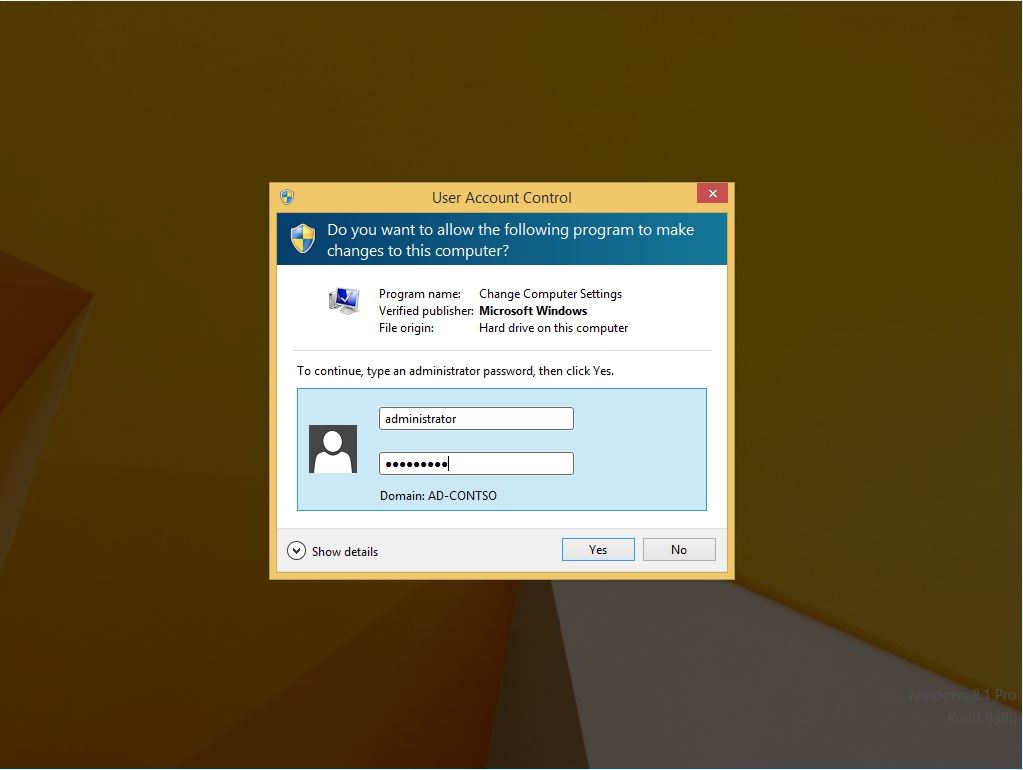
Step 3:
Enter the administrator account name and password.
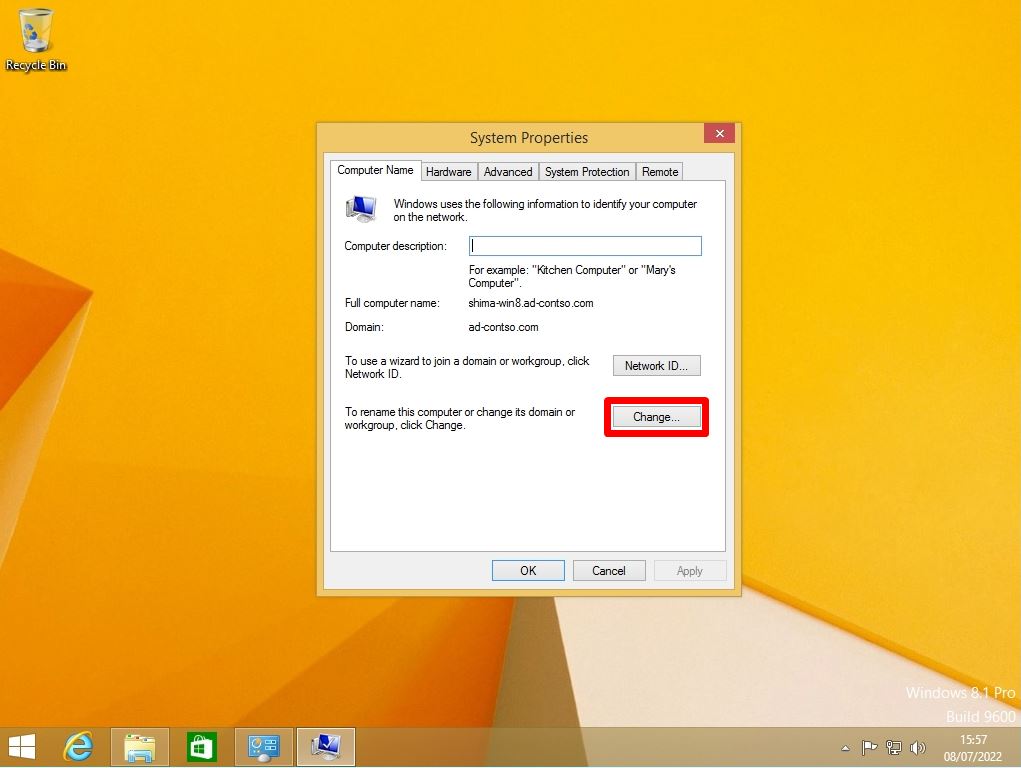
Step 4:
Select the Computer Name tab -> “Change”.
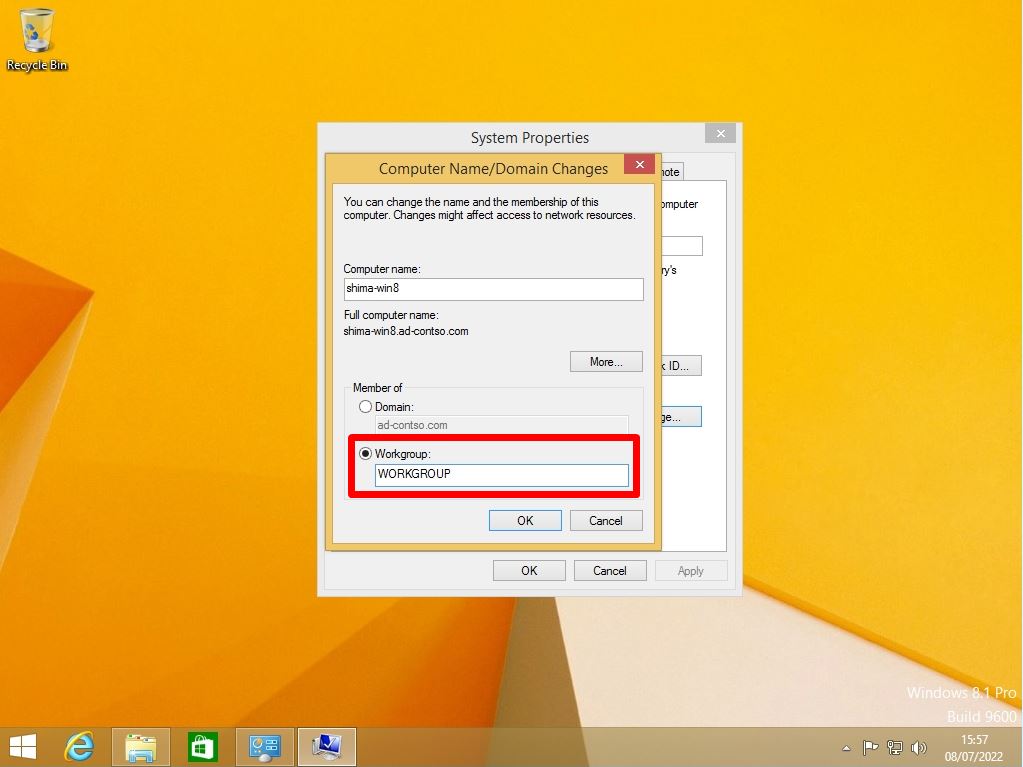
Step 5:
Select a workgroup from the groups you belong to and enter a workgroup name of your choice.
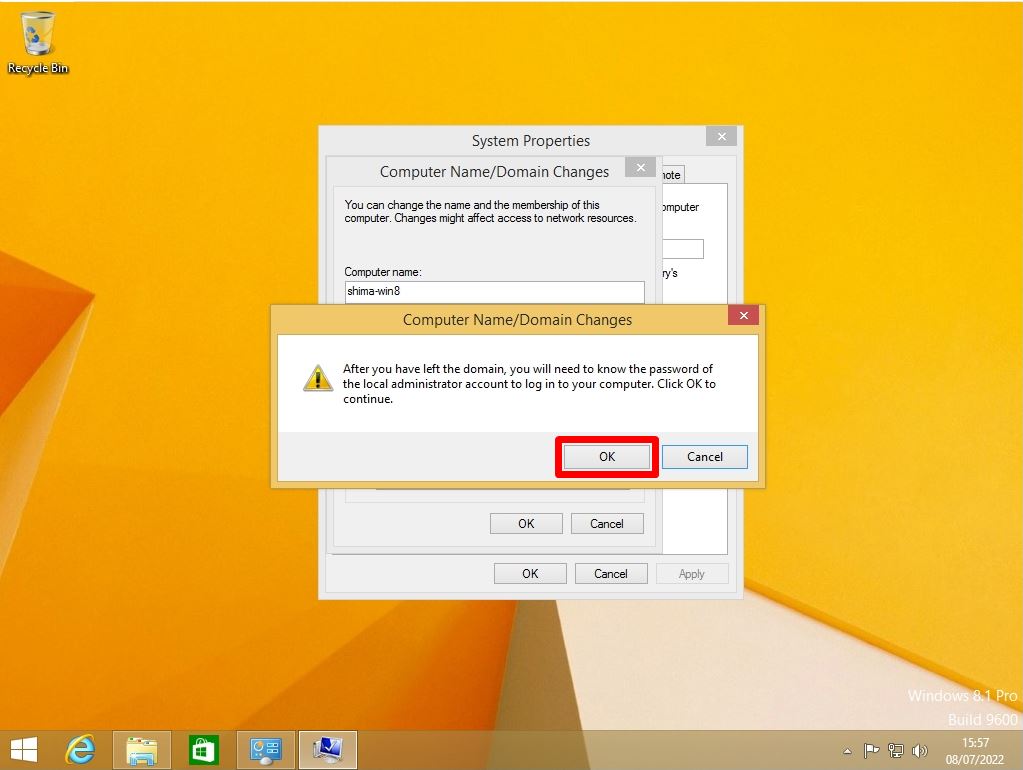
Step 6:
Select “OK”.
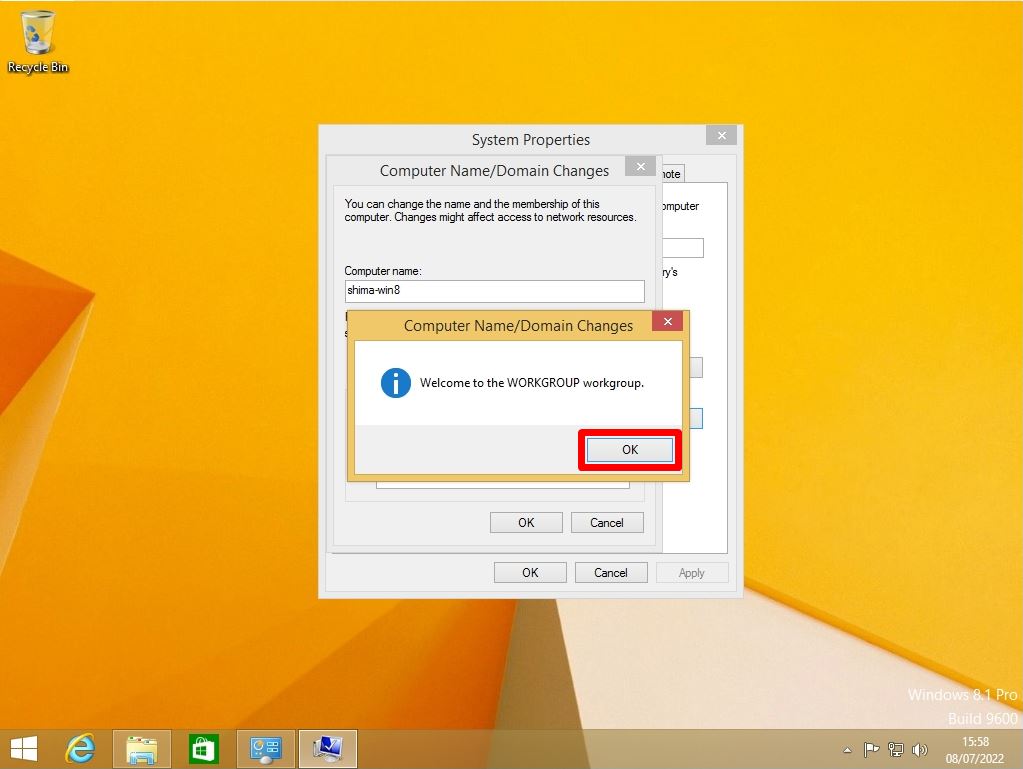
Step 7:
Welcome to Workgroup screen: Select “OK”.
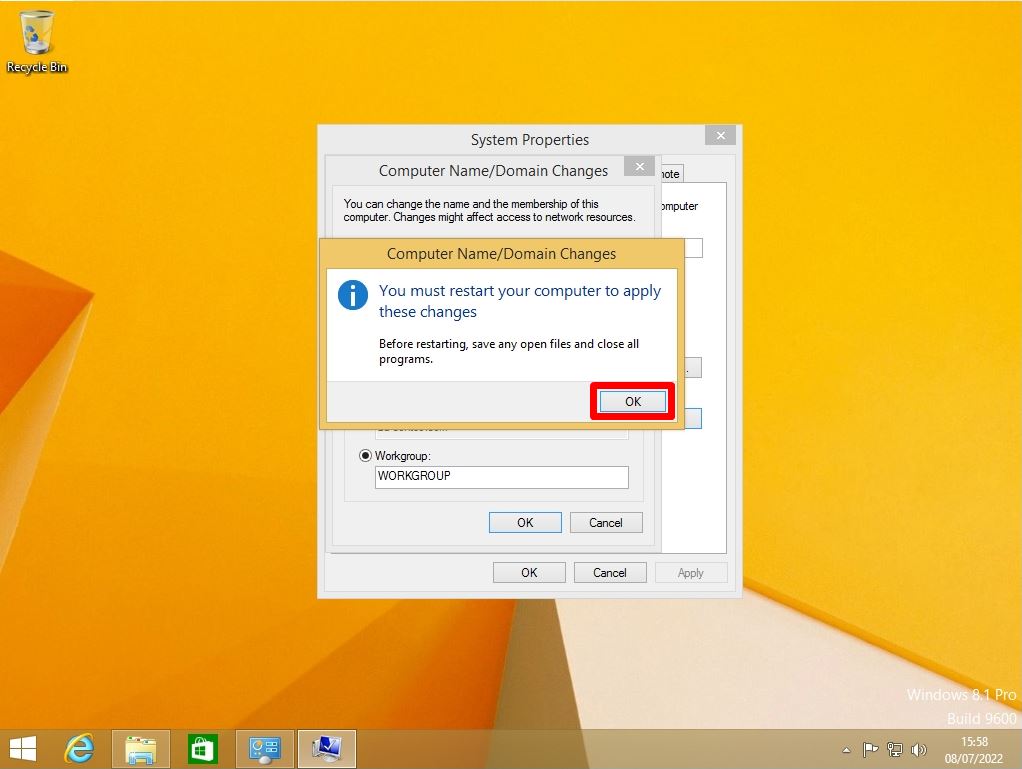
Step 8:
The domain exit setting will take effect after a reboot. Select “OK”.
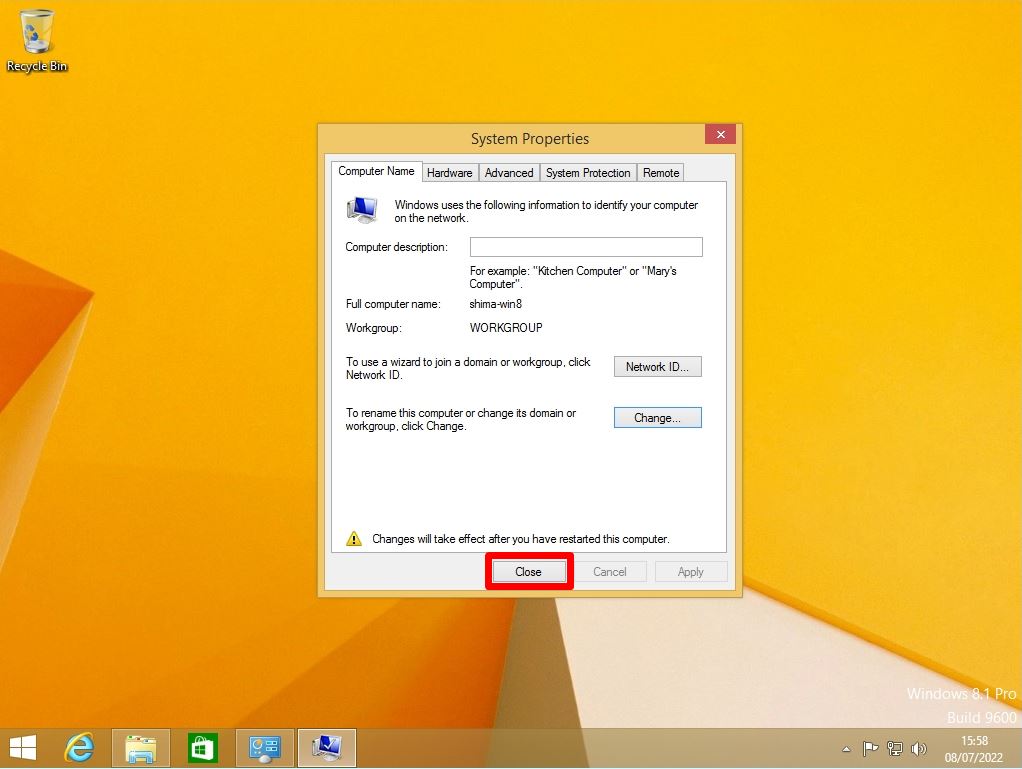
Step 9:
Select “Close” on the System Properties screen.
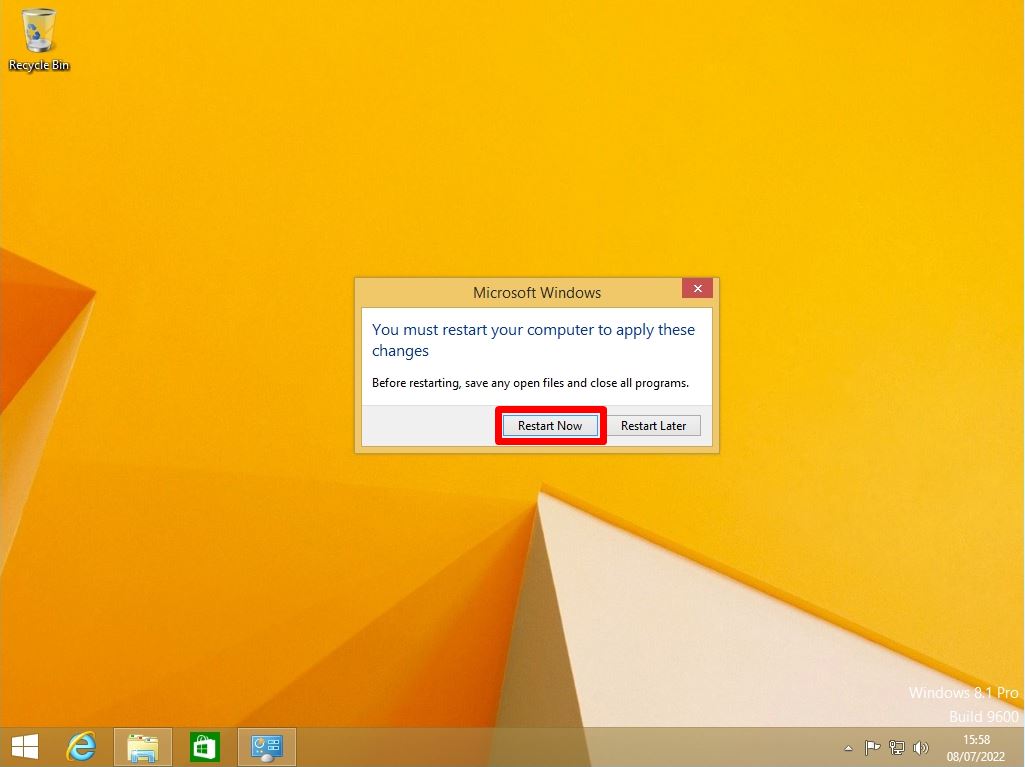
Step 10:
Select “Restart Now”.