“Microsoft .NET Framework” is a software development and execution program provided by Microsoft for free. It is a role like a part required to operate Windows software.
.NET Framework 3.5 Features may be required depending on the application running on Windows Server 2019. By default, Windows Server 2019 has “.NET Framework 4.8 Features” installed and .NET Framework 3.5 Features not installed.
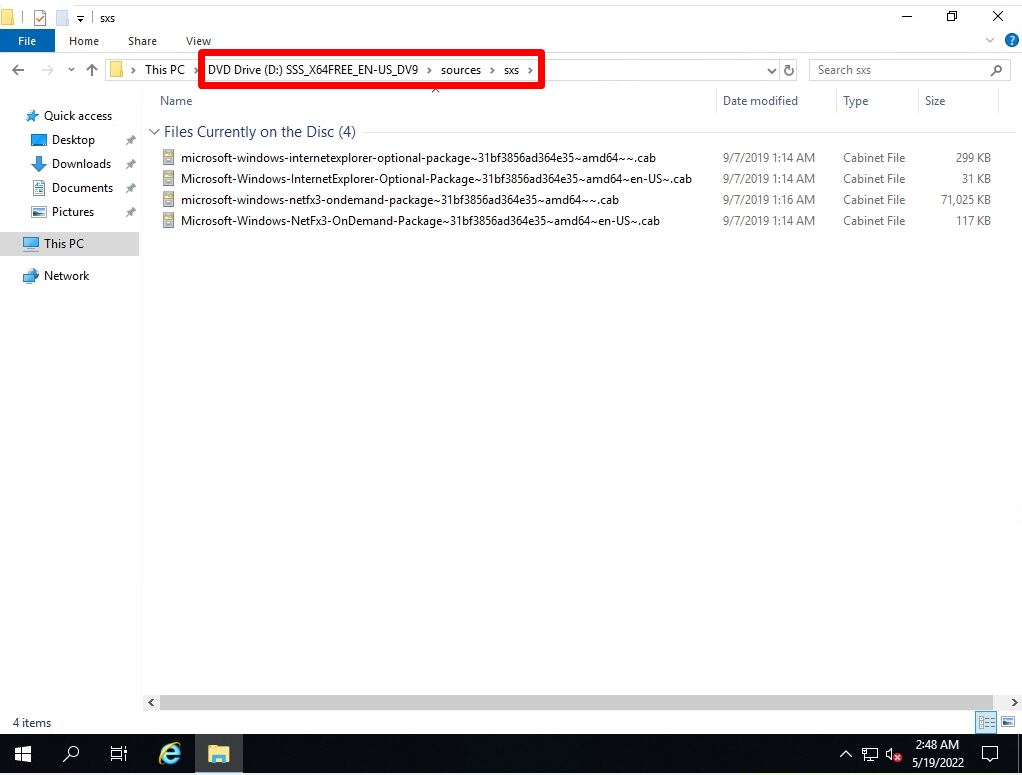
If the server cannot connect to the Internet or mount the OS installation disk directly, extract the Windows Server 2019 OS installation disk or ISO file on another terminal in advance and extract the [Mounted drive]:\sources\sxs. The cab file for installing the .NET Framework is stored in the folder. Install “.NET Framework 3.5” by copying this “sxs” folder to the server where you want to install it and specifying it as an alternate source path from the Add Roles and Features Wizard.
[Preparation] Copy the sxs folder to Windows Server 2019
Step 1:
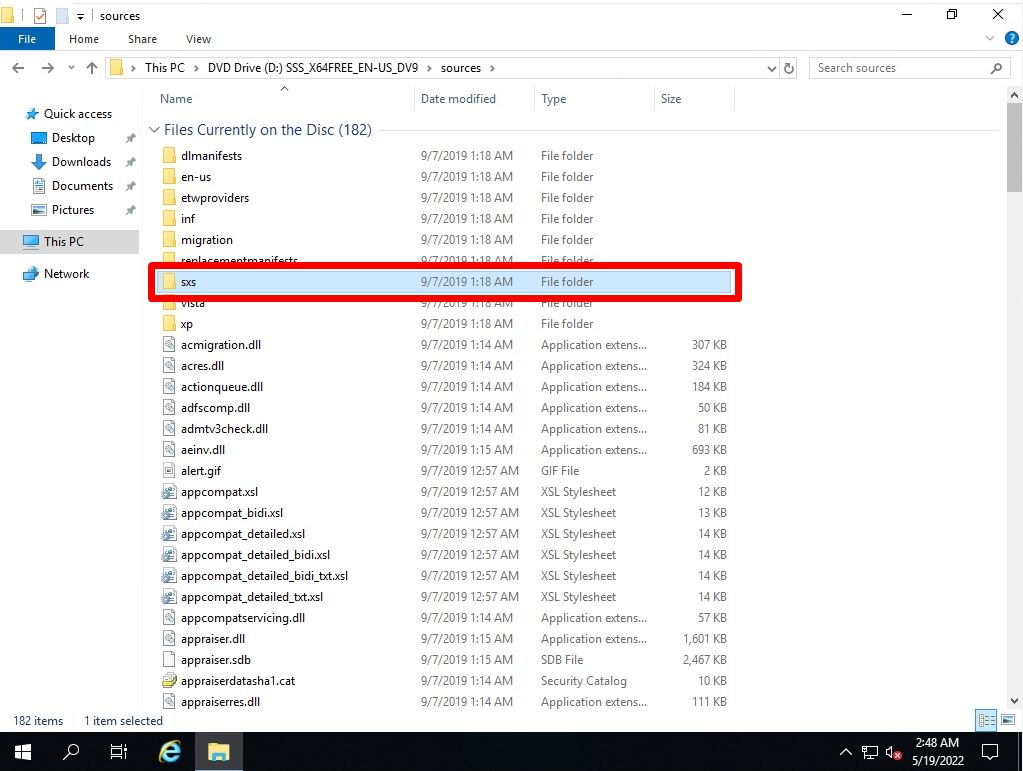
Extract the Windows Server 2019 OS disk or ISO file on a terminal other than the server on which you want to install .NET Framework 3.5, move to the [Mounted Drive]:\sources\sxs folder, and move the cab file for installing .NET Framework 3.5. Make sure there is.
Step 2:
Copy the “sxs” folder.
Step 3:
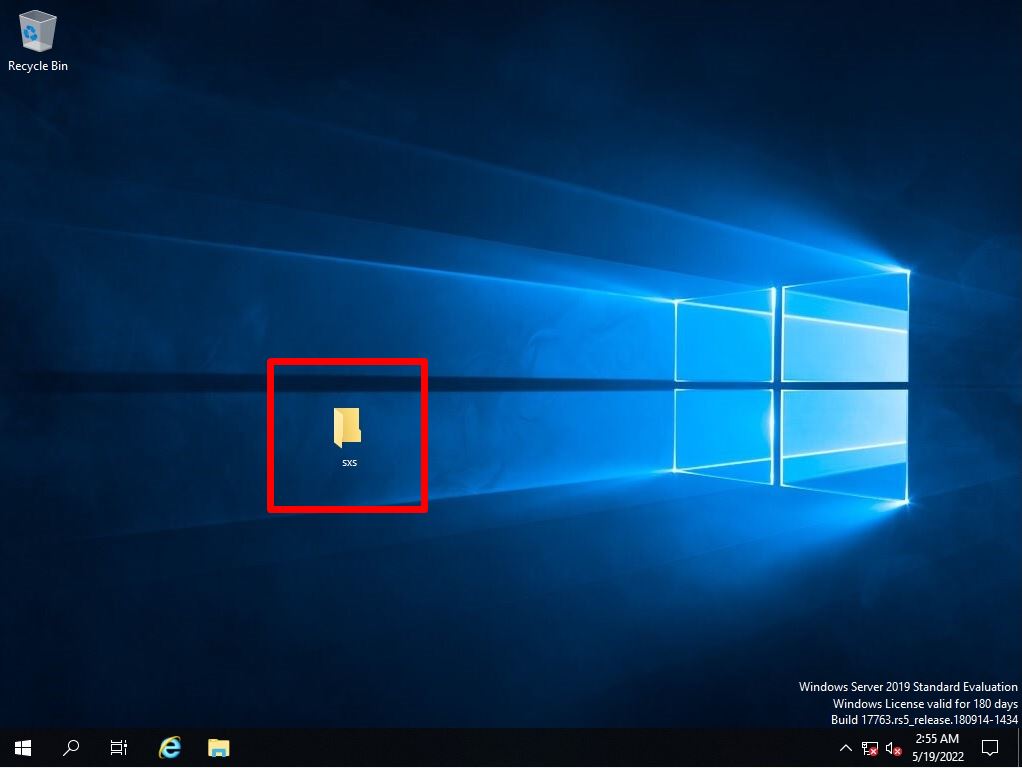
Log in to Windows Server 2019 -> Store the copied “sxs” folder in any location.
Windows Server 2019: .NET Framework 3.5 installation with alternate source path
Step 1:
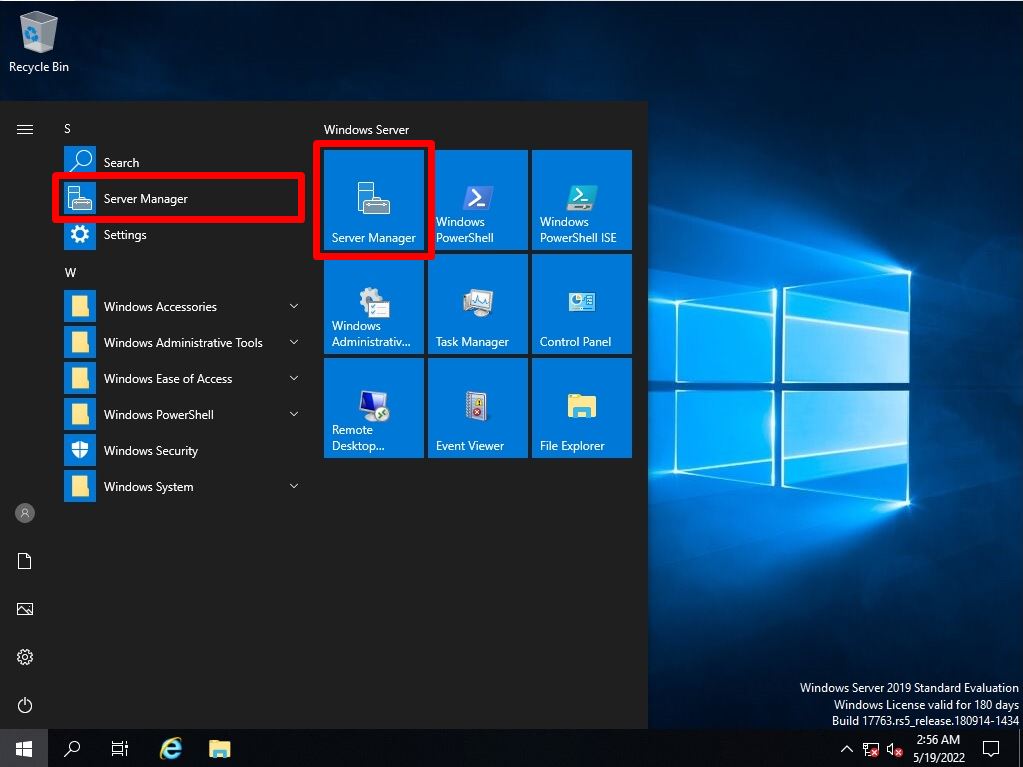
Select the Windows mark –> Server Manager at the bottom left of the desktop screen.
Step 2:
Select Add roles and features.

Step 3:
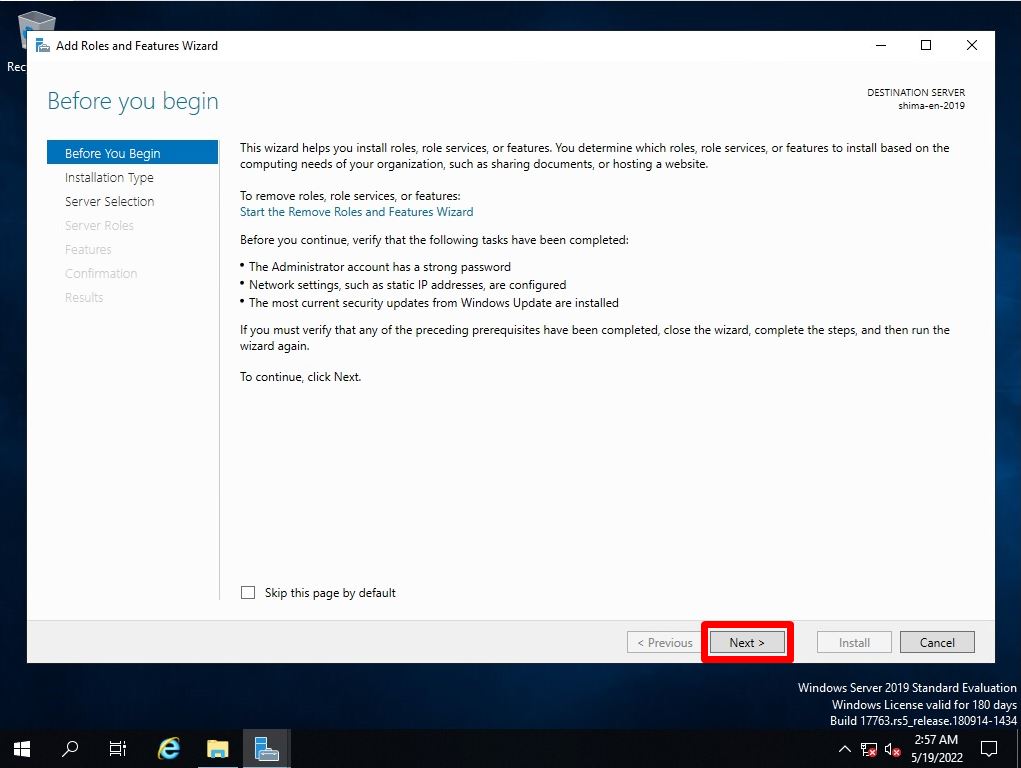
Before you begin Screen: Select “Next”.
Step 4:
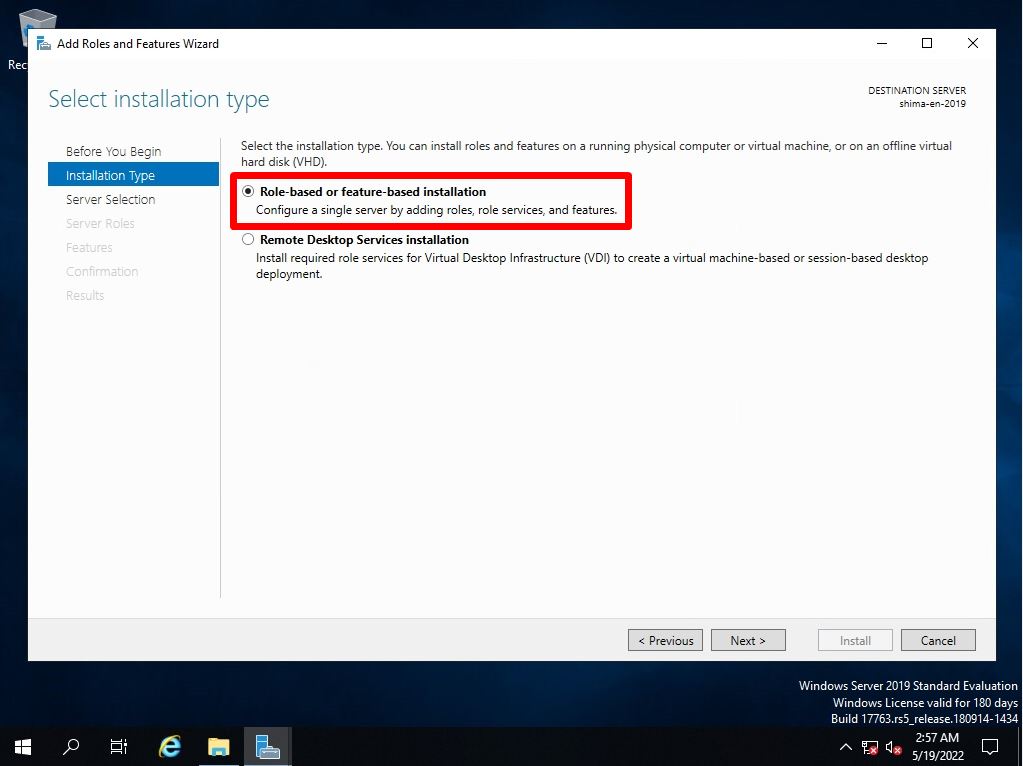
Select installation type screen: Select Role-based or feature-based installation -> Next.
Step 5:
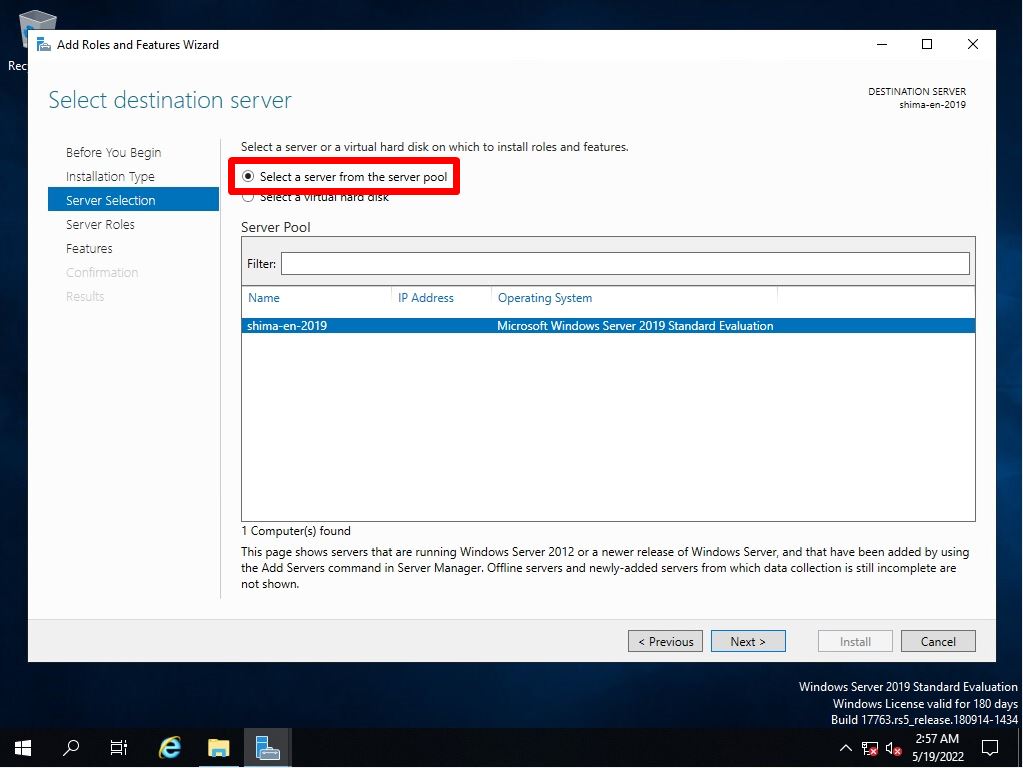
Select destination server screen: Select “Select a server from the server pool” -> “Next”.
Step 6:
Select server roles screen: Select Next without selecting anything.

Step 7:
Select features screen: Enable “.NET Framework 3.5 Features” –> Select “Next”.

Step 8:
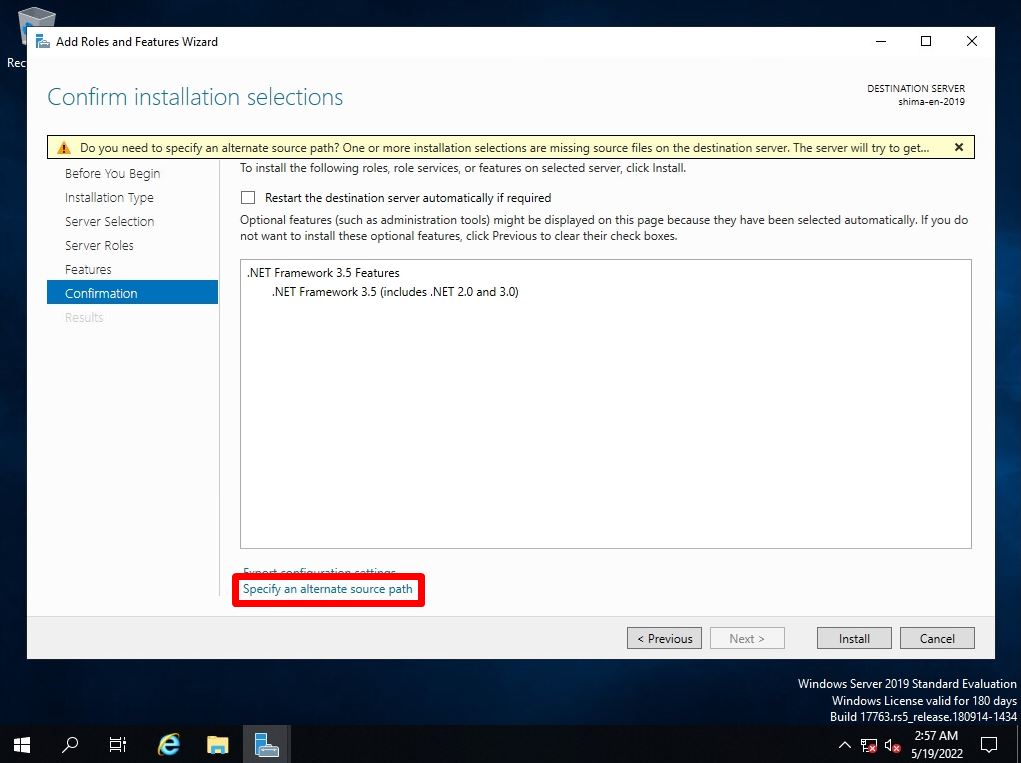
Confirm installation selections screen: Select Specify an alternate source path.
Step 9:
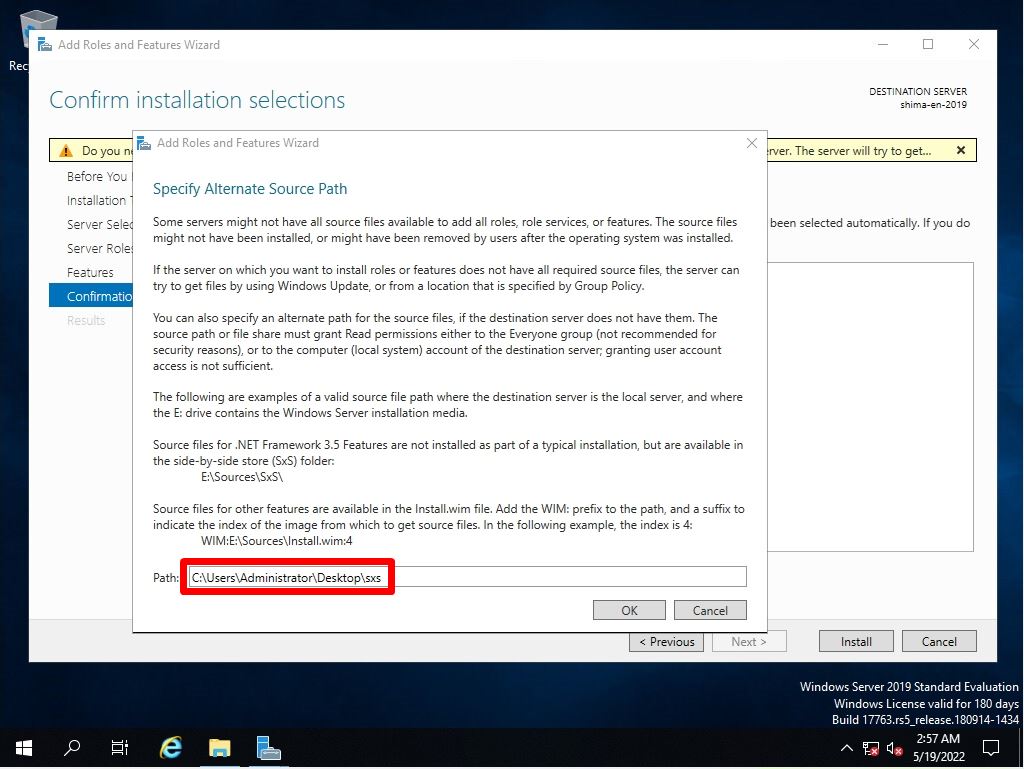
Enter the path of the sxs folder in the path.
Step 10:
Confirm installation selections screen : Select “Install”.

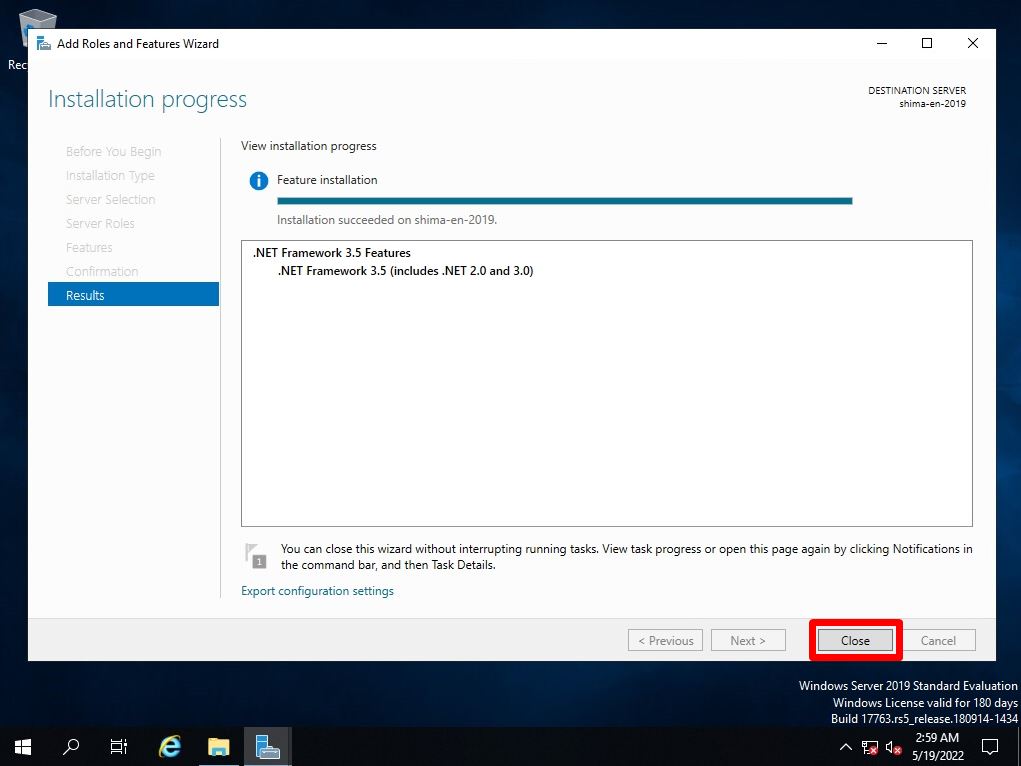
Step 11:
Installation progress screen: Installation is complete. Select “Close”.