Checkdisk is a drive error checking tool that can be used as standard with Windows OS. If a system error or bad sector (area where data cannot be recorded) is detected on the hard disk / SSD of a Windows PC and an error is found, it may be possible to repair it with a check disk. This article explains how to execute the check disk and how to check the result using the event log. * Check disk is not a function to repair physical disk errors. It is a function to check and correct the file system of software.
Windows11:Check disk execution procedure
Step 1:
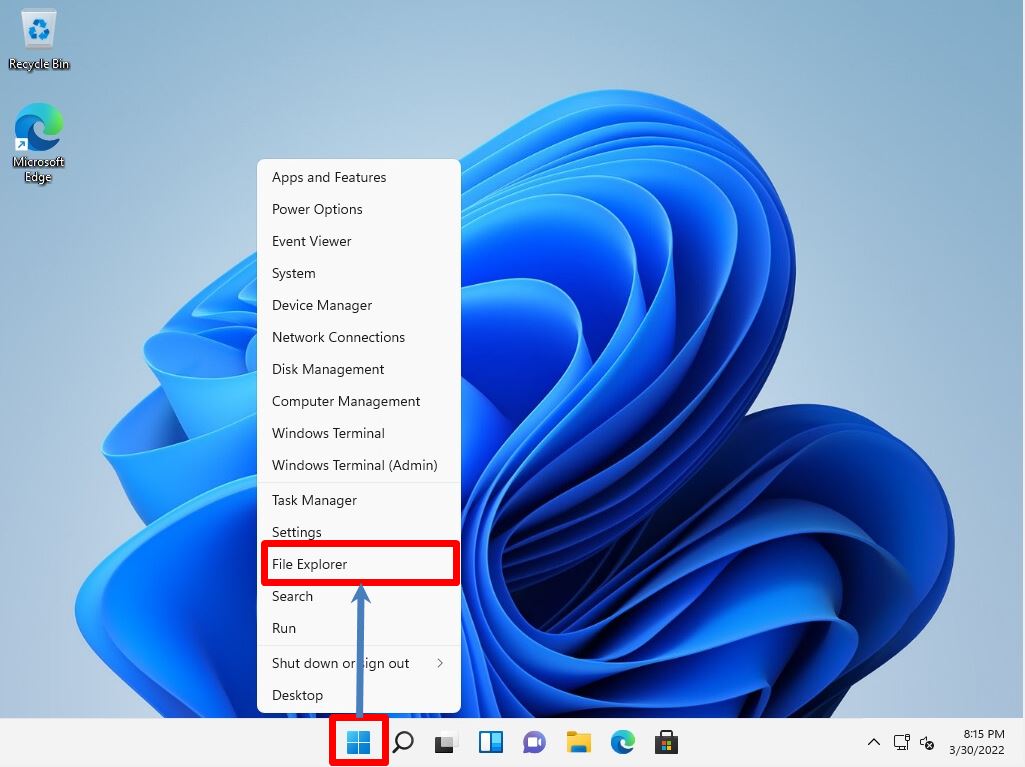
Right-click on the Windows Mark on the taskbar -> select File Explorer.
Step 2:
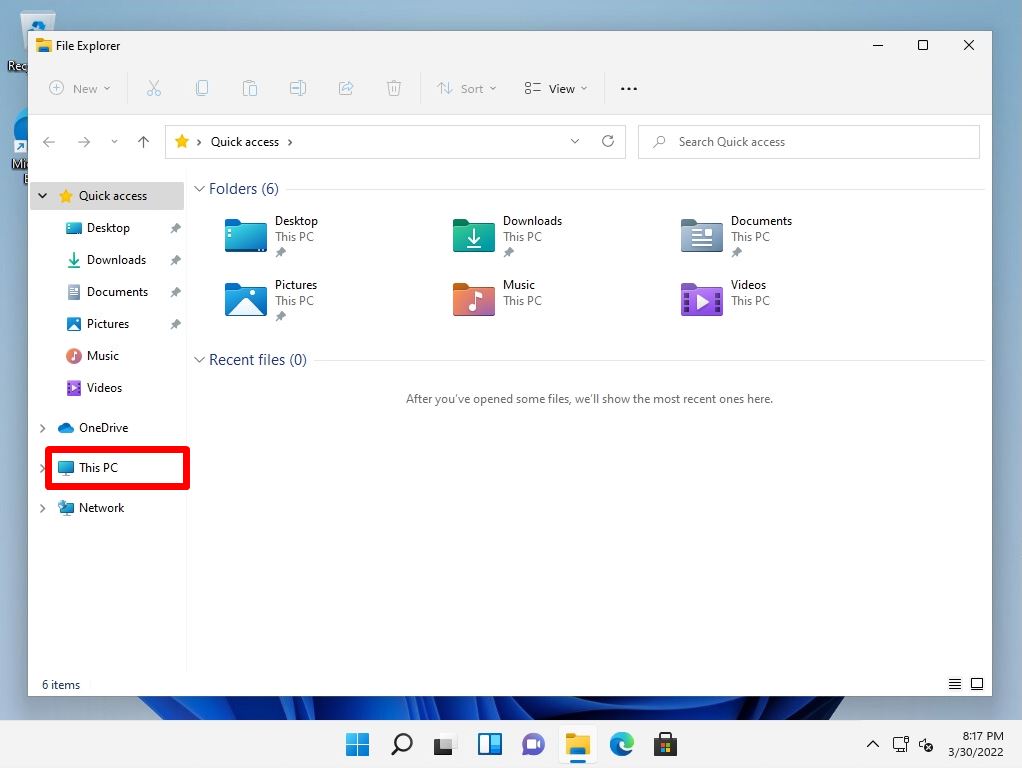
Select “This PC”.
Step 3:
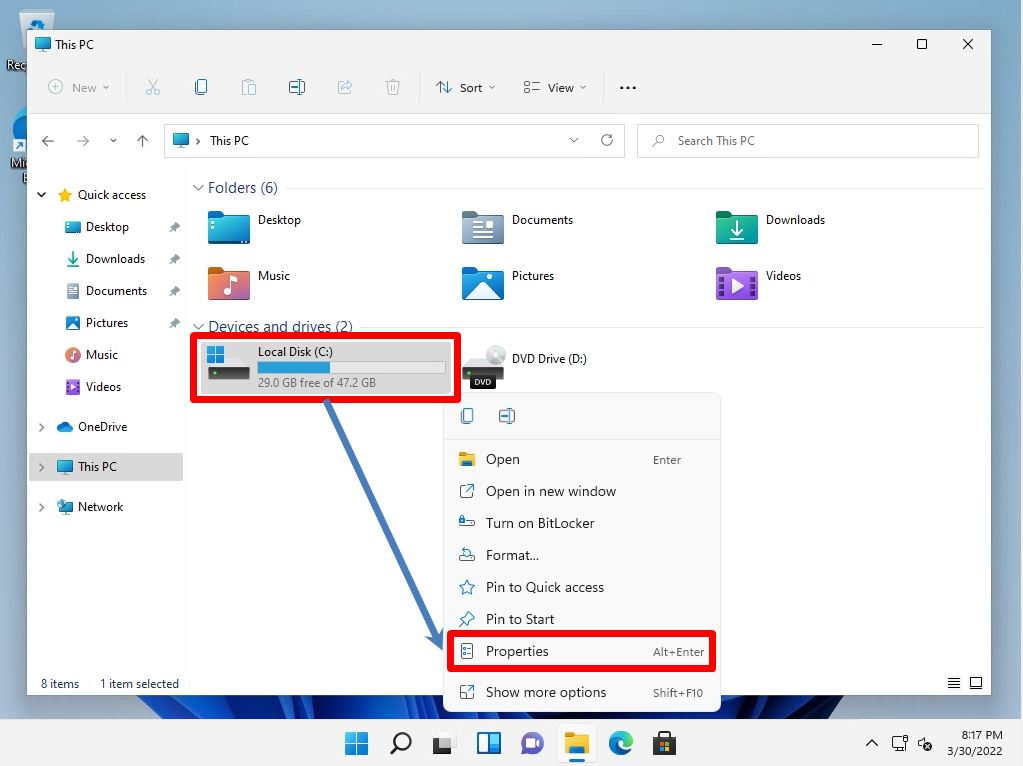
Right-click on the local disk or volume you want to check disk -> select Properties.
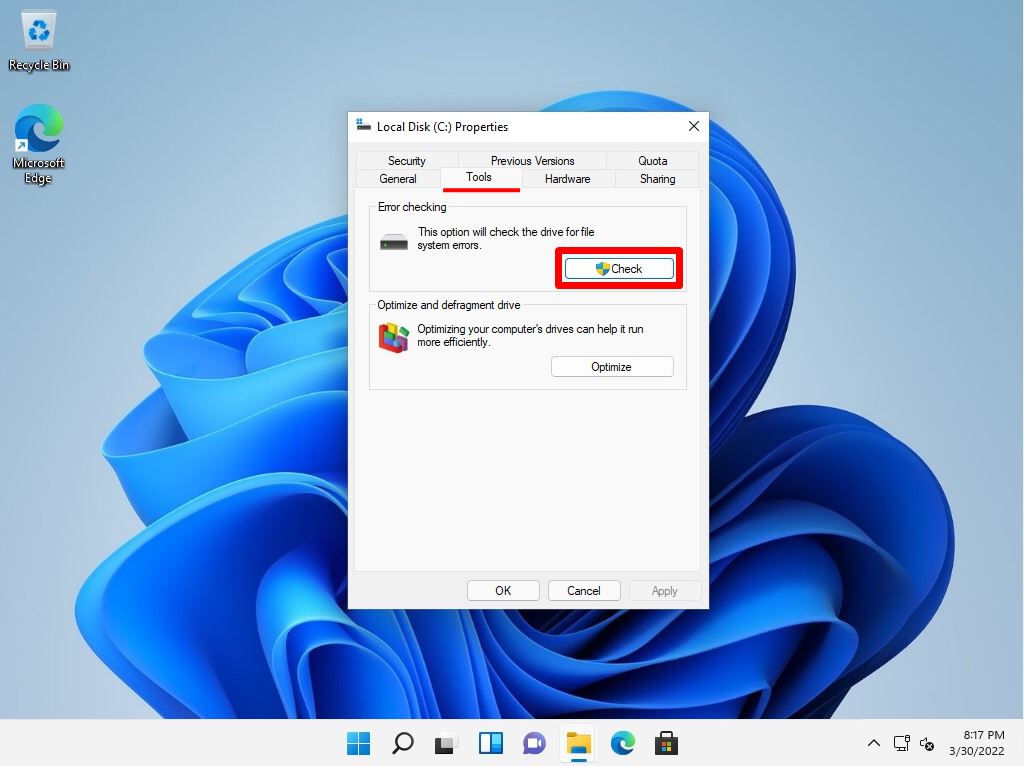
Step 4:
Select the Tools tab -> Check.
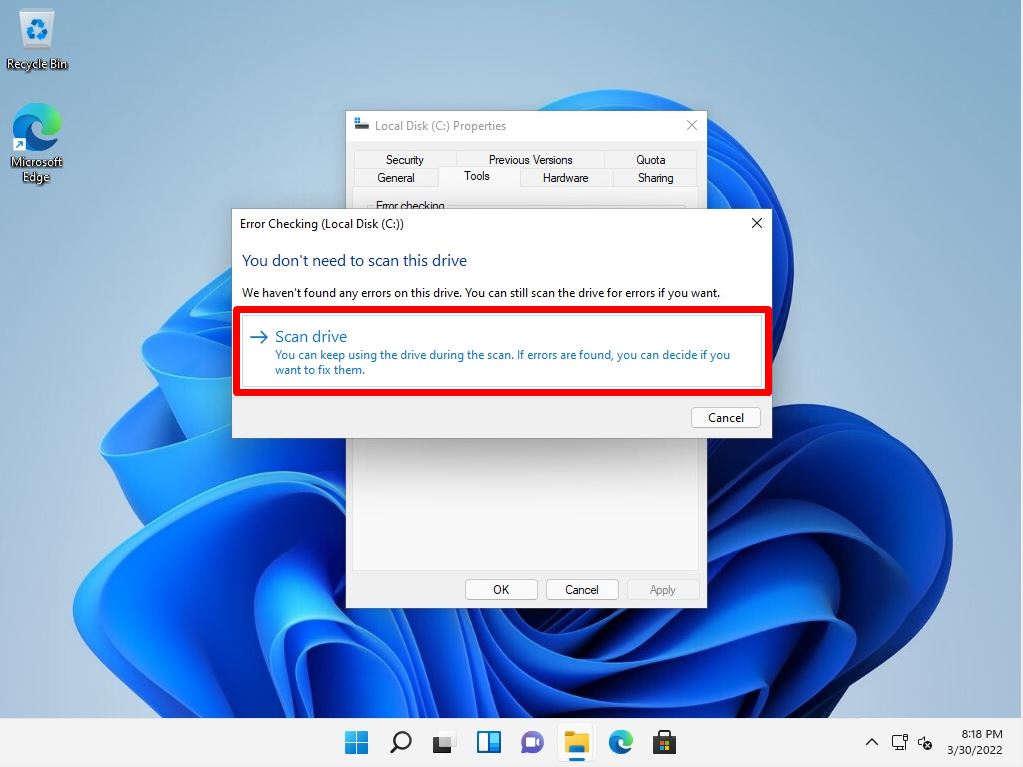
Step 5:
Select Scan drive.
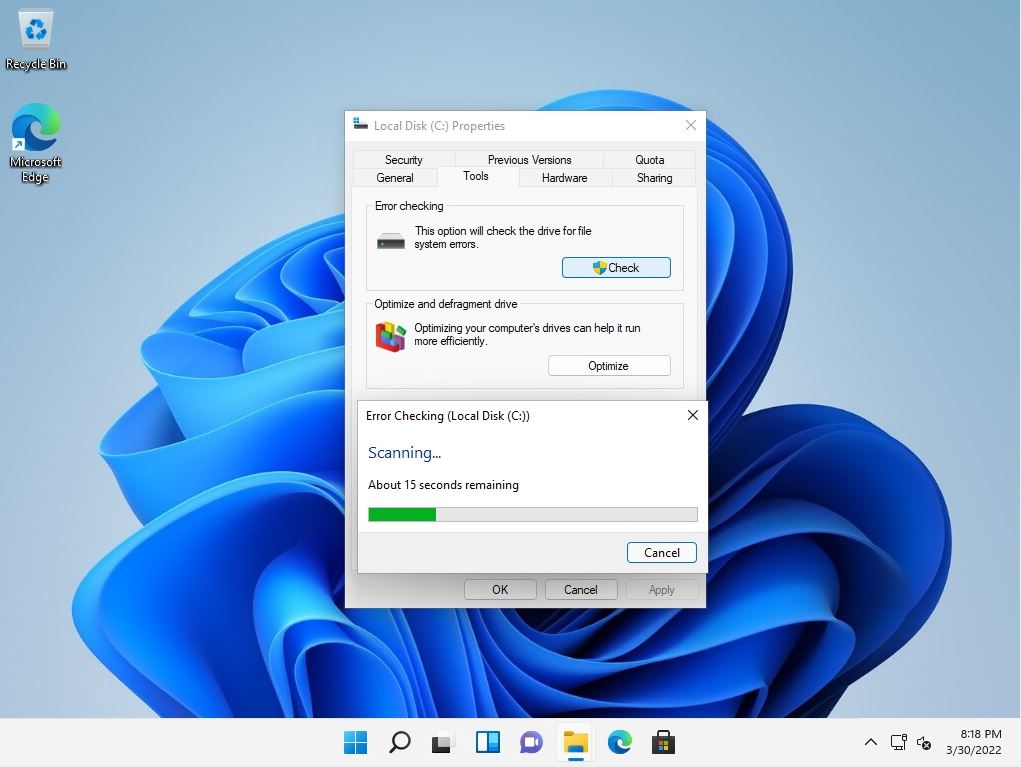
The error check scan will start. Wait a moment until it finishes.
Step 6:
Select “Close”.
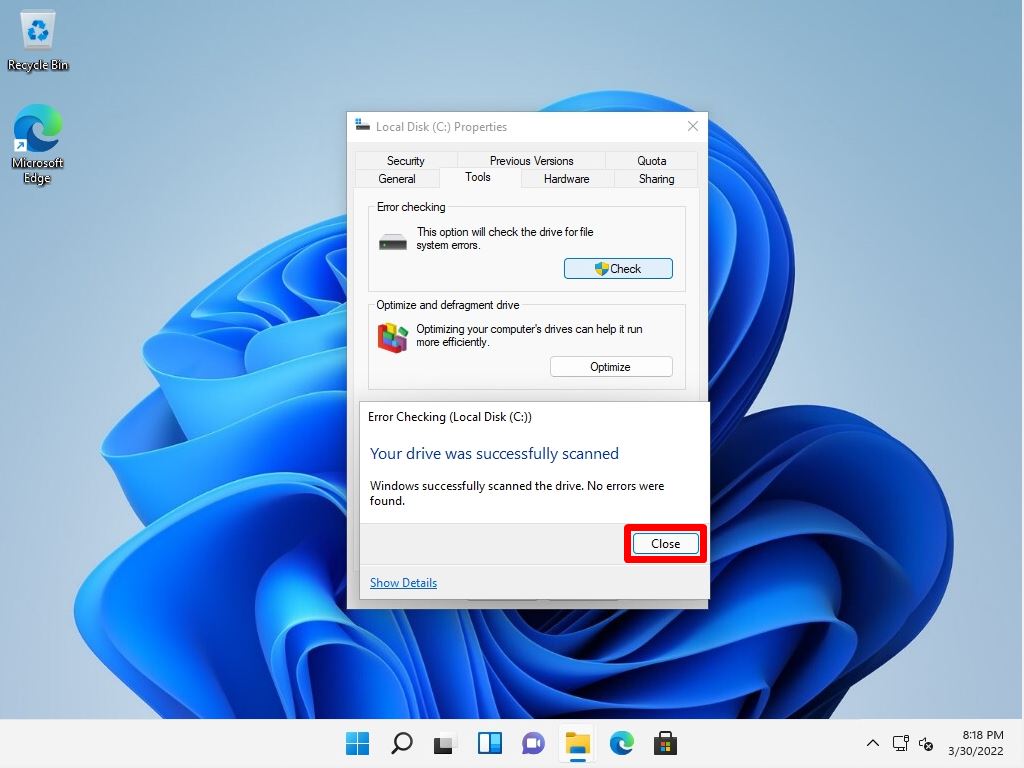
The error check is complete. Select “OK” to close the property screen.

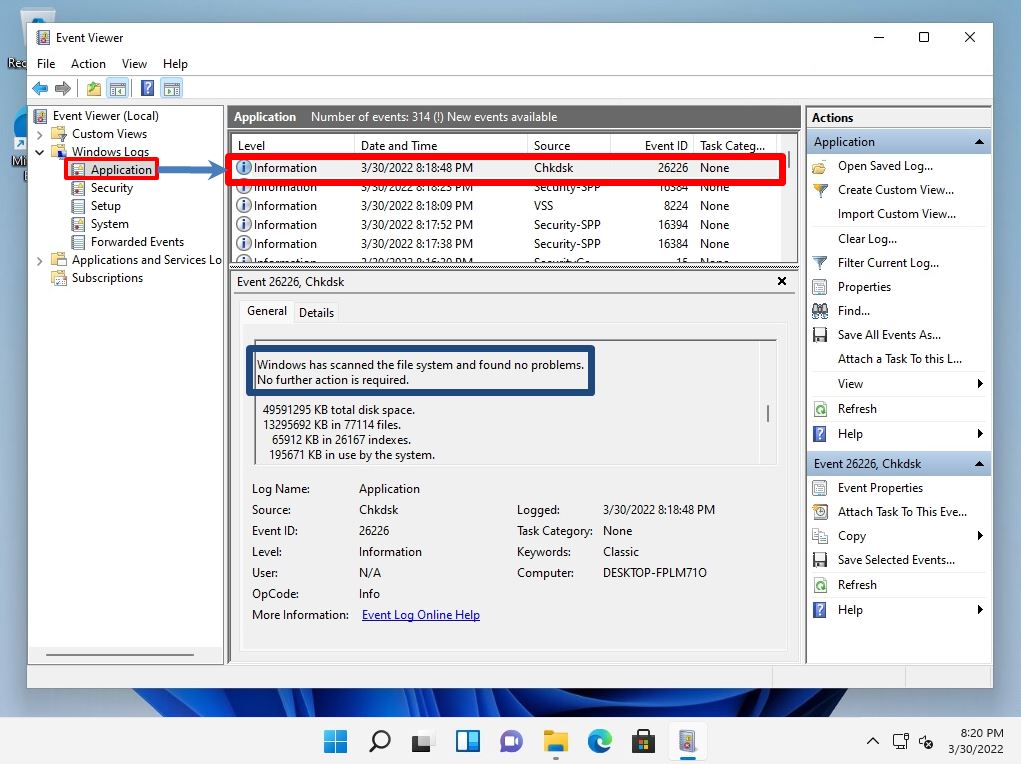
Check disk log check with Event Viewer
The result of executing the check disk is recorded in the application log of the Event Viewer.
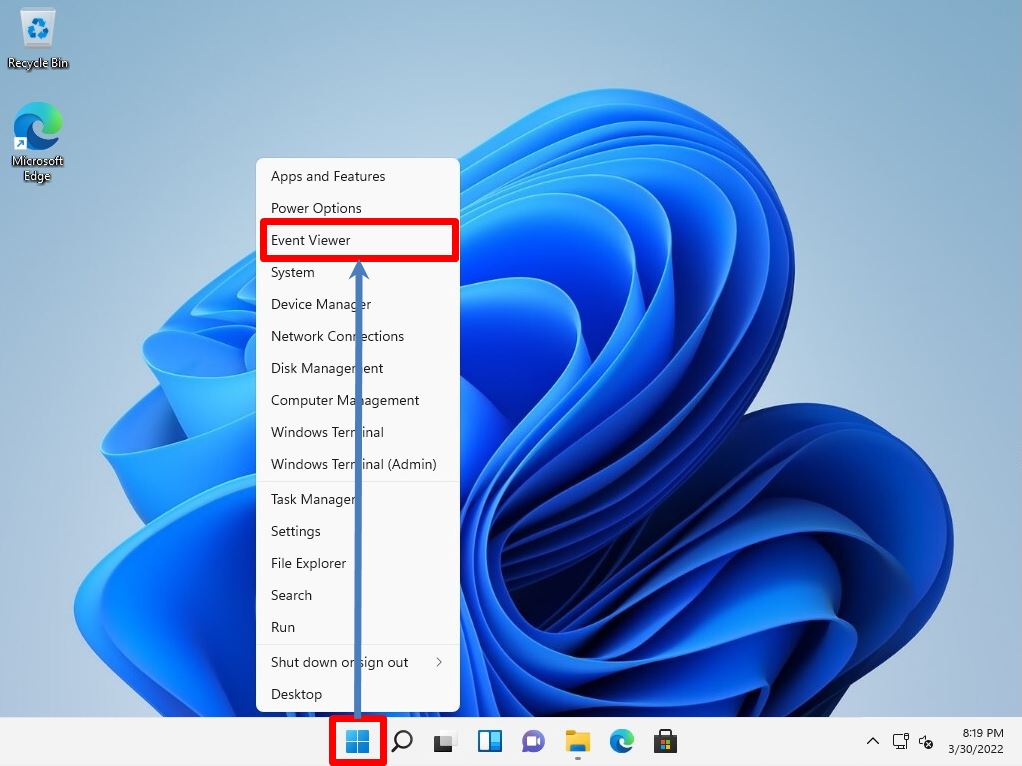
Step 1:
Right-click on the Windows Mark on the taskbar -> select Event Viewer.
Step 2:
The “Chkdsk” log is output to the “Event Viewer” -> “Windows Logs” -> “Application” source and the results are displayed.