Windows Server 2019:Web Server (IIS) is not installed by default. To add features, you need to enable and install the Web Server (IIS) checkboxes in the Server Manager Dashboard -> Add Roles and Features Wizard. Also, when adding a Web server (IIS), use a user with administrator privileges. Unauthorized users will not be able to install because they do not have the appropriate user permissions to make changes.
This time, I will explain how to install the web server (IIS) and connect to the web server in the environment of Windows Server 2019.
Windows Server 2019:Web Server (IIS) installation
Step 1:
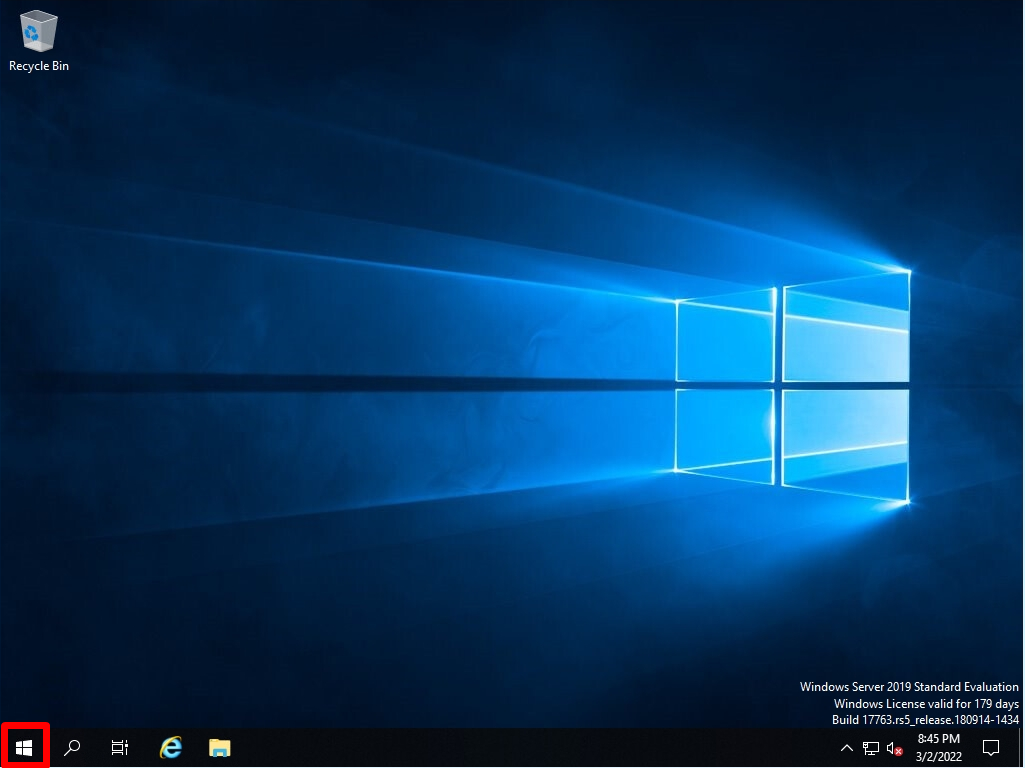
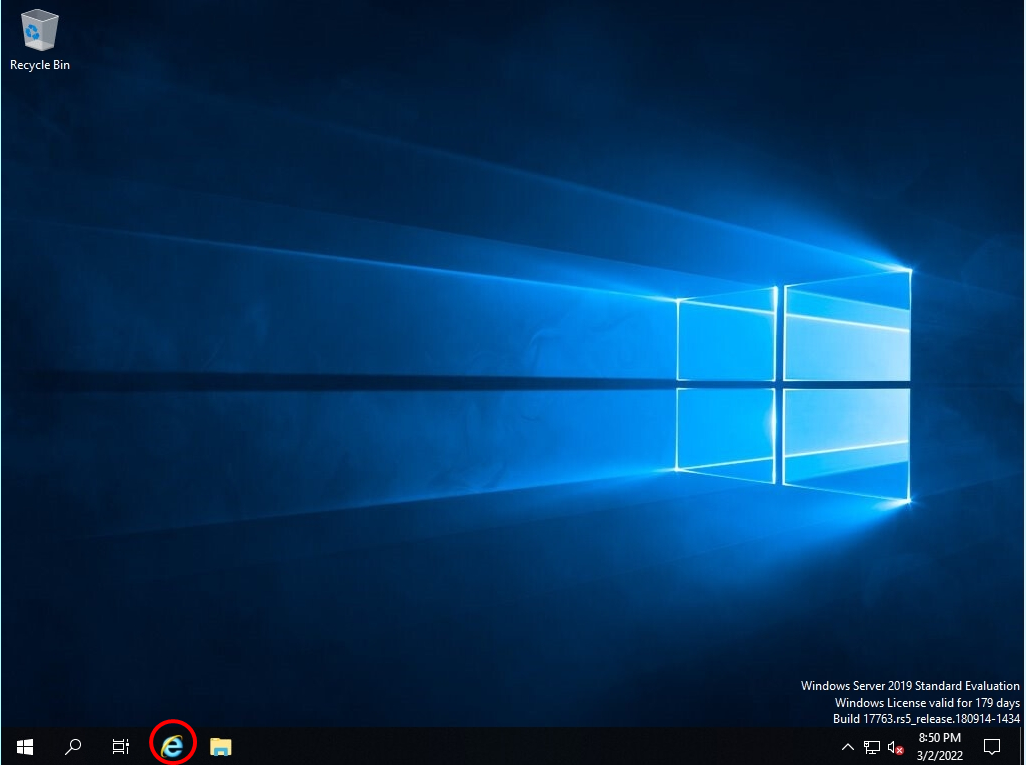
Select the Windows mark at the bottom left of the desktop screen.
Step 2:
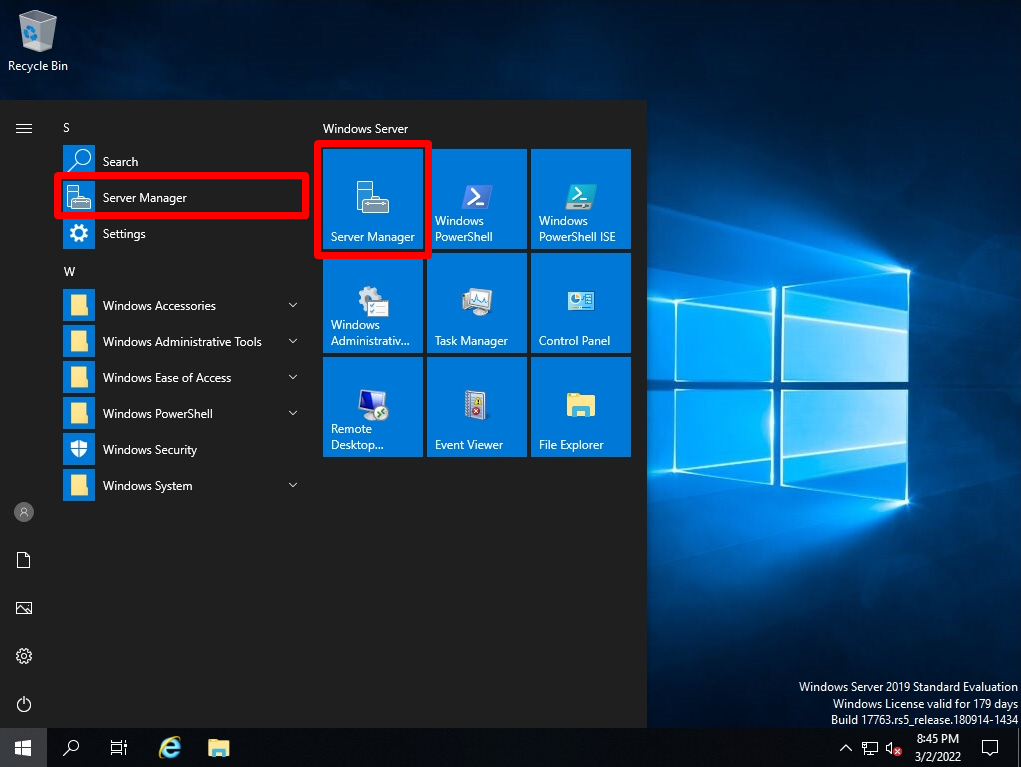
Select Server Manager.
Step 3:
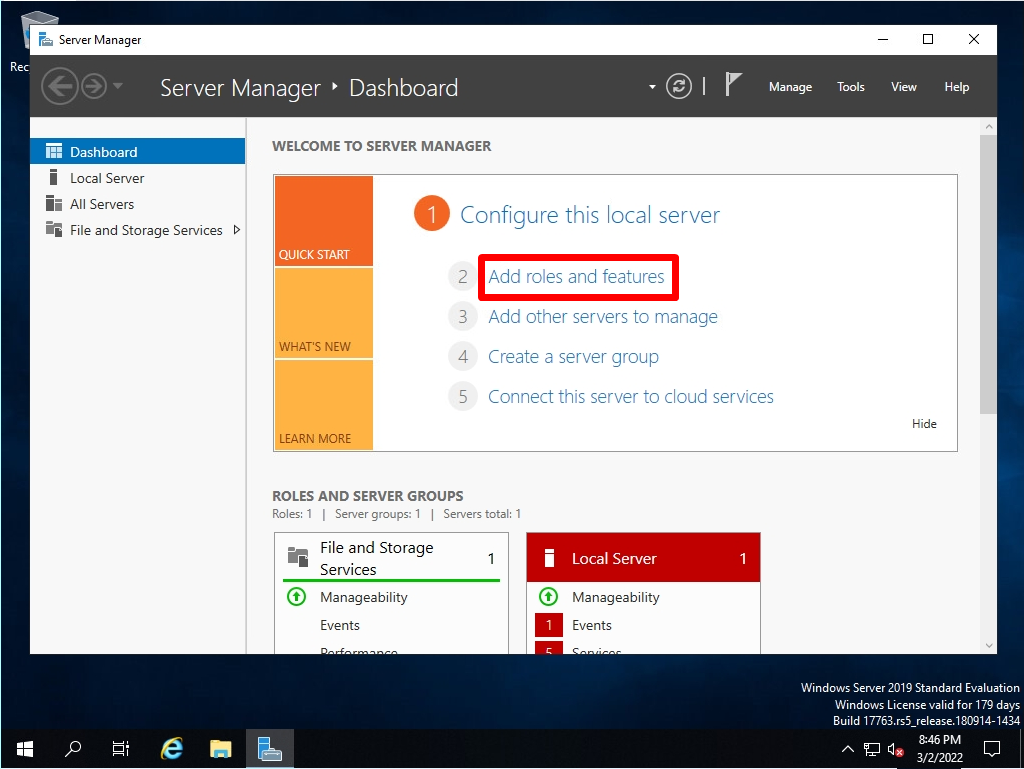
Server Manager Dashboard screen -> Select Add roles and features.
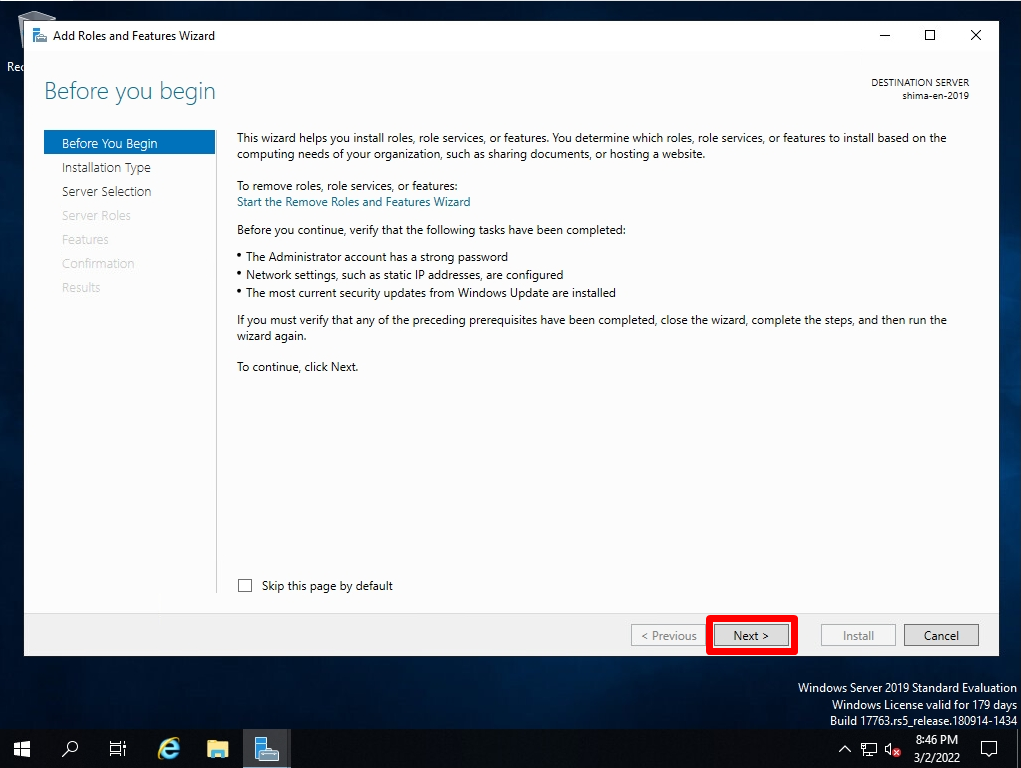
Step 4:
Before you begin screen -> Select “Next”.
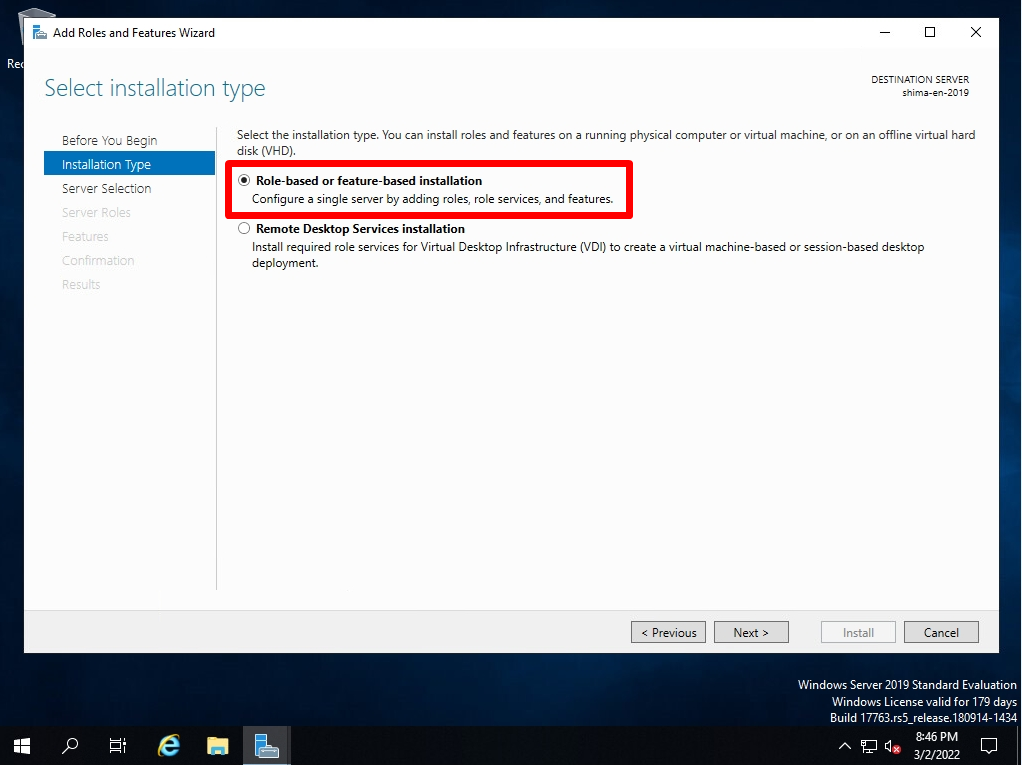
Step 5:
Select installation type screen -> Select a Role-based or feature-based Installation and select Next.
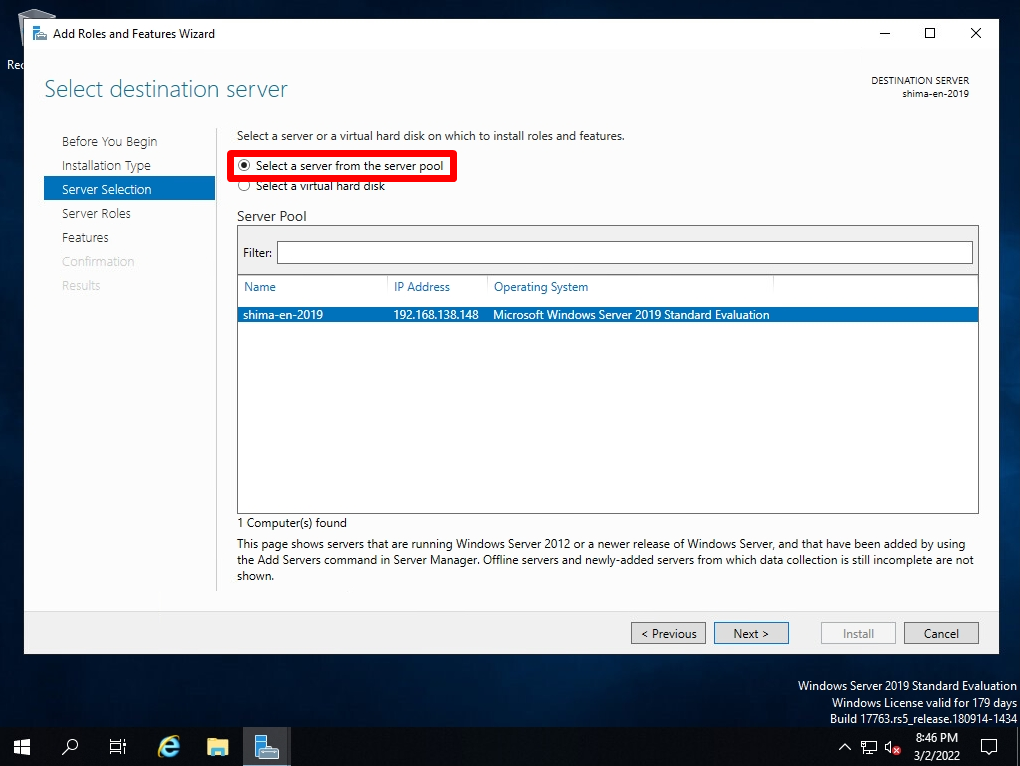
Step 6:
Select destination server screen -> Select the name of your server and select “Next”.
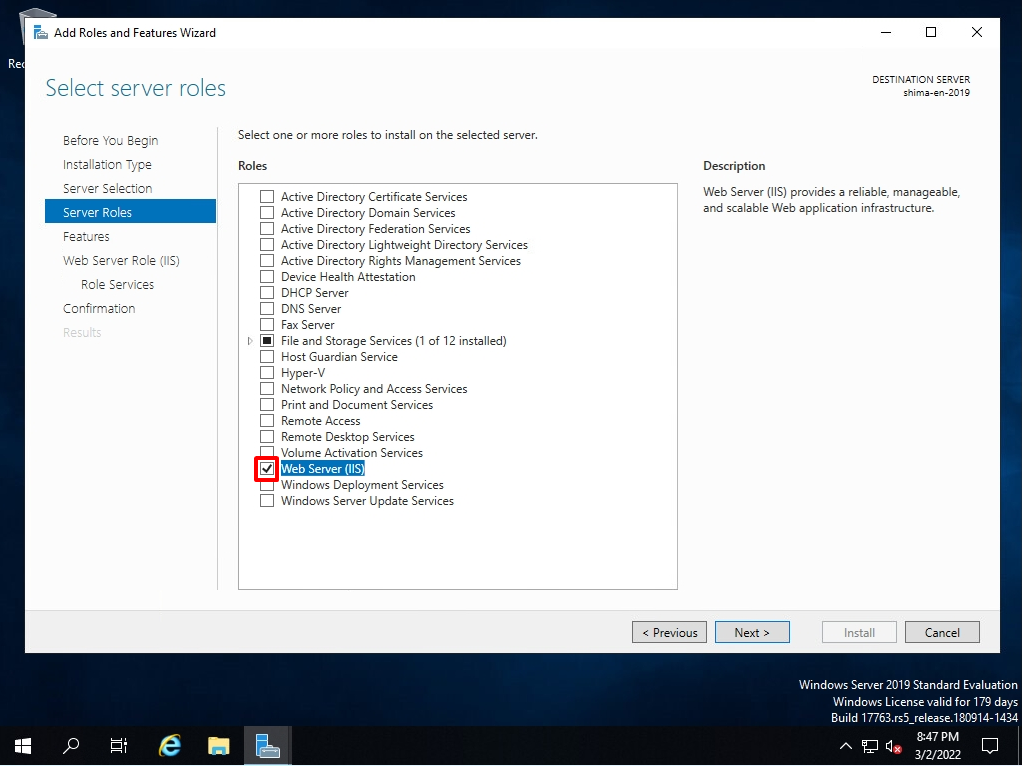
Step 7:
Select server roles screen -> Select the Web server (IIS) in the red frame.

Step 8:
Select Add features.

Step 9:
Make sure the Web Server (IIS) checkbox is enabled and select Next.
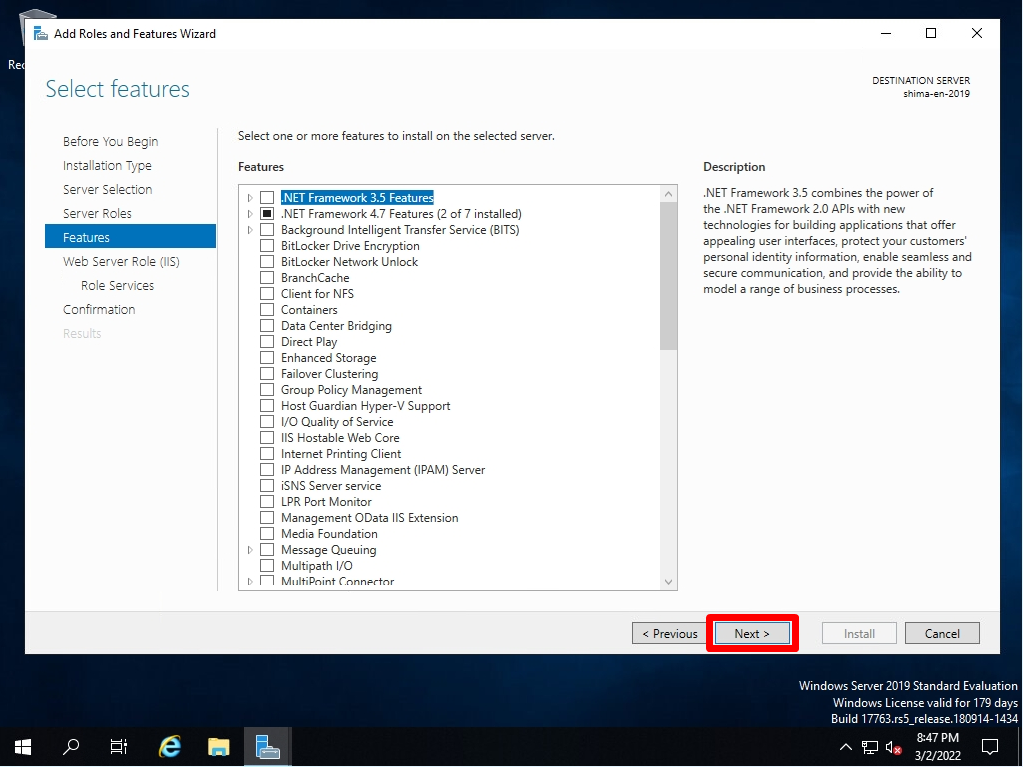
Step 10:
Select features screen -> Select Next without selecting anything.
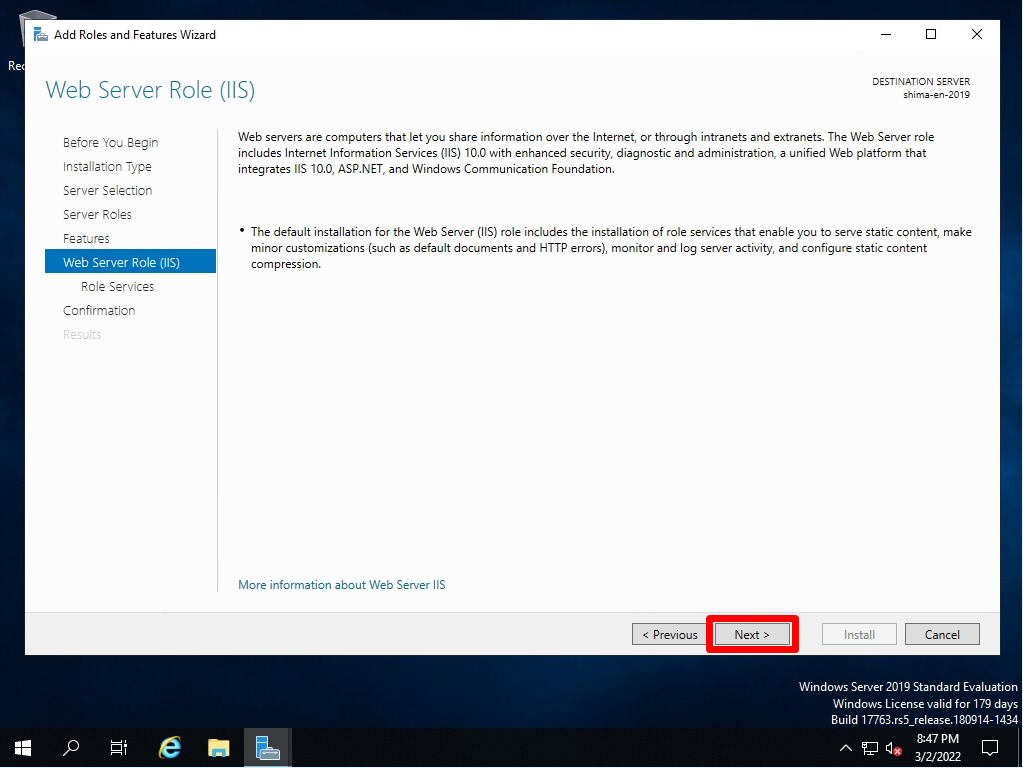
Step 11:
Web Server Role (IIS) screen -> Select Next.
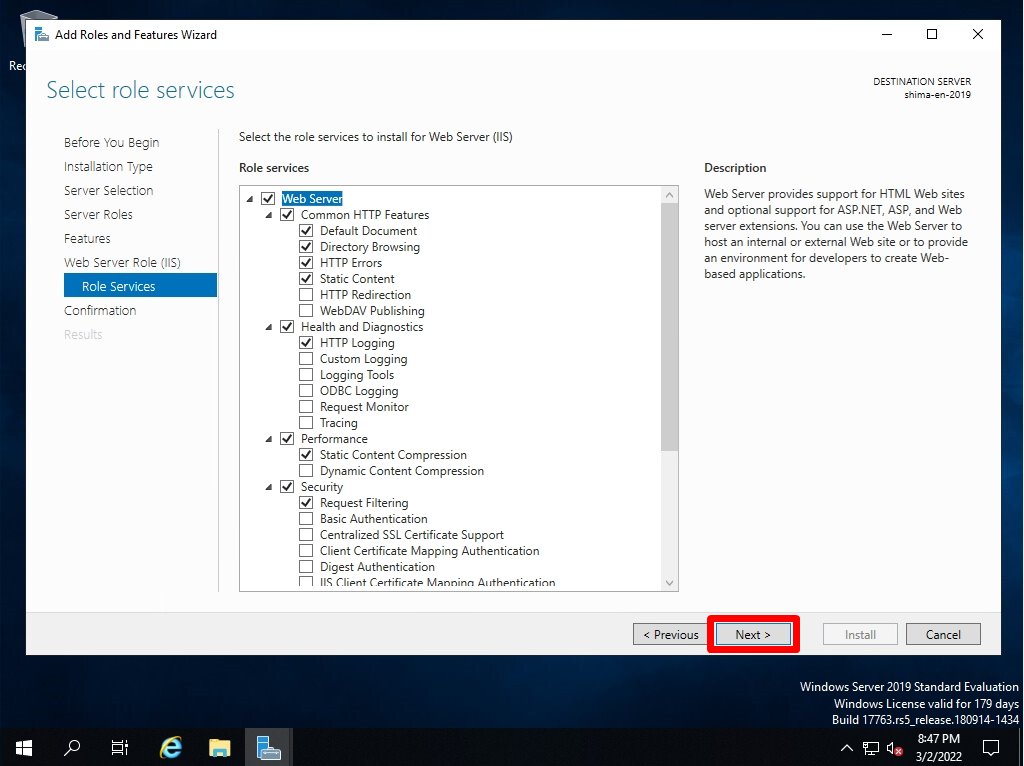
Step 12:
Select role Services screen -> Select Next.
If you install an FTP server, please enable it. In this article, the check boxes of the FTP server etc. are not enabled because they are set by default.
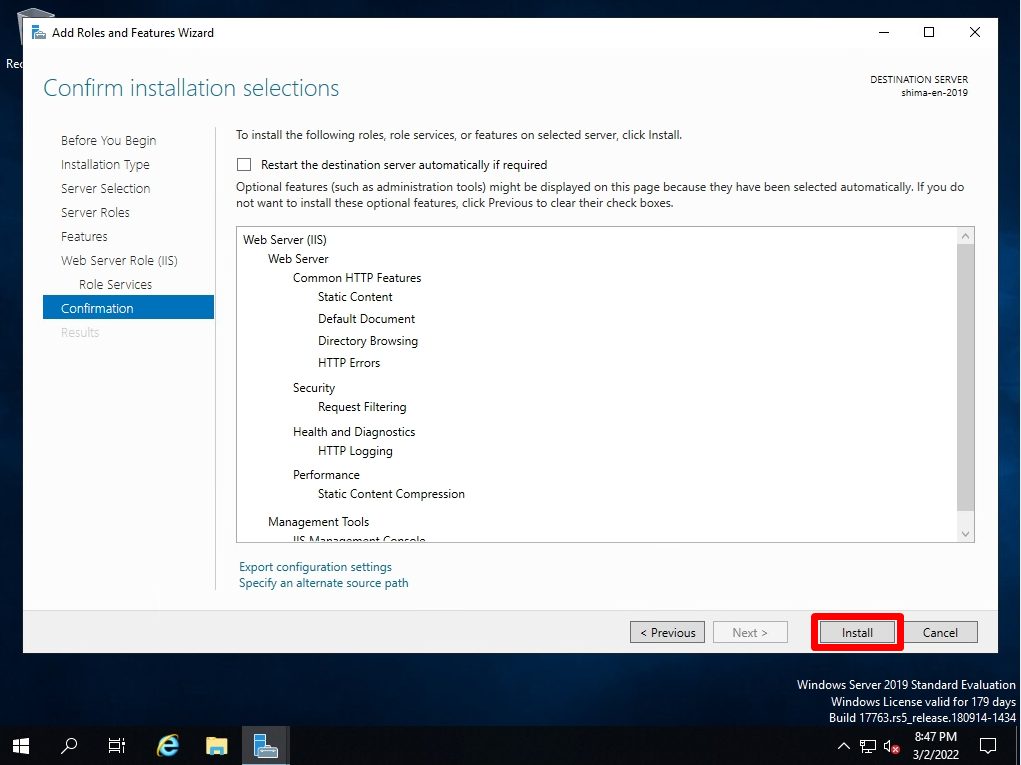
Step 13:
Confirm installation selections screen -> Select “Install”.
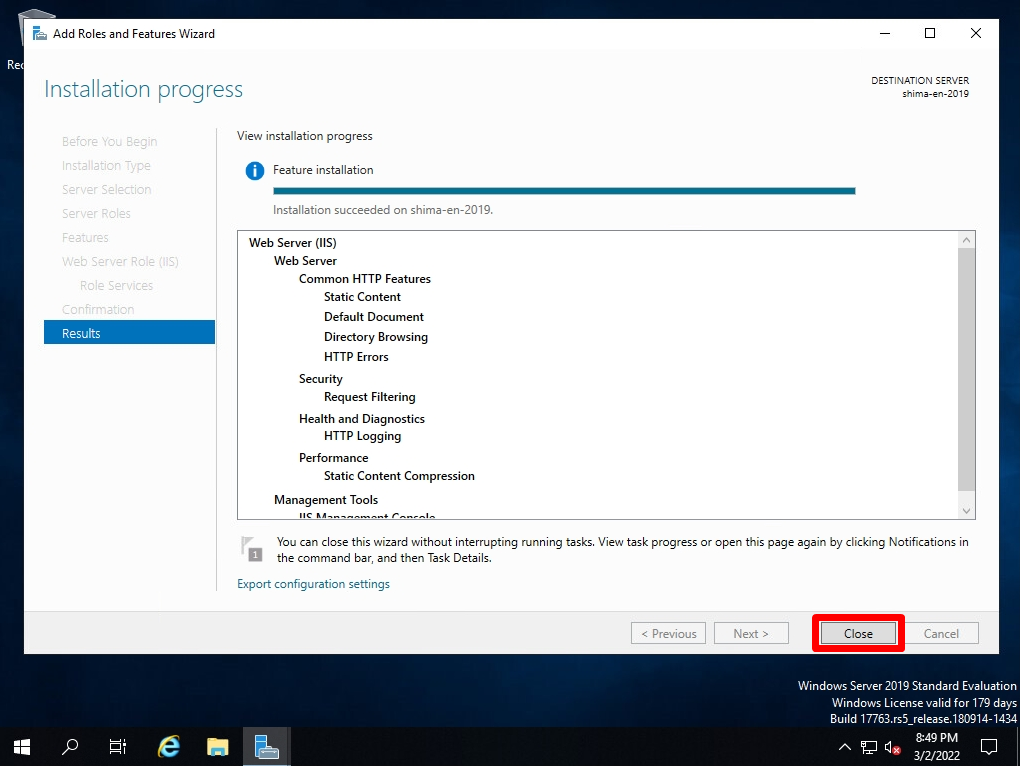
Step 14:
Installation progress screen -> Select Close.
Windows Server 2019:Web Server (IIS) Connection Confirmation
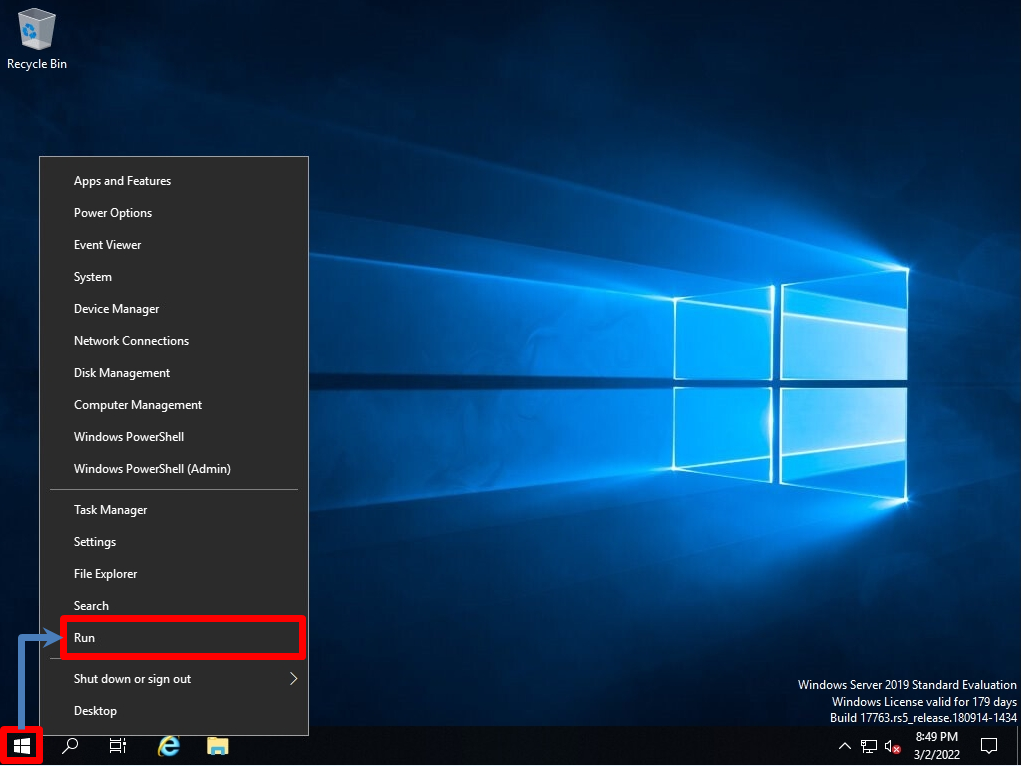
Step 1:
Right-click the Windows mark at the bottom left of the desktop screen –> Select “Run”.
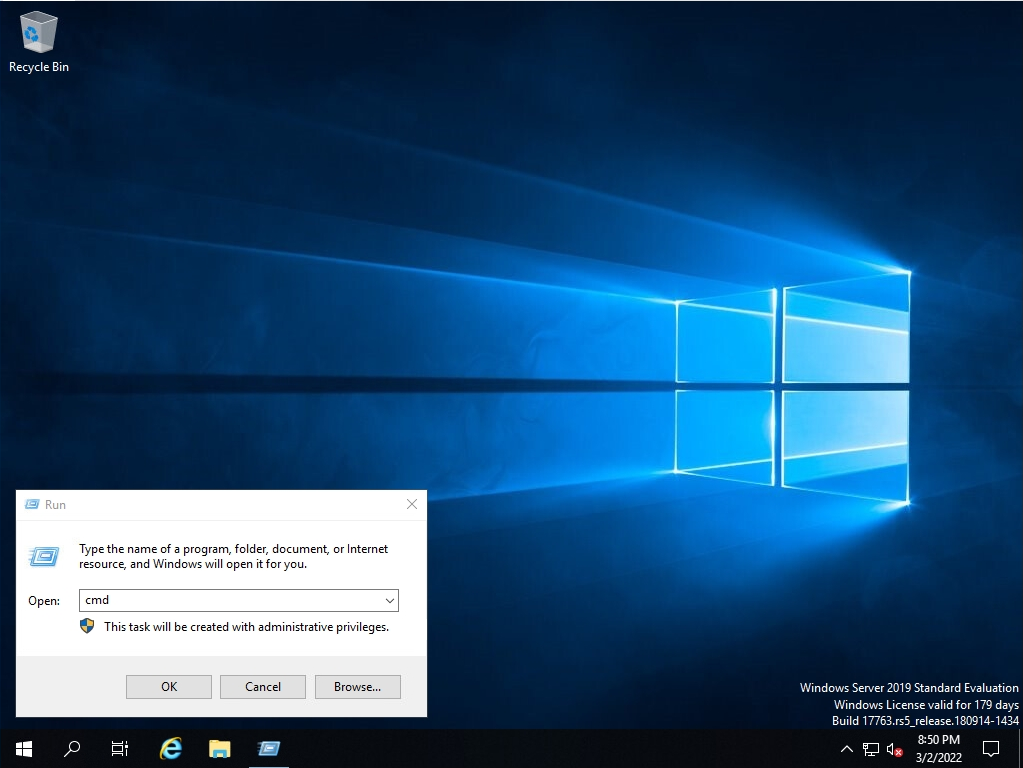
Step 2:
Enter cmd -> select OK.
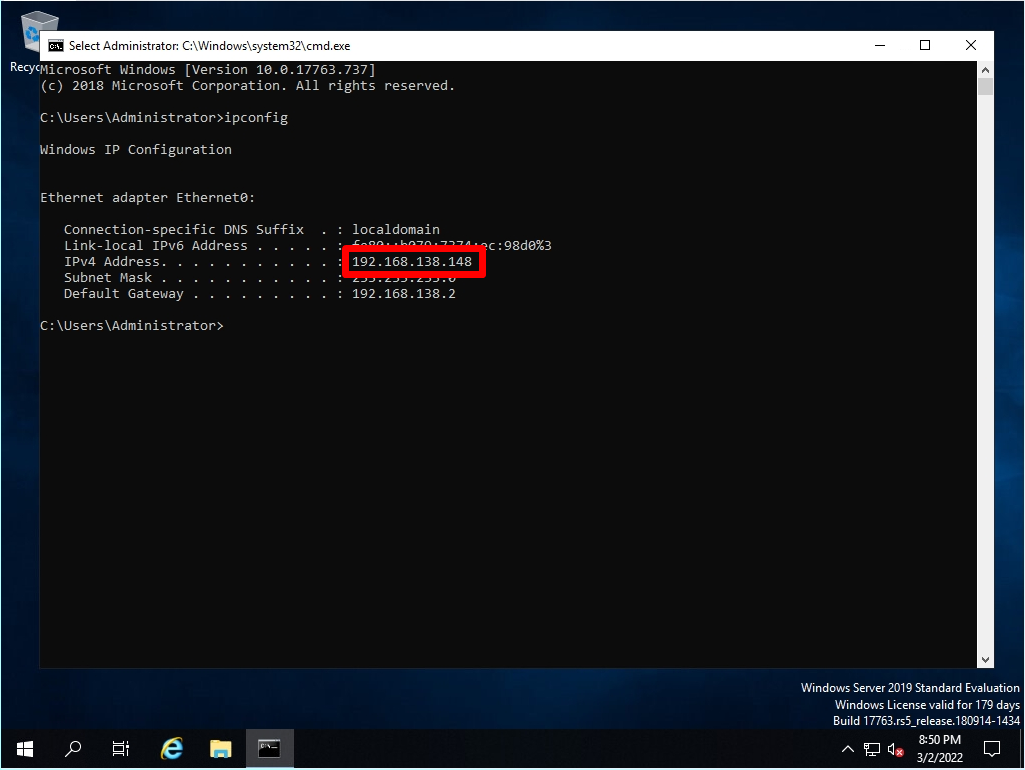
Step 3:
Enter “ipconfig” at the command prompt to check the IP address of your server.
Step 4:
Start the installed browser to enter the IP address of your server in the browser.
Step 5:
Enter the IP address of your server in the URL input field -> Press the “Enter” key.

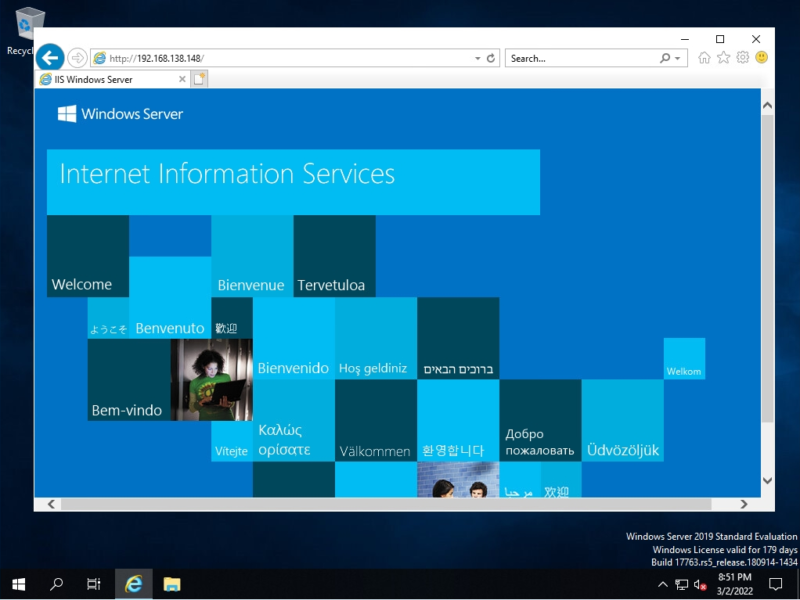
Step 6:
Confirmation of connection to the Web server (IIS) is complete.
