
Oracle VM VirtualBoxは、VMware Workstation Player・Hyper-Vと同じような仮想端末作成ソフトです。今回、VirtualBox上に構築するWindowsサーバー製品のWindows Server 2019は一定の期間、無償バージョンの評価版(evaluation)ISOイメージファイルがフリーでマイクロソフト公式サイトからダウンロードすることができOracle VM VirtualBox上で ISOファイルを読み込ませることでOSを動かすことができます。 利用することができるWindows Server 2019のエディションはStandard、Datacenter 、Essentialsです。
また、Virtual Boxを利用するメリットとして無料である特定のポイントに瞬時に戻せる機能「Snapshot(スナップショット)」を標準搭載しているため、おすすめできる仮想端末ソフトです。
Windows Server 2019以外にも以下、対応OSをはじめとするOSの利用が可能です。
- Windows OS:Windows10、Windows Server 2012/R2 、Windows Server 2016など
- Linux OS:Linux OS:Red Hat Enterprise Linux、Ubuntu、CentOS、Fedoraなど
- mac OS
- Solaris
本記事では、仮想端末のゲストOSにWindows Server 2019をインストールする手順を説明します。
目次
1. Windows Server 2019 ISOファイルダウンロード
ブラウザを起動し、 Microsoft公式 ISOファイルダウンロードページに画面遷移しISOファイルをダウンロードします。※ダウンロードサイトのURL・画面は都度変更されます。
・評価版 Windows Server 2019 Standard・Datacenter エディション : https://www.microsoft.com/ja-jp/evalcenter/download-windows-server-2019
・評価版 Windows Server 2019 Essentials エディション : https://info.microsoft.com/ww-landing-windows-server-2019-essentials.html
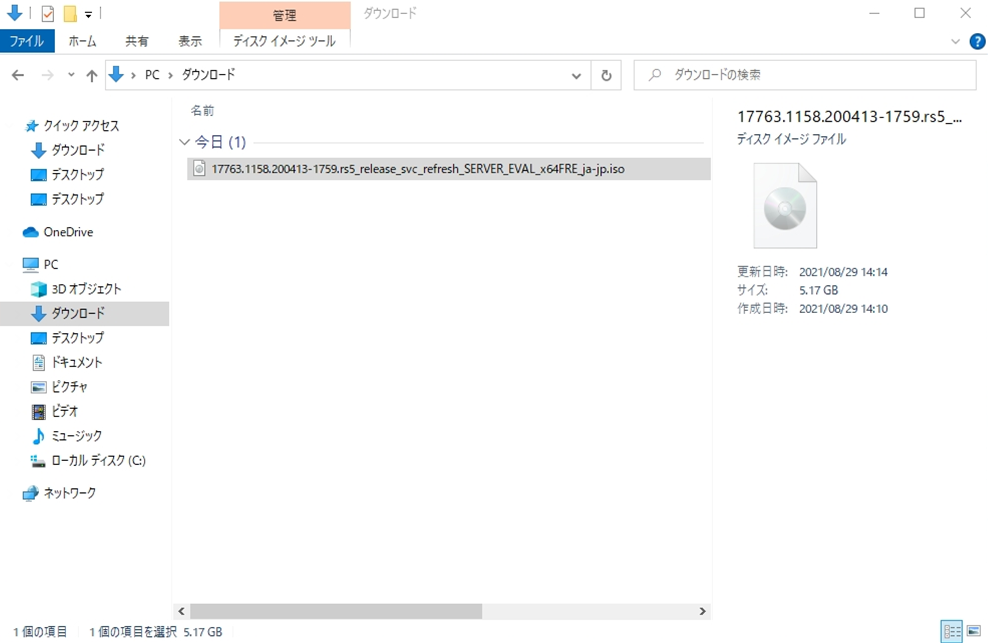
Windows Server 2019 ISOファイルがダウンロードされたことを確認します。
※評価版 Windows Server 2019のISOイメージファイルサイズ( Standard・Datacenter )は約5.2GBありました。
2. Oracle VM VirtualBox:ISOファイルマウント
手順 1:
「 Oracle VM VirtualBox 」を起動します。
※「 Oracle VM VirtualBox 」は以下、公式HPからダウンロードできます。
オラクルダウンロードサイト:https://www.virtualbox.org/wiki/Downloads
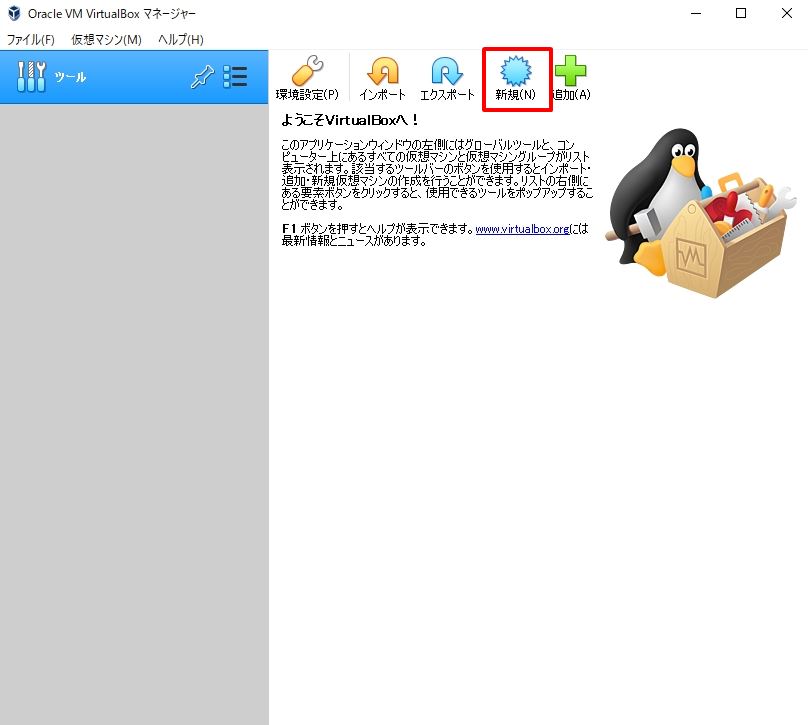
手順 2:
「 新規 」を選択します。
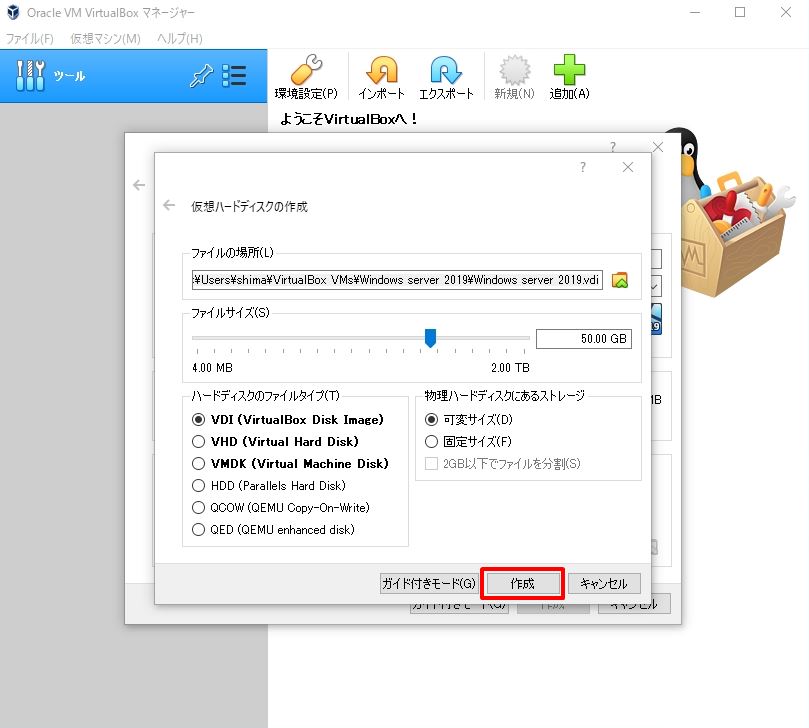
手順 3:
以下の情報を入力、選択 –>「 作成 」を選択します。
・名前:任意の名前を入力
・タイプ:Microsoft Windows
・バージョン:Windows 2019 (ビット数)
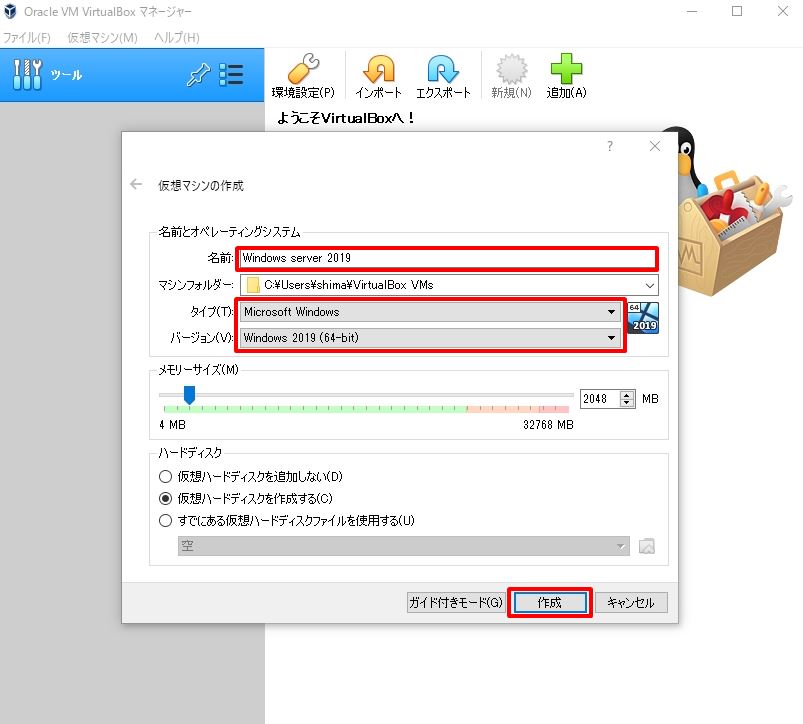
手順 4:
「 作成 」を選択します。
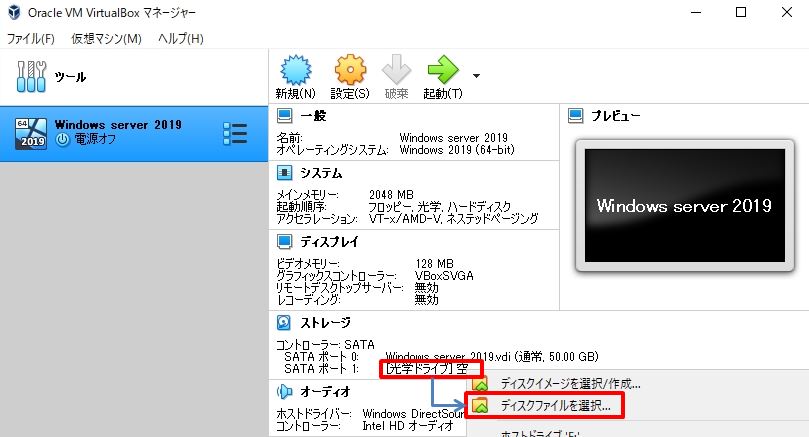
手順 5:
「 光学ドライブ 」空 –>「 ディスクファイルを選択 」を選択します。
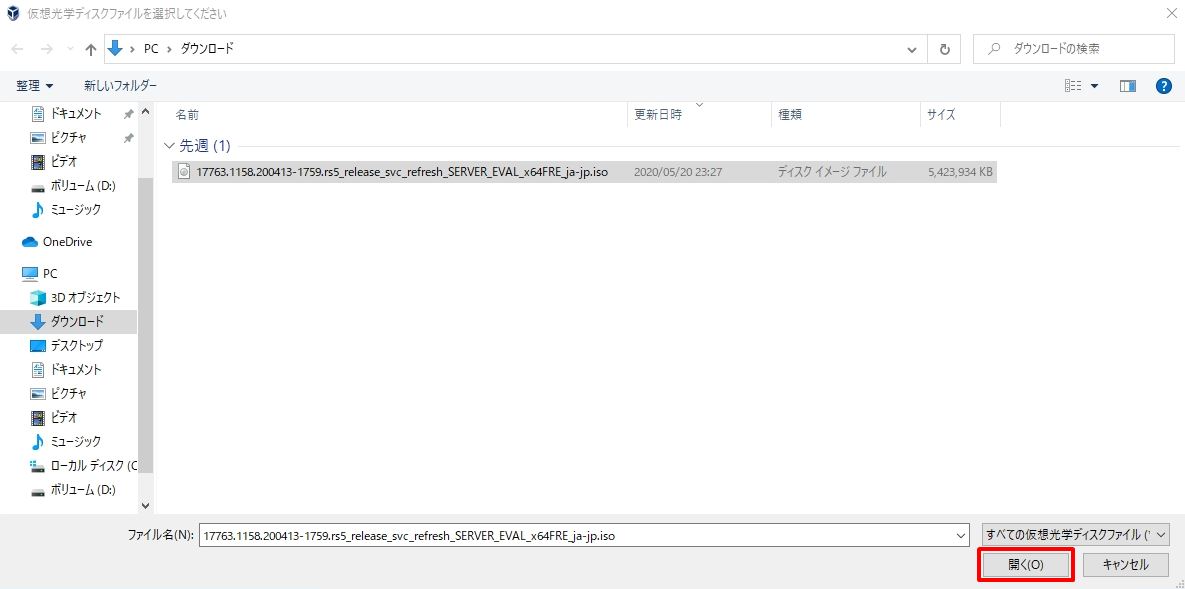
手順 6:
ダウンロードしたOSイメージファイルを選択します。
3. Oracle VM VirtualBox:Windows Server 2019インストール
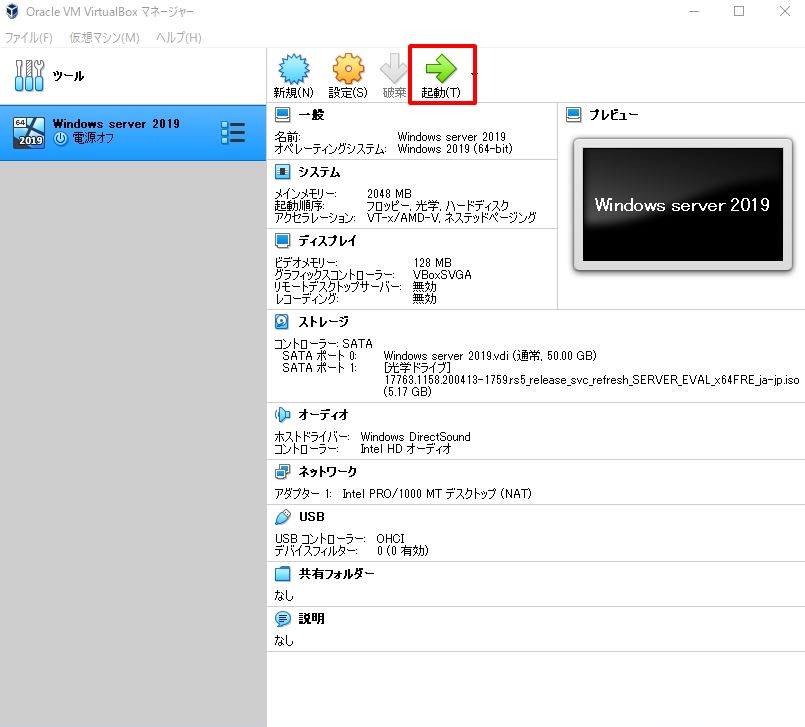
手順 1:
[光学ドライブ]にWindows Server 2019のisoファイルがマウントされていることを確認後、「 起動 」を選択します。
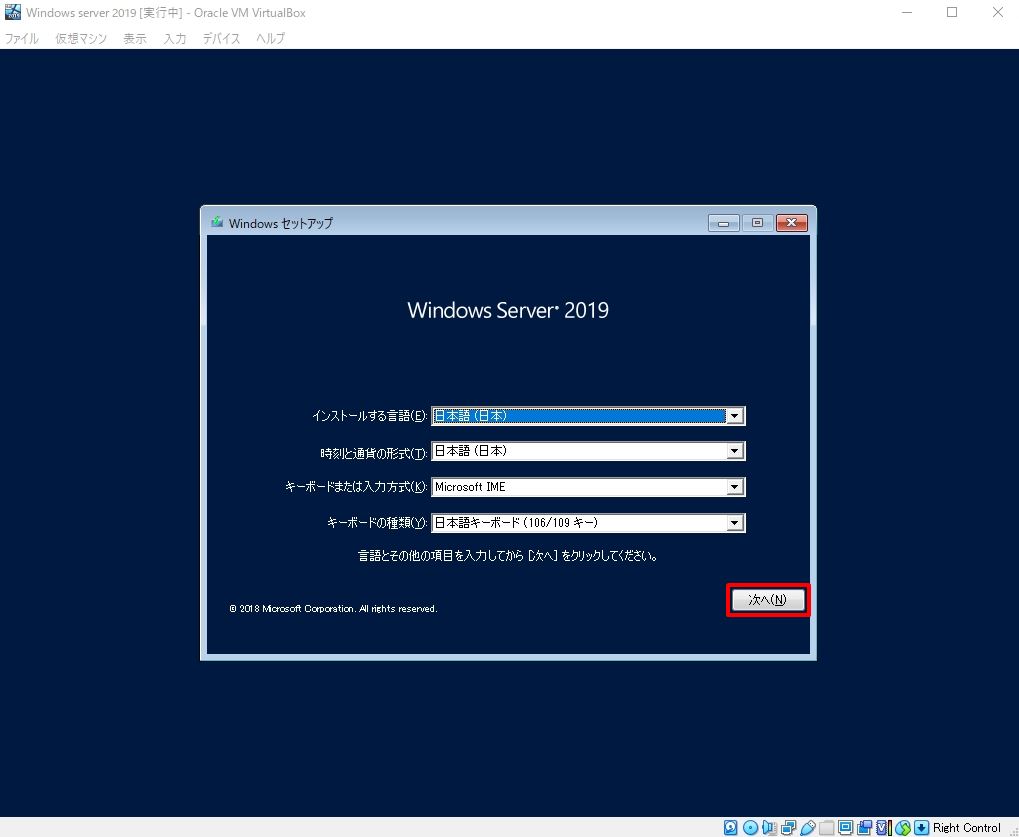
手順 2:
「 次へ 」を選択します。
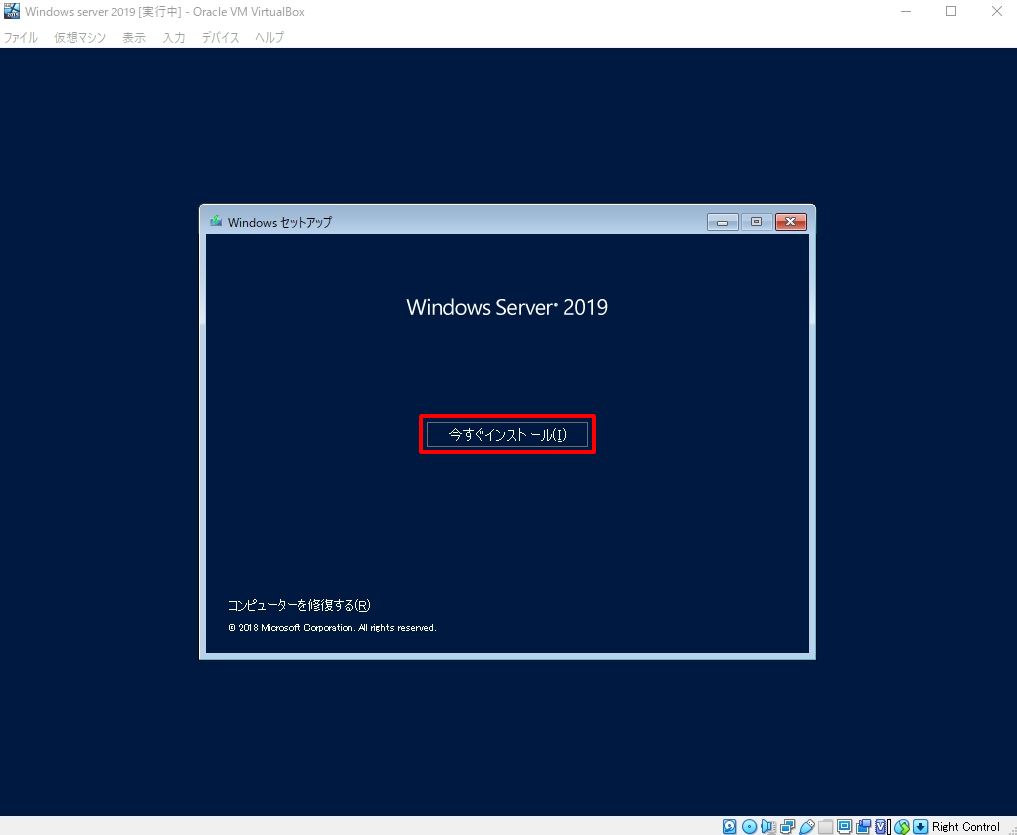
手順 3:
「 今すぐインストール 」を選択します。
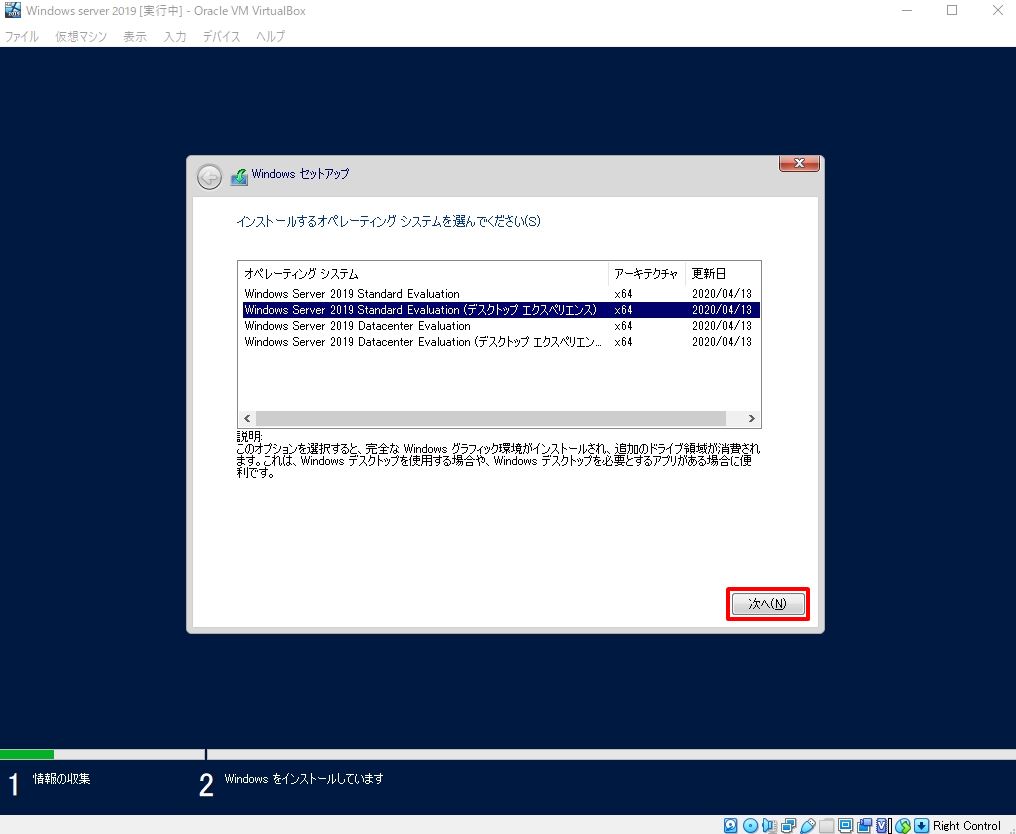
手順 4:
デスクトップエクスペリエンス選択します。
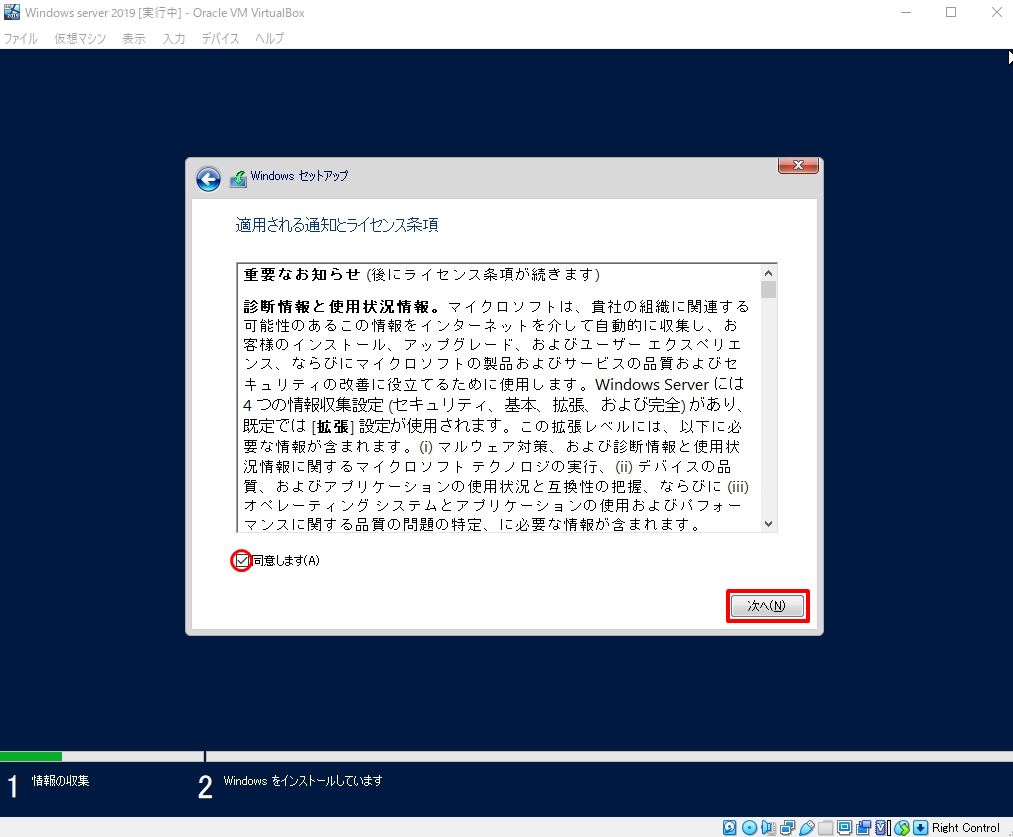
手順 5:
「同意します」を有効化 –>「次へ」を選択します。
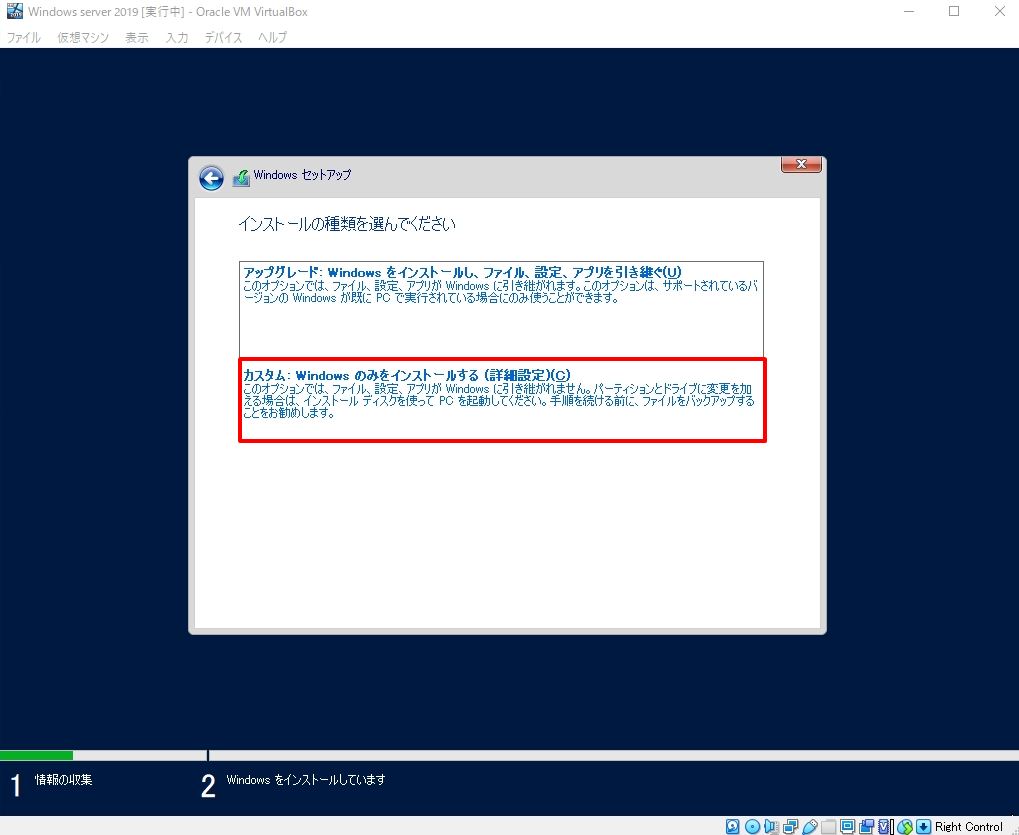
手順 6:
新規インストールのため「カスタム:Windowsのみをインストールする」を選択します。
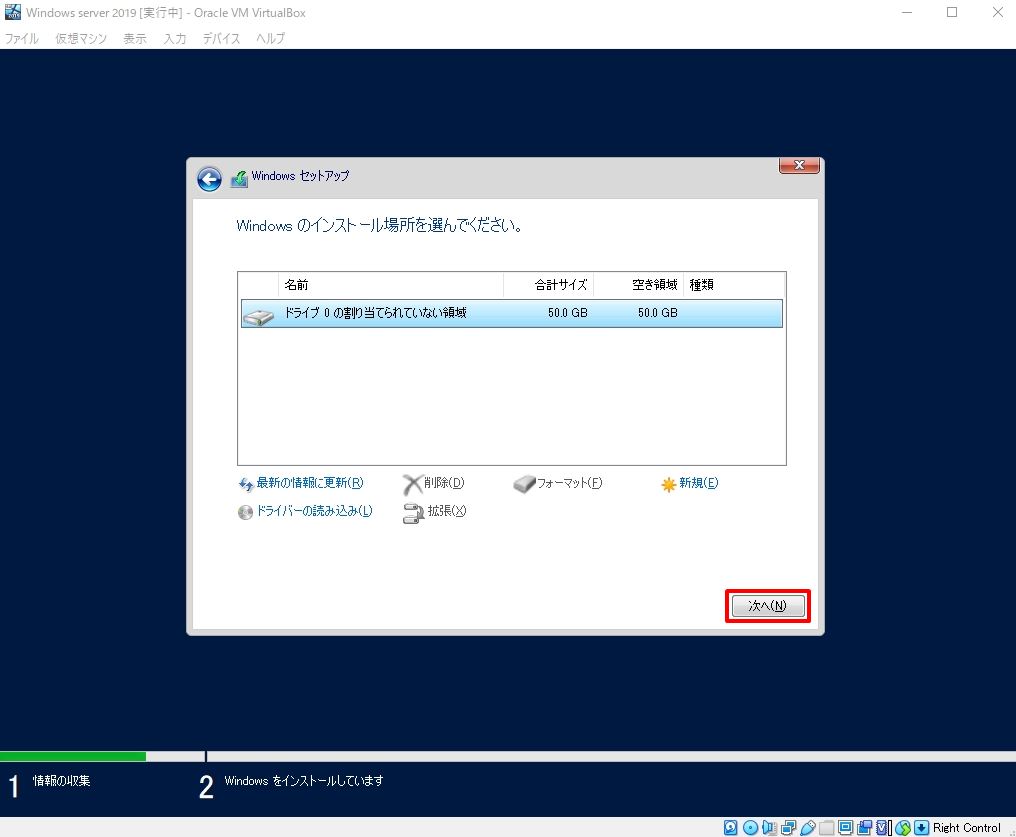
手順 7:
「次へ」を選択します。
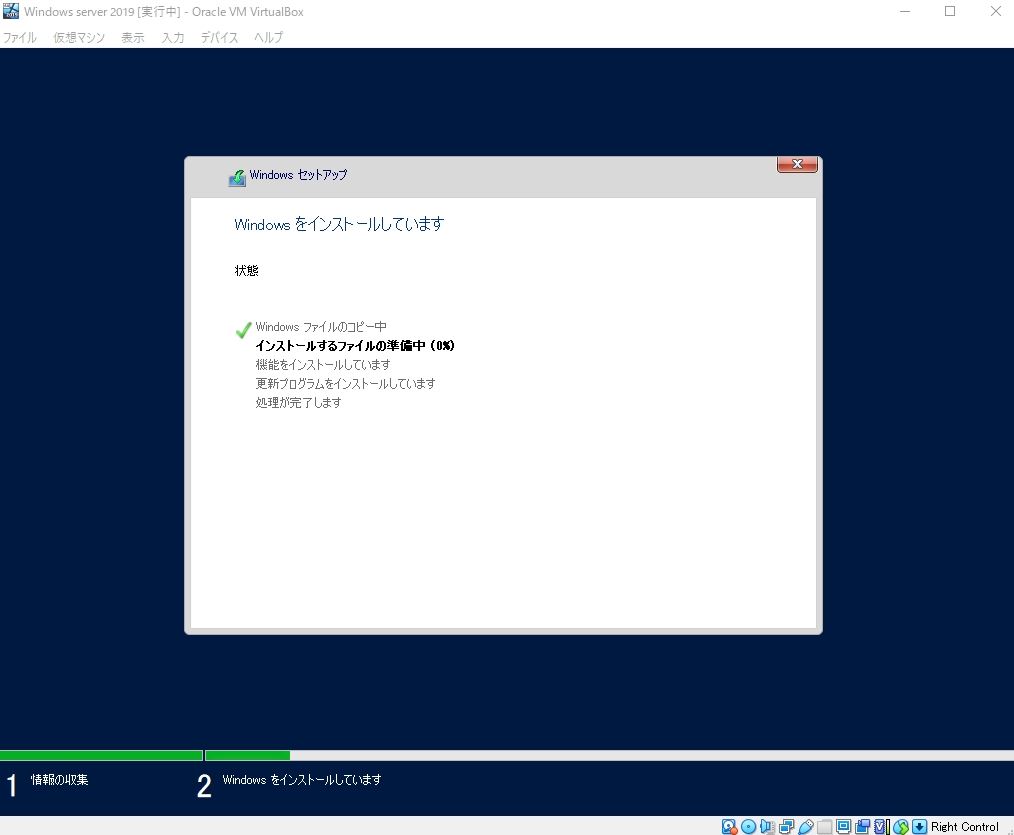
手順 8:
インストールが開始されます。 インストール処理が終わるまで少し待ちます。
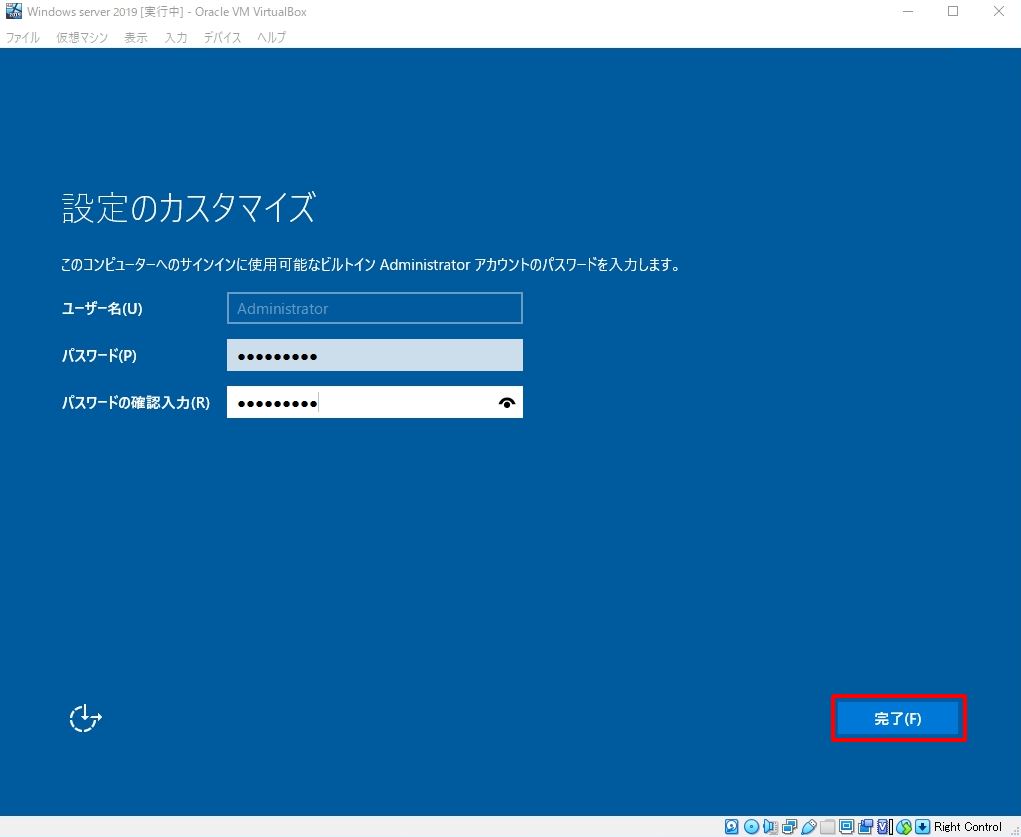
手順 9:
「 パスワードを入力 」–>「完了」を選択します。
※以下、条件でなければ「煩雑さの要件を満たしていません。」が表示され新しいパスワード入力を求められます。(煩雑さの要件を満たすパスワードの例:Passw@rd1、p@ssw0rdなど)
4. Oracle VM VirtualBox:Windows Server 2019 ログイン
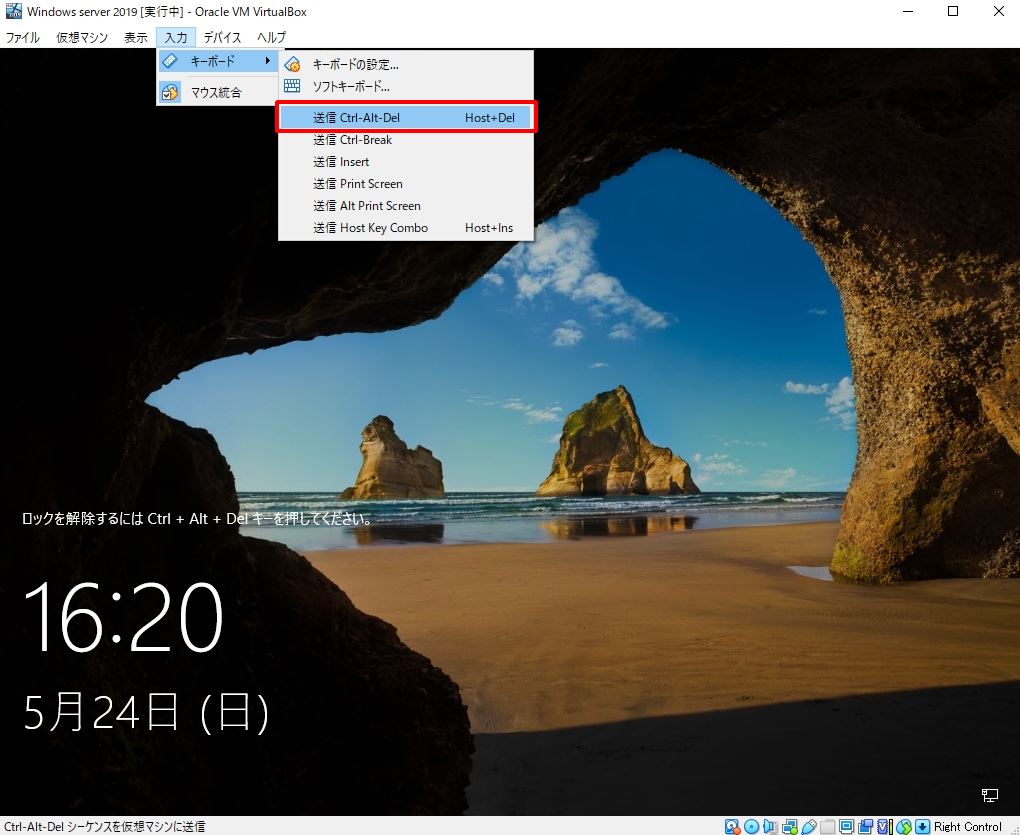
手順 1:
「 入力 」–>「 キーボード 」 –>「 送信 Ctrl + Alt + Del 」を選択します。
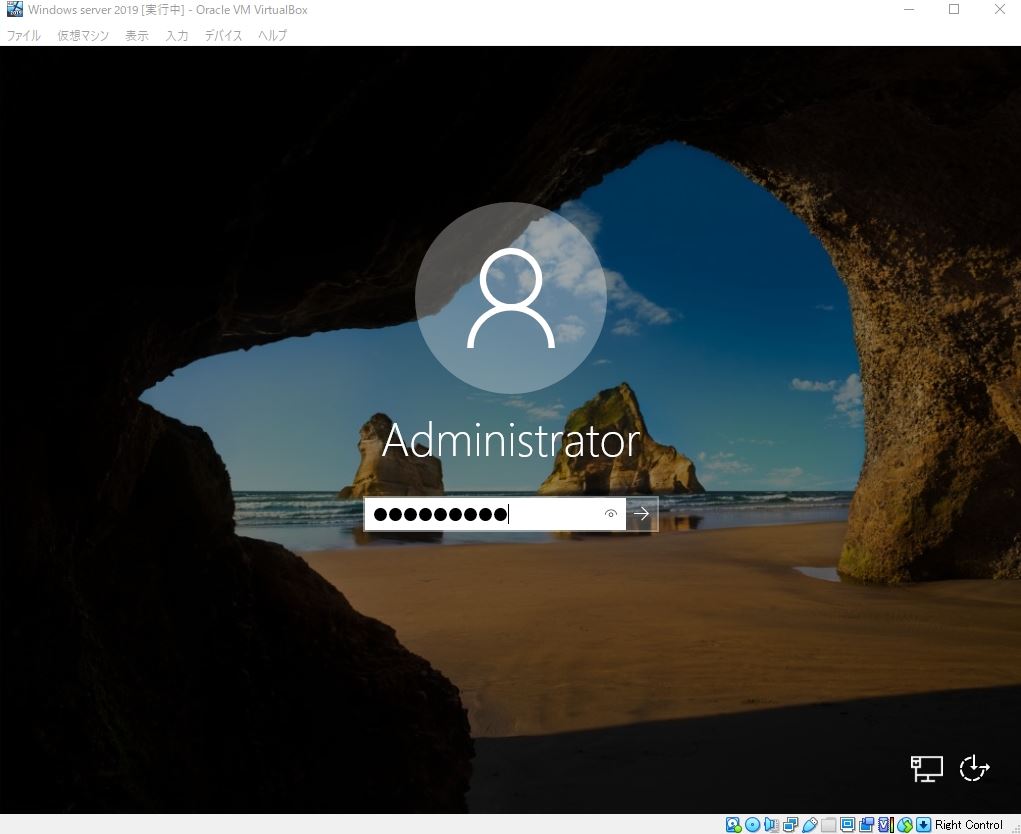
手順 2:
前手順で設定したパスワードを入力し、Enterキーを実行します。
手順 3:
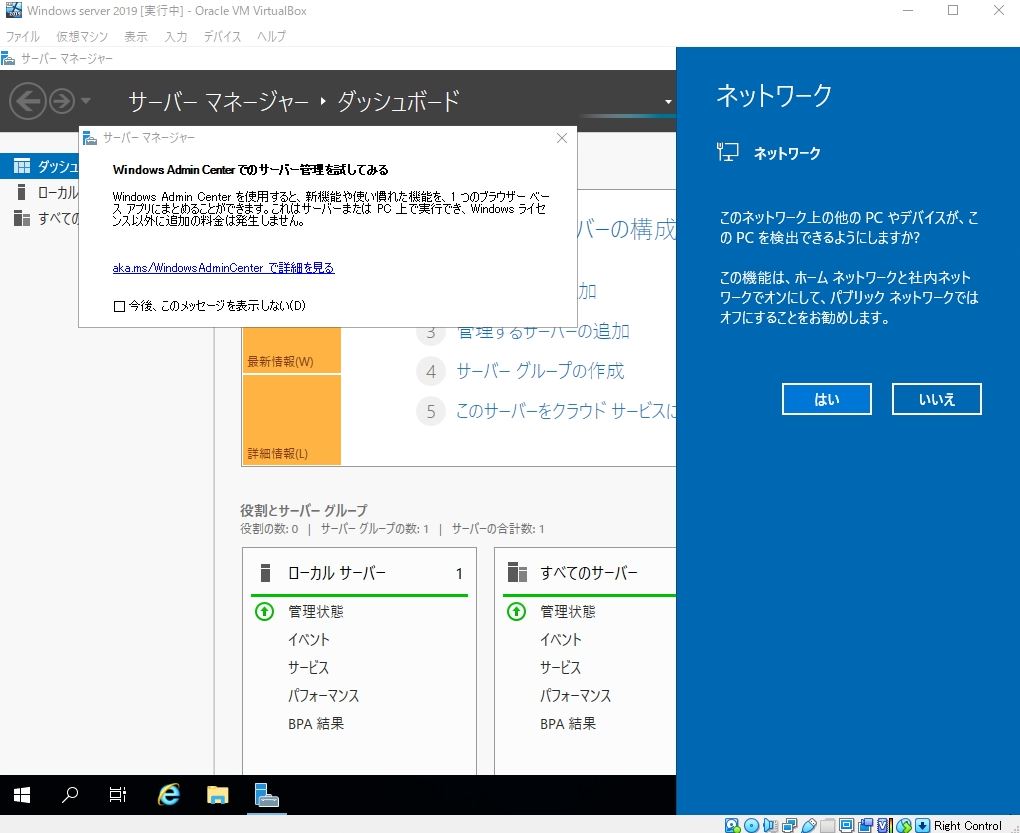
・「ネットワーク」設定画面は利用用途に合わせ「はい」/「いいえ」を選択します。利用用途が明確でなければ「いいえ」で良いと思います。
・「Windows Admin Center でのサーバー管理を試してみる」画面は、複数Windows サーバを一元管理することが今回の目的ではないため右上「X」を選択します。
サーバーマネージャー画面は「X」で閉じます。
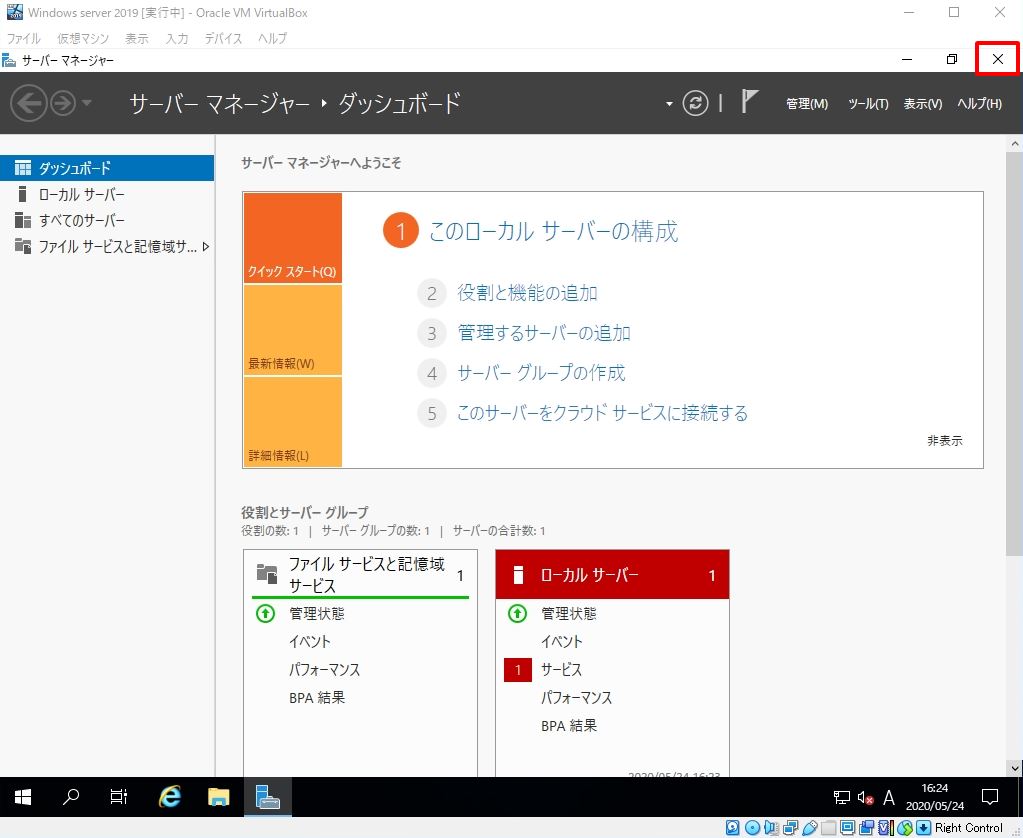
手順 4:
Windows Server 2019にログインできました。 以上でOSインストール作業終了です。
