CentOSはRed Hat Linuxと完全互換を目指した無償ディストリビューションでサーバー用途として企業で導入されるケースが多く需要が高いです。また、オープンソースのため無償で利用することができ評価期間を考慮することなく十分な検証/学習ができます。今回は仮想ソフト(Oracle VM VirtualBox)へのCentOSインストール方法を解説します。
1.Oracle VM VirtualBoxにOSイメージ(.iso)ファイルマウント
手順 1:
「 Oracle VM VirtualBox 」を起動します。
※「 Oracle VM VirtualBox 」は以下、公式HPからダウンロードできます。
オラクルダウンロードサイト:https://www.virtualbox.org/wiki/Downloads
手順 2:
「 新規 」を選択します。

手順 3:
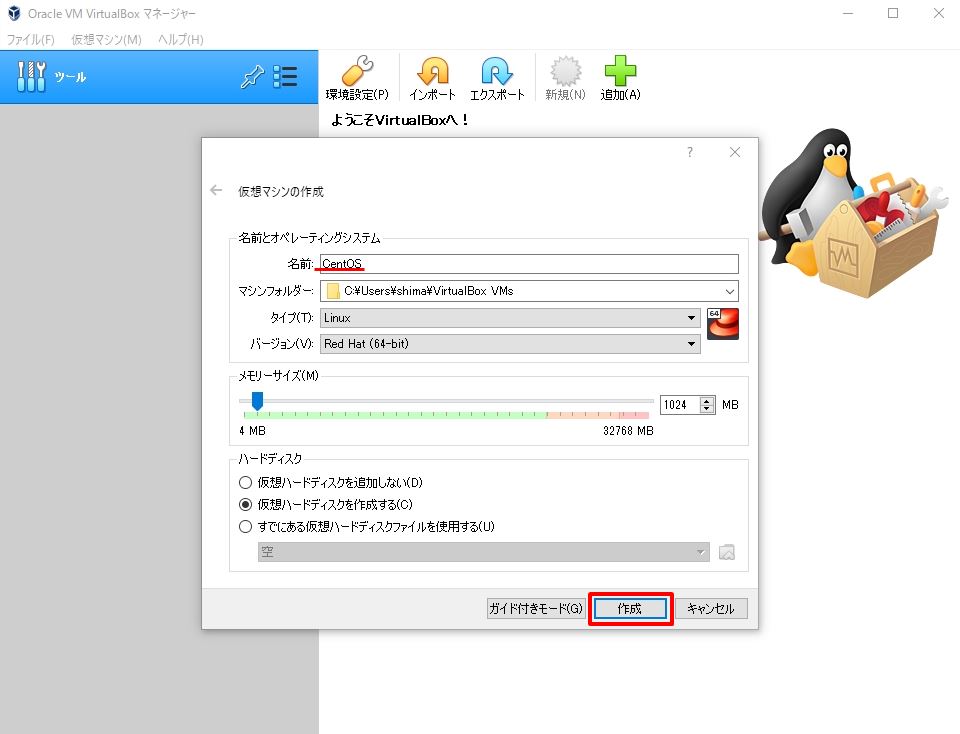
以下の情報を入力、選択 –>「 作成 」を選択します。
・名前:任意の名前を入力
・タイプ:Linux
・バージョン:Red Hat (ビット数)
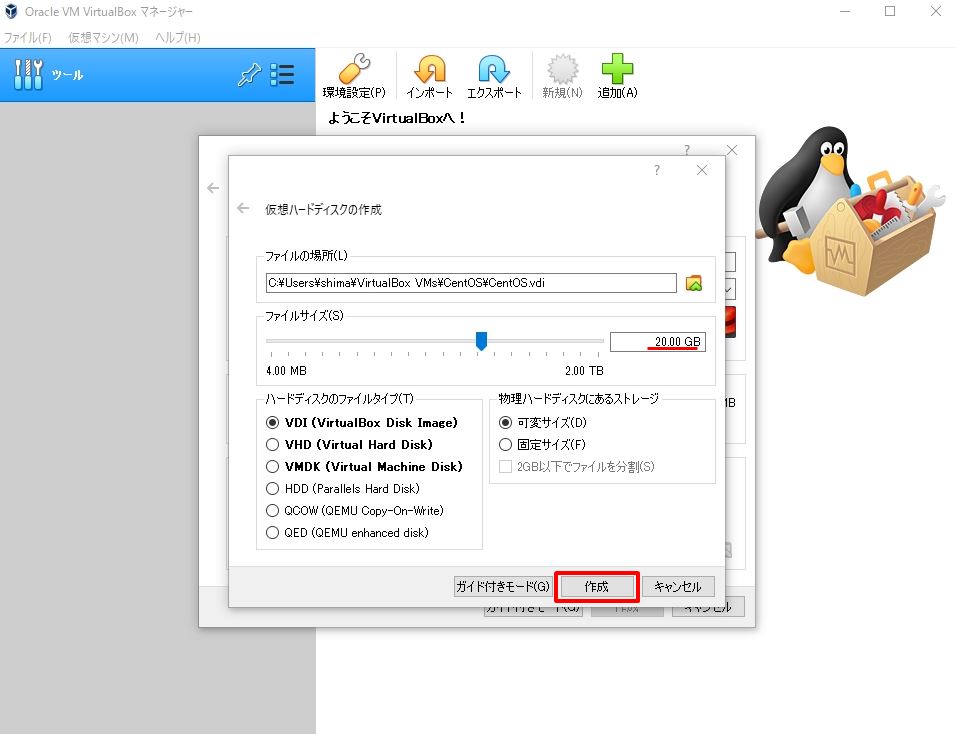
手順 4:
「 作成 」を選択します。
手順 5:
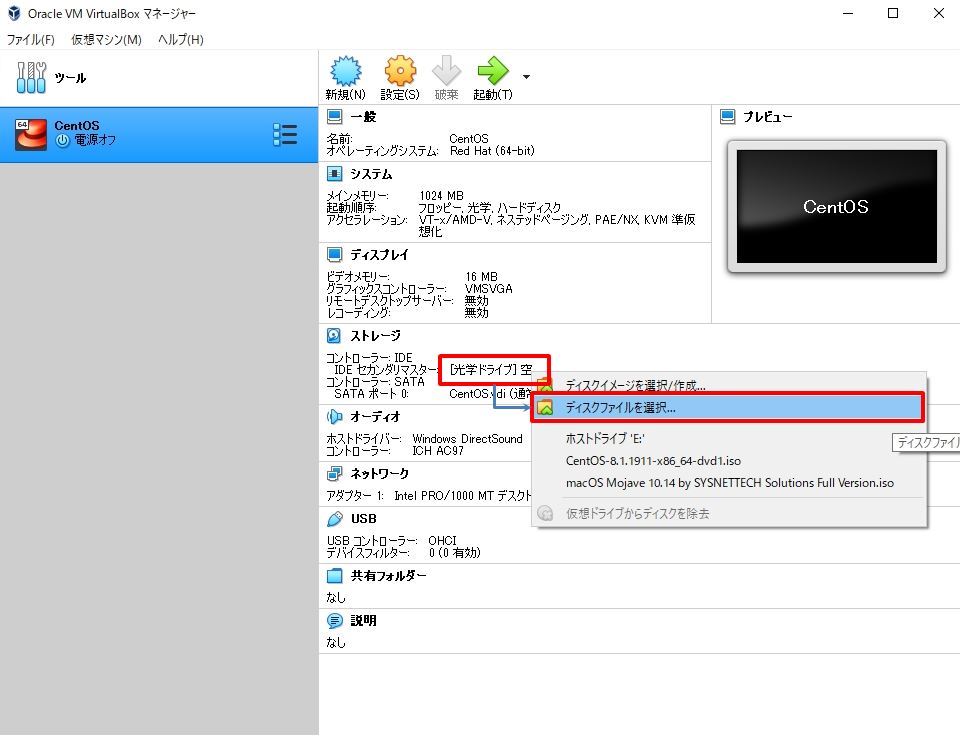
「 光学ドライブ 」空 –>「 ディスクファイルを選択 」を選択します。
手順 6:
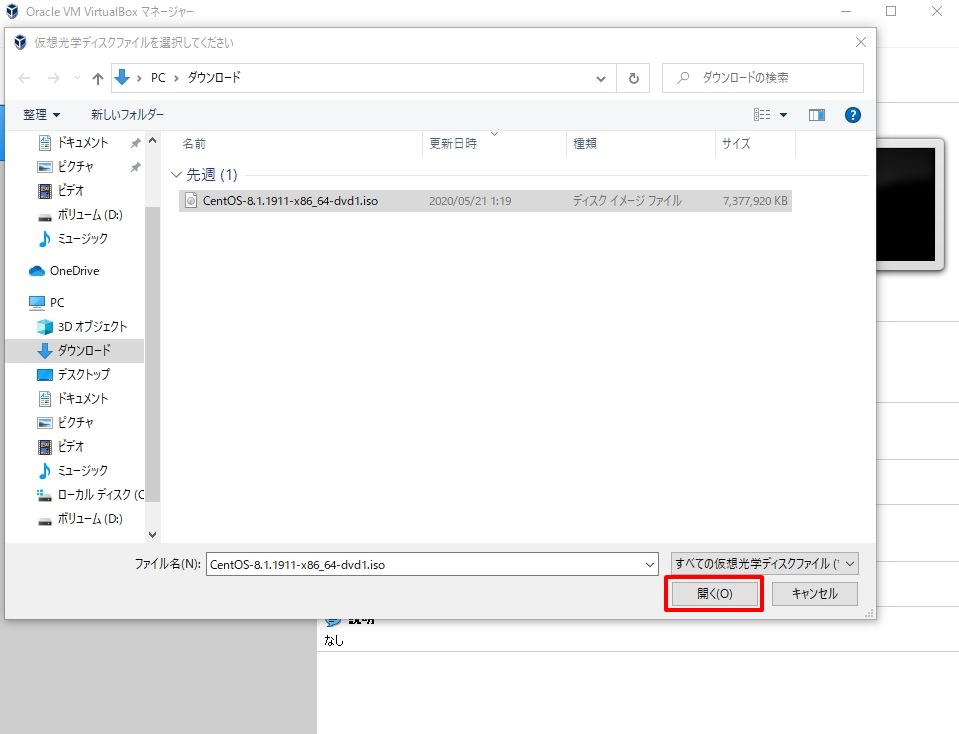
ダウンロードしたOSイメージファイルを選択します
※OSイメージ(ISO ファイル)は、以下URLのCentOS公式サイトからダウンロードできます。
https://www.centos.org/download/
2.CentOSインストール
手順 1:
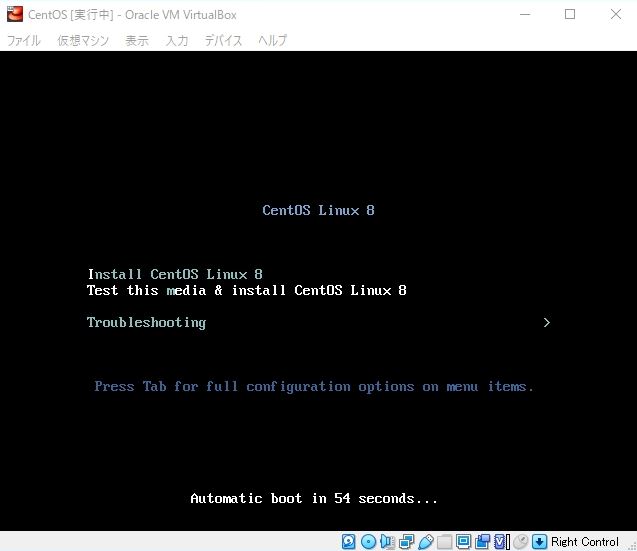
「 起動 」を選択します。

手順 2:
「Install CentOS Linux 8」を選択 -> 「 Enterキー 」を実行します。
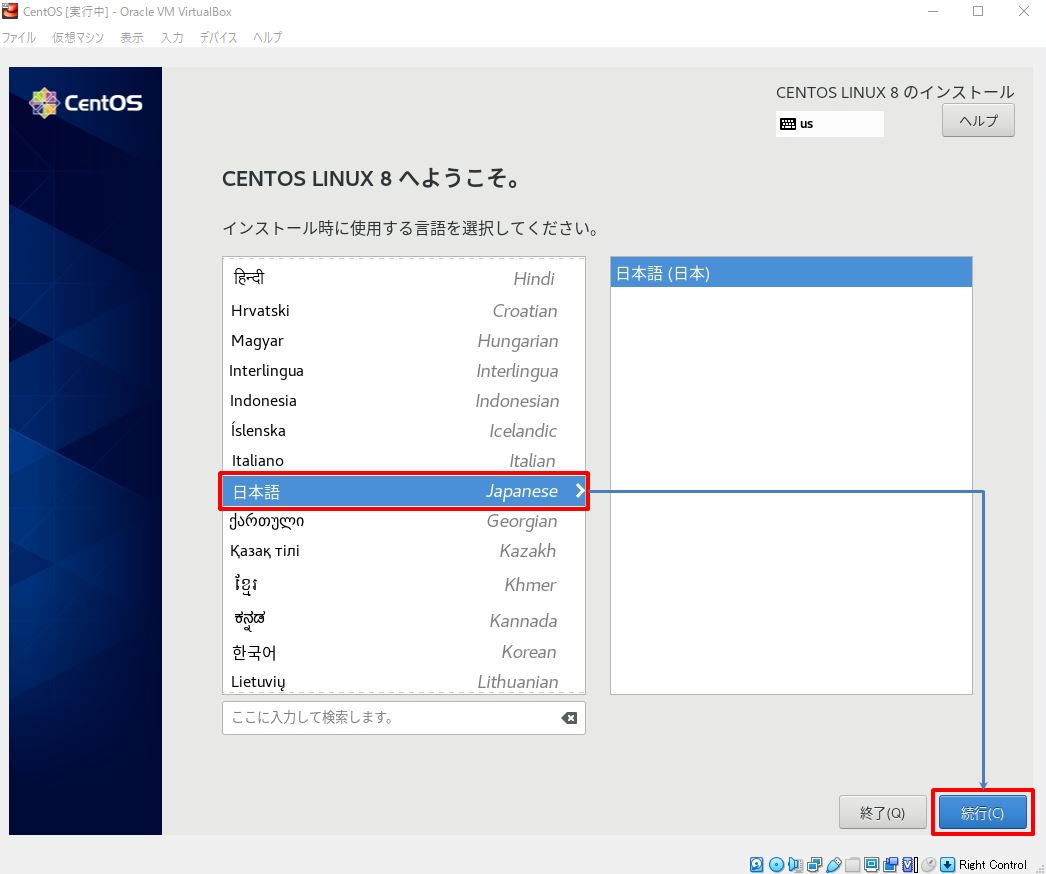
手順 3:
「 日本語 」 –> 「続行」を選択します。
手順 4:
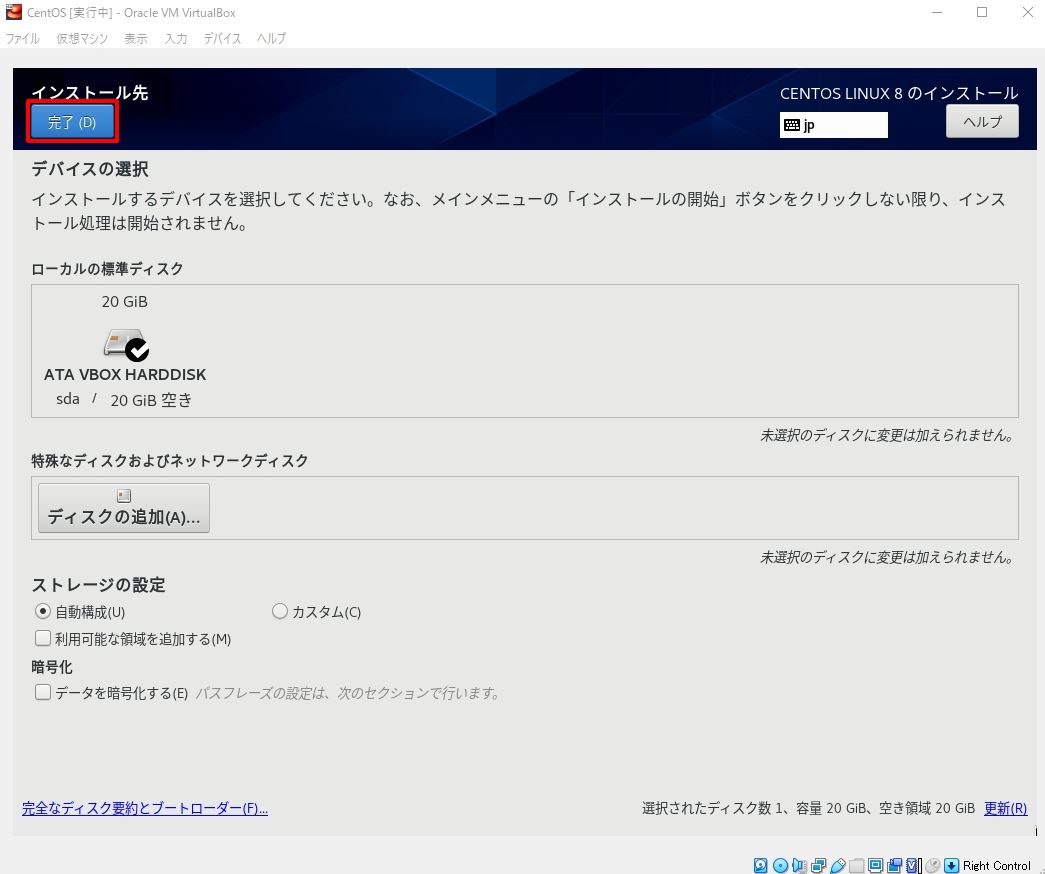
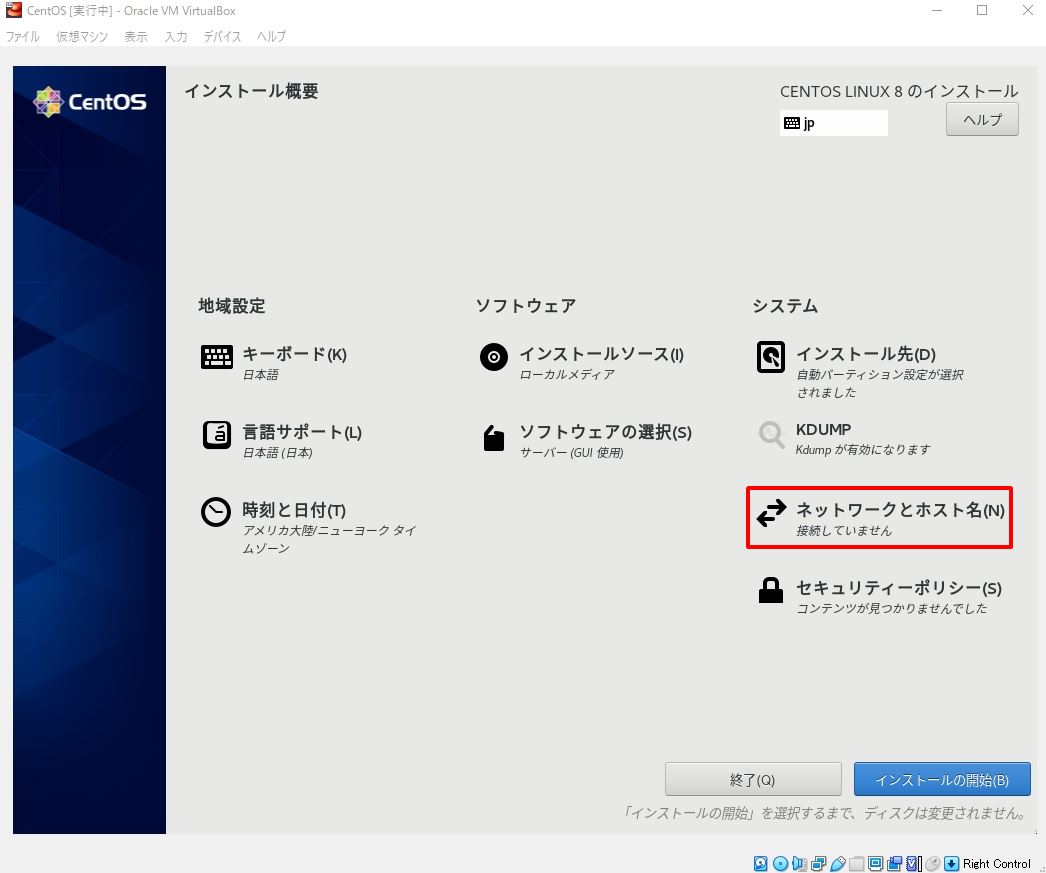
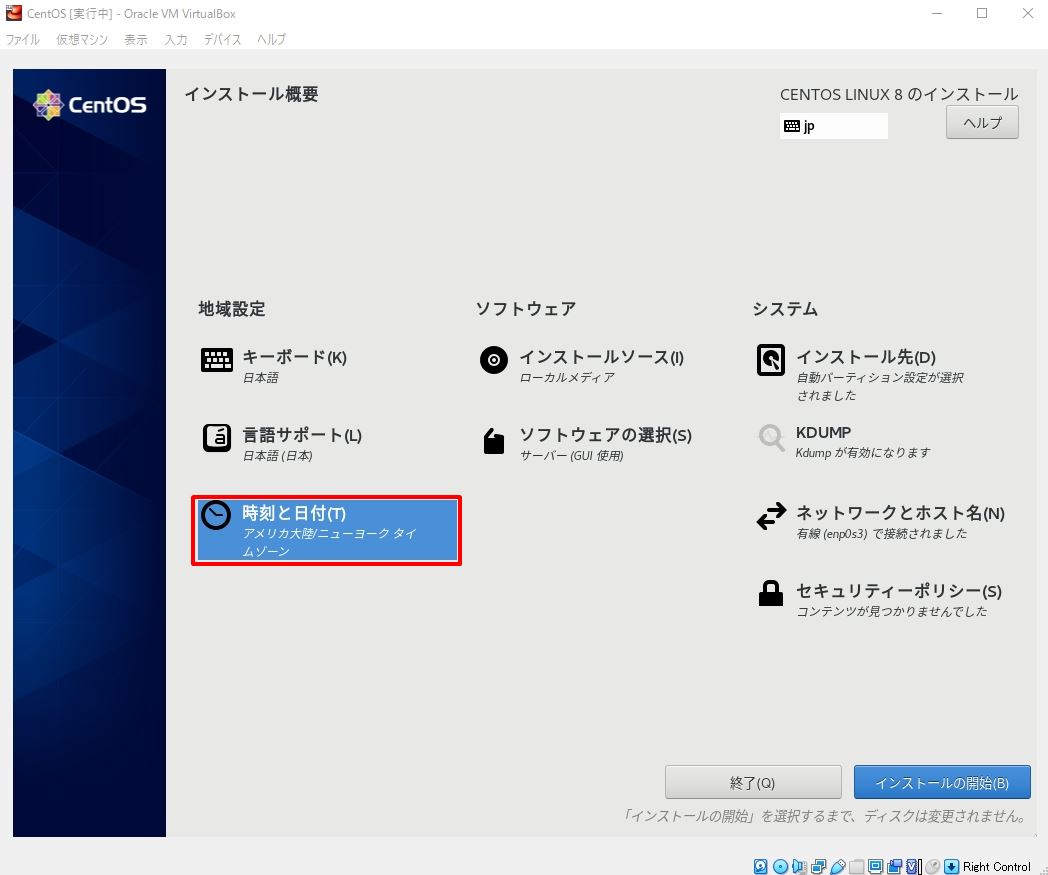
インストールに必要な機能を集めた「インストール概要」画面が表示されます。「インストール先」 –> 「完了」を選択します。
推奨は以下設定です。次項で説明致します。
・ネットワークとホスト名
・ソフトウェアの選択
・時刻と日付

特に設定変更理由がなければデフォルト値で問題ありません。ディスクが1つしかない場合は、既にチェックが入っているため選択は不要です。
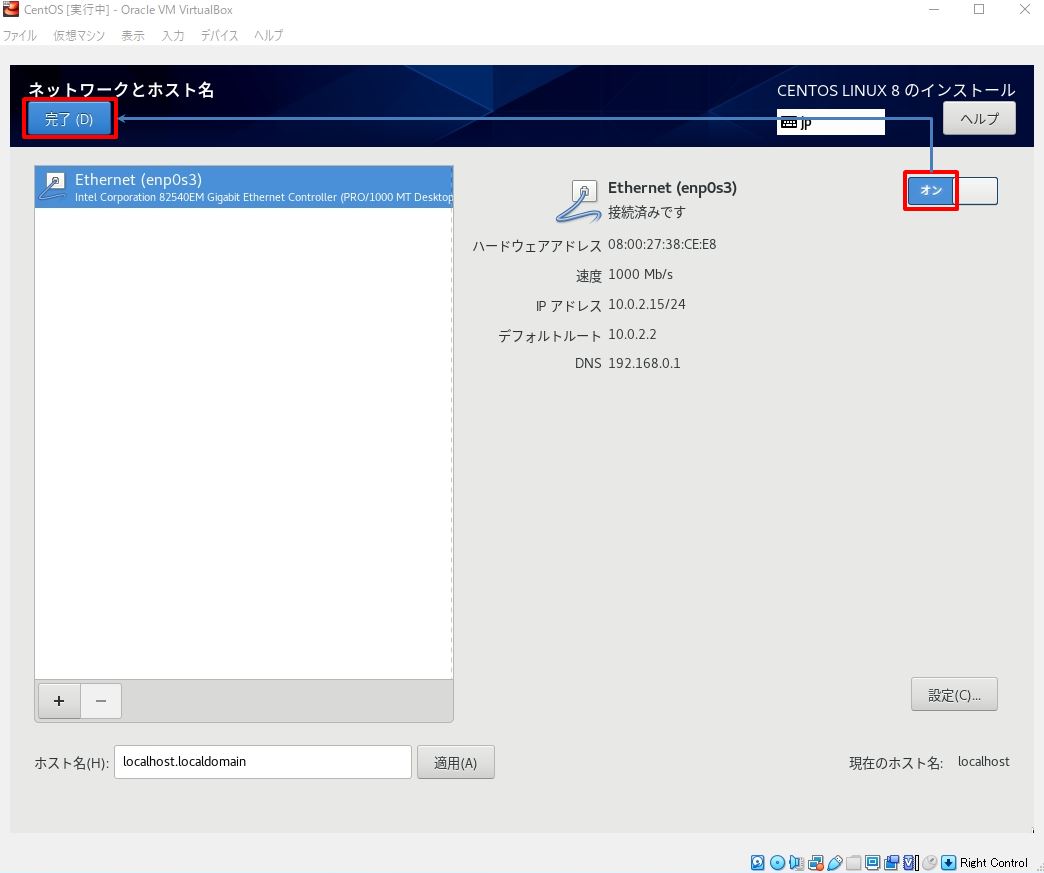
手順 5:
ネットワーク設定を行います。「ネットワークとホスト名」 –> 「Ethernet(ens33)」をオン –> 「完了」を選択します。
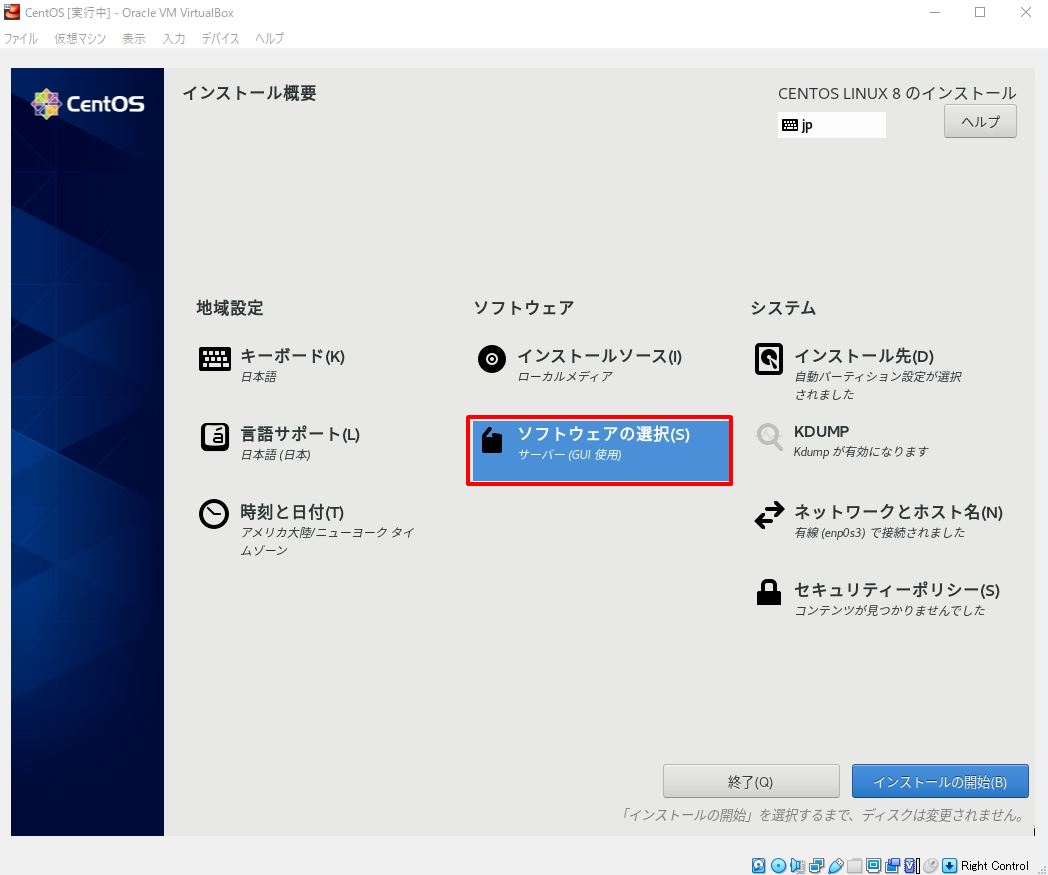
手順 6:
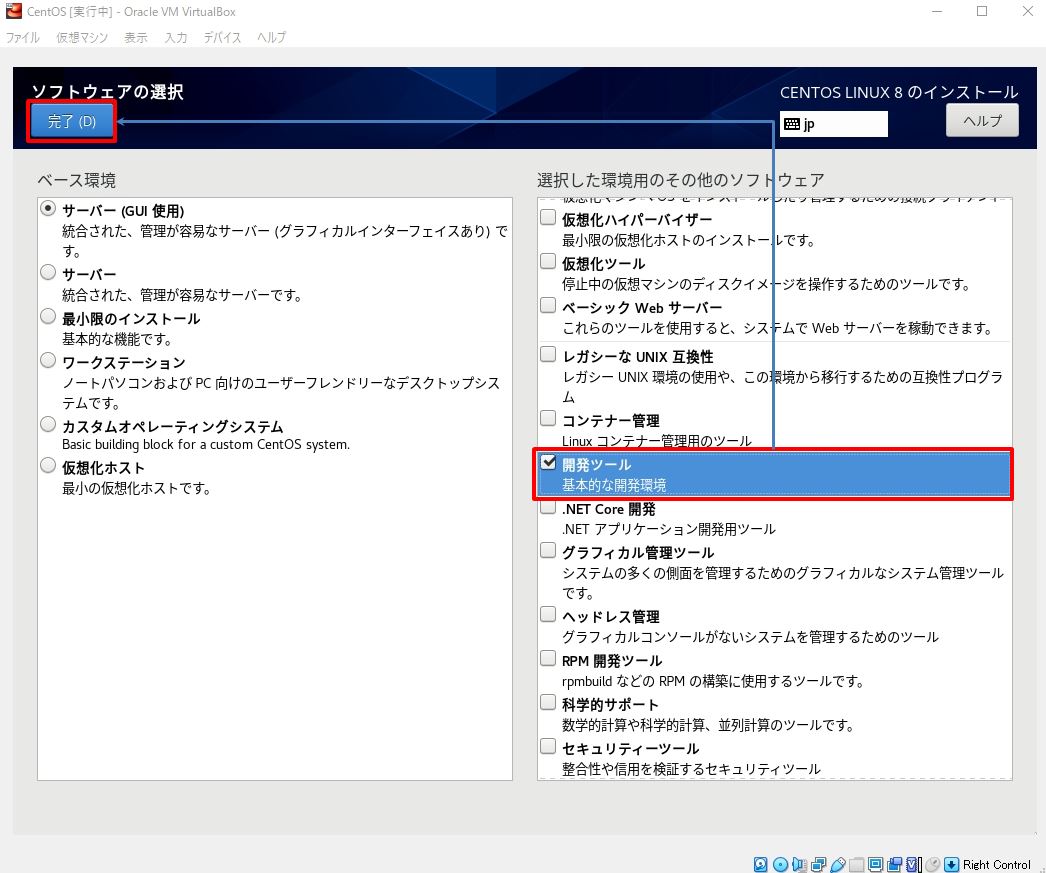
「ソフトウェアの選択」 –> 「開発ツール」を有効 –> 「完了」を選択します。
手順 7:
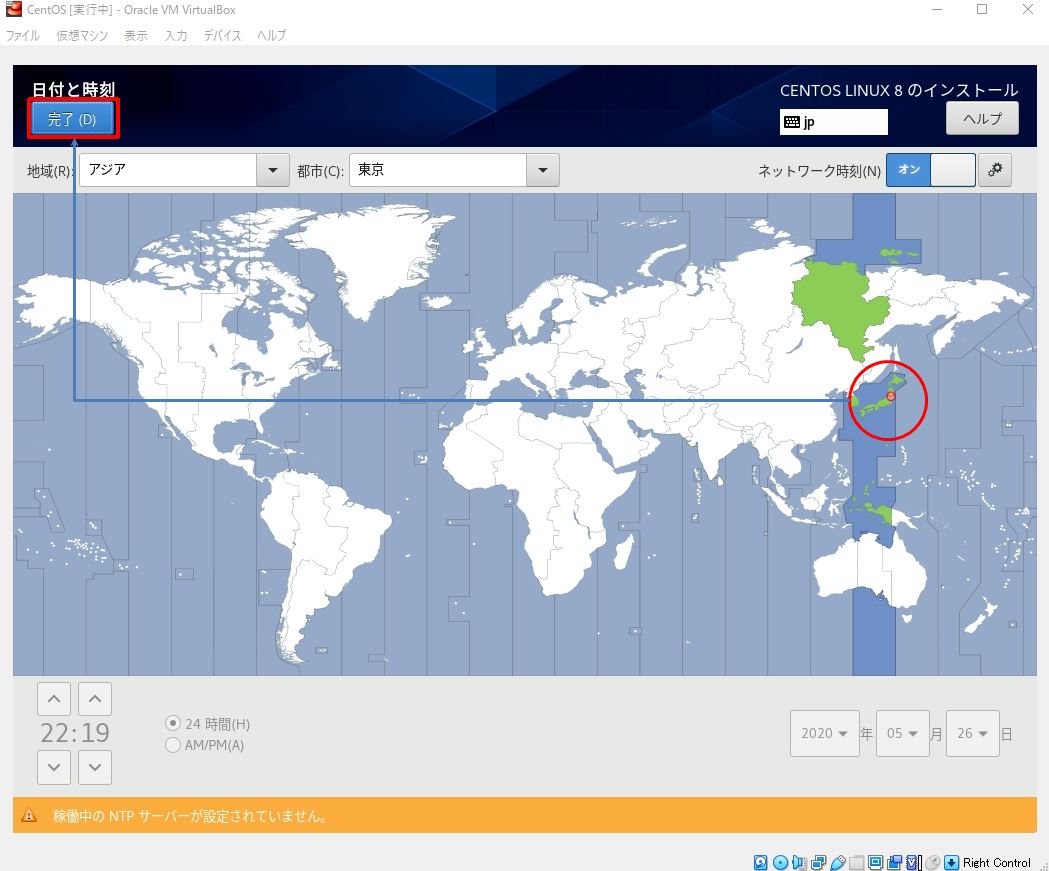
タイムゾーンを変更するため時刻と日付設定を行います。「 時刻と日付 」 –> 「 日本 」を選択 –> 「 完了 」を選択します。
手順 8:
「インストールの開始」を選択します。

手順 9:
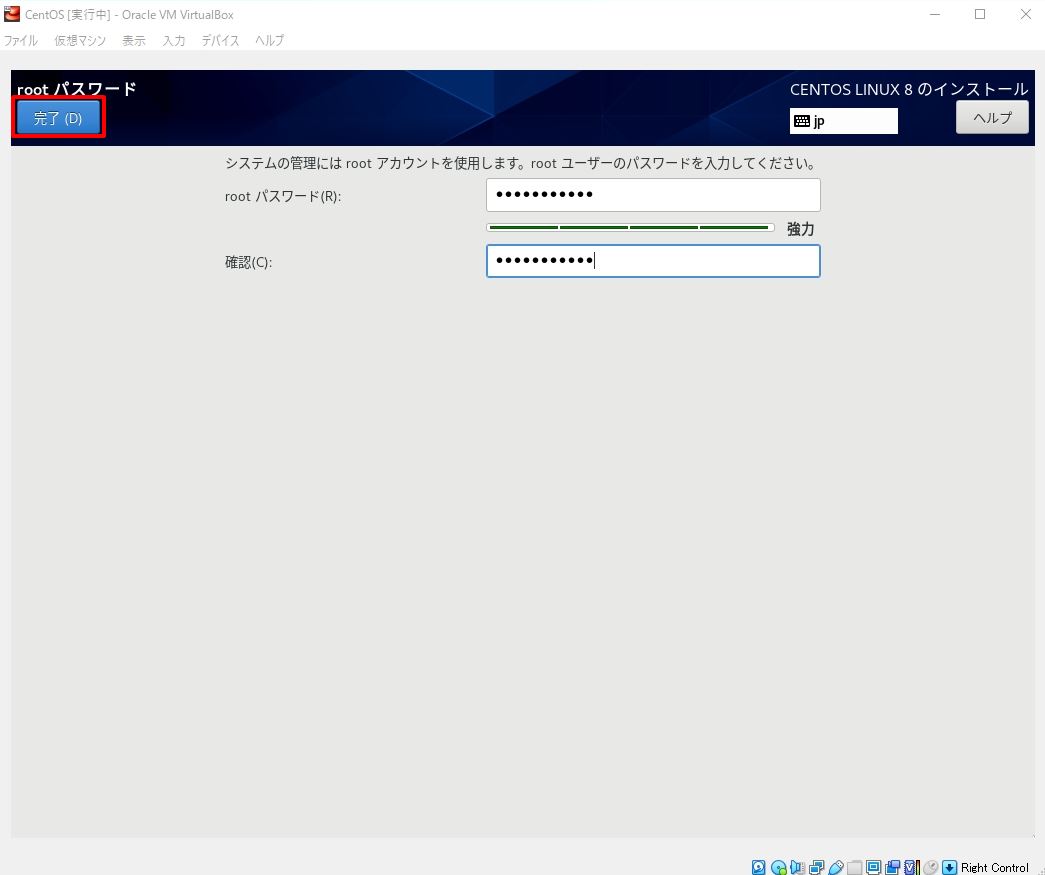
インストール処理中にシステムの管理者であるrootユーザーのパスワードを設定します。
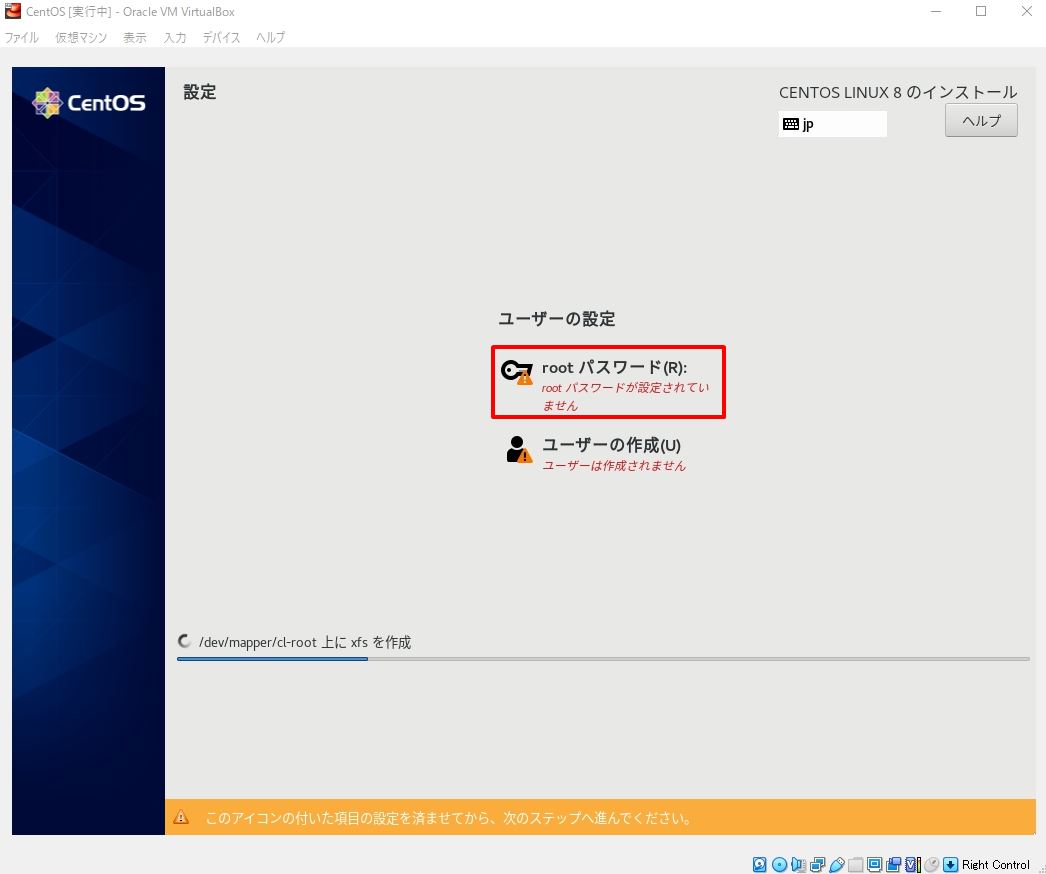
手順 10:
「パスワードを入力」 –> 「 完了 」を選択します。
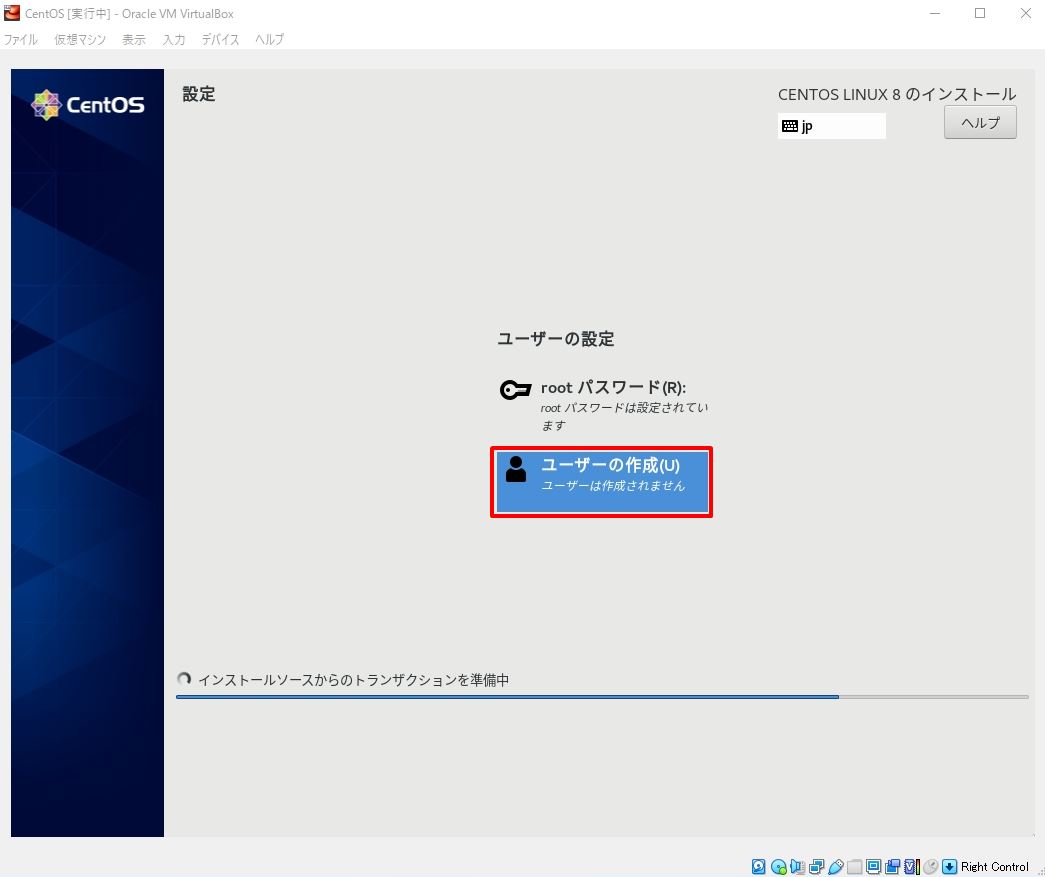
手順 11:
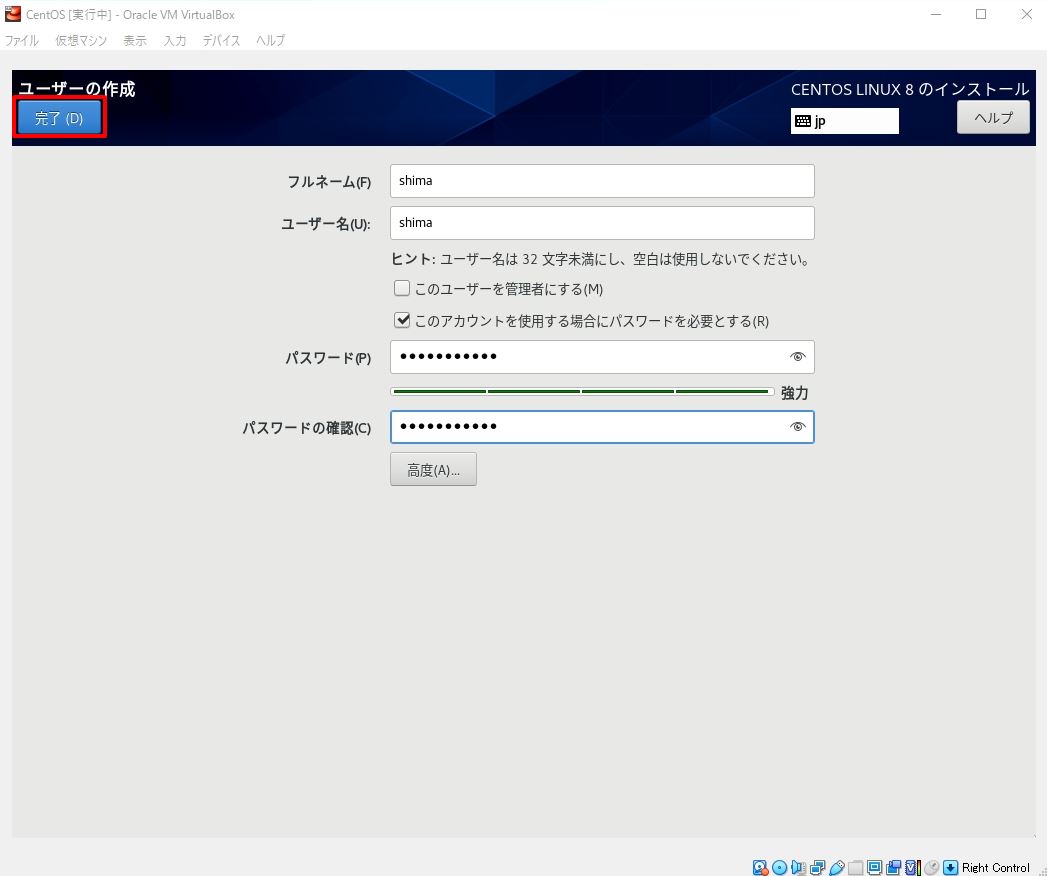
続いて一般ユーザーの設定を行います。以下の設定値を任意で行ってください。
| フルネーム | ユーザーを認識するための設定値 |
| ユーザー名 | CentOSへログイン時に指定するユーザーアカウント |
| ユーザーを管理者にする | rootユーザーへの切り替え許可 ※管理権限が必要なアカウントにはチェック |
| このアカウントを使用する場合にパスワードを必要とする |
ログイン時にパスワードを利用する
※チェックを推奨します |
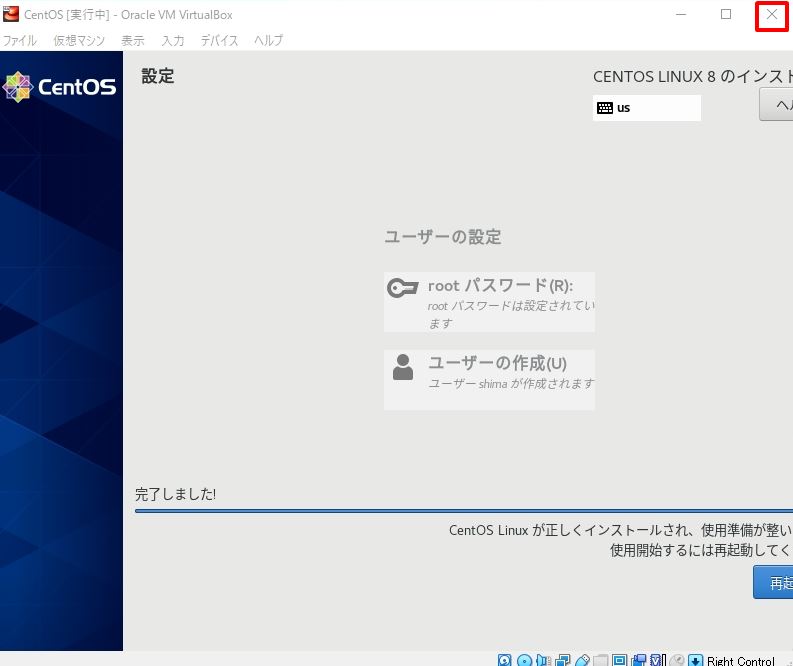
手順 12:
画面左下の「完了しました!」を確認後 –> 画面右上の「X(閉じる)」を選択します。
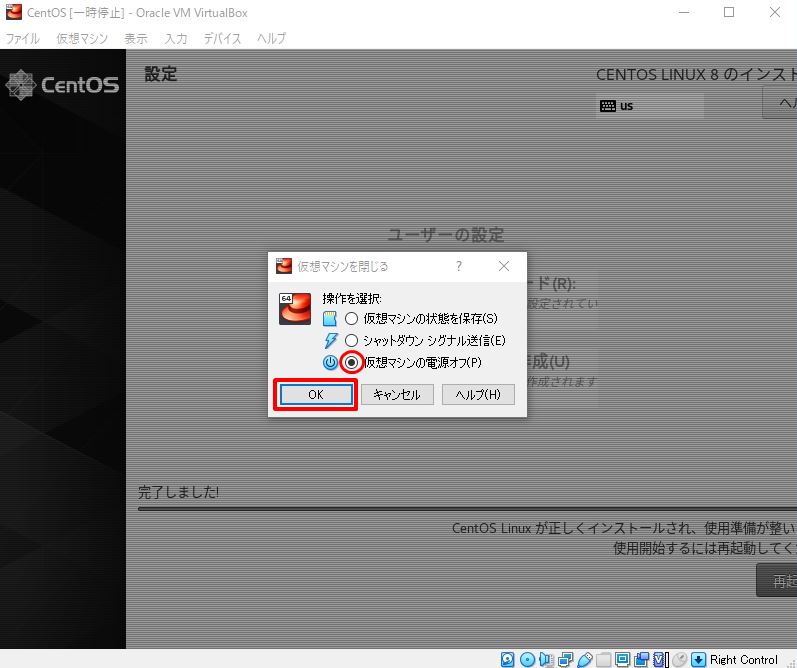
手順 13:
「仮想マシンの電源オフ」を選択 –>「OK」を選択します。
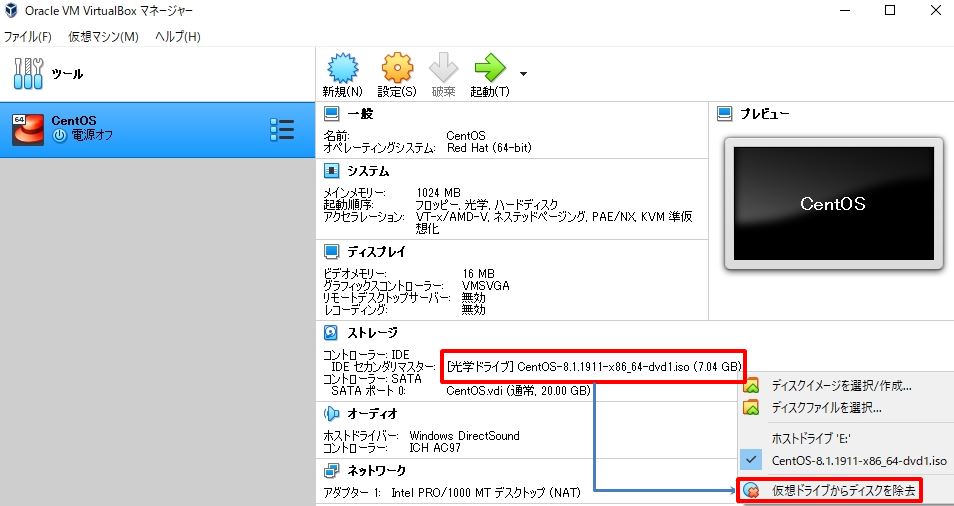
手順 14:
「 光学ドライブ 」 –>「 仮想ドライブからディスクを除去 」を選択します。
手順 15:
「 起動 」を選択します。

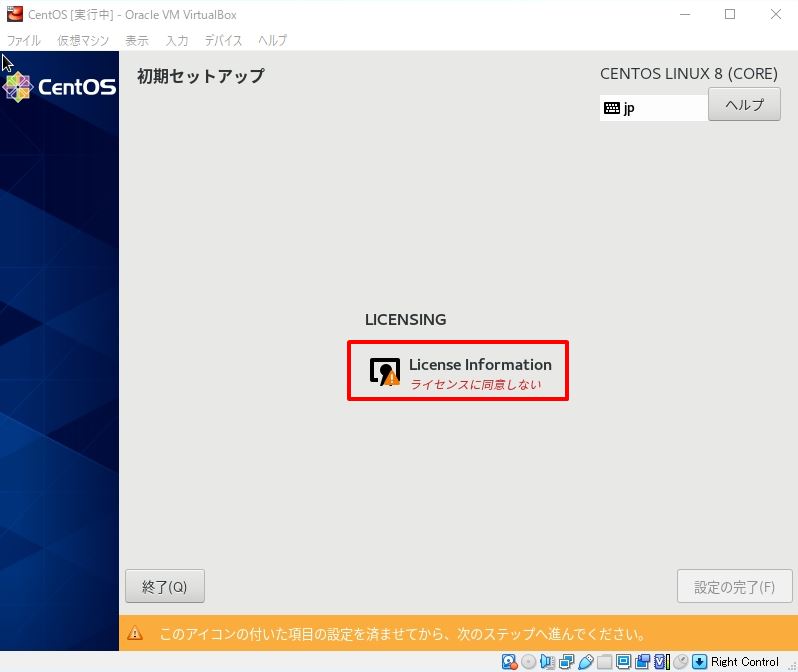
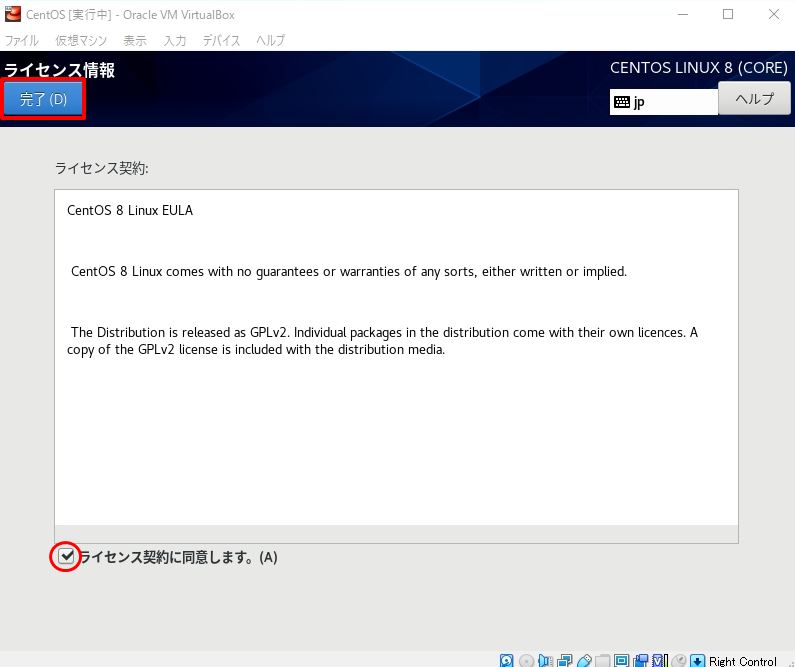
手順 16:
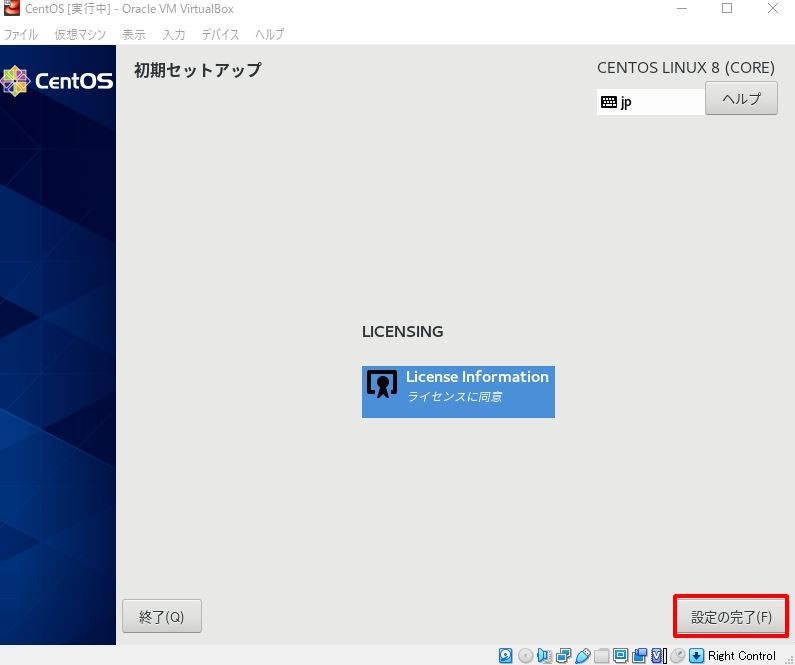
起動後にライセンス認証が必要になります。「License Information」を選択 –> 「ライセンス契約に同意します」を有効 –> 「完了」を選択します。
3.CentOS ログイン
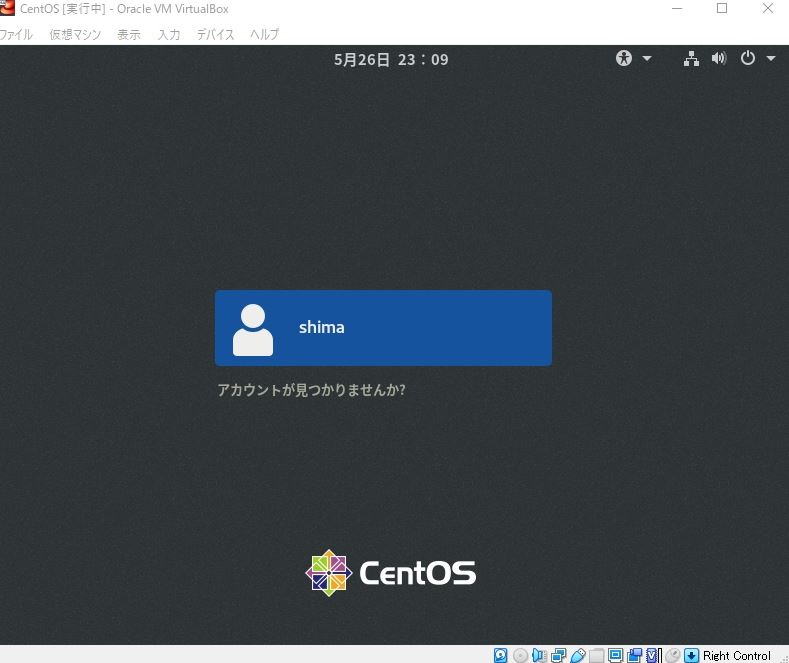
手順 1:
前手順で作成したユーザーを選択します。
手順 2:
前手順で設定したパスワード入力 –> 「 サインイン 」を選択します。

手順 3:
CentOSにログインできました。
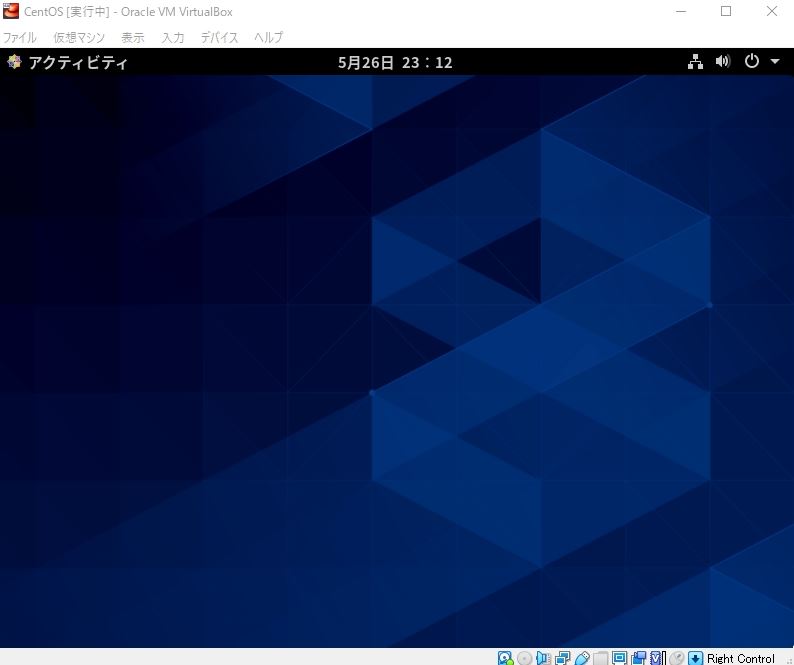
お疲れさまでした。以上でOSインストール作業終了となります。