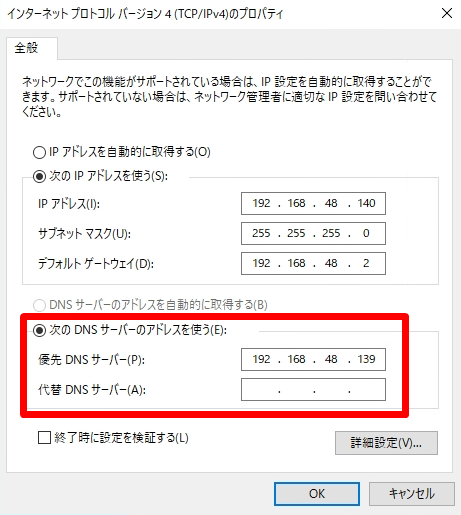
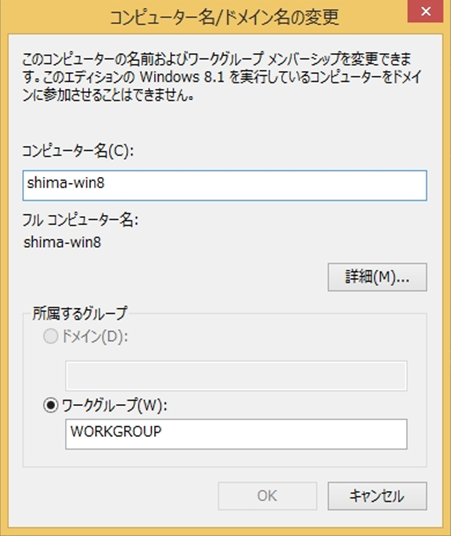
Windows8.1 のドメイン参加ができるOSエディションの条件は、「Pro・Enterprise」です。Windows 8.1 エディションはドメイン参加機能はありません。また、ドメイン参加する前提として「DNSサーバー」の設定項目でドメインコントローラーのIPアドレスになっているか確認してください。※以下、DNS設定画面は一例です。環境に合わせ設定してください。
本記事では、Windows8.1 Proの端末でデフォルト設定の「所属するグループ」ワークグループからドメイン参加する方法を解説します。
Windows8.1 Pro:Active Directory ドメイン参加手順
手順 1:
デスクトップ画面左下の「 Windowsマーク」を右クリック ->「システム」を選択します。

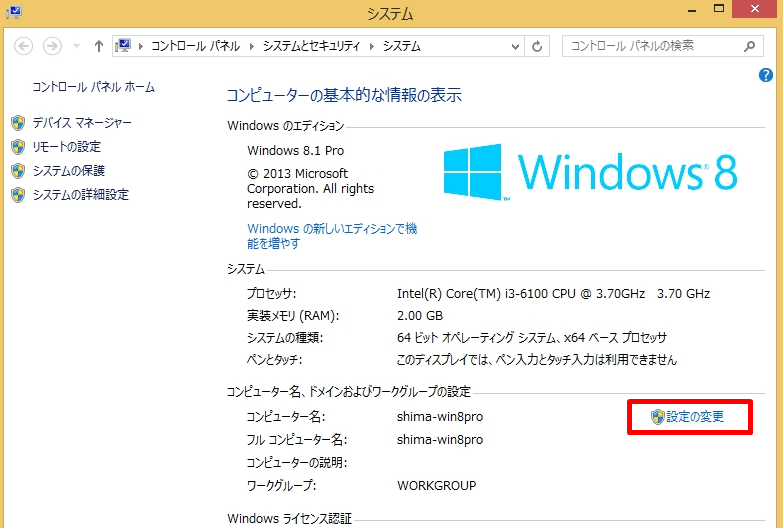
手順 2:
「コンピューター名、ドメインおよびワークグループの設定」->「設定の変更」を選択します。
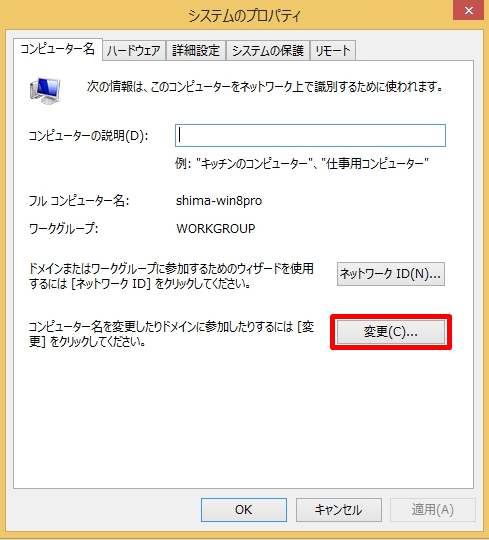
手順 3:
「コンピューター名」タブ -> 「変更」を選択します。
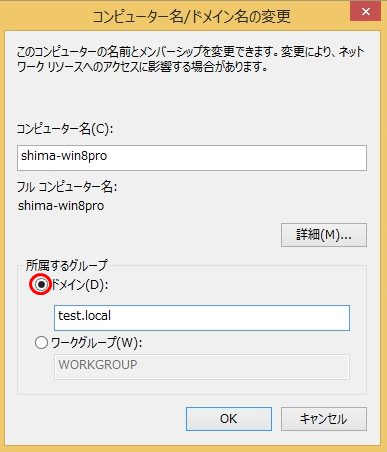
手順 4:
所属するグループ「 ドメイン」を選択し対象ドメイン名を入力します。
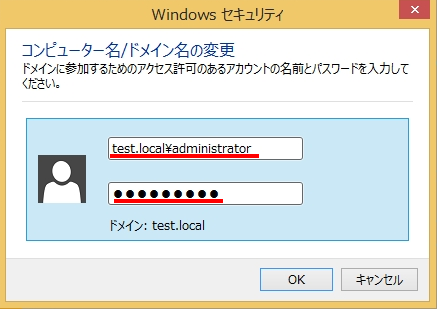
手順 5:
ドメイン参加ができるユーザー名とパスワードを入力 ->「OK」をクリックします。
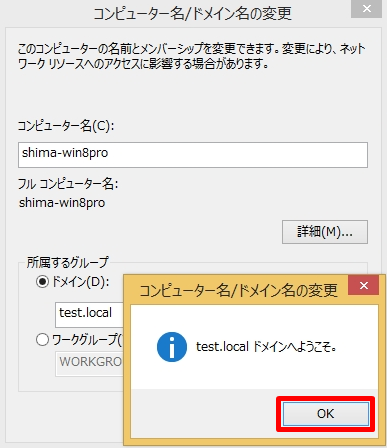
手順 6:
コンピューター名/ドメイン名の変更画面で「OK」を選択します。
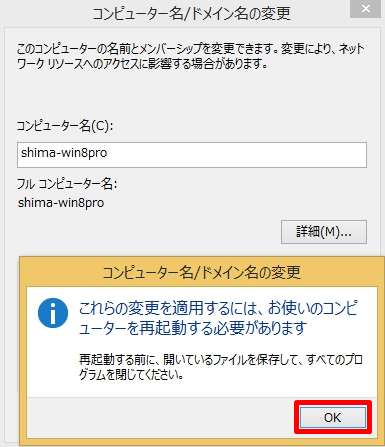
手順 7:
「OK」を選択します。
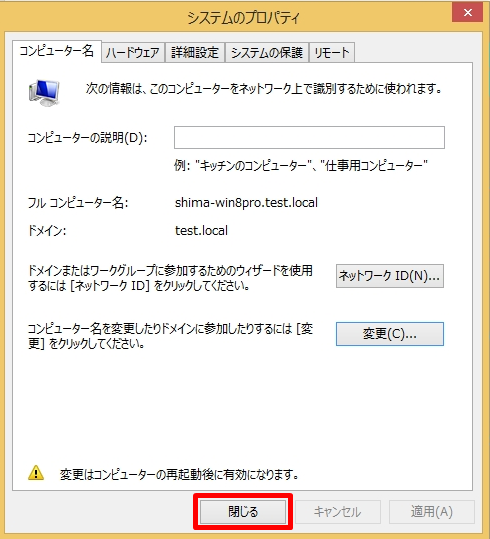
手順 8:
システムのプロパティ画面で「閉じる」を選択します。
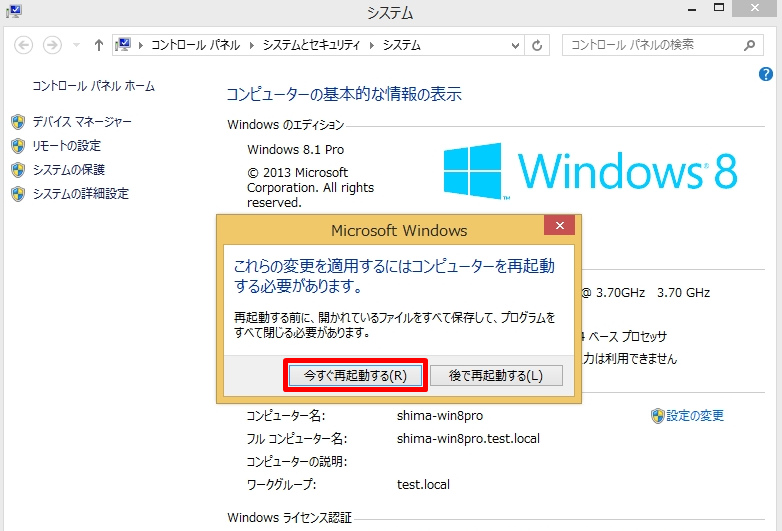
手順 9:
「今すぐ再起動する」を選択します。
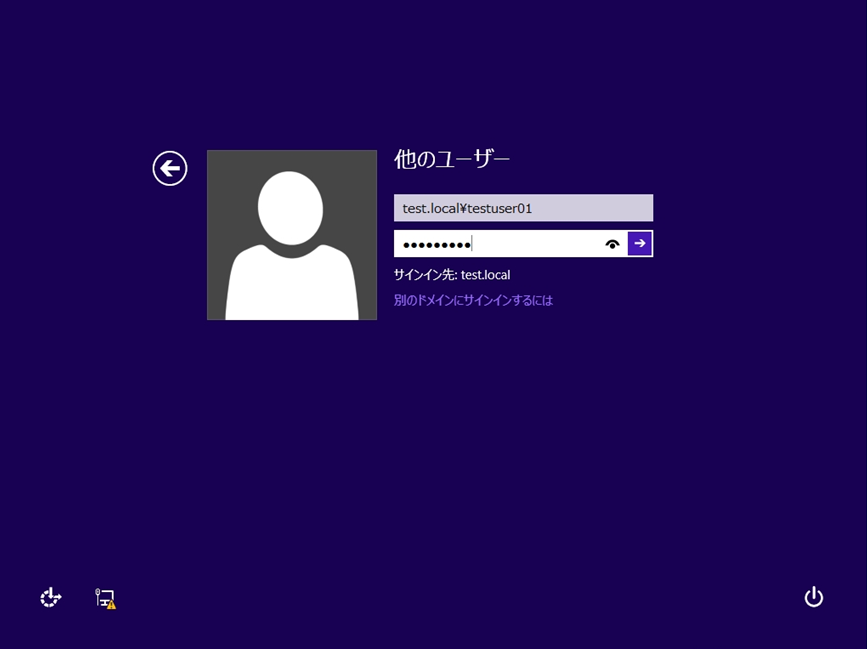
手順 10:
「他のユーザー」を選択します。
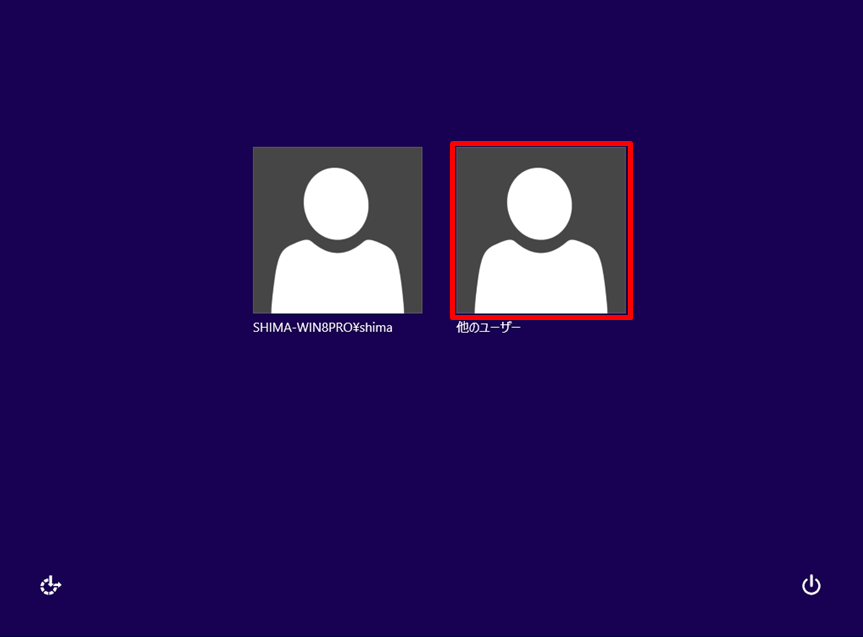
手順 11:
Active directoryで作成されたDomainユーザーアカウント・パスワードを入力しデスクトップにログインします。