Windows リモートデスクトップは、接続先のコンピュータのデスクトップ画面をネットワーク接続(RDPプロトコルを利用)して接続元の端末から遠隔で操作する機能です。Windows XP以降のOSに標準機能として組み込まれたアプリケーションソフトでWindows7/Windows10 Home・Proエディションに関わらず無償で利用できます。
本記事では、Windows server 2016でのGUIを利用したリモートデスクトップ接続 許可設定・クライアントPCのWindows10からmstscコマンドを利用したリモートデスクトップ接続方法を解説します。
目次
1.Windows Server 2016 リモートデスクトップ接続許可設定
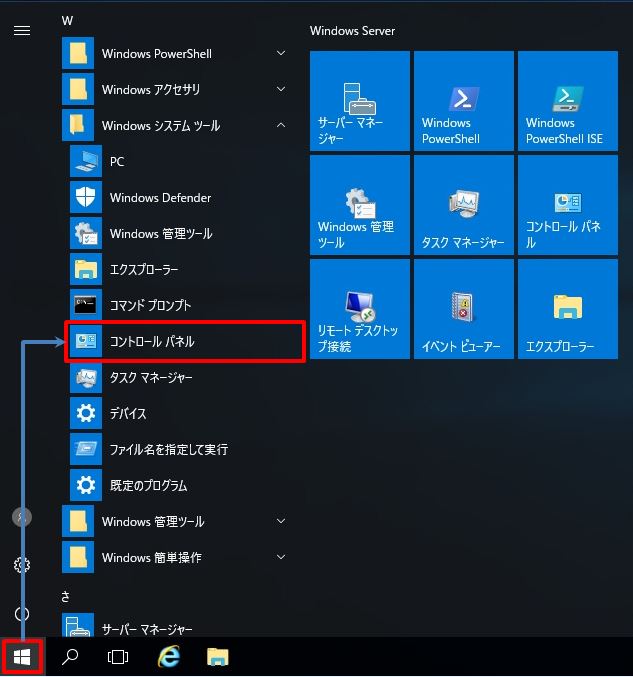
手順 1:
左下「 (Windowsアイコン) 」をクリック -> 「Windows システムツール」->「コントロールパネル」を選択します。
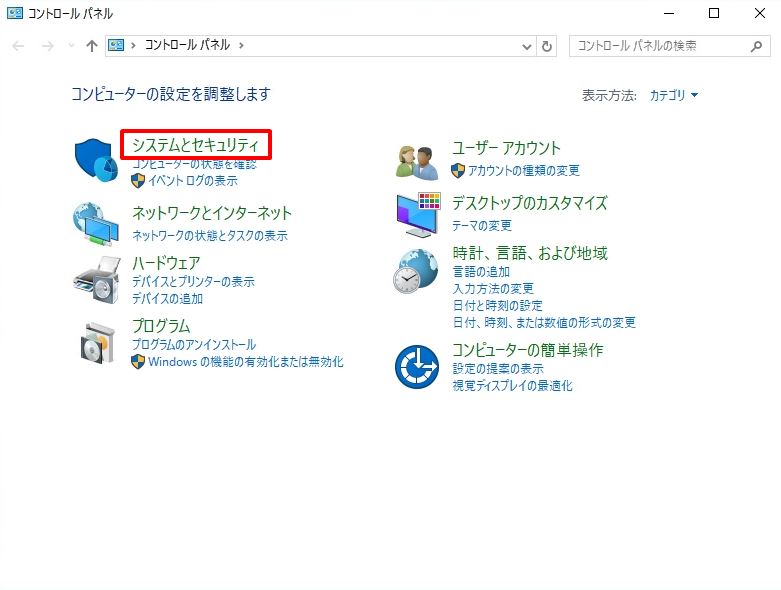
手順 2:
「システムとセキュリティ」を選択します。
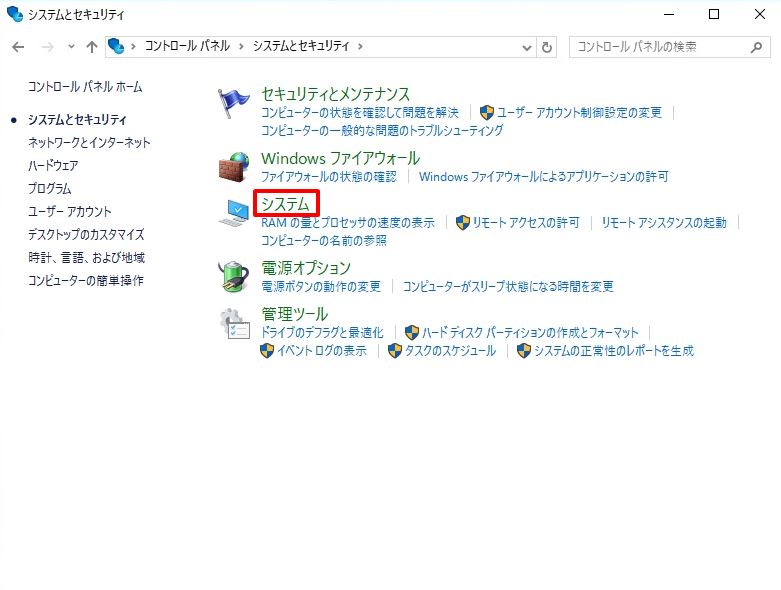
手順 3:
「システム」を選択します。
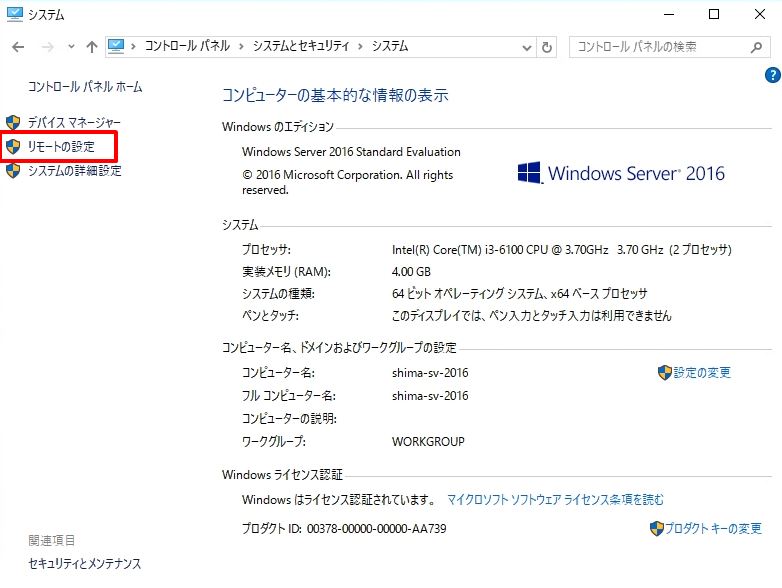
手順 4:
「リモートの設定」を選択します。
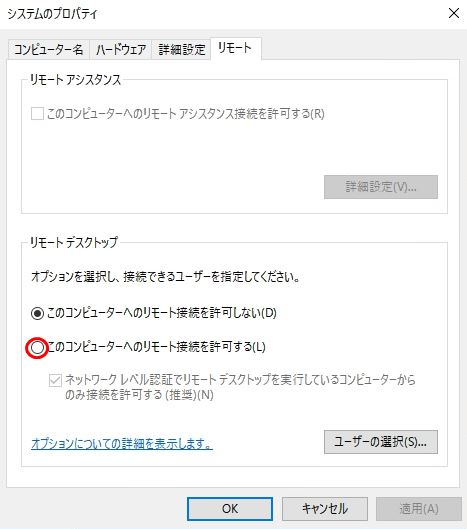
手順 5:
「このコンピュータへのリモート接続を許可する」を選択します。
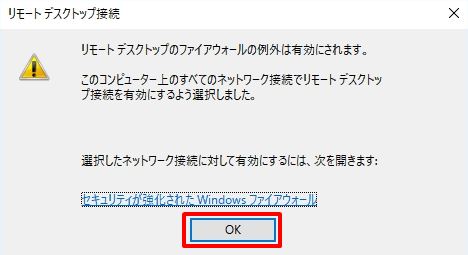
手順 6:
「OK」を選択します。
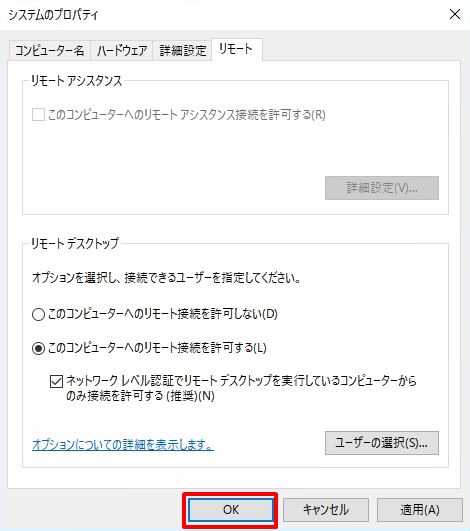
手順 7:
「OK」を選択します。
2.リモートデスクトップ先:Windows Server 2016のIPアドレス確認
手順 1:
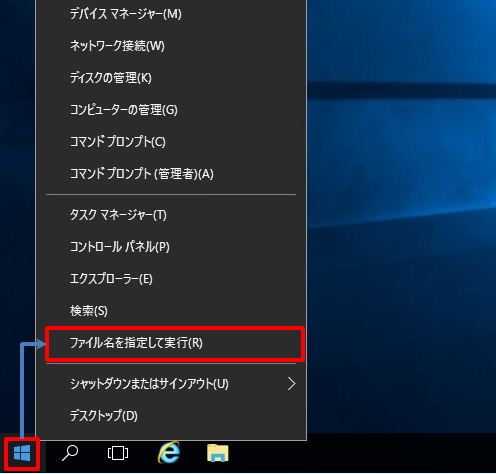
左下「 (Windowsアイコン) 」を右クリック -> 「ファイル名を指定して実行」を選択します。
手順 2:
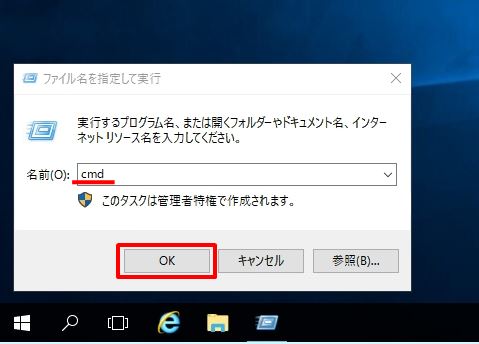
名前に「 cmd 」を入力 -> 「 OK 」を選択します。
手順 3:
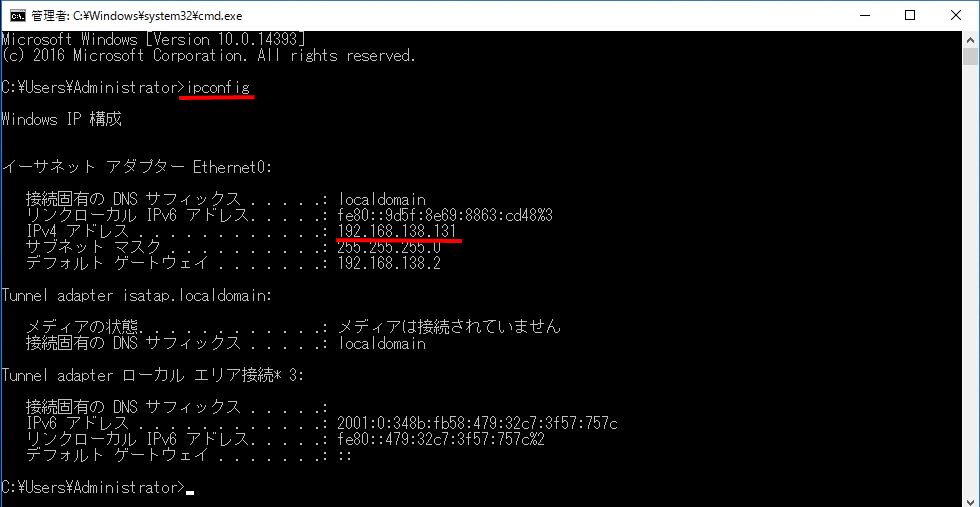
ipconfigコマンドを実行しリモートデスクトップ先(Windows Server 2016)のIPアドレスを表示し、IPv4 アドレスをメモ帳などに控えます。
3.Windows10からWindows Server 2016へのリモートデスクトップ接続
手順 1:
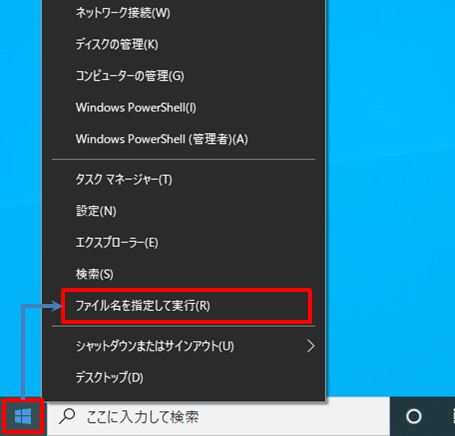
左下「 (Windowsアイコン) 」を右クリック -> 「ファイル名を指定して実行」を選択します。
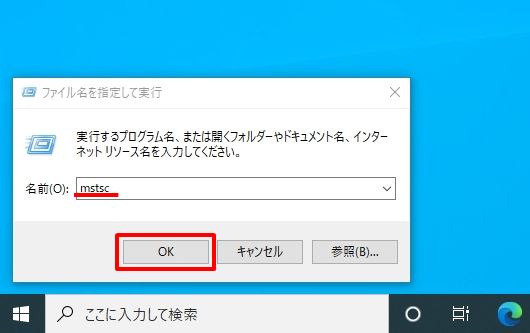
手順 2:
名前に「 mstsc 」を入力 -> 「 OK 」を選択します。
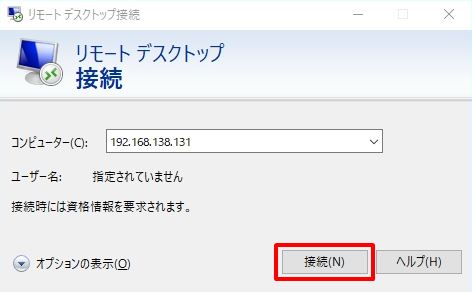
手順 3:
コンピューター名に前手順で控えたWindows Server 2016のIPアドレスを入力 -> 「接続」を選択します。
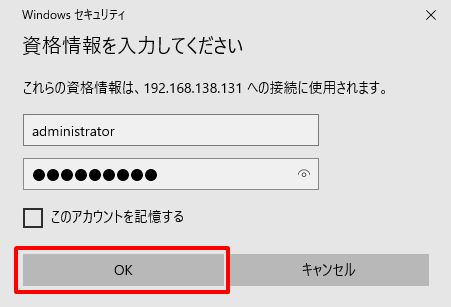
手順 4:
資格情報を入力画面で認証情報を入力し「OK」を選択します。
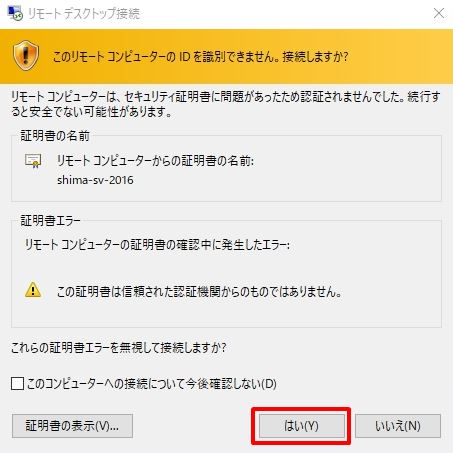
手順 5:
「このリモートコンピューターのIDを識別できません。接続しますか?」画面 で「はい」を選択します。
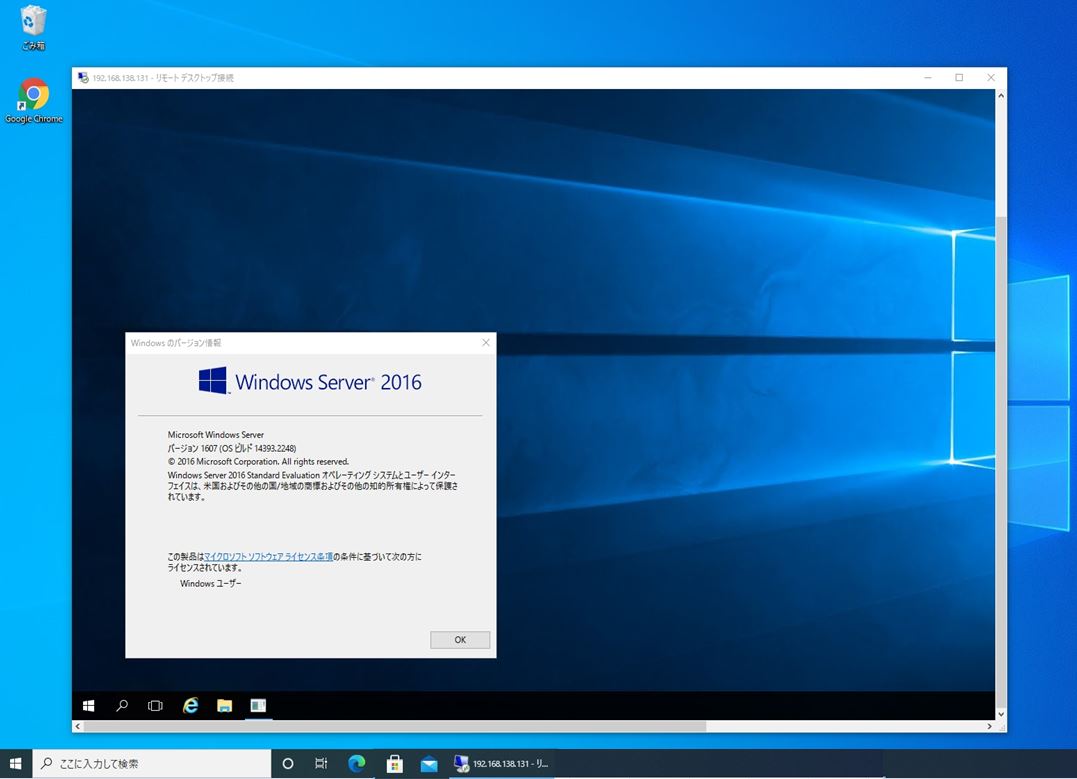
手順 6:
Windows10からWindows Server 2016にリモートデスクトップ接続できます。