PostgreSQL(ポストグレスキューエル)はオープンソースのリレーショナルデータベース管理システムです。Windows・Linux、macOSなどのOSに対応しています。オープンソースのため、ソースが公開しており無料で利用できます。本記事では、Windows10 にGUIでPostgreSQL をダウンロード、インストールする手順を解説します。
PostgreSQL ダウンロード
手順 1:
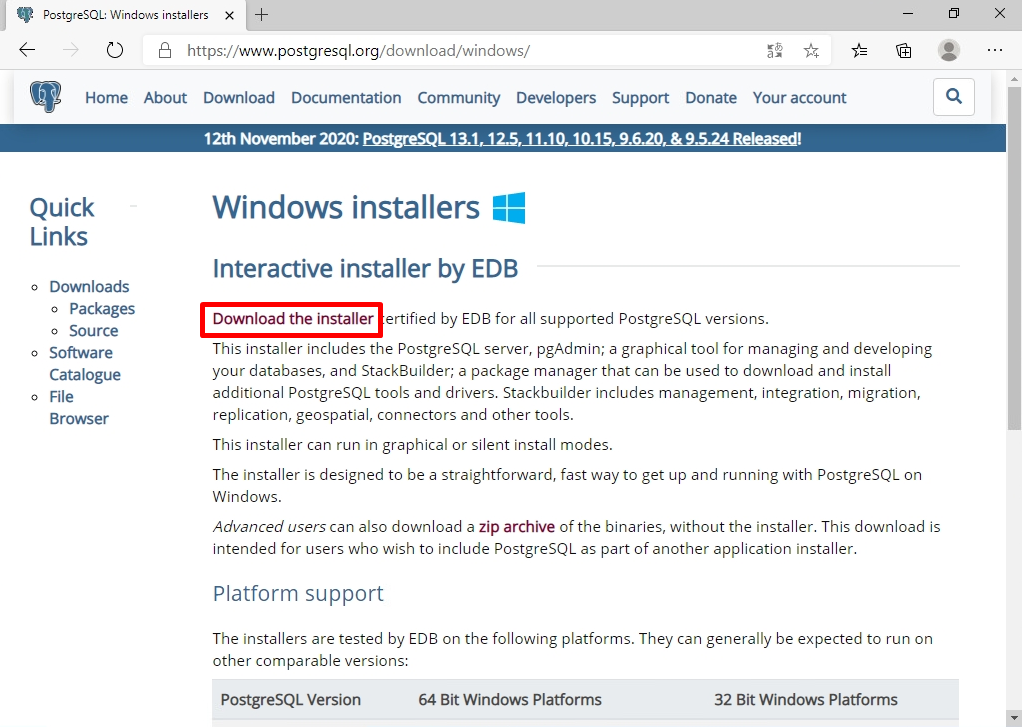
PostgreSQLダウンロード公式サイト:https://www.postgresql.org/download/にアクセス ->「Windows」を選択します。

手順 2:
「Download the installer」を選択します。
手順 3:
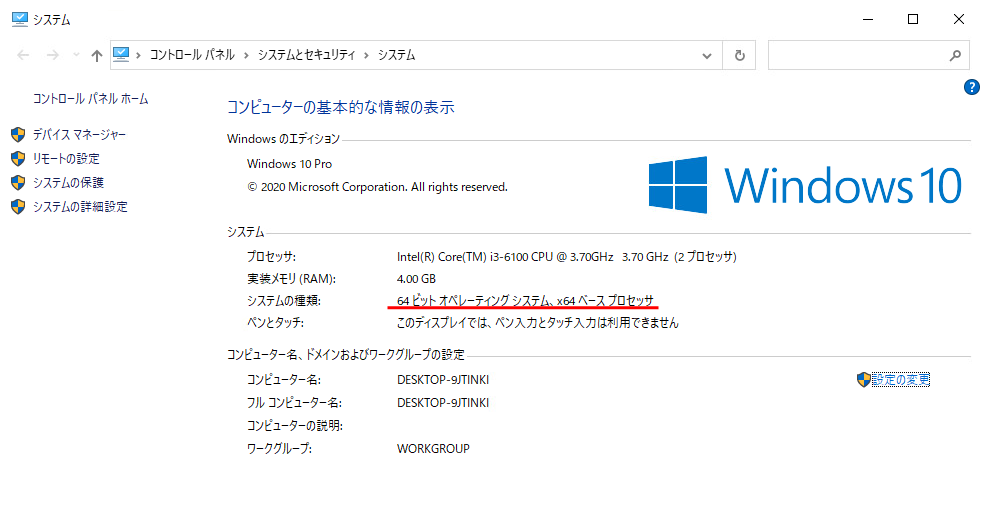
PostgreSQLをインストール端末のビット数に合わせ「Download」を選択します。
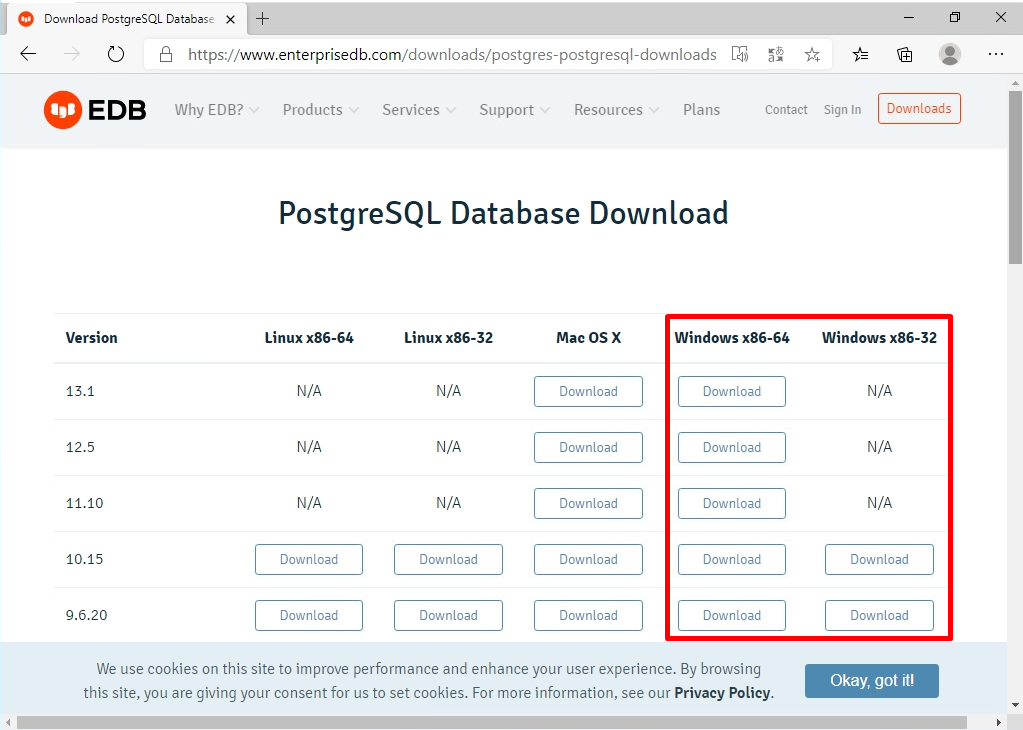
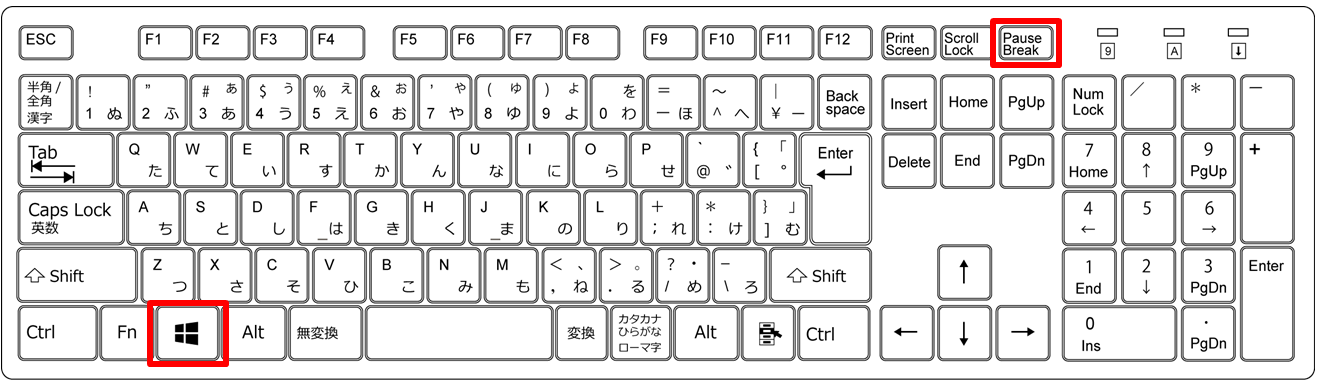
システムの種類:対応ビット数を確認します。
PostgreSQL インストール
手順 1:
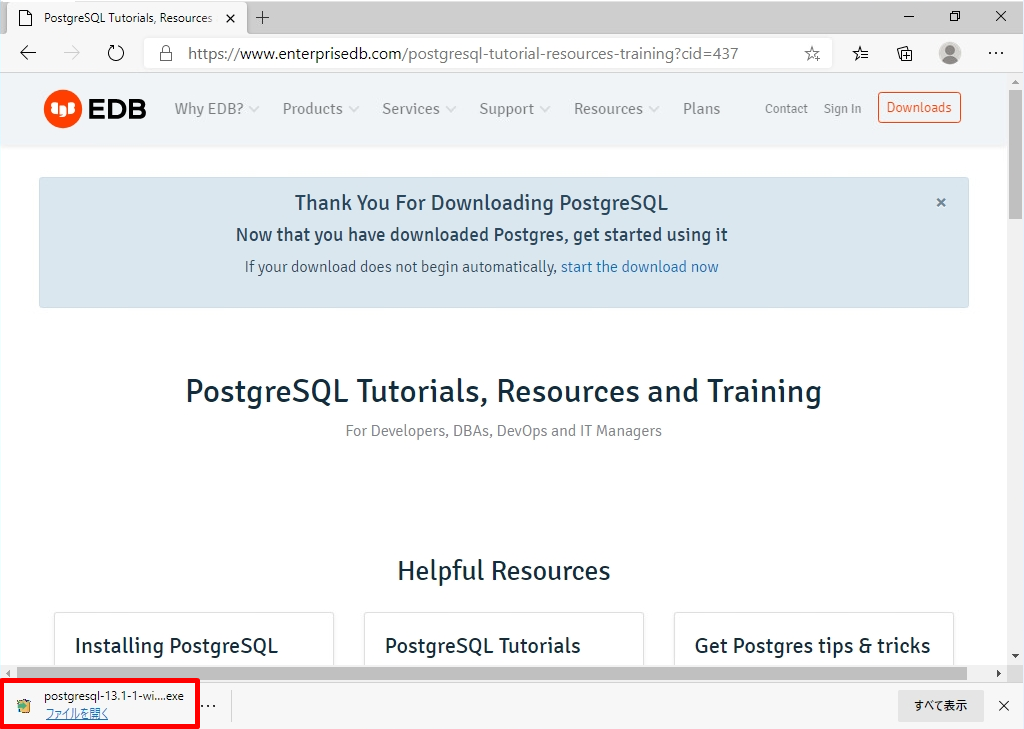
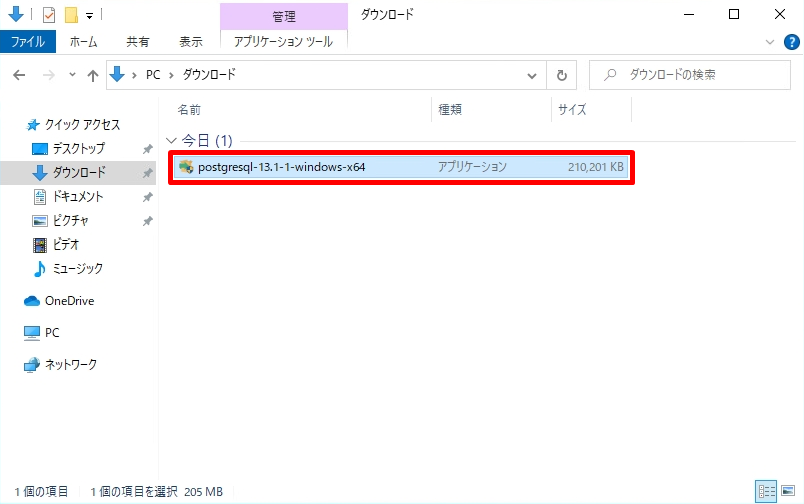
ブラウザでインストールプログラムをダウンロード -> exeファイルを開くを選択します。
手順 2:
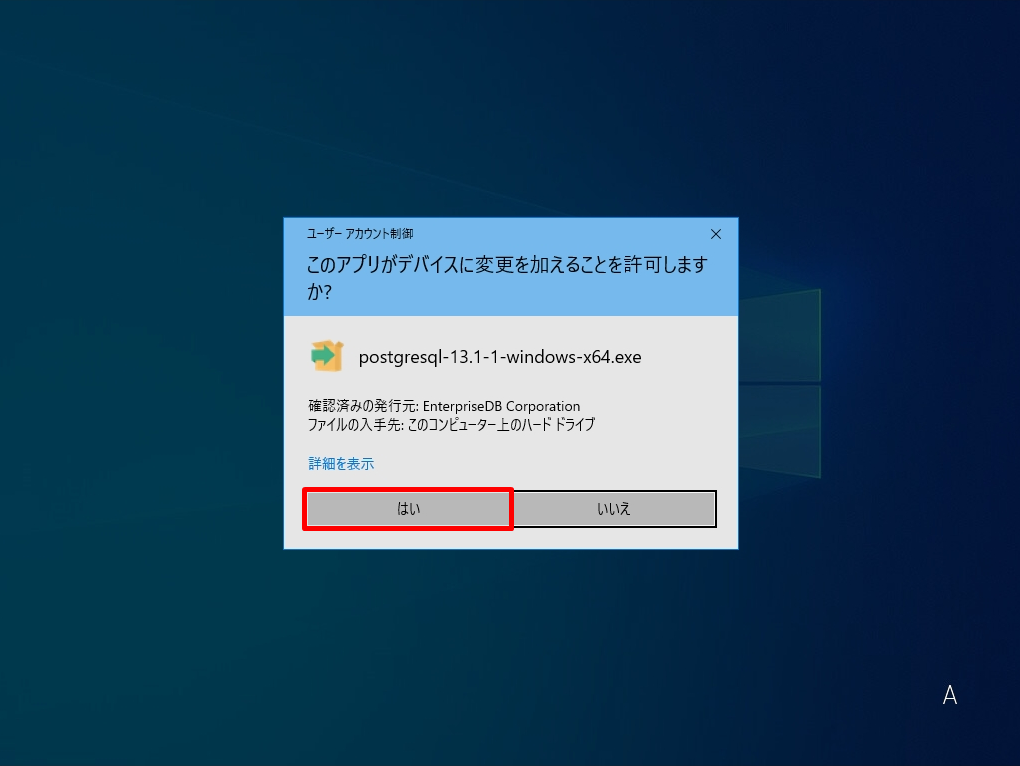
ユーザーアカウント制御画面 ->「はい」を選択します。
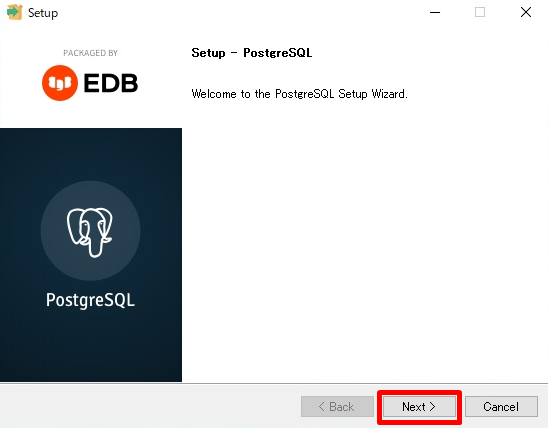
手順 3:
Setup – PostgreSQL画面 ->「Next」を選択します。
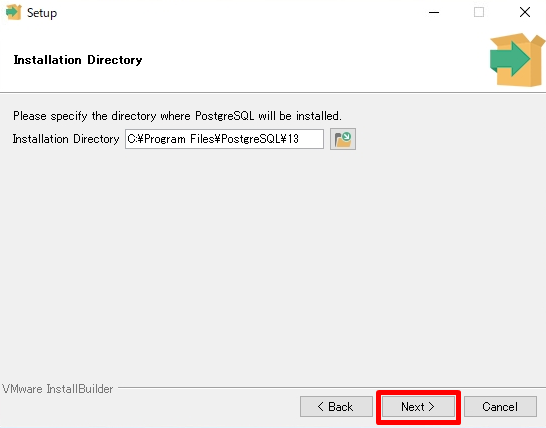
手順 4:
Installation Directory画面 ->「Next」を選択します。
※インストール先のフォルダを指定します。PostgreSQLバージョン 13 ではデフォルトのインストールパスは「C:\Program Files\PostgreSQL\13」 になります。変更する理由がなければデフォルト値で良いです。
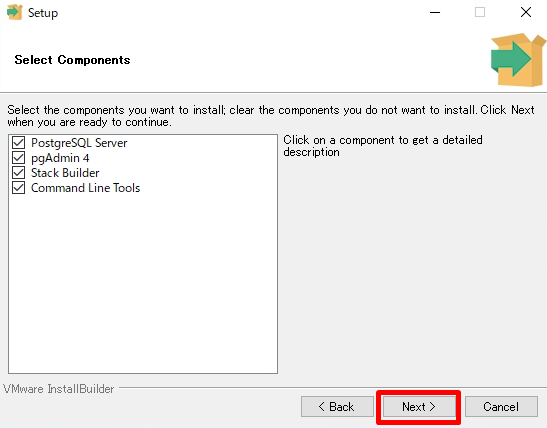
手順 5:
Select Components画面 ->「Next」を選択します。
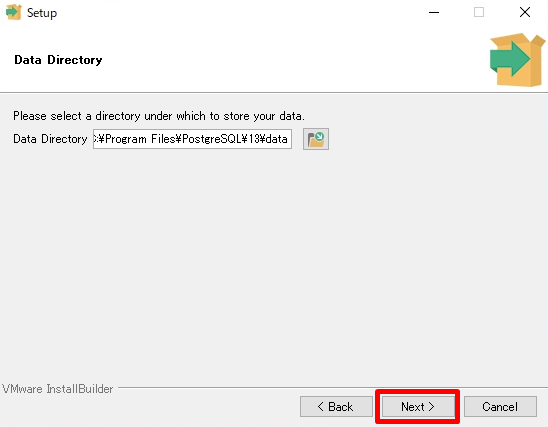
手順 6:
Data Directory画面 ->「Next」を選択します。
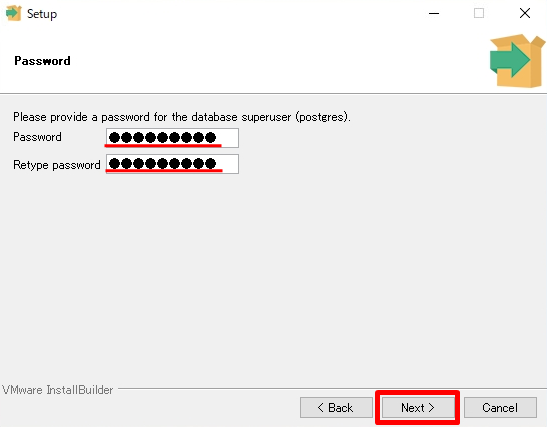
手順 7:
Password画面 ->Passwordを入力 ->「Next」を選択します。
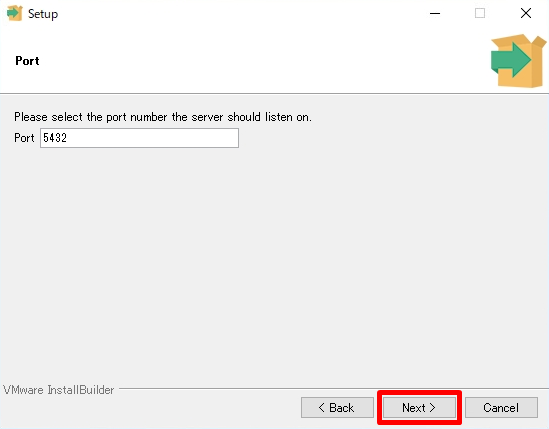
手順 8:
Port画面 ->「Next」を選択します。
手順 9:
本記事では、Advanced Option画面 -> Locale(ロケール)をクリック -> メニュー・リストの中からPostgreSQL情報ポータルサイトで推奨されているCを選択しています。
デフォルトは “[Default locale]” になっており、Windows 環境のロケール設定を参照するため、日本語版 Windows の場合には “Japanese_Japan.932” が選択されます。しかし、ロケールを “C” に変更することをお勧めします。
引用元:PostgreSQL情報ポータルサイト

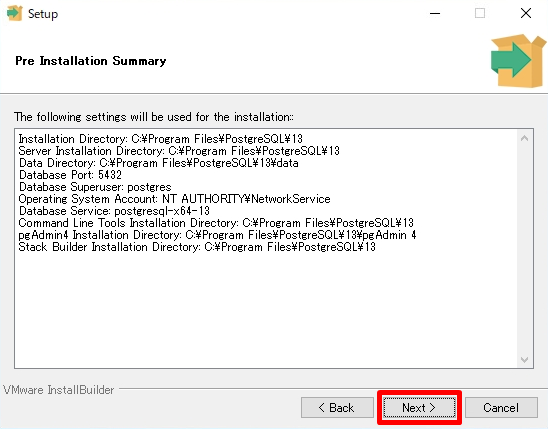
手順 10:
Pre Installation Summary画面 ->「Next」を選択します。
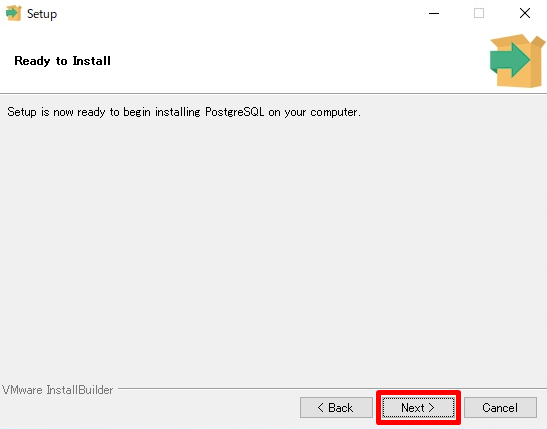
手順 11:
Ready to Install画面 ->「Next」を選択します。
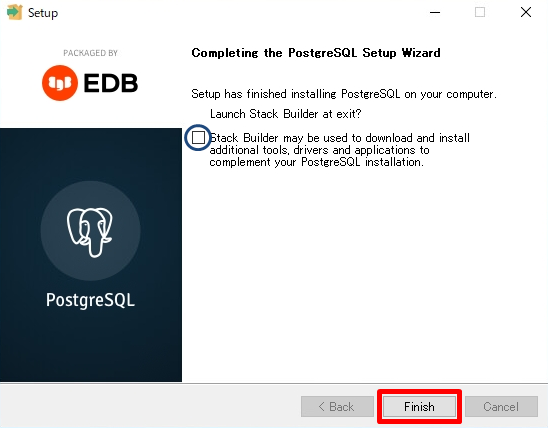
手順 12:
「Stack Builder」で追加インストールするかを選択するチェックボックがあります。今回は、追加でコンポーネントをインストールしないため、チェックボックスを外し「Finish」ボタンを選択します。