Windows Server 2019:Webサーバー(IIS)は、デフォルトでインストールされていません。機能を追加するには「サーバーマネージャー ダッシュボード」->「役割と機能の追加ウィザード」でWebサーバー(IIS)のチェックボックスを有効化しインストールする必要があります。また、Webサーバー(IIS)を追加する際は管理者権限のあるユーザーで実施します。権限がないユーザーでは変更を加えるための適切なユーザー権限がないためインストールすることはできません。
今回は、Windows Server 2019の環境でWebサーバー(IIS)のインストール、およびWebサーバーへ接続する方法を説明します。
Windows Server 2019:Webサーバー(IIS)インストール
手順 1:
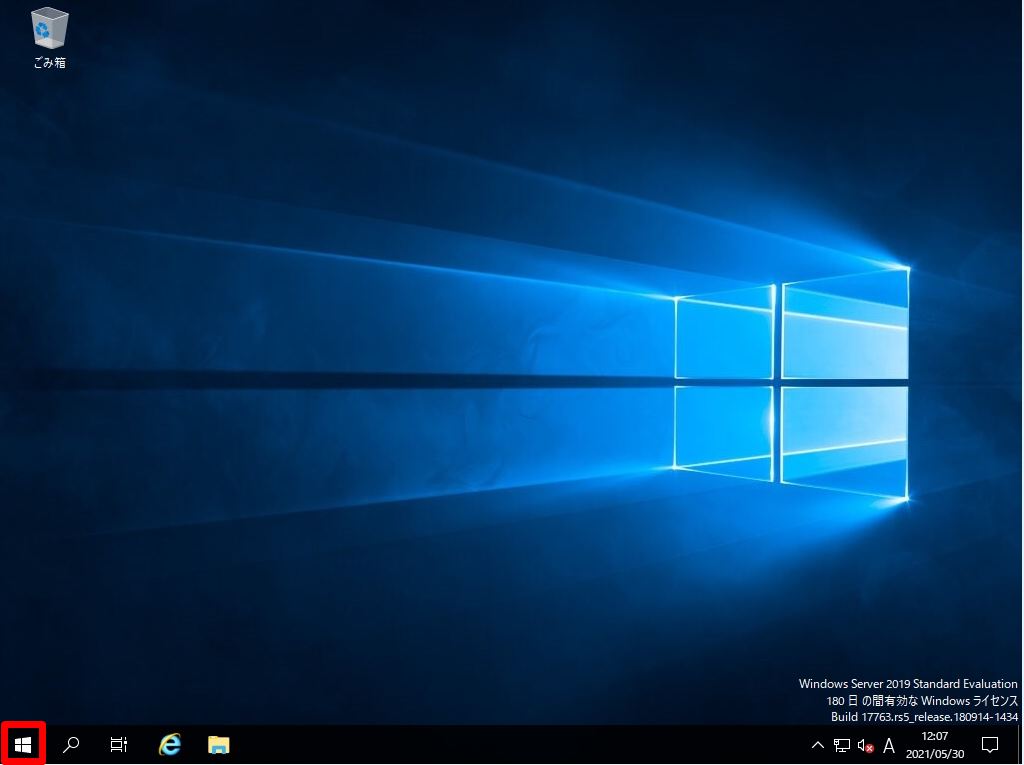
デスクトップ画面左下の「 Windowsマーク」を選択します。
手順 2:
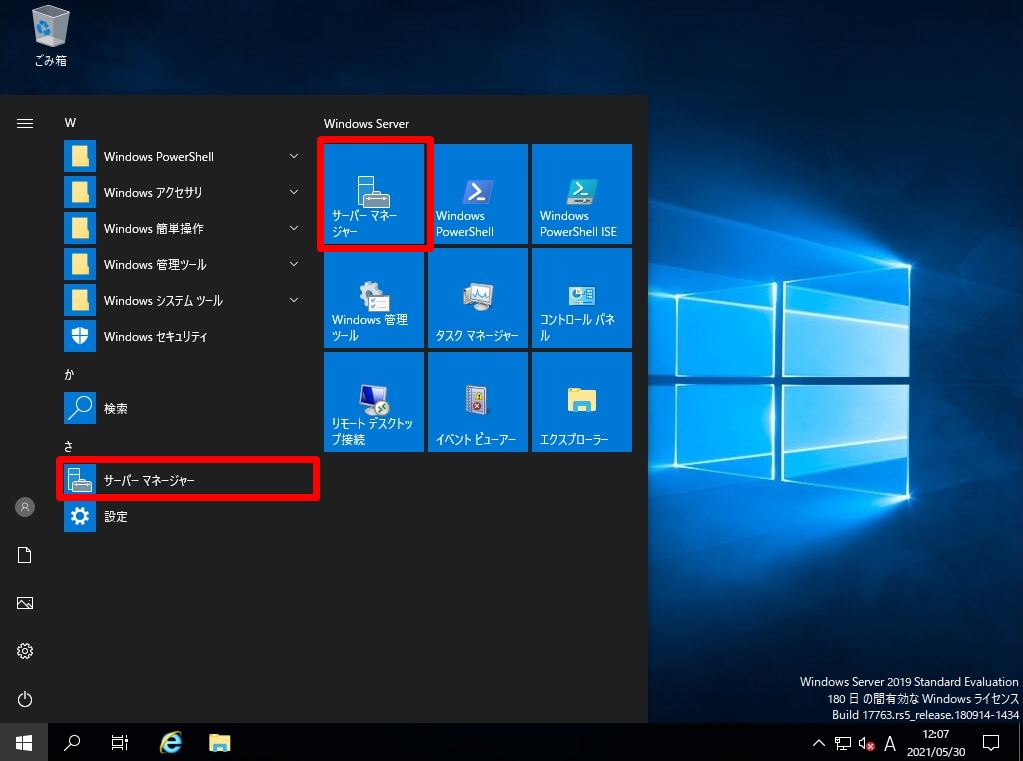
「サーバーマネージャー」を選択します。
手順 3:
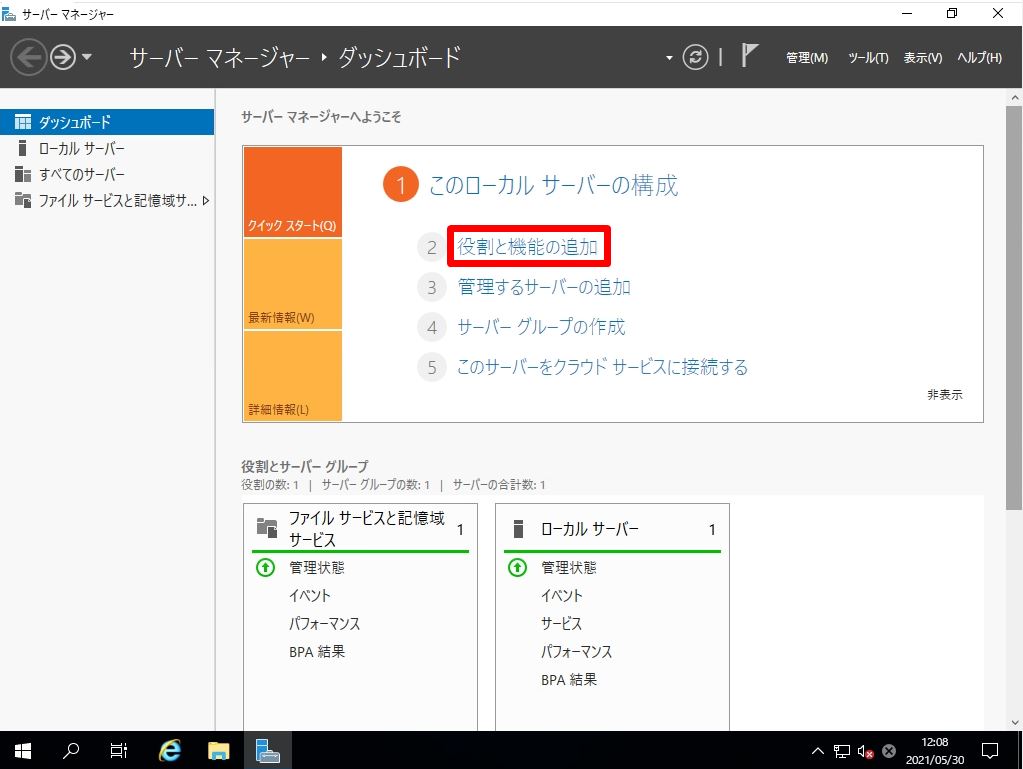
「サーバーマネージャー ダッシュボード」画面 ->「 役割と機能の追加 」を選択します。
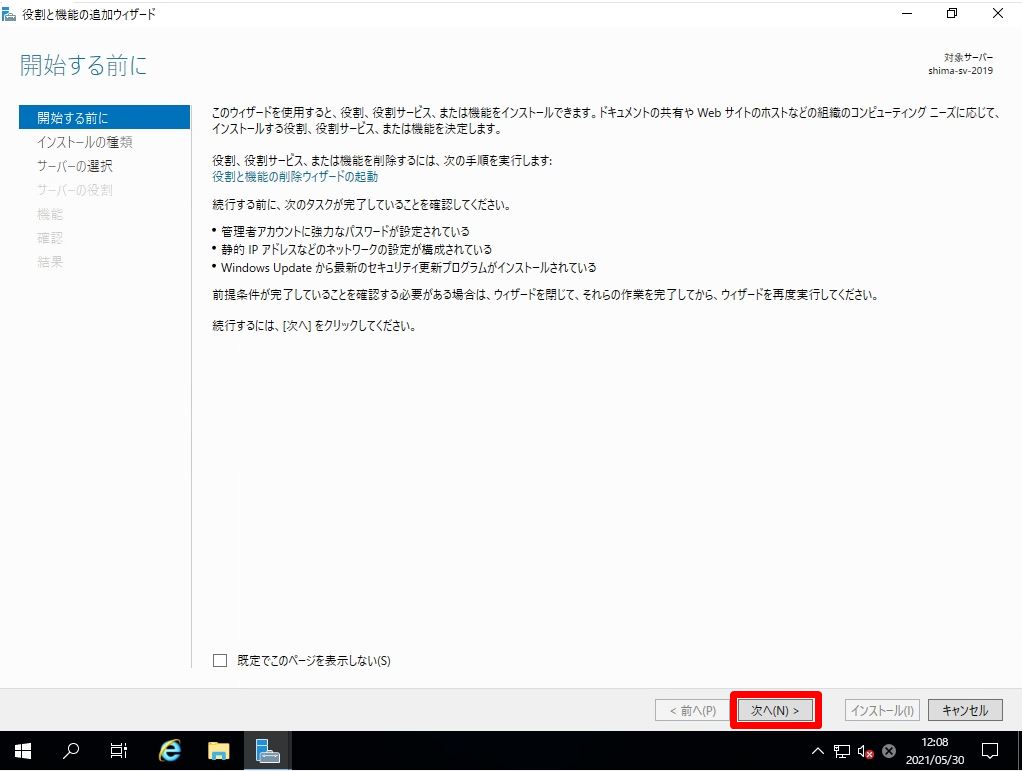
手順 4:
「開始する前に」画面 ->「次へ」を選択します。
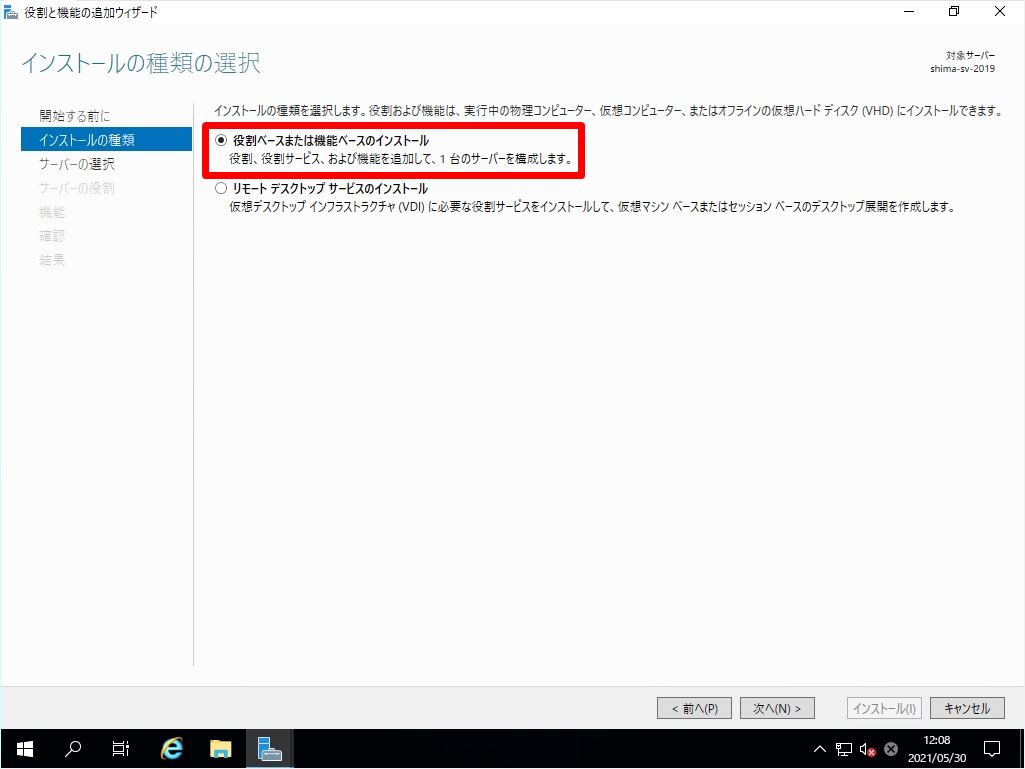
手順 5:
「インストールの種類の選択」画面 -> 役割ベースまたは機能ベースのインストールを選択し「次へ」を選択します。
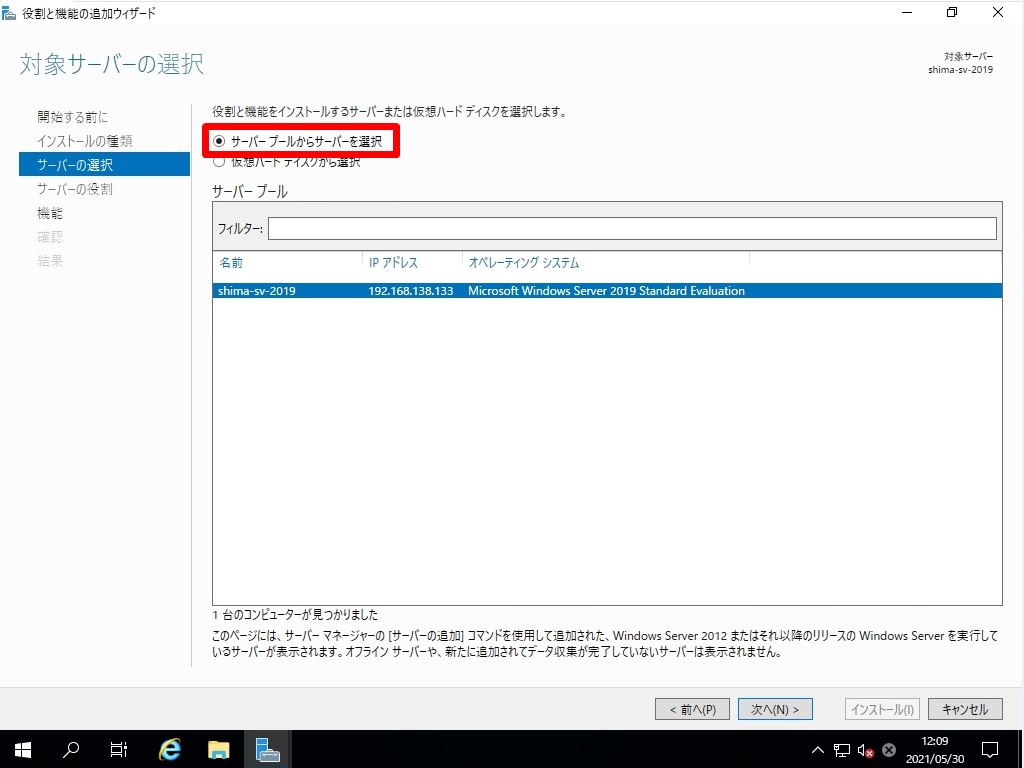
手順 6:
「対象サーバーの選択」画面 -> 自サーバーの名前を選択し「次へ」を選択します。
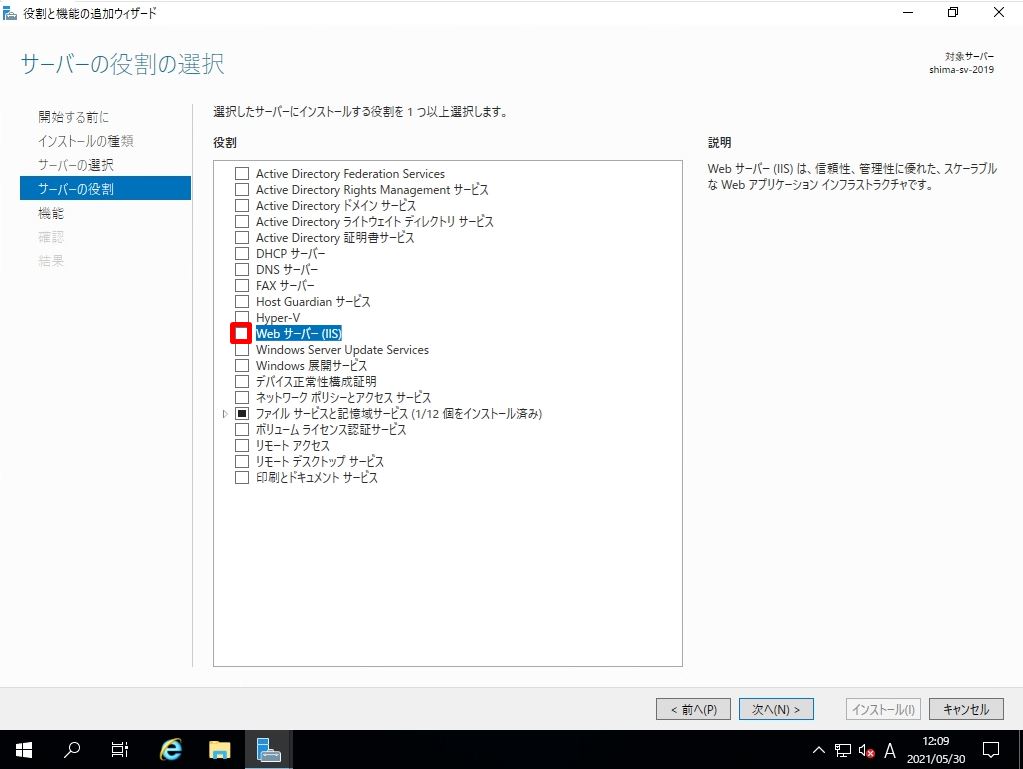
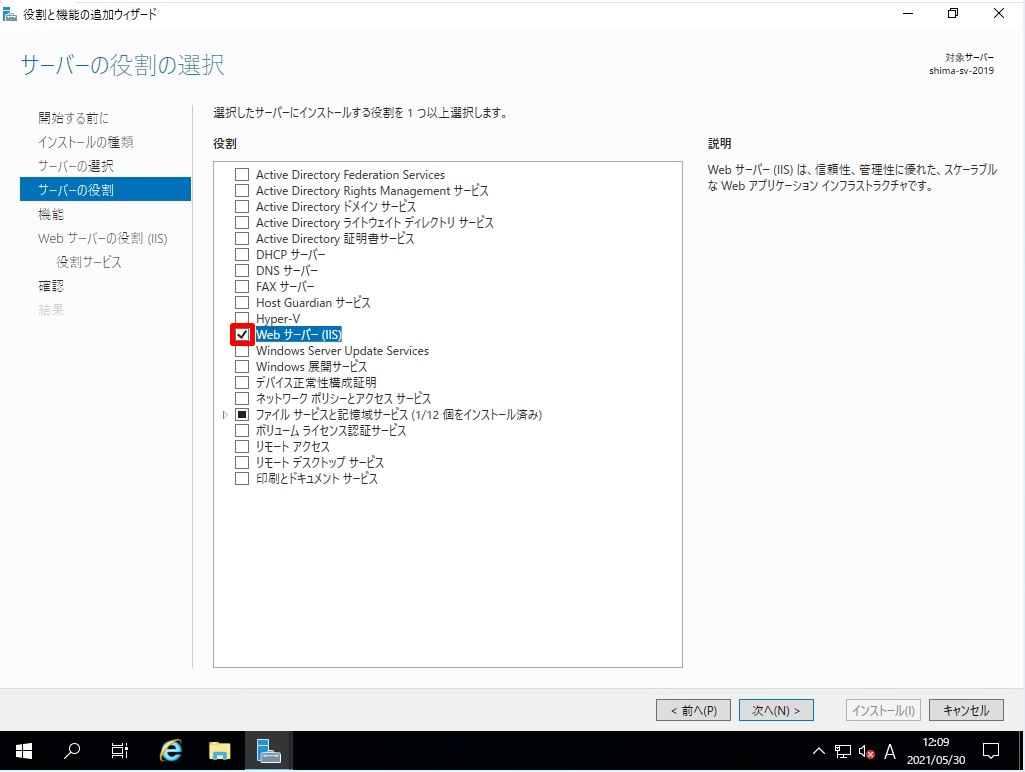
手順 7:
「サーバーの役割の選択」画面 -> 赤枠部分、Web サーバー(IIS)を選択します。
手順 8:
「 機能の追加 」を選択します。
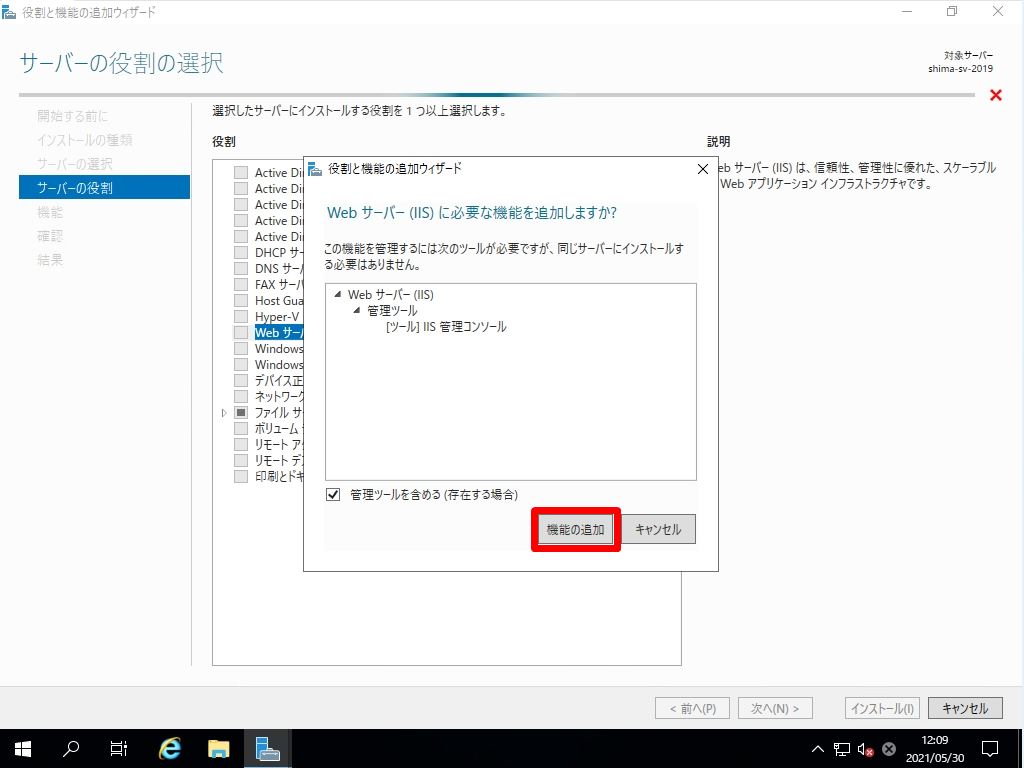
手順 9:
Web サーバー(IIS)のチェックボックスが有効になったことを確認し「 次へ 」を選択します。
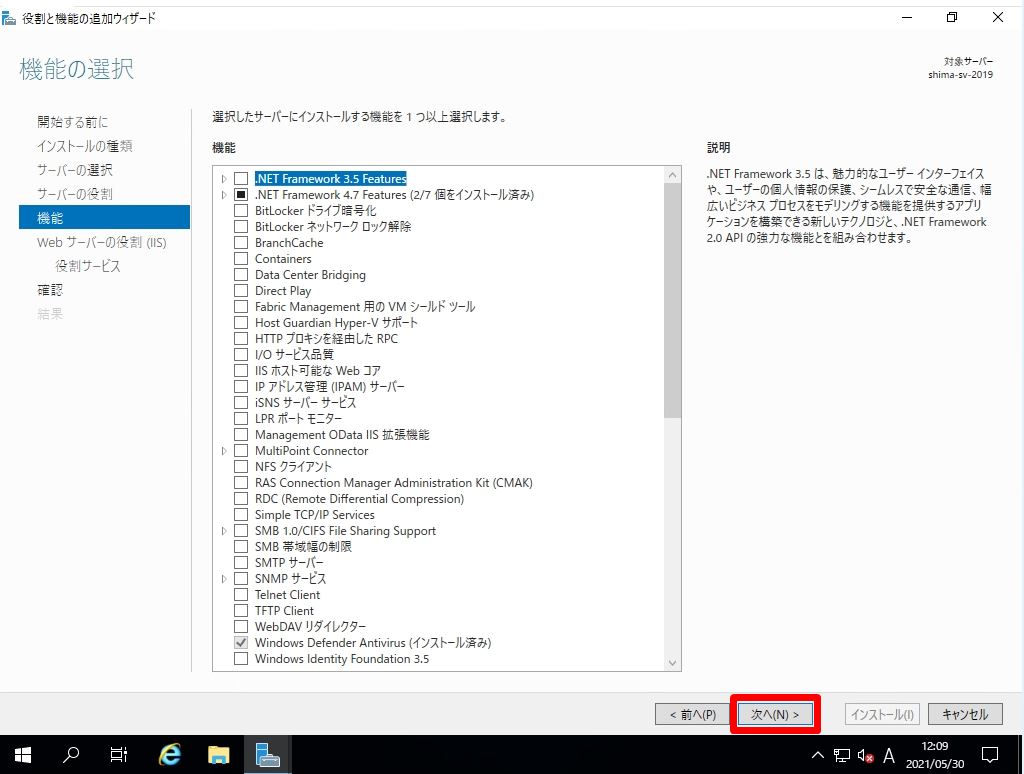
手順 10:
「機能の選択」画面は何も選択しないで「 次へ 」を選択します。
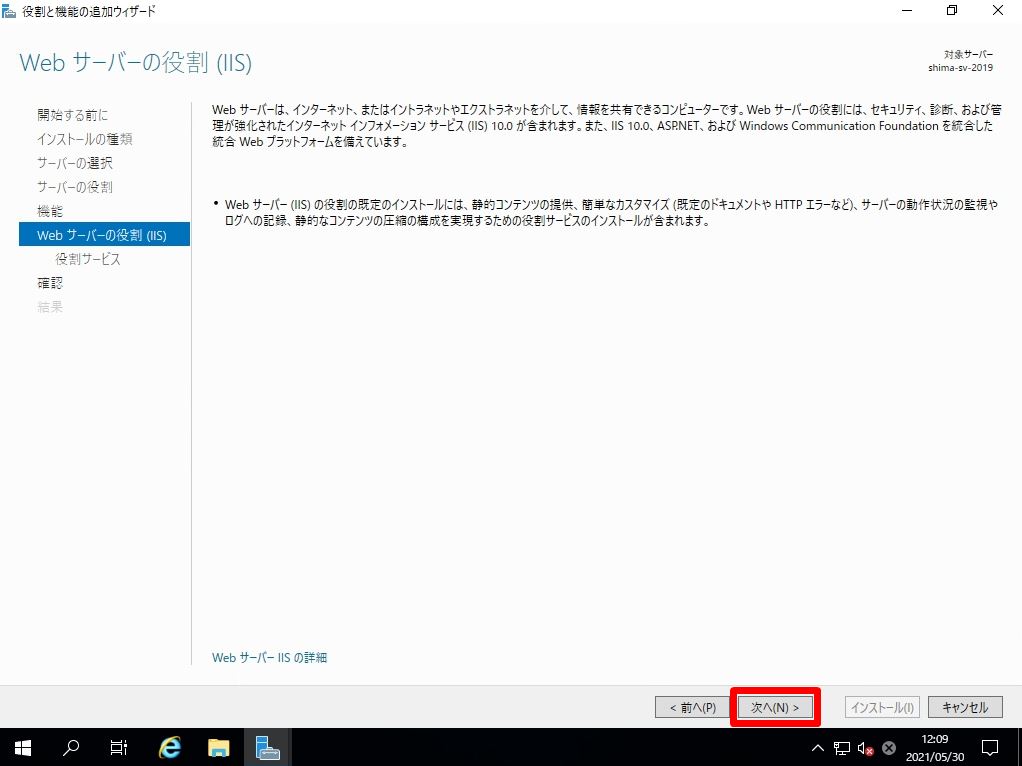
手順 11:
「Web サーバーの役割(IIS)」画面 ->「 次へ 」を選択します。
手順 12:
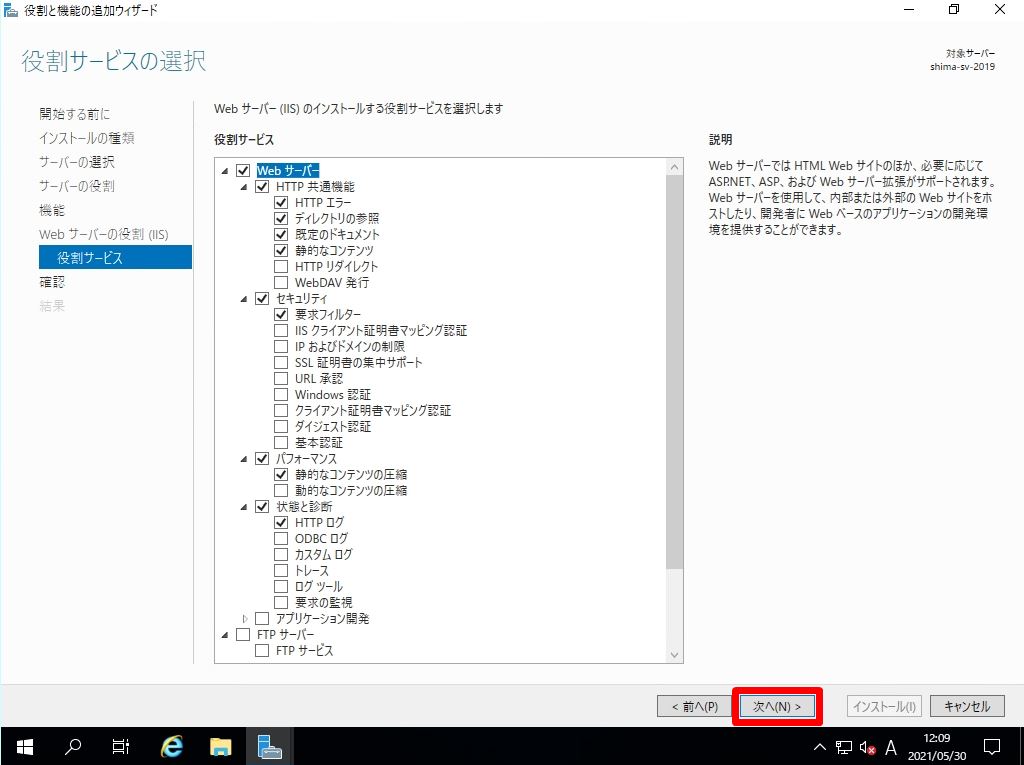
「 役割サービスの選択 」画面 ->「 次へ 」を選択します。
※FTPサーバーをインストール場合は、有効化してください。本記事では、デフォルトで設定しているためFTPサーバー等のチェックボックスを有効化していません。
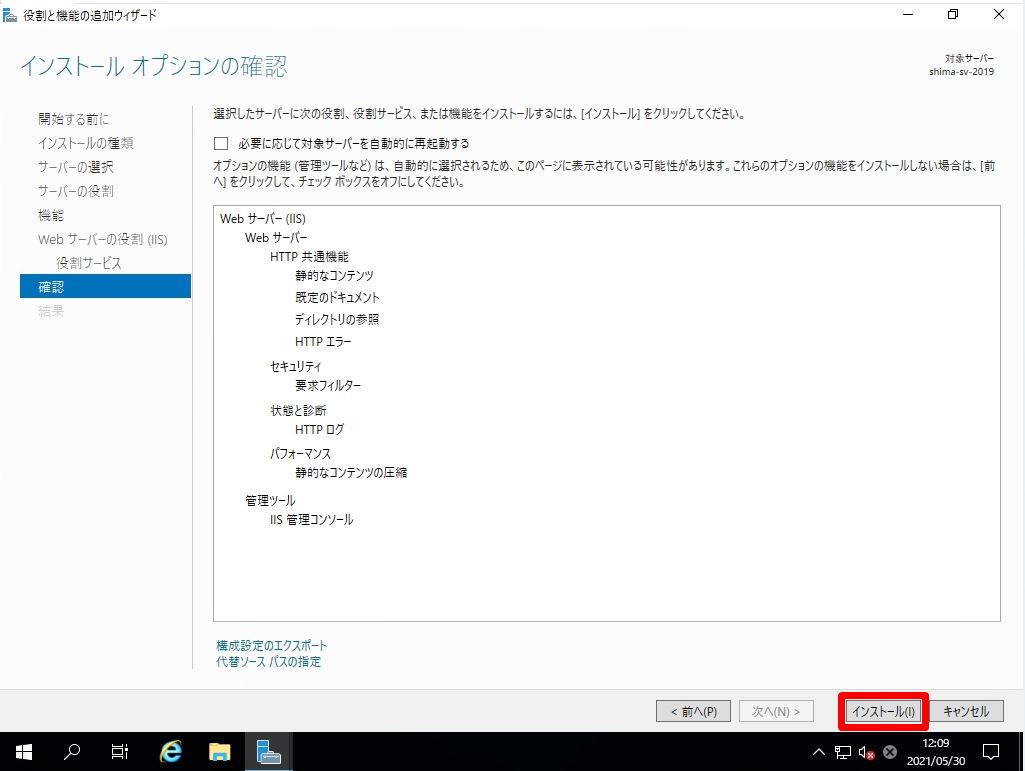
手順 13:
「インストールオプションの確認」画面 ->「 インストール 」を選択します。
手順 14:
「インストールの進行状況」画面 ->「 閉じる 」を選択します。

Windows Server 2019:Webサーバー(IIS)接続確認
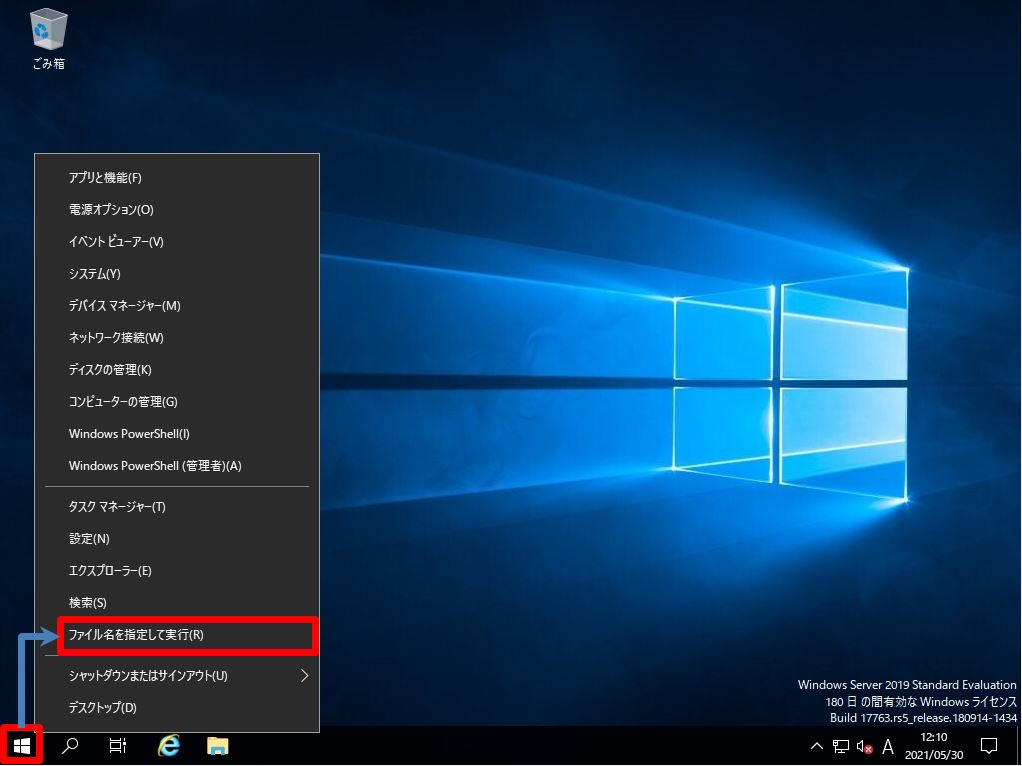
手順 1:
「 (Windowsマーク) 」を右クリック –> 「ファイル名を指定して実行 」を選択します。
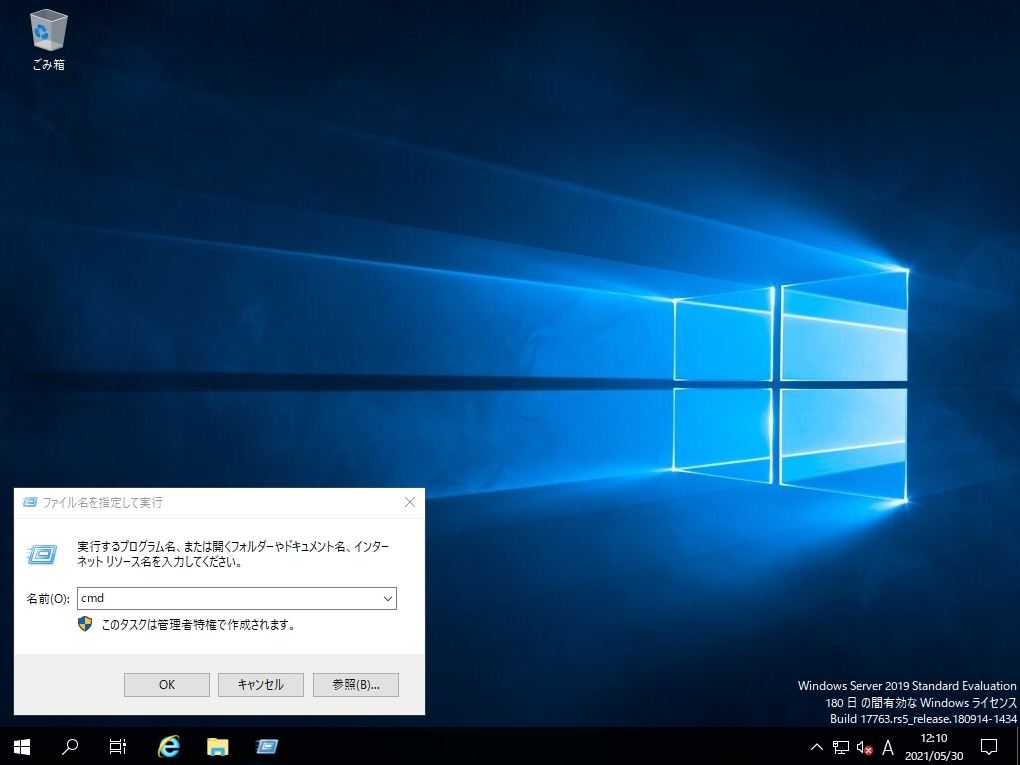
手順 2:
「cmd 」を入力 ->「OK」を選択します。
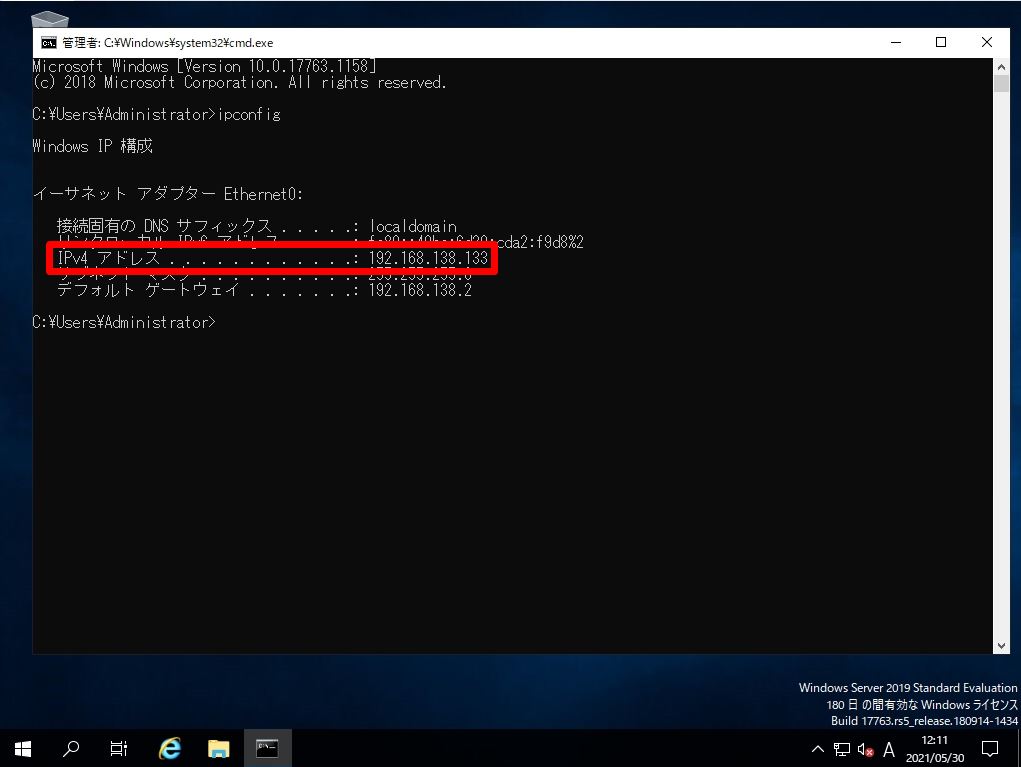
手順 3:
コマンドプロンプトで「ipconfig 」を入力し、自サーバーのIPアドレスを確認します。
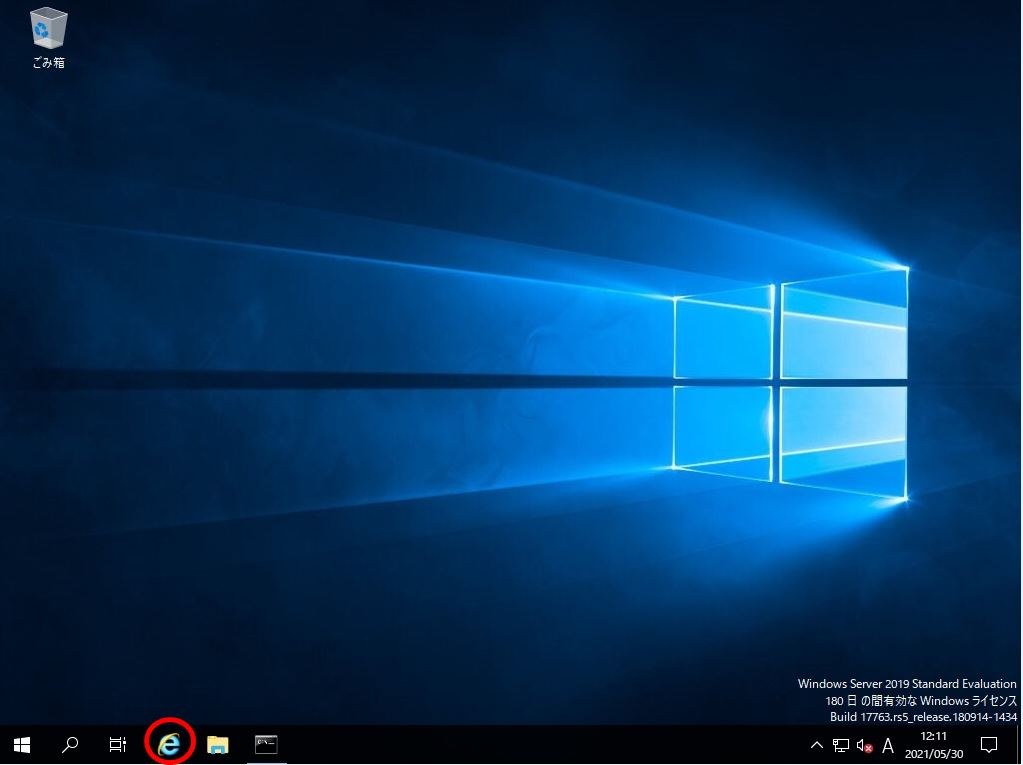
手順 4:
ブラウザーで自サーバーのIPアドレスを入力するため、インストールされているブラウザーを起動します。
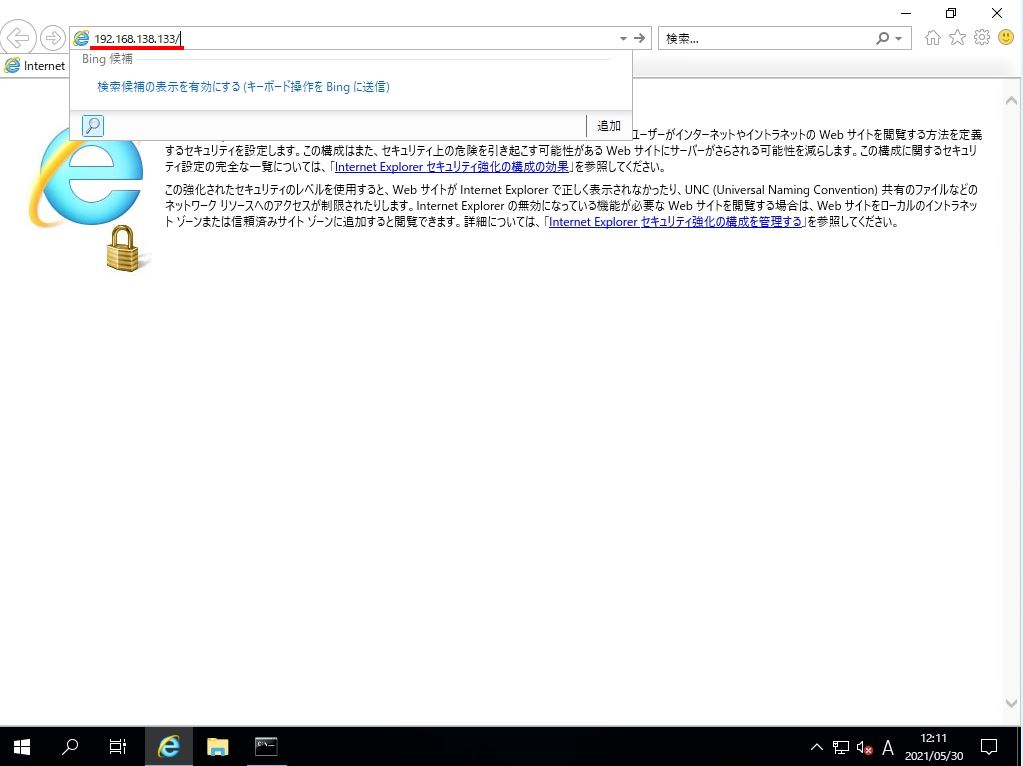
手順 5:
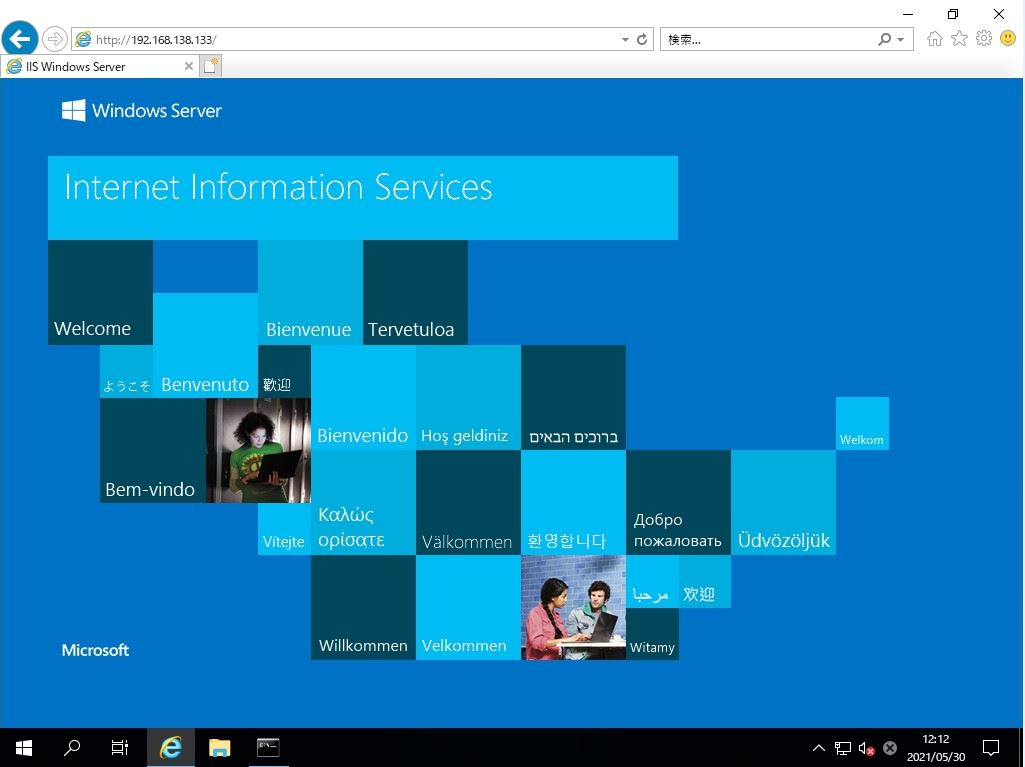
URL入力欄に自サーバーのIPアドレスを入力 -> 「Enter」キーを押下します。
手順 6:
Webサーバー(IIS)に接続確認完了です。