Windows Server 2012 R2 でHyper-Vを構築する手順は「サーバーマネージャー」->「役割と機能の追加ウィザード」からHyper-Vを有効化する必要があります。 Windows Server 2012 R2 の Hyper-Vを有効化し対象のISOファイルを読み込ませることで、以下OSをはじめとする仮想マシンの利用が可能になります。
- Windows OS:Windows10、Windows Server 2012 R2、Windows Server 2016、Windows Server 2019など
- Linux OS:Red Hat Enterprise Linux、Ubuntu、CentOSなど
本記事では、Windows Server 2012 R2でHyper-Vを有効化 / 無効化する手順を説明します。
1. Windows Server 2012 R2:Hyper-V 有効化方法
手順 1:
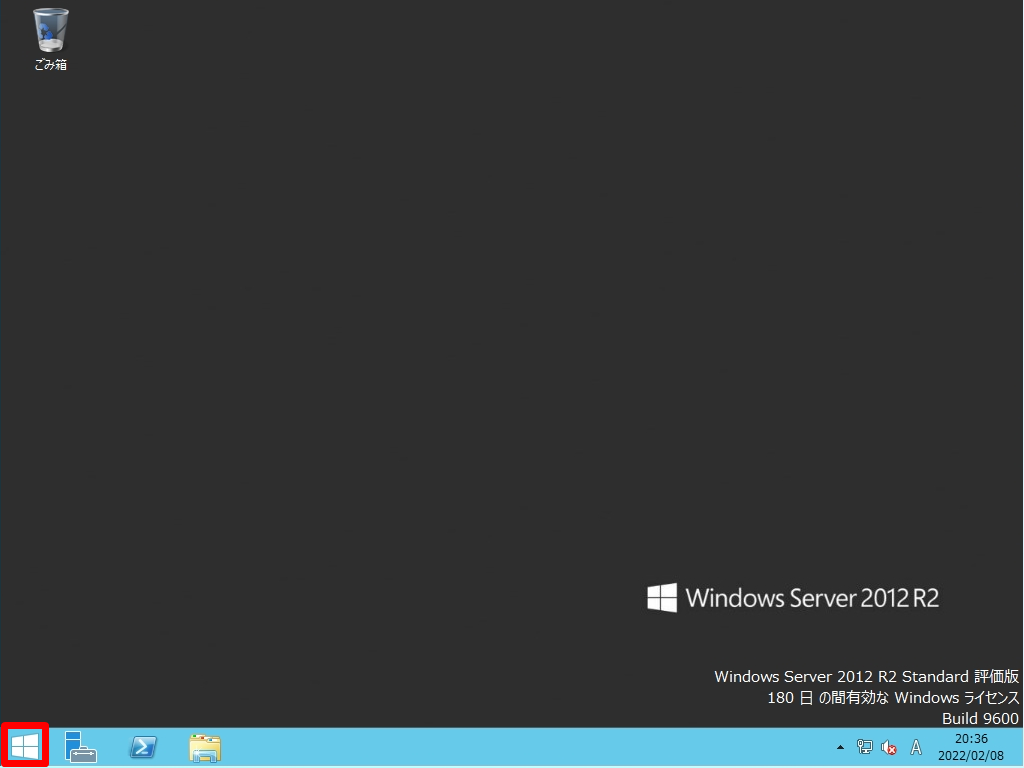
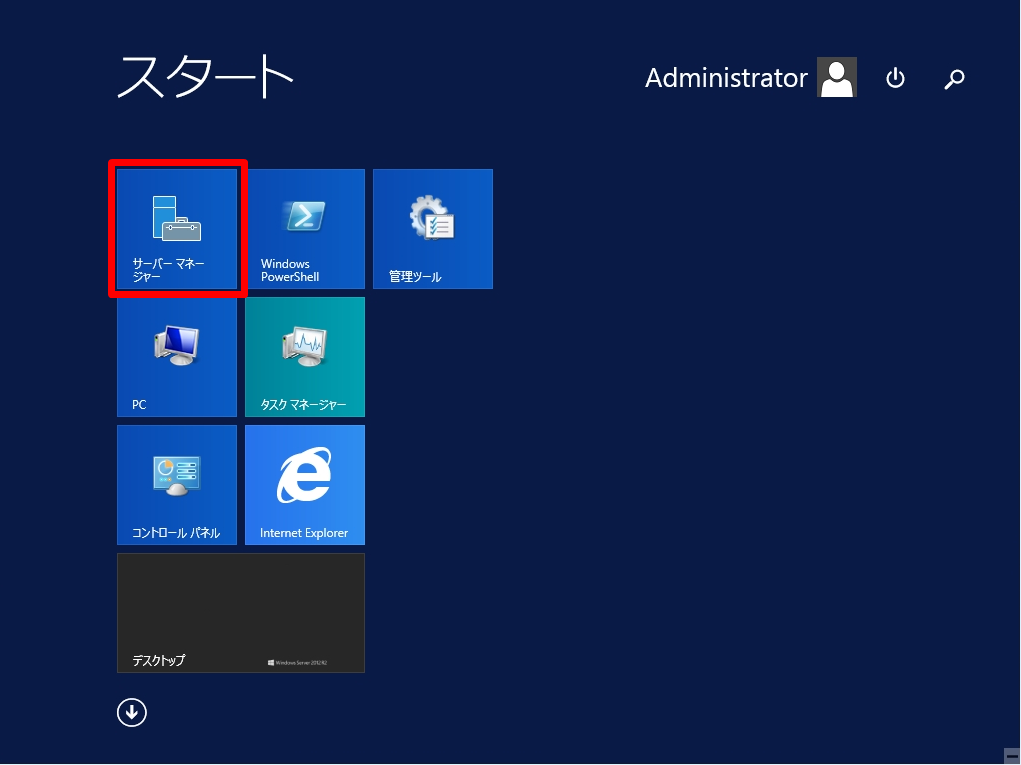
デスクトップ左下「 (Windowsマーク)」を選択します。
手順 2:
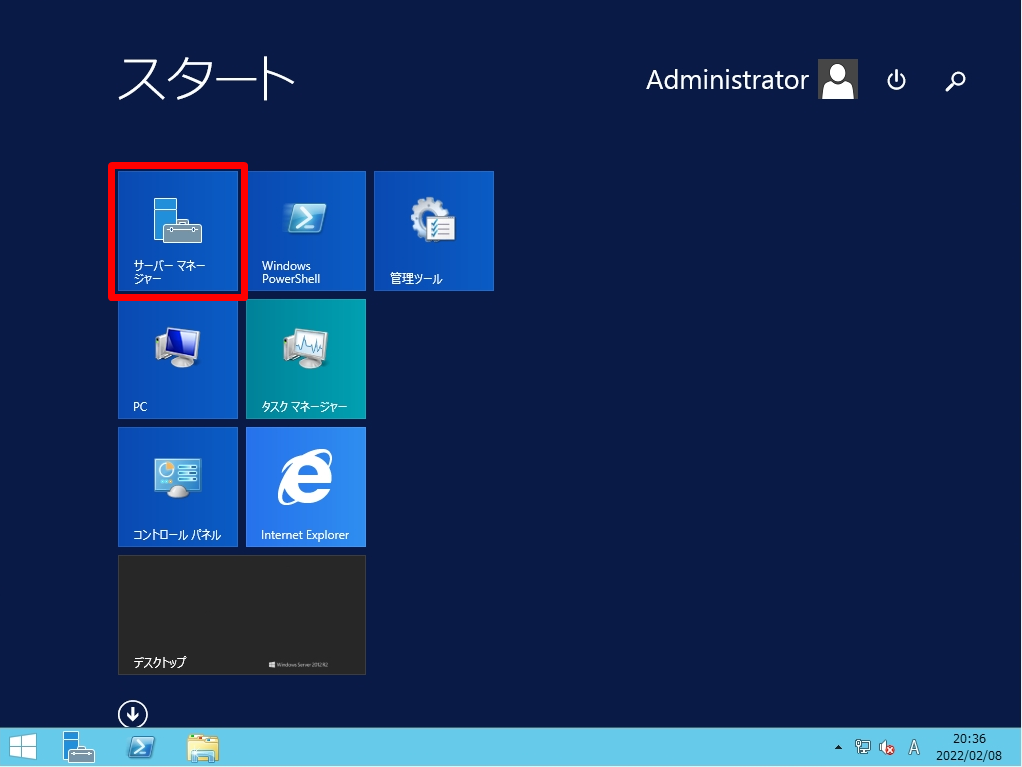
「サーバーマネージャー」を選択します。
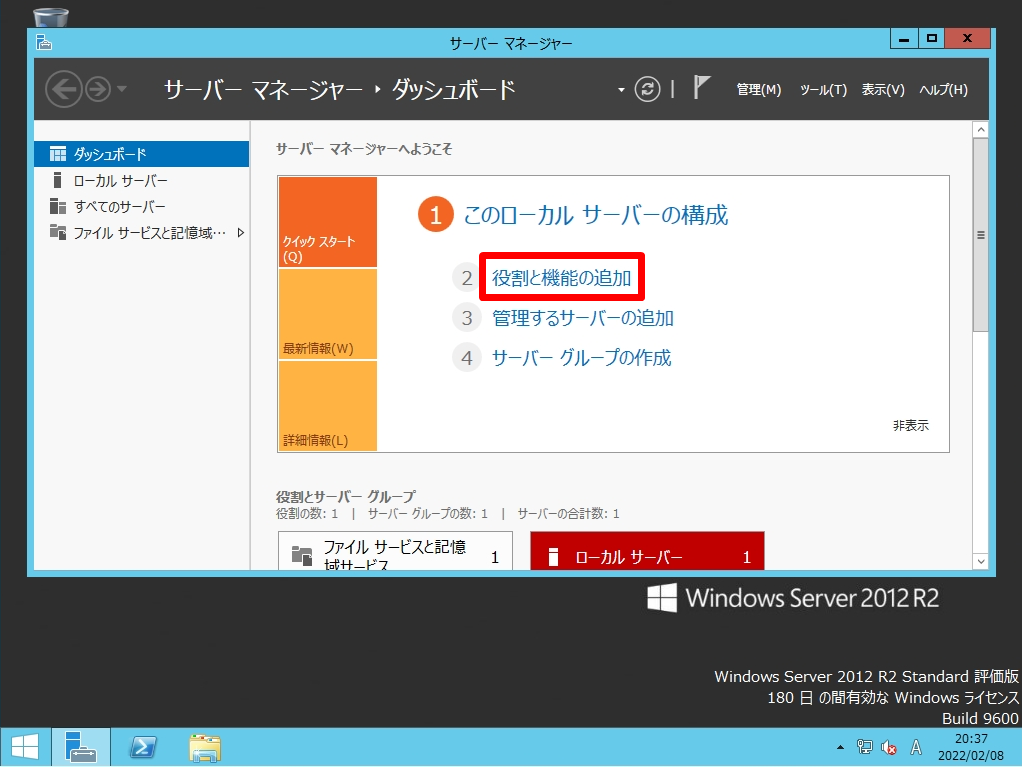
手順 3:
「役割と機能の追加」を選択します。
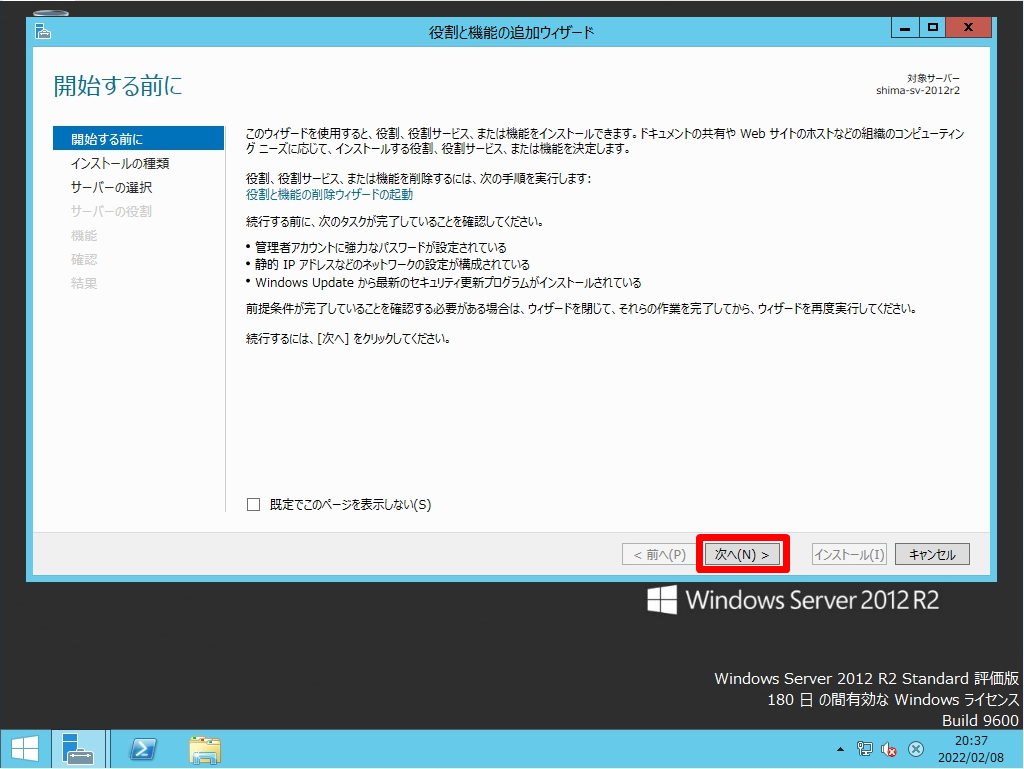
手順 4:
開始する前に画面:「次へ」を選択します。
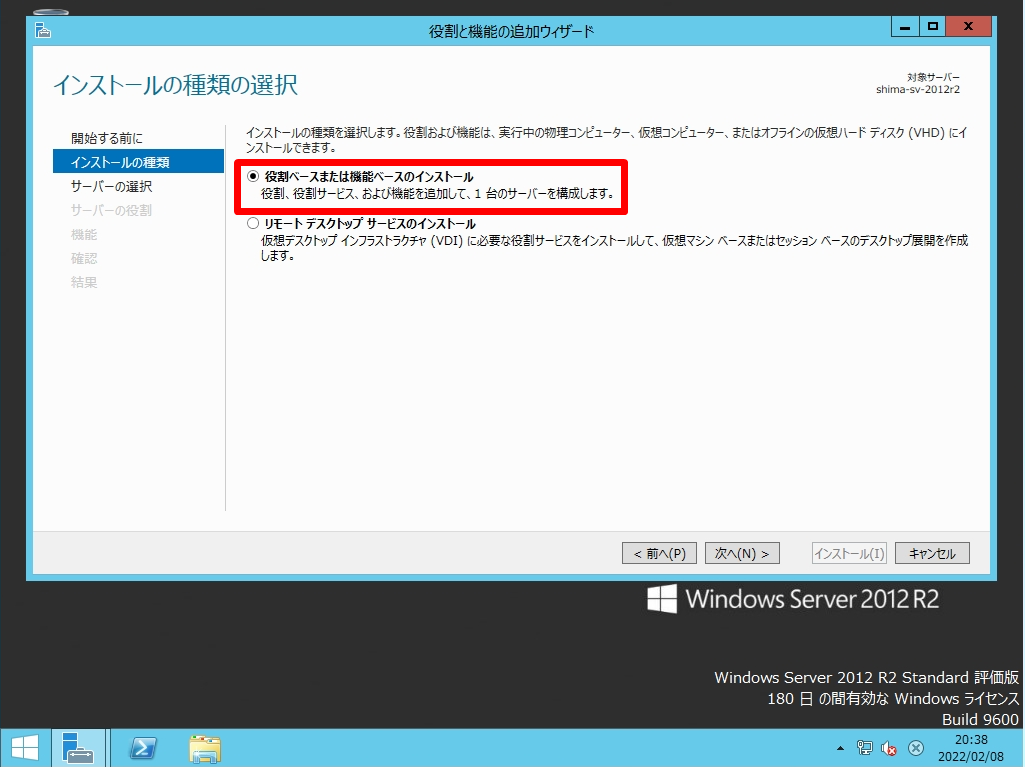
手順 5:
インストールの種類の選択画面:「役割ベースまたは機能ベースのインストール」->「次へ」を選択します。
手順 6:
対象サーバーの選択画面:「サーバープールからサーバーを選択」->「次へ」を選択します。

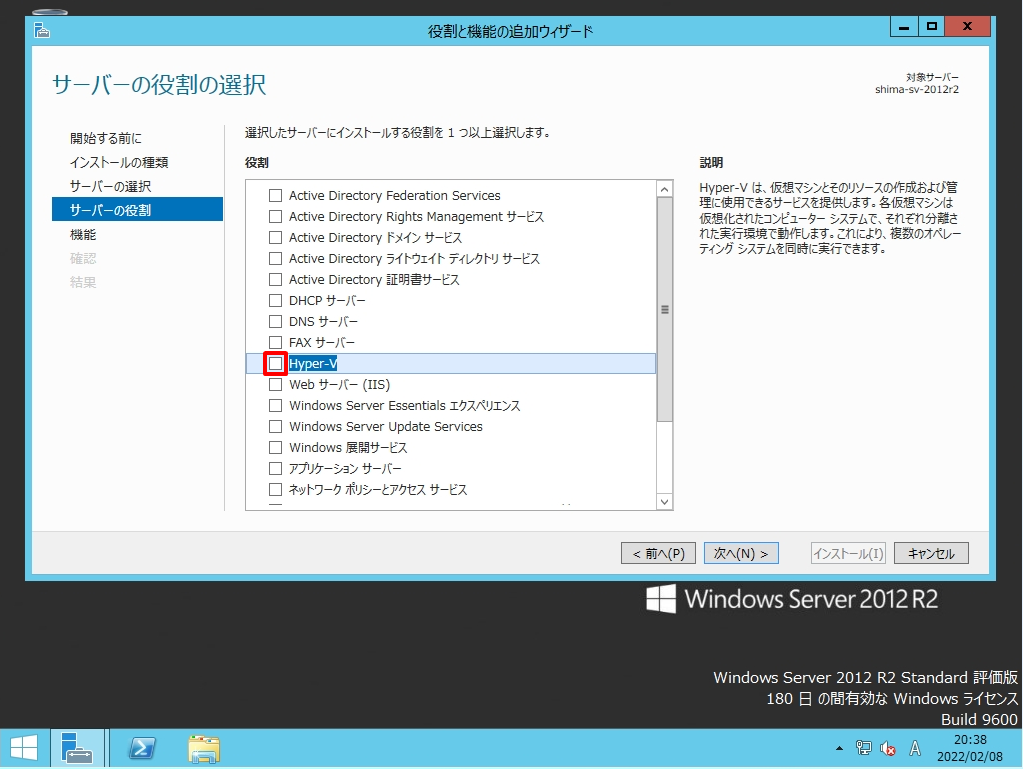
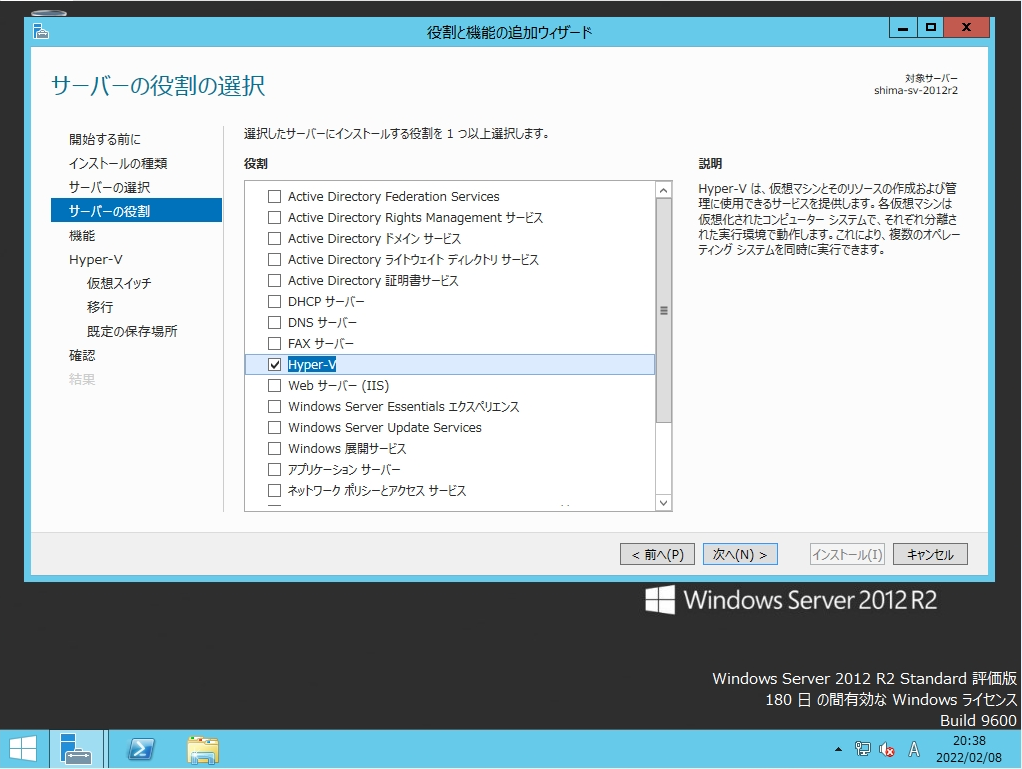
手順 7:
サーバーの役割の選択画面: 赤枠部分「Hyper-V」を選択します。
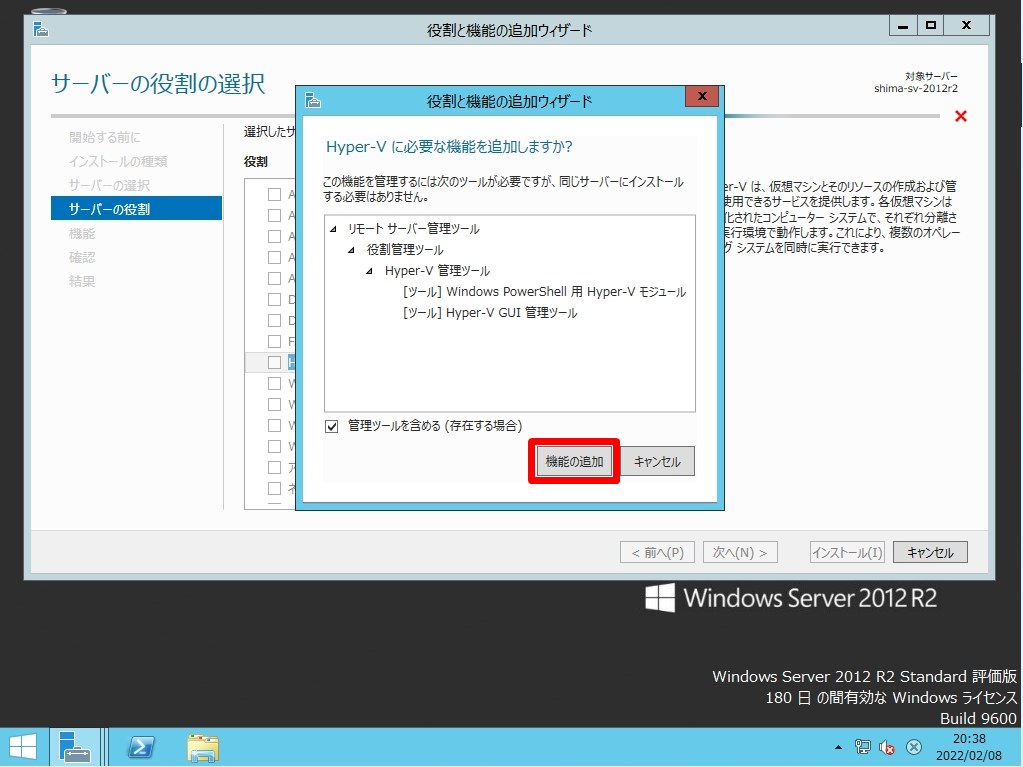
手順 8:
「機能の追加」を選択します。
手順 9:
「 Hyper-V 」 のチェックボックスが有効になったことを確認し「 次へ 」を選択します。
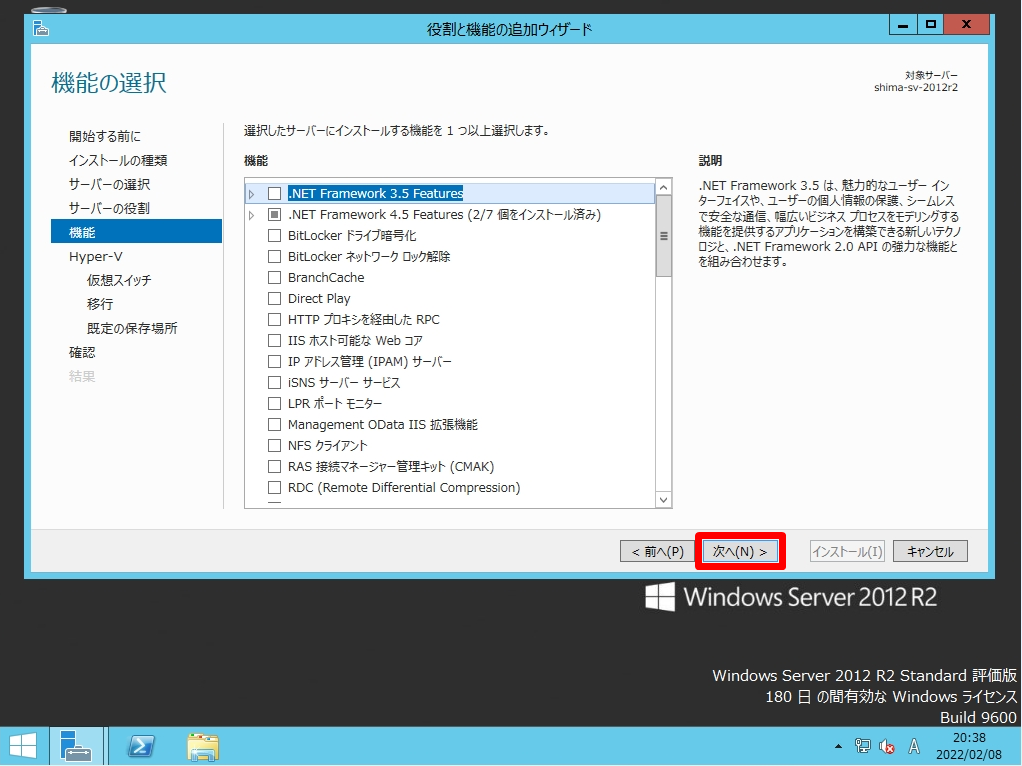
手順 10:
機能の選択画面:何も選択しないで「 次へ 」を選択します。
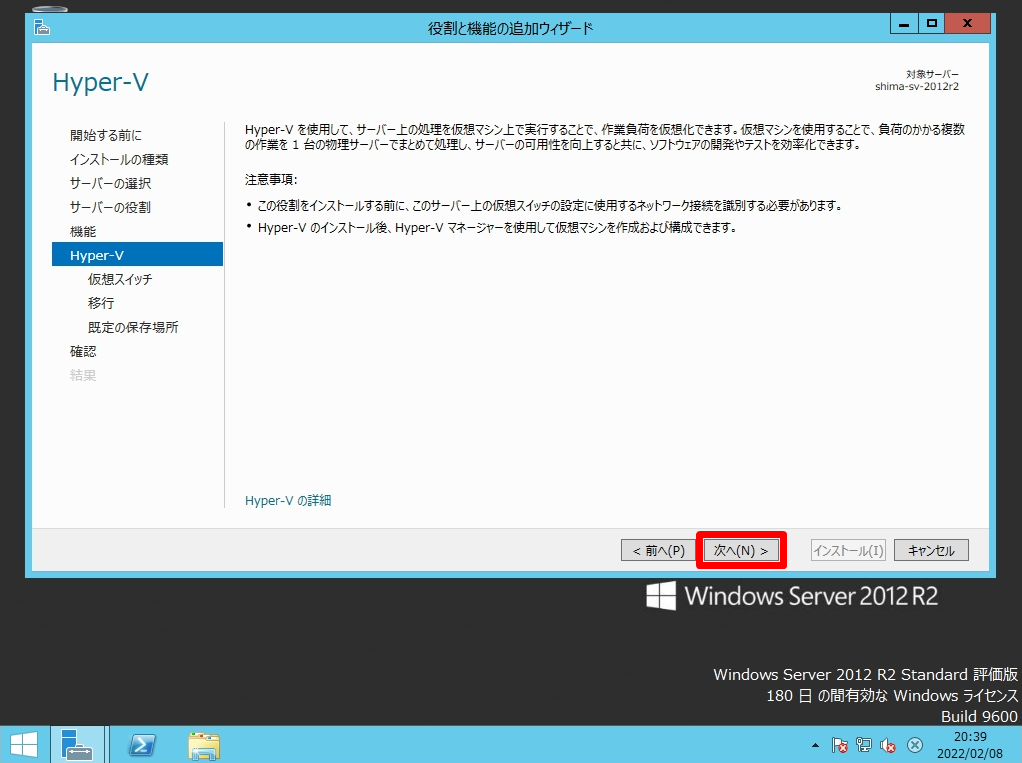
手順 11:
Hyper-V画面:「 次へ 」を選択します。
手順 12:
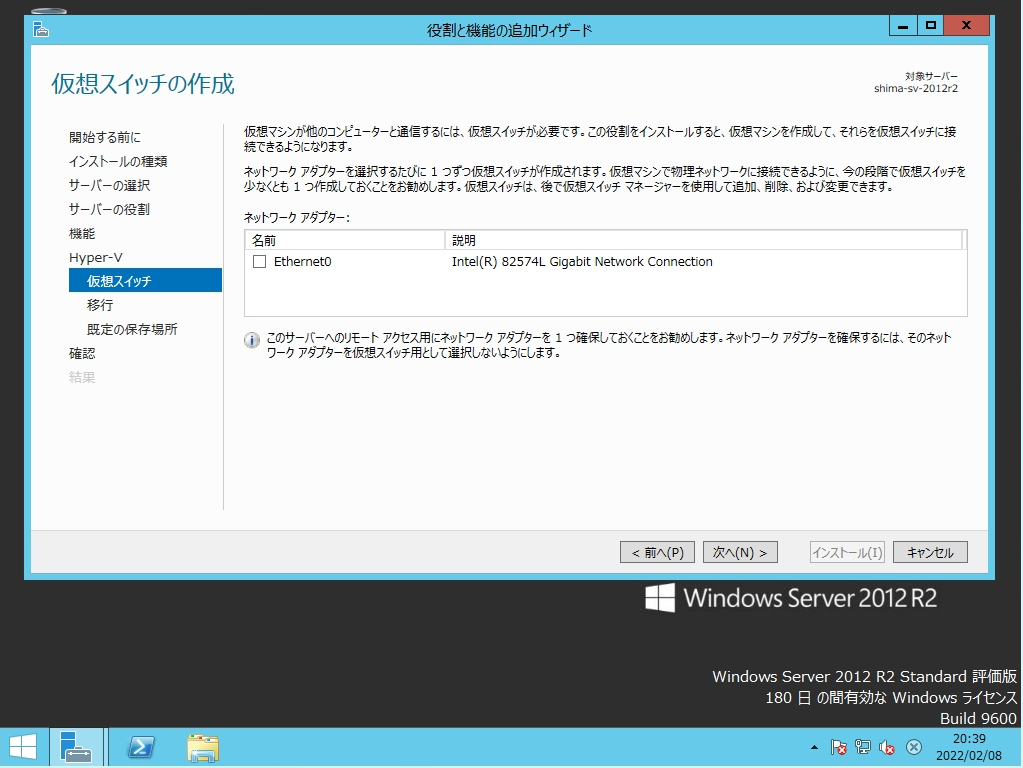
仮想スイッチの作成画面:「 次へ 」を選択します。
※ 仮想スイッチはHyper-V を有効にした後でも作成できるため本記事では、この設定画面では作成していません。
手順 13:
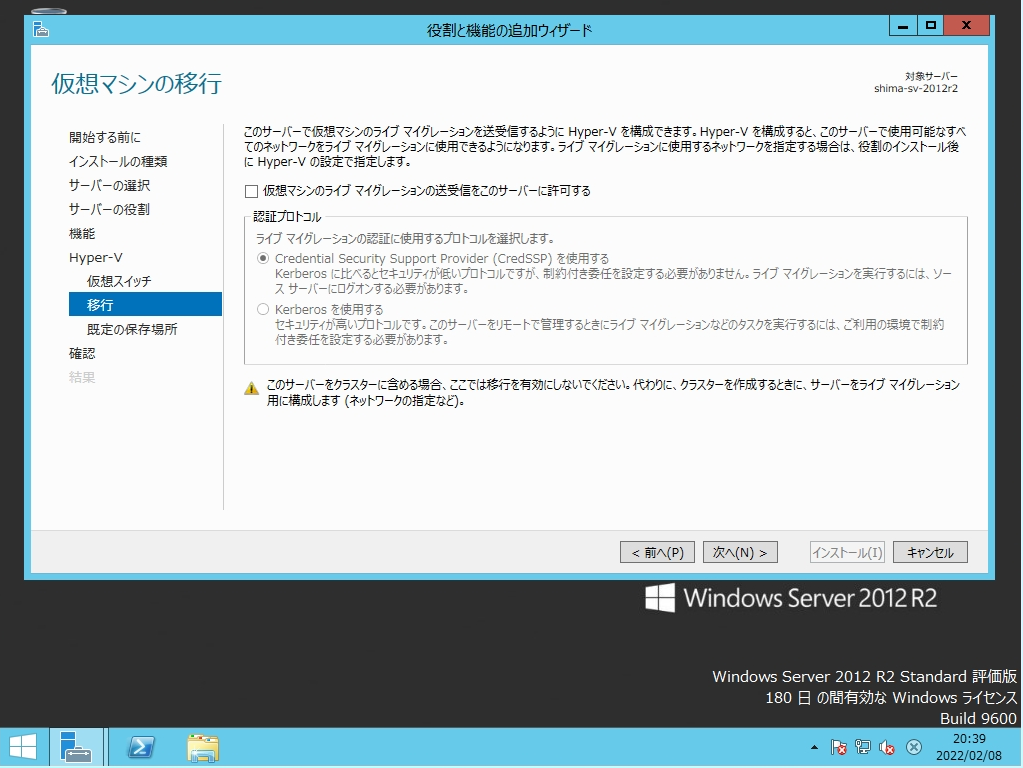
仮想マシンの移行画面:「 次へ 」を選択します。
※ライブ マイグレーションはHyper-V を有効にした後でも設定できるため本記事では、この設定画面で設定していません。
手順 14:
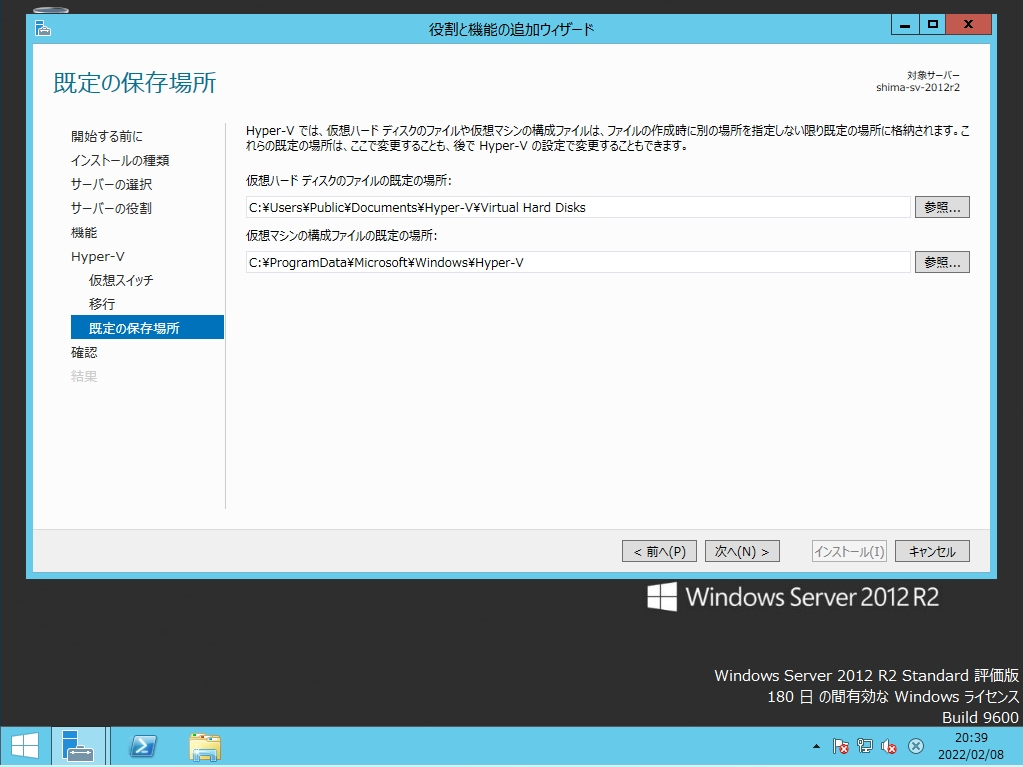
既定の保存場所画面:デフォルトで問題なければ「 次へ 」を選択します。
手順 15:
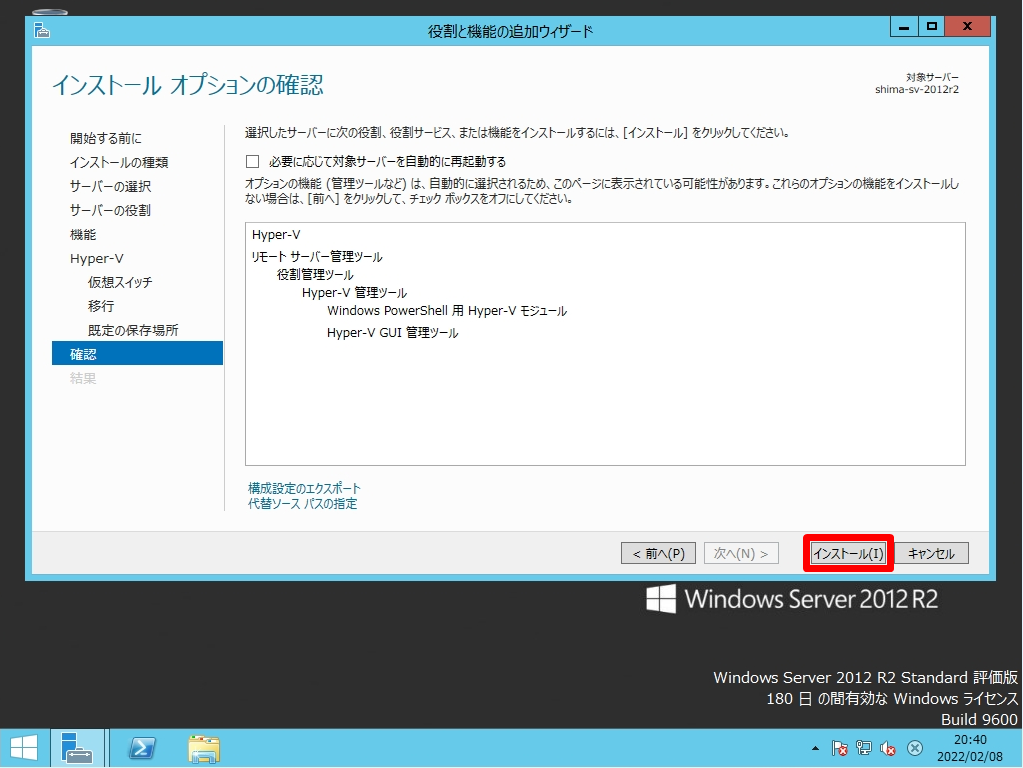
インストール オプションの確認画面:「インストール」を選択します。
手順 16:
インストールの進行状況画面:「閉じる」を選択します。

手順 17:
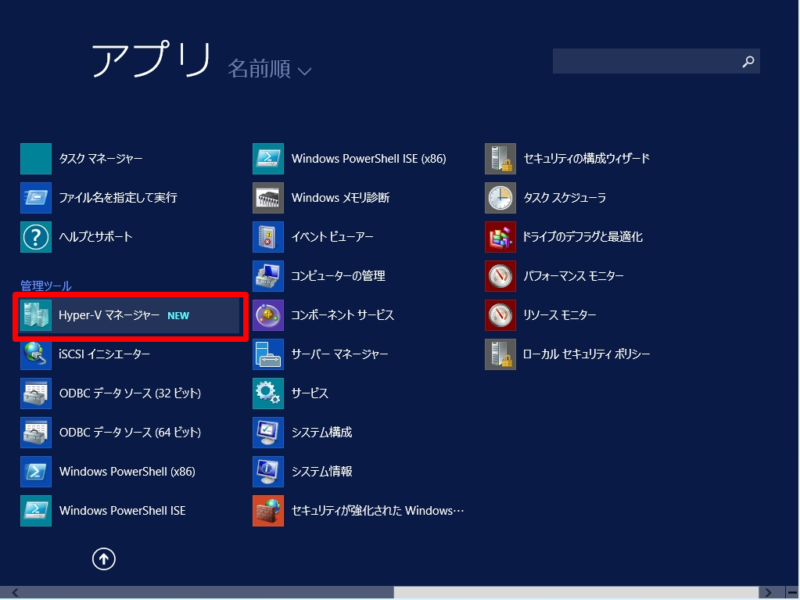
Windows Server 2012 R2 再起動後、Windows 管理ツールに「Hyper-Vマネージャー」が表示されることを確認します。

2. Windows Server 2012 R2:Hyper-V 無効化方法
Windows Server 2012 R2のHyper-V 無効化は、前提として Hyper-V を有効化している場合です。デフォルトでは Hyper-V は無効になっています。
手順 1:
デスクトップ左下「 (Windows マーク)」を選択します。

手順 2:
「サーバーマネージャー」を選択します。
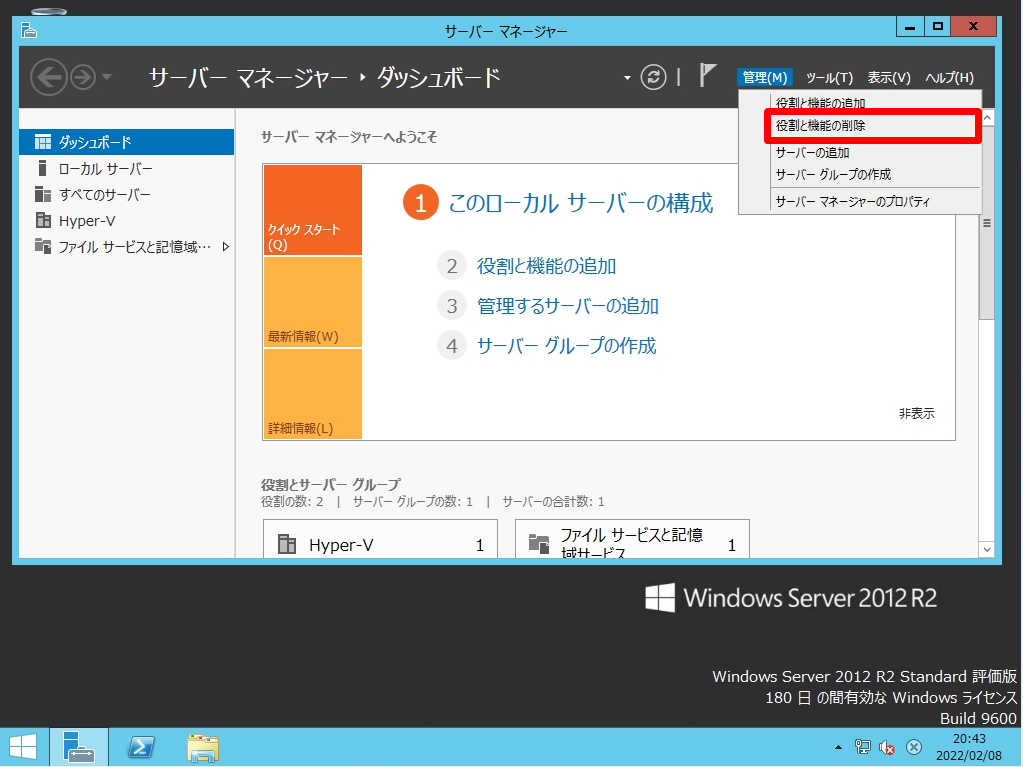
手順 3:
管理タブ ->「役割と機能の削除」を選択します。
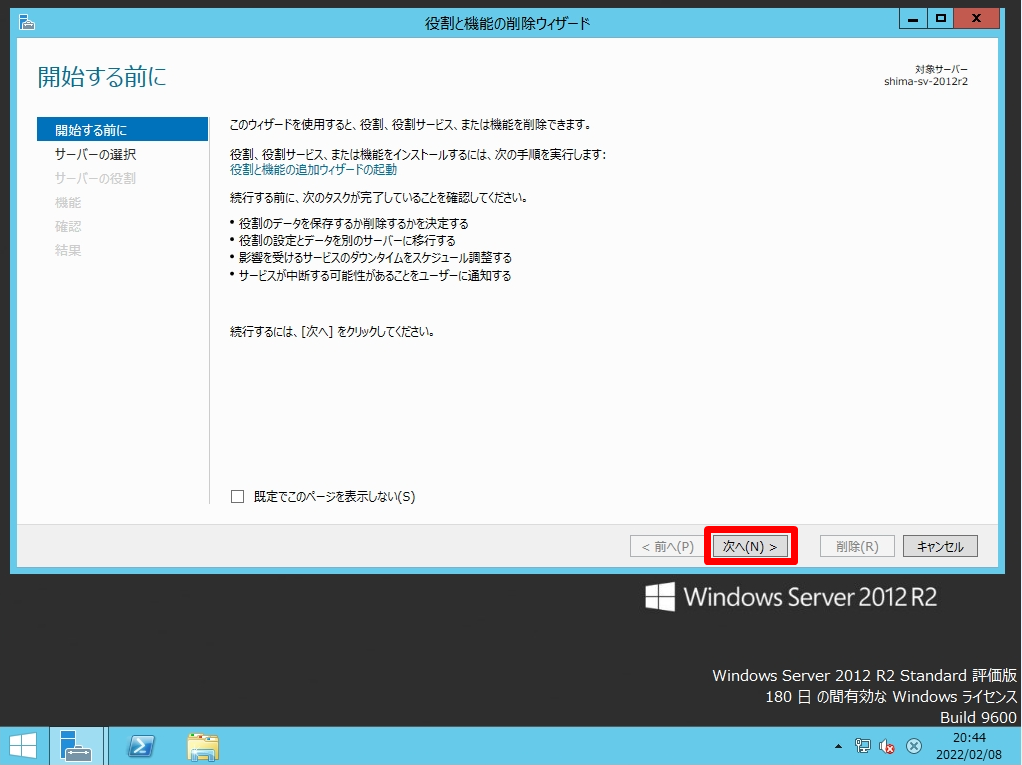
手順 4:
開始する前に画面:「次へ」を選択します。
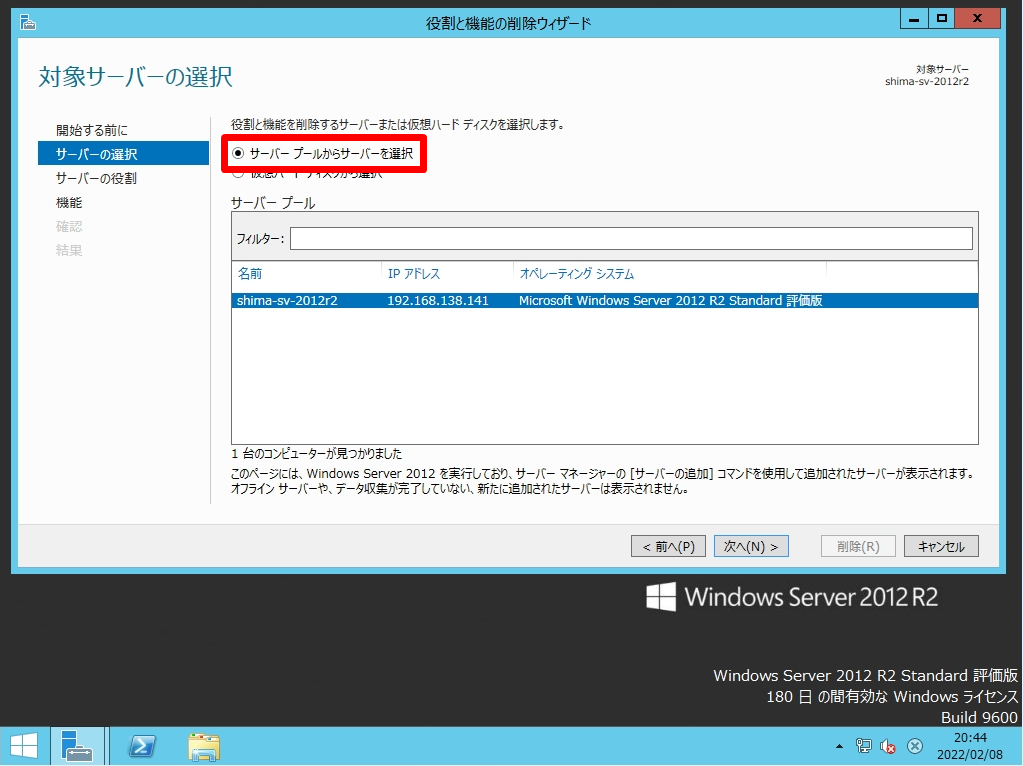
手順 5:
対象サーバーの選択画面:「サーバープールからサーバーを選択」->「次へ」を選択します。
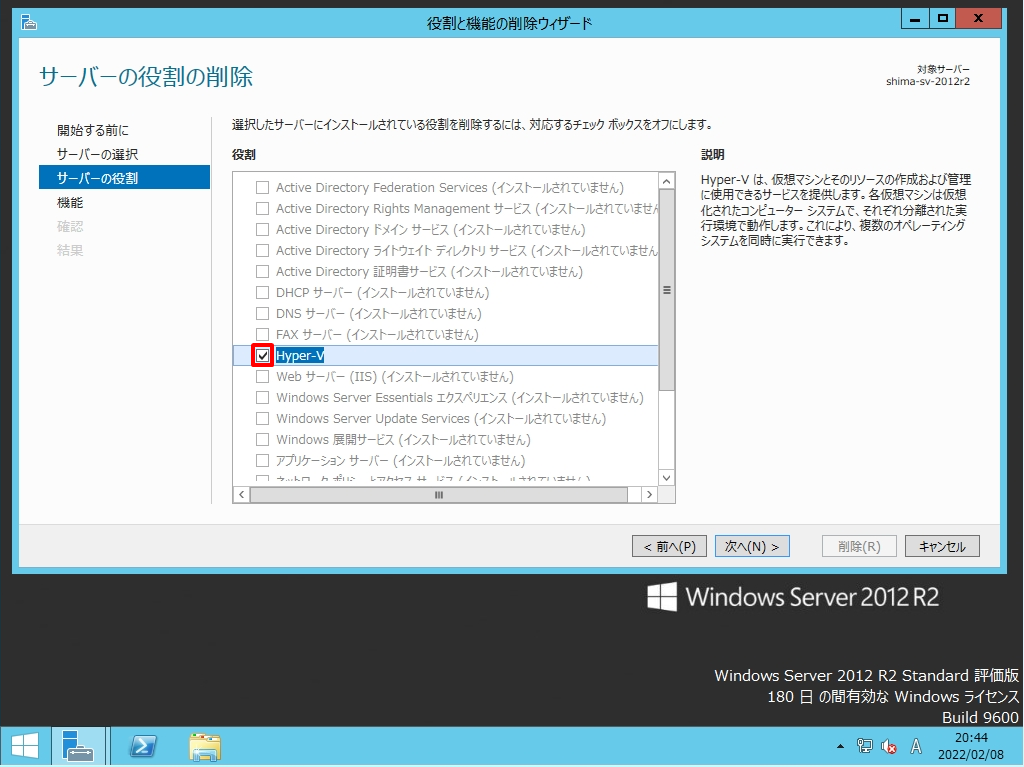
手順 6:
サーバーの役割の選択画面: 赤枠部分「Hyper-V」を選択します。
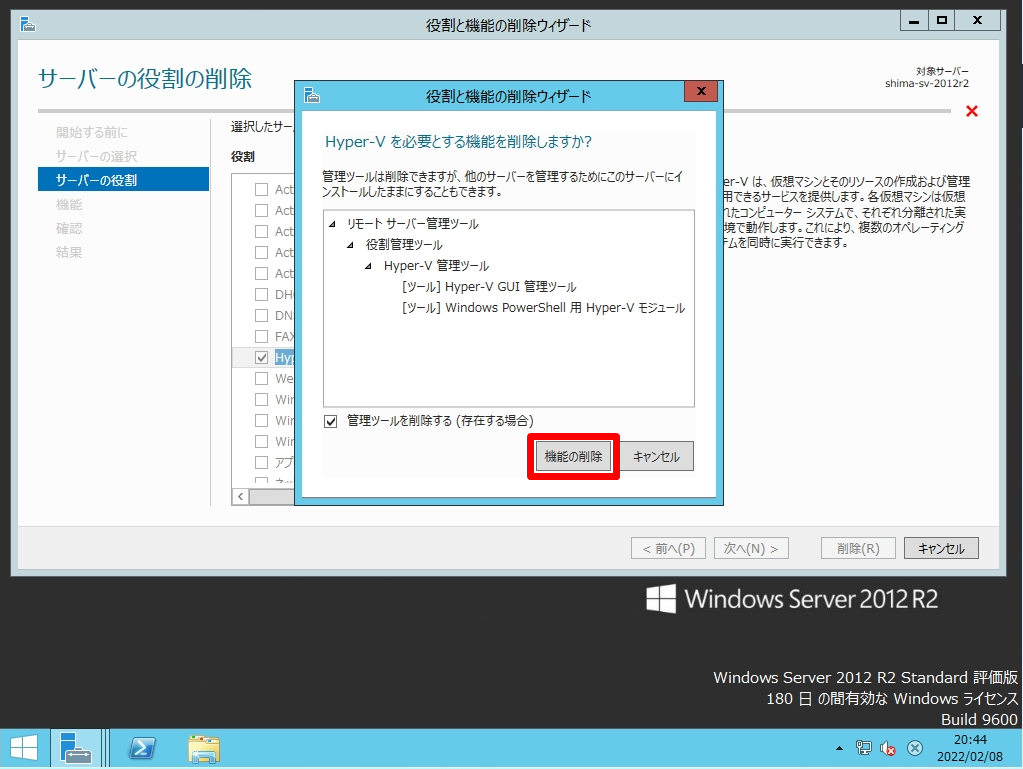
手順 7:
「機能の削除」を選択します。
手順 8:
「 Hyper-V 」 のチェックボックスが外れたことを確認し「 次へ 」を選択します。

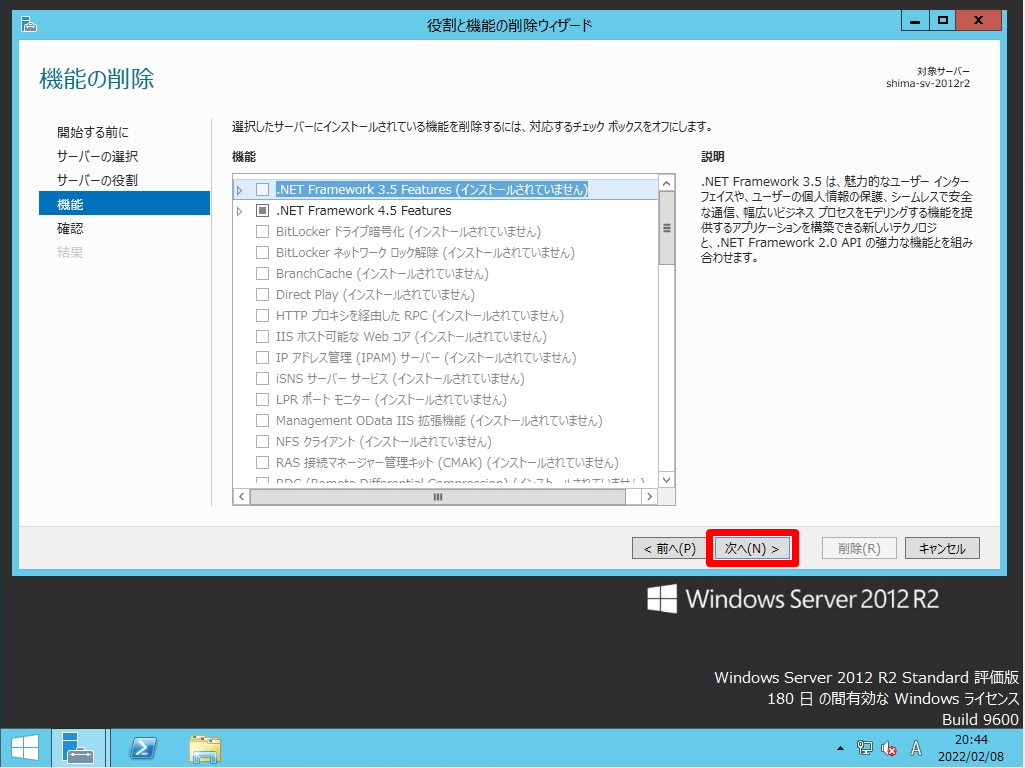
手順 9:
機能の選択画面:何も選択しないで「 次へ 」を選択します。
手順 10:
削除オプションの確認画面:「削除」を選択します。

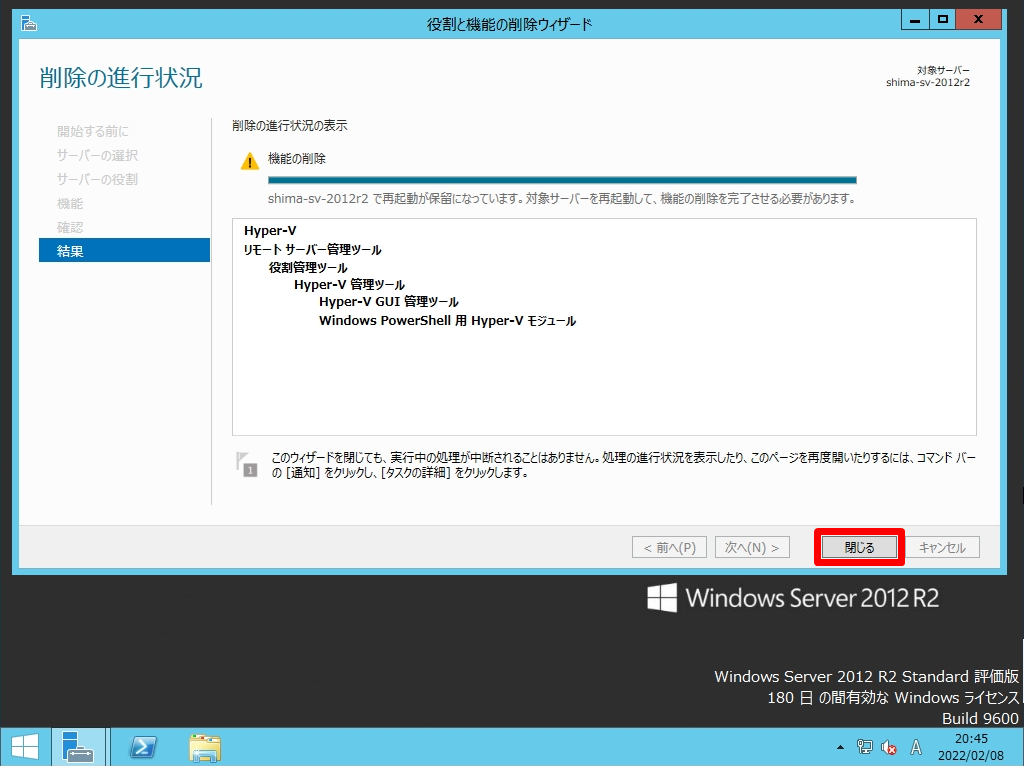
手順 11:
削除の進行状況画面:「閉じる」を選択します。
手順 12:
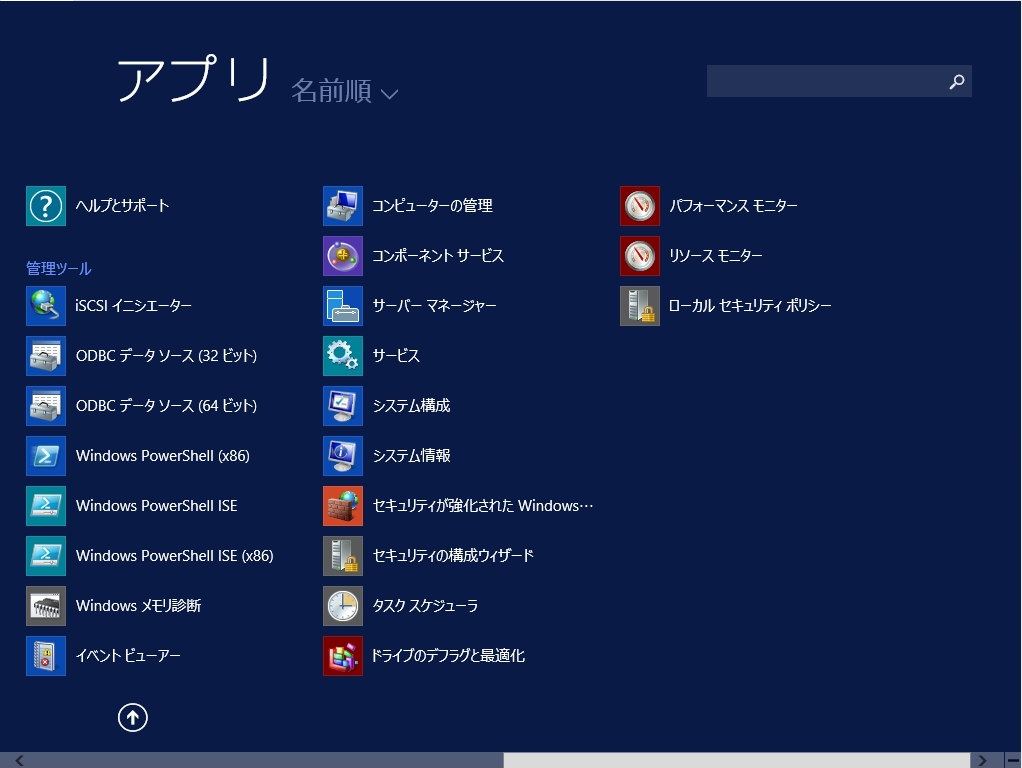
Windows Server 2012 R2 再起動後、Windows 管理ツールに「Hyper-Vマネージャー」が表示されていないことを確認します。