ActiveDirectory(アクティブディレクトリ)はドメイン認証の仕組みを利用しWindowsパソコンの機能やユーザー情報を一元管理するためのユーザー管理ツールです。Windows Server 2000 から導入され現在に至るまで多くの企業・教育機関で導入されています。Active Directoryを導入するメリットとしてシステム管理者はパソコンに関する様々な情報や状態を一括管理することができるため管理の手間を大幅に軽減できます。
本記事では、Active Directoryドメインサービスのインストール~ドメインユーザーログインまでの設定手順を解説します。
- Active Directoryドメインサービス
- DNSインストール
- 組織単位(OU)作成
- ユーザーとコンピュータのアカウント登録・作成
- クライアント端末ドメイン参加
- ドメインユーザーログイン
今回は以下、環境で構築しました。サーバーOSはWindows Server 2019となりますが手順としてはWindows サーバーのWindows Server 2012・Windows Server 2016・Windows Server 2019共通してほぼ変わりません。勉強方法としては無料で利用できる仮想端末ソフト(VMware Workstation Player・Oracle VM Virtualboxなど)を利用しWindowsサーバーOS・クライアントOSを準備することで自宅でドメインサーバーの勉強・検証をすることが可能です。
【利用環境】
・サーバーOS
Windows Server 2019
・クライアントOS
windows10 Pro
※Windows10 Home エディションはドメイン参加機能は搭載されていません
・仮想端末
VMware Workstation Player
以降、1からのActive Directoryサーバー構築手順をご紹介します。
目次
1.IPアドレス確認(サーバー側)
まずは、 Active Directoryになるサーバー に手動で固定IPアドレスを設定するため現在振られているIPアドレスを確認します。
手順 1:
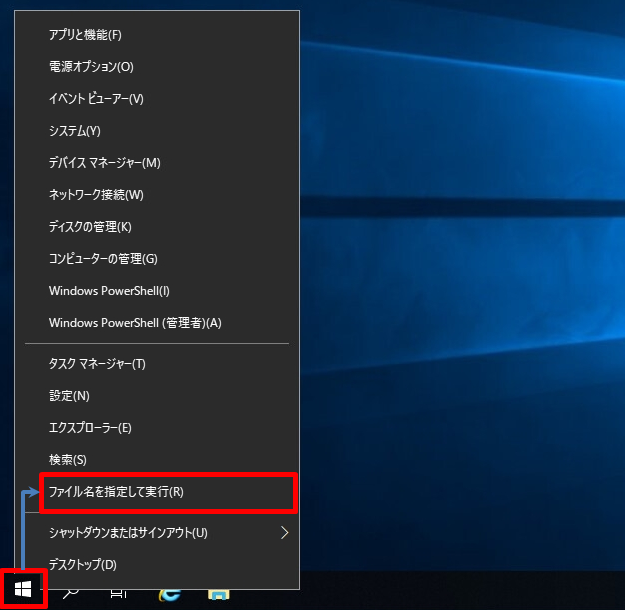
デスクトップ左下「 (Windowsロゴ) 」を右クリック –>「 ファイル名を指定して実行 」を選択します。
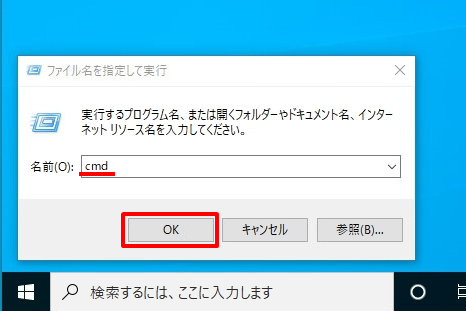
手順 2:
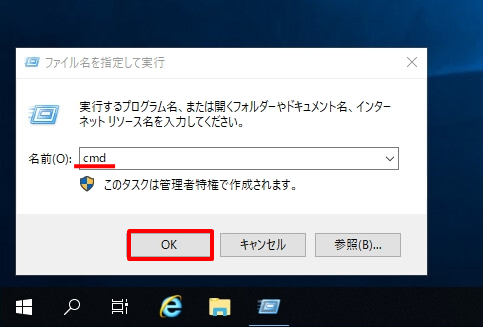
ファイル名を指定して実行画面で名前に「 cmd 」を入力 –> 「 OK 」を選択します。
手順 3:
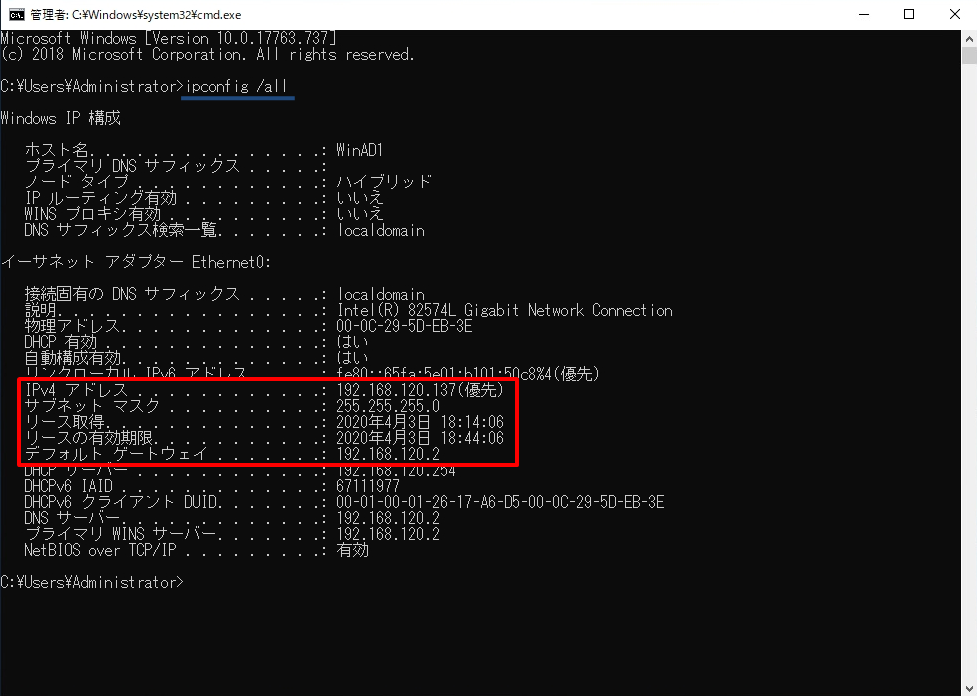
コマンドプロンプトで「ipconfig」コマンドを実行します。
赤枠で囲まれたIPv4 アドレス・サブネットマスク・デフォルトゲートウェイのIPアドレスを確認しテキストファイルなどに控えます。
実行コマンド
ipconfig /all
2.手動IPアドレス設定(サーバー側)
前手順で確認したIPアドレスを手動でサーバーに固定IPアドレスとして設定します。
手順 1:
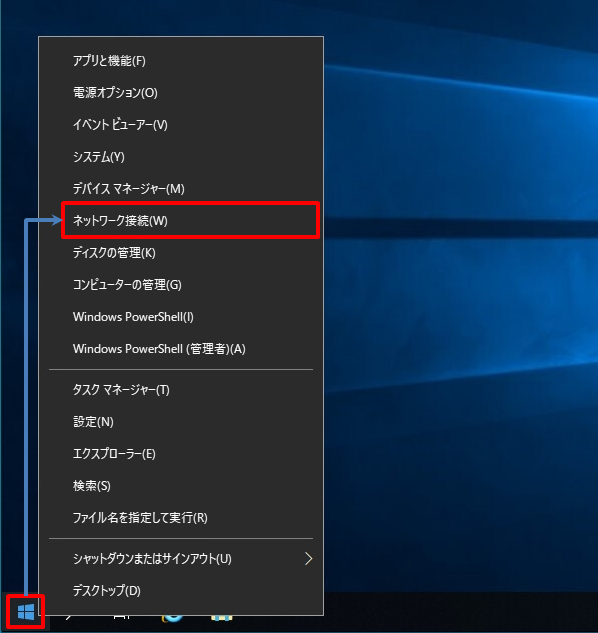
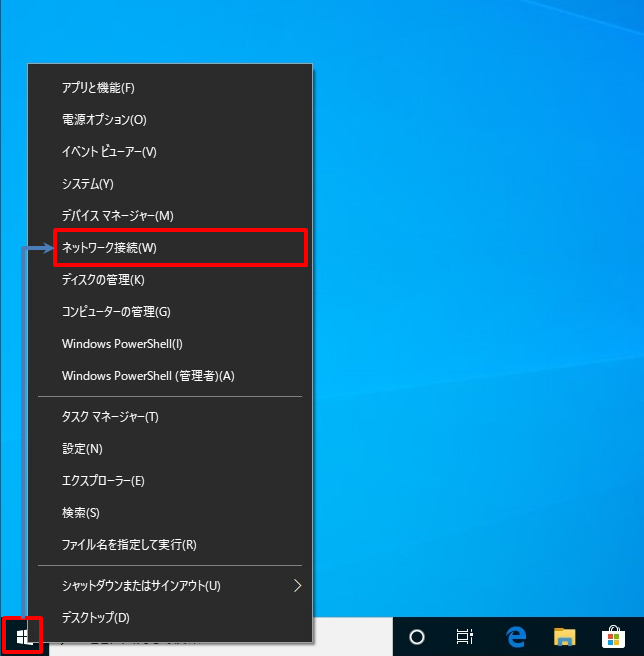
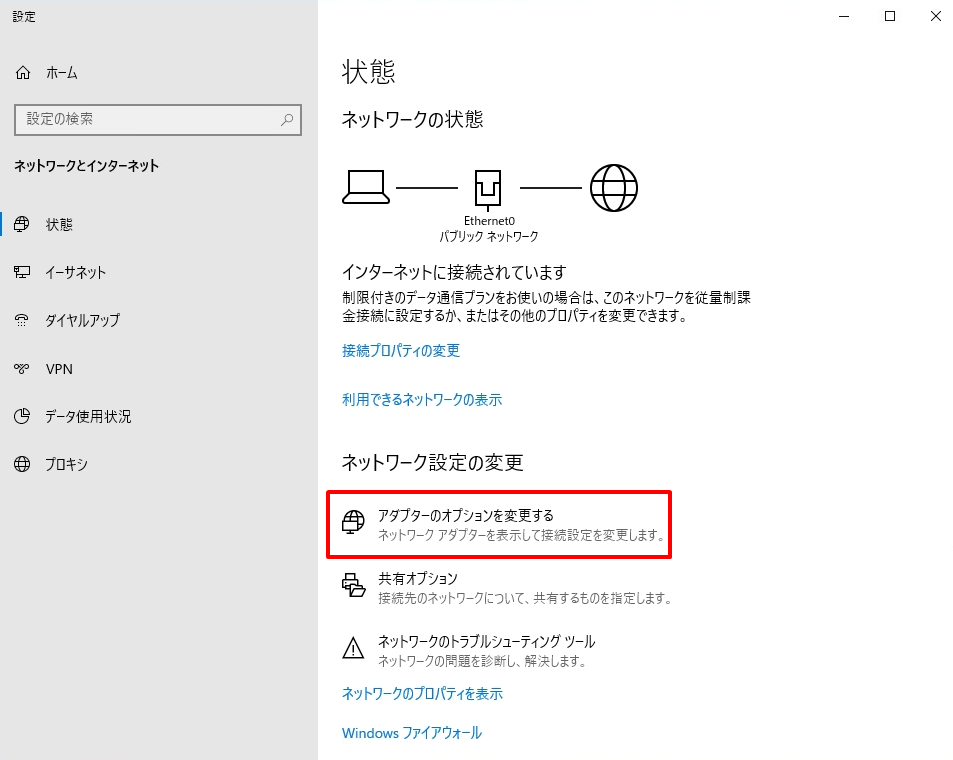
デスクトップ左下「 (Windowsロゴ) 」を右クリック –>「 ネットワーク接続 」を選択します。
手順 2:
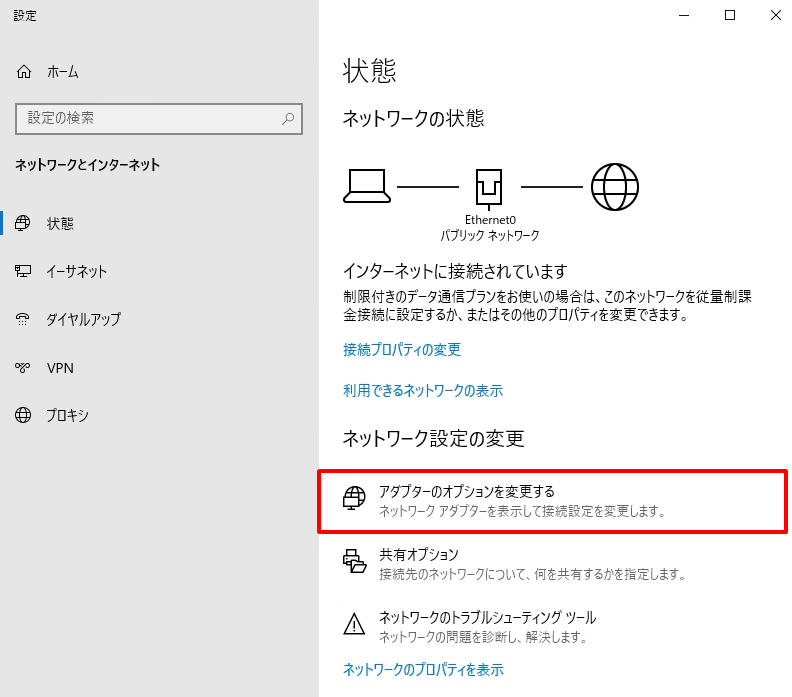
「 アダプターのオプションを変更する 」を選択します。
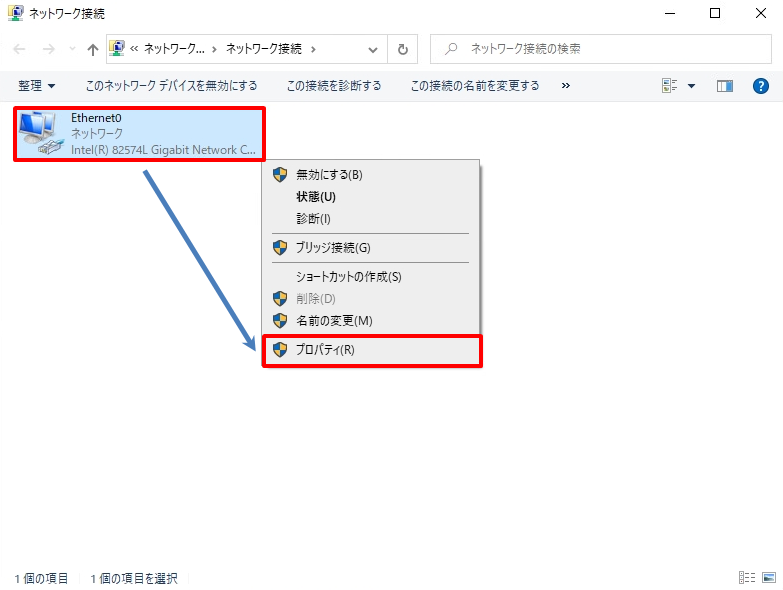
手順 3:
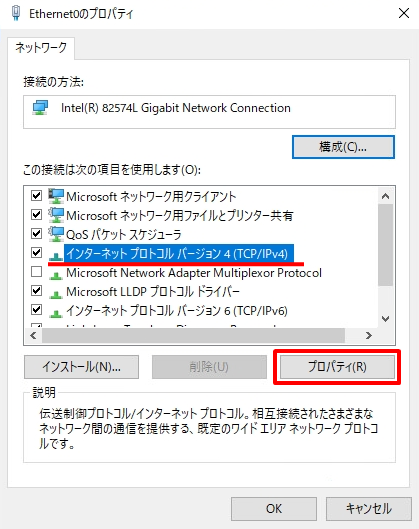
表示されたネットワークアダプターを右クリック –> 「 プロパティ 」を選択します。

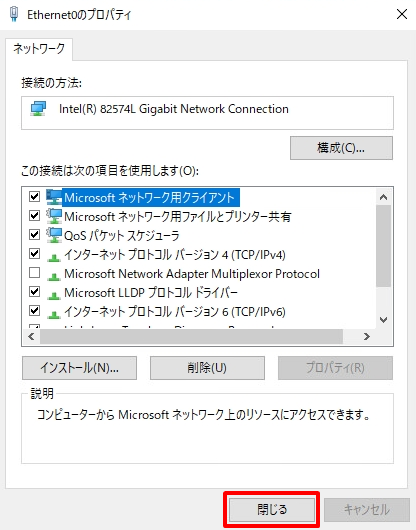
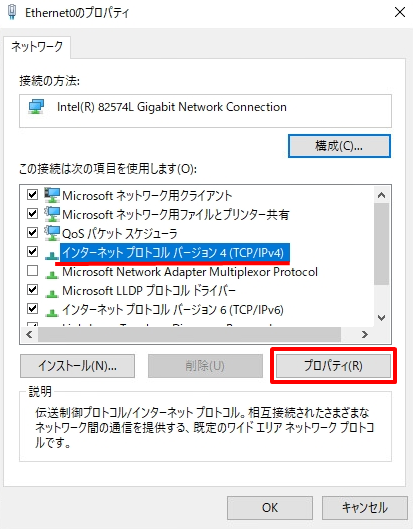
手順 4:
インターネットプロトコルバージョン4(TCP/IPv4) –> 「 プロパティ 」を選択します。
手順 5:
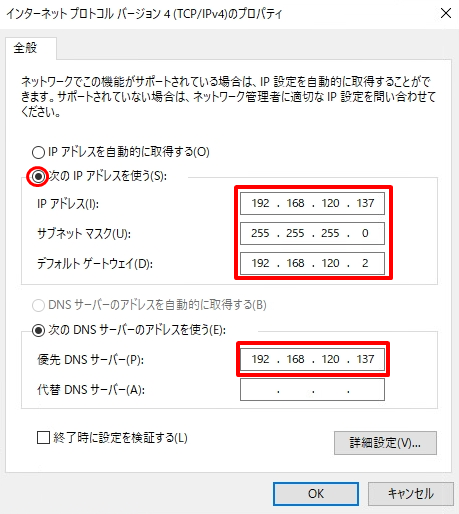
・「 次のIPアドレスを使う 」 –> 前手順で控えていたIPv4 アドレス・サブネット マスク・デフォルト ゲートウェイのIPアドレスを入力します。
・優先 DNSサーバーは IPv4 アドレスと同じIPアドレスを指定します。
※優先 DNSサーバーのアドレスは次項 4.手動IPアドレス設定(クライアント側) 手順 5:で指定します。
このまま作業を進めてください。
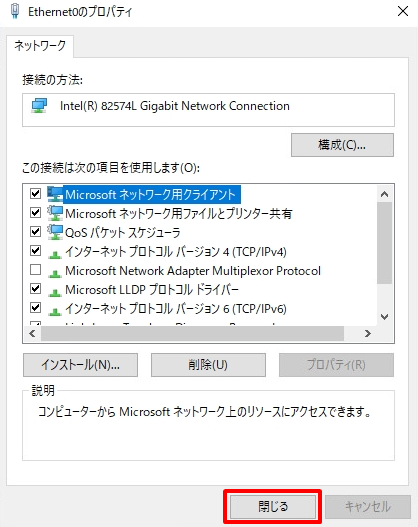
手順 6:
「 閉じる 」を選択します。
3.Active Directoryドメインサービス・DNSインストール(サーバー側)
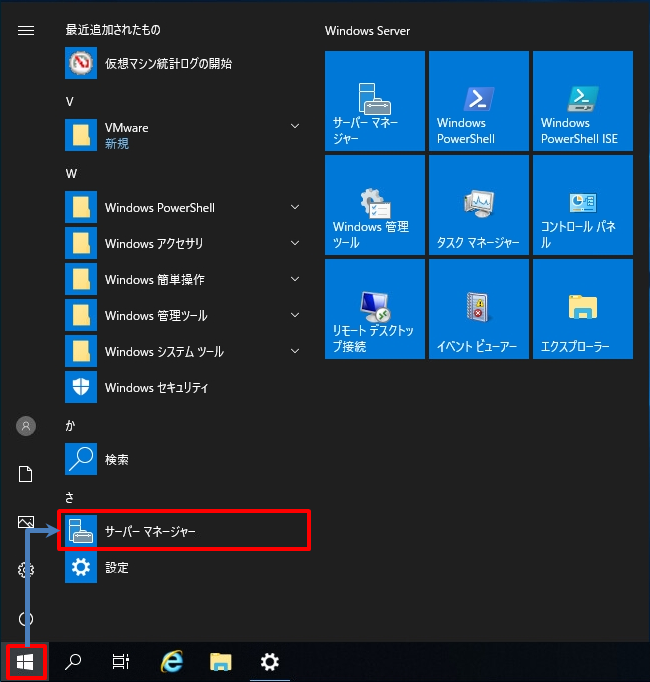
手順 1:
デスクトップ左下「 (Windowsロゴ) 」をクリック –> 「 サーバーマネージャー 」を選択します。
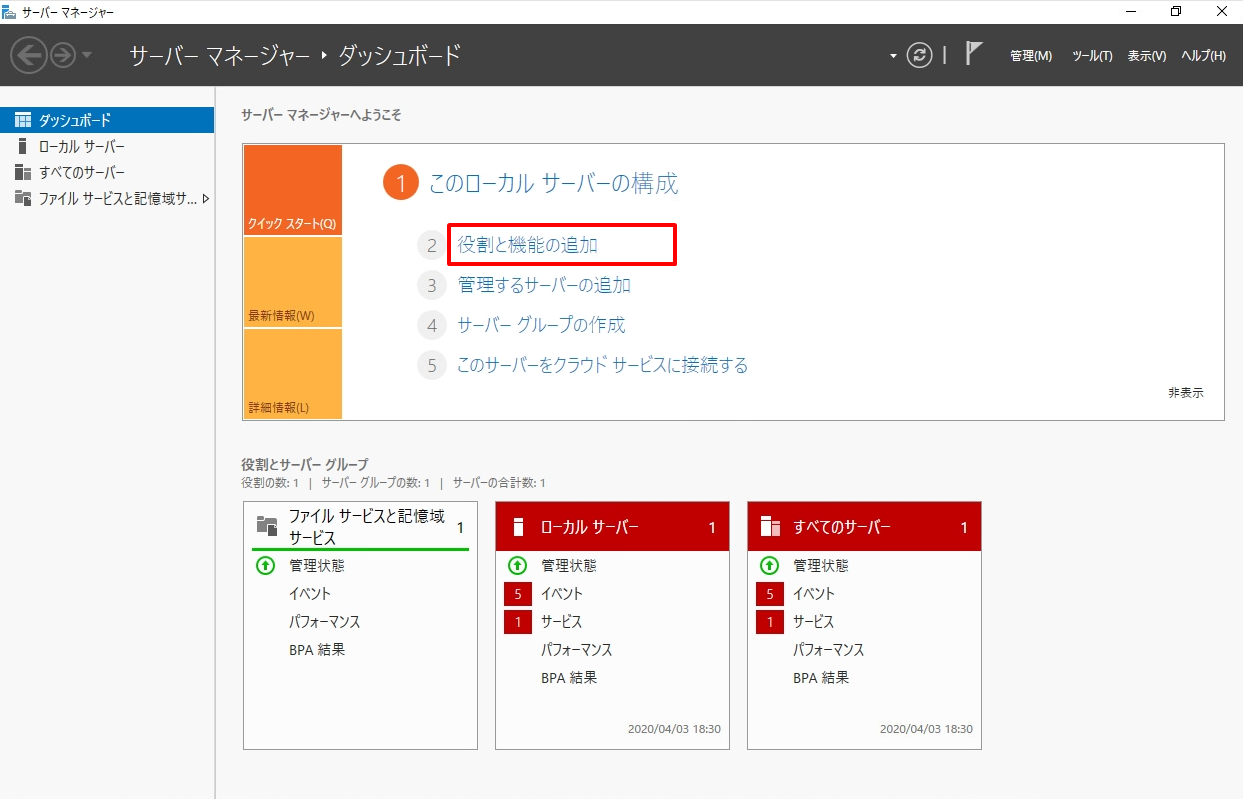
手順 2:
「 役割と機能の追加 」を選択します。
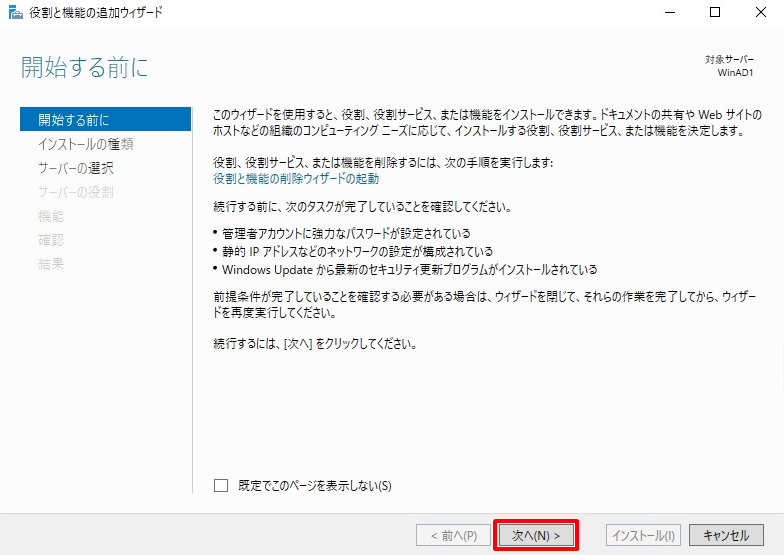
手順 3:
「開始する前に」画面 ->「次へ」を選択します。
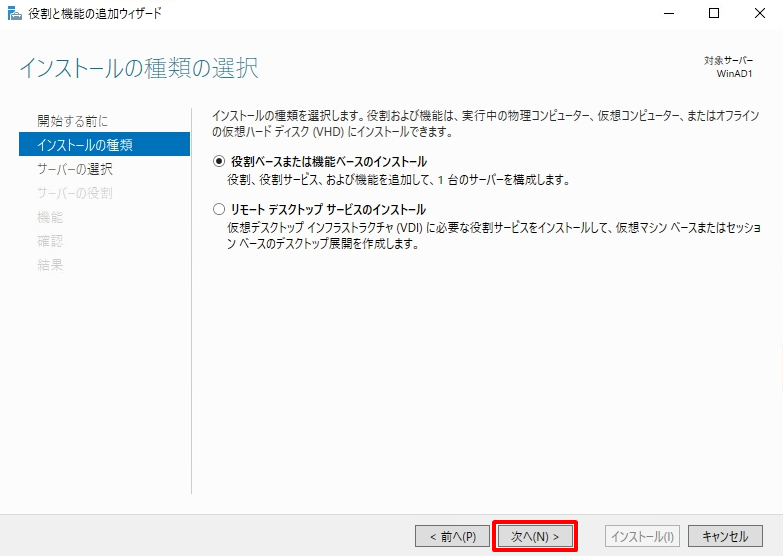
手順 4:
「インストールの種類の選択」画面 ->「次へ」を選択します。
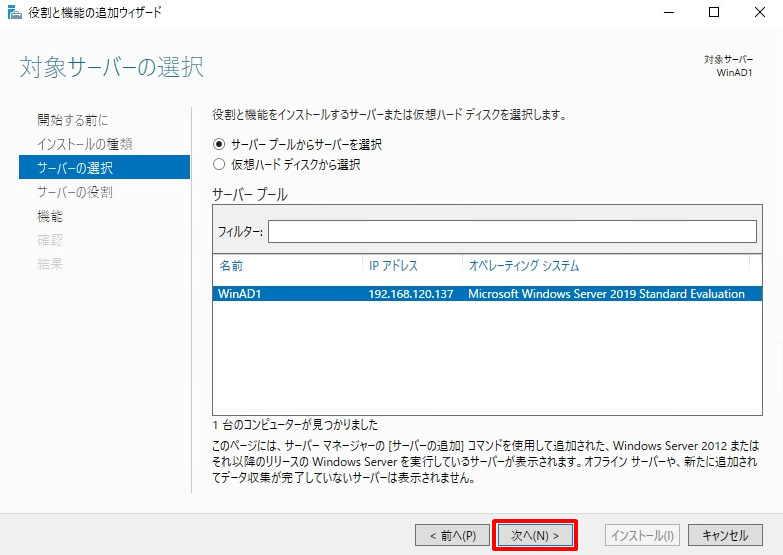
手順 5:
「対象サーバーの選択」画面 ->「次へ」を選択します。
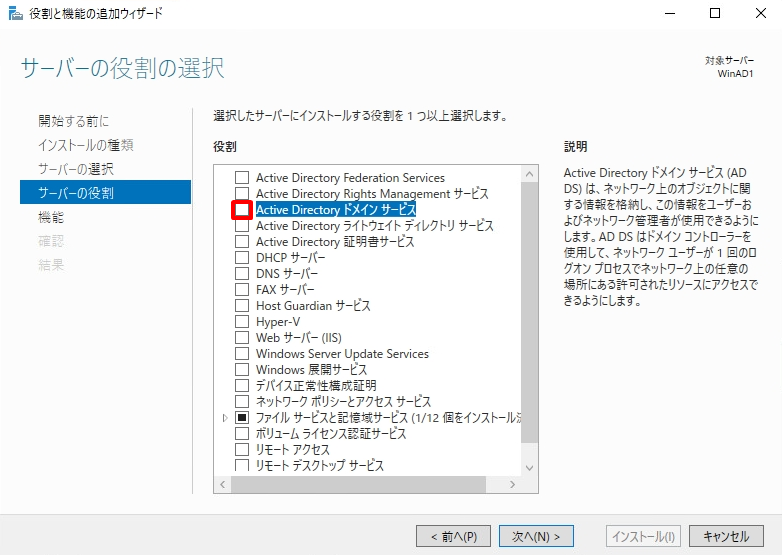
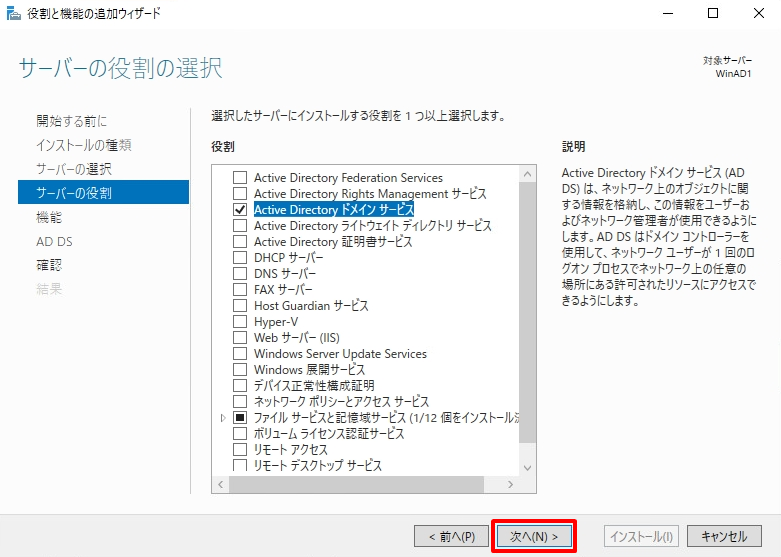
手順 6:
「サーバーの役割の選択」画面 ->赤枠部分、Active Directory ドメインサービスを選択します。
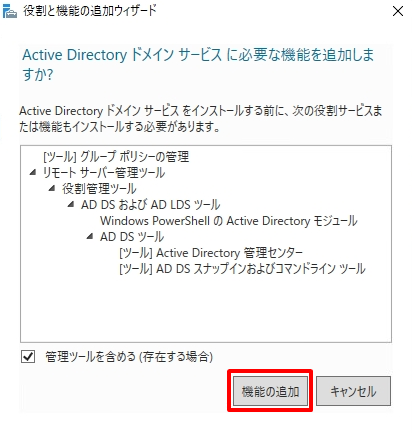
手順 7:
「 機能の追加 」を選択します。
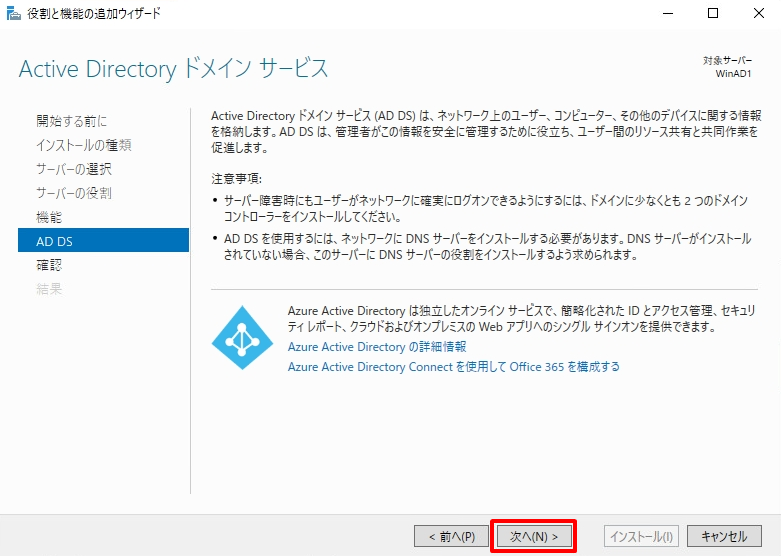
手順 8:
「 次へ 」を選択します。
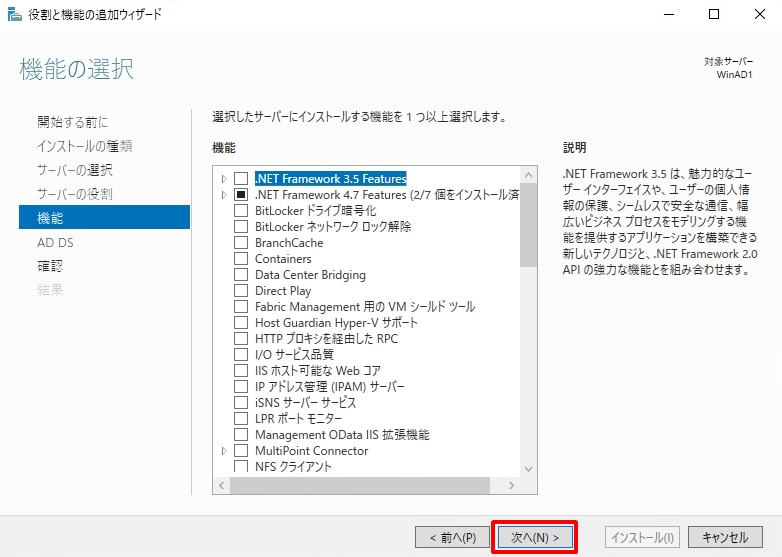
手順 9:
「機能の選択」画面 ->「 次へ 」を選択します。
手順 10:
「 次へ 」を選択します。
手順 11:
「インストールオプションの確認」画面 ->「 インストール 」を選択します。

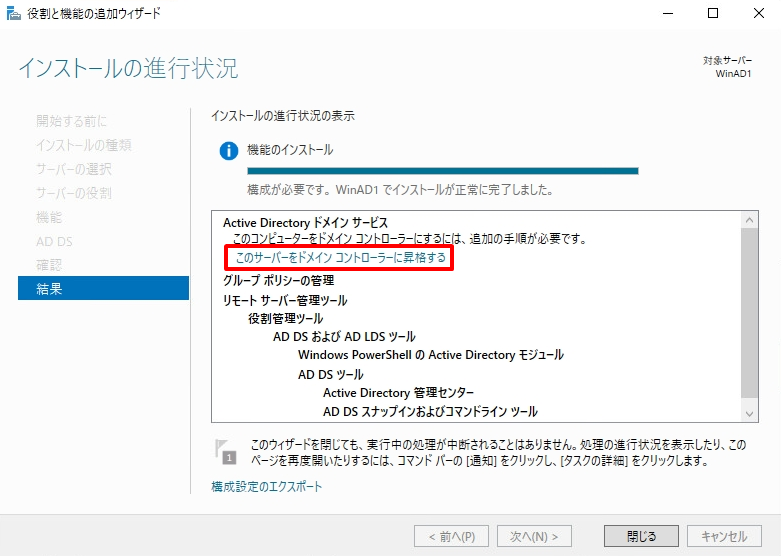
手順 12:
「インストールの進行状況」画面 ->「 このサーバーをドメインコントローラーに昇格する 」を選択します。
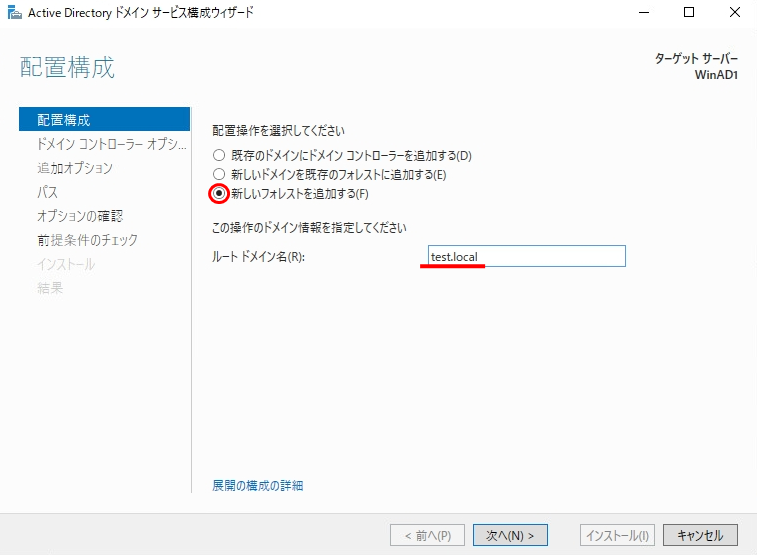
手順 13:
「 新しいフォレストを追加する 」 –> 「 ルートドメイン名 」を入力 –> 「 次へ 」を選択します。
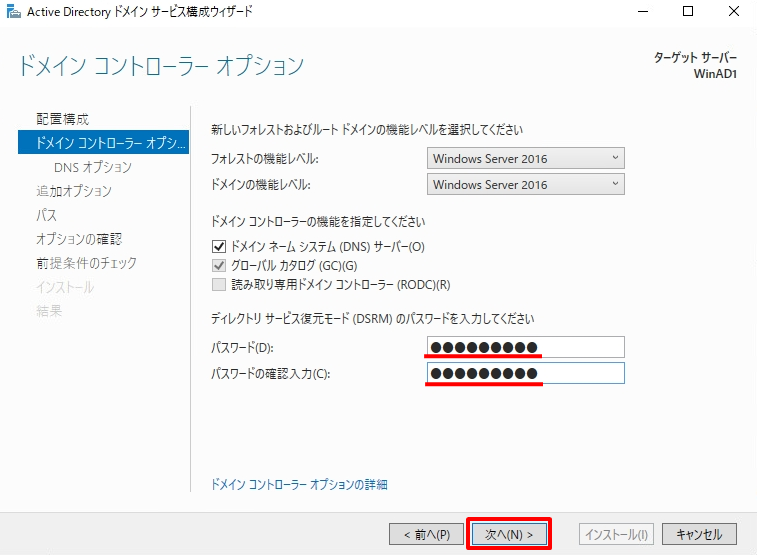
手順 14:
ディレクトリサービス復元モード(DSRM)のパスワードを入力 –> 「 次へ 」を選択します。
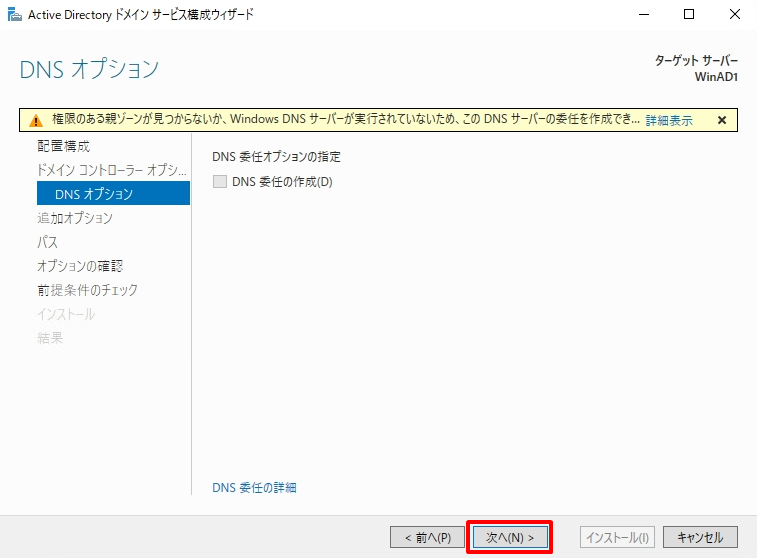
手順 15:
「 次へ 」を選択します。
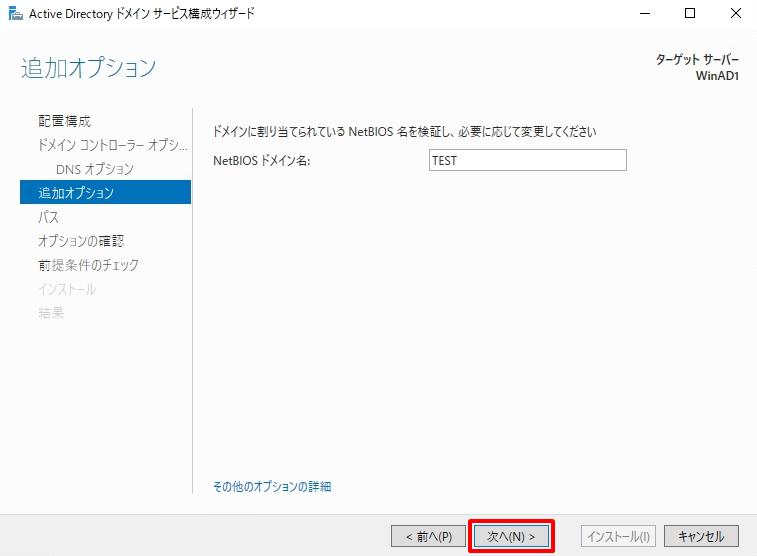
手順 16:
「 次へ 」を選択します。
※NetBIOSドメイン名は次項 5.ドメイン参加(クライアント側) 手順 4:で指定します。
このまま作業を進めてください。
手順 17:
「パス」画面 ->「 次へ 」を選択します。

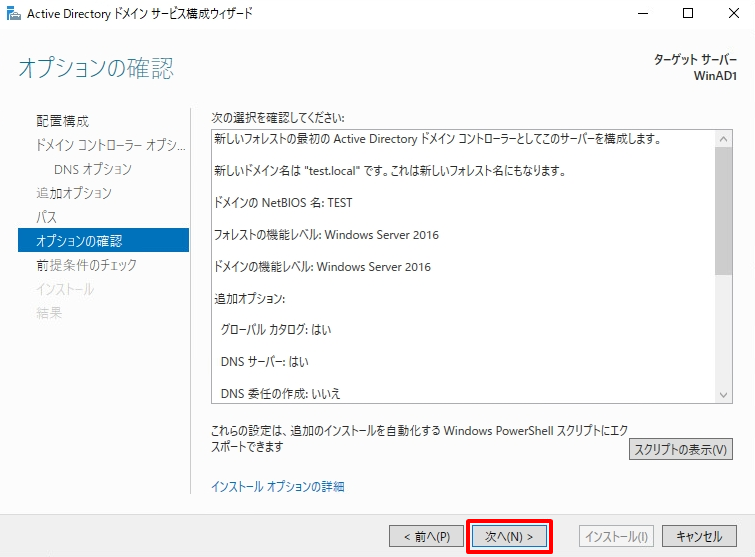
手順 18:
「オプションの確認」画面 ->「 次へ 」を選択します。
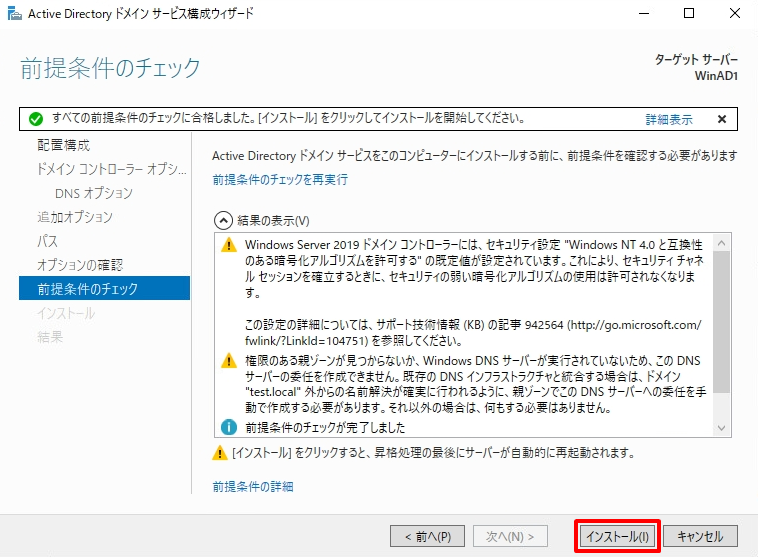
手順 19:
「前提条件のチェック」画面 ->「 インストール 」を選択します。
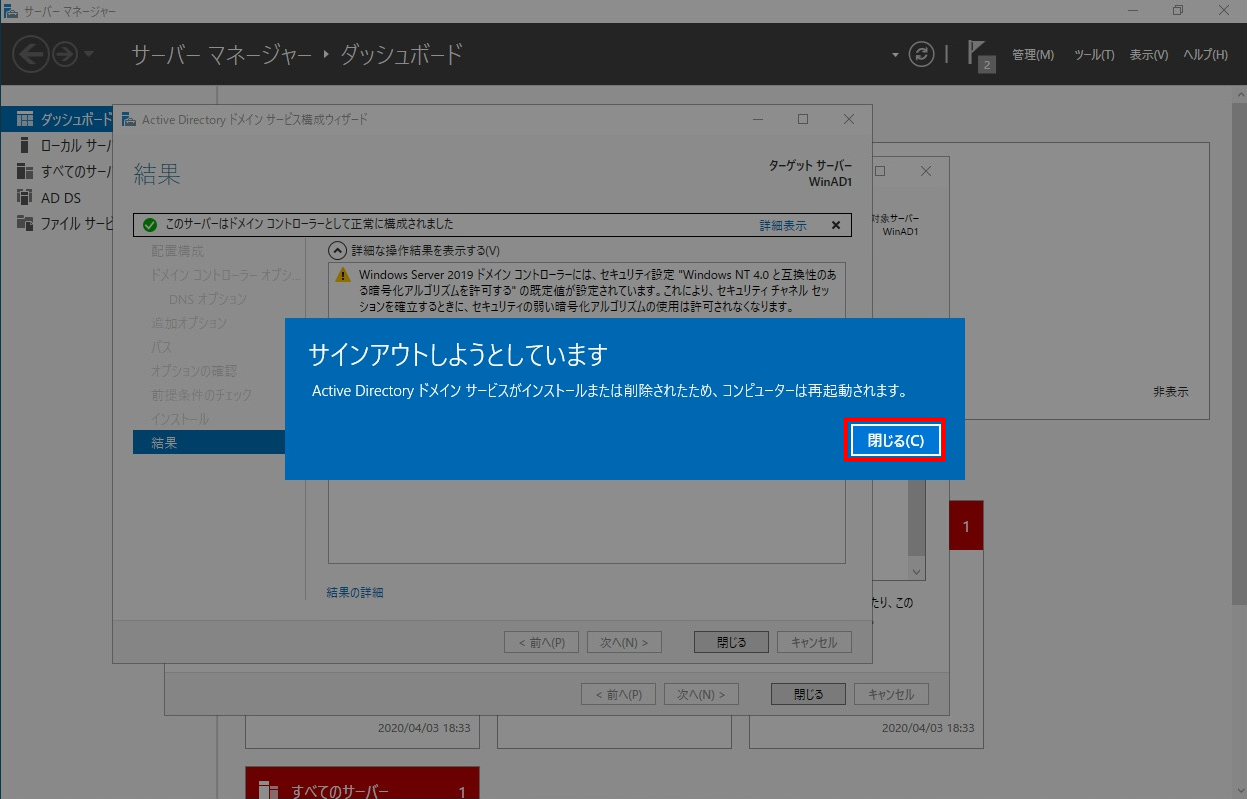
手順 20:
「 閉じる 」を選択後、自動で再起動します。

手順 20:
再起動後、ログイン手前の画面まできたらクライアント側の作業に移ります。

4.DNSサーバー IPアドレス手動設定(クライアント側)
クライアント端末をドメイン参加させる前提としてクライアント端末側で指定するDNSのIPアドレスをドメインコントローラー兼、DNSサーバーのIPアドレスにする必要があります。
手順 1:
デスクトップ左下「 (Windowsロゴ) 」を右クリック –>「 ネットワーク接続 」を選択します。
手順 2:
「 アダプターのオプションを変更する 」を選択します。
手順 3:
表示されたネットワークアダプターを右クリック –> 「 プロパティ 」を選択します。
手順 4:
「インターネットプロトコルバージョン 4 (TCP/IPv4)」を選択 –> 「 プロパティ 」を選択します。
手順 5:
「 次のDNSサーバーのアドレスを使う 」を選択 –> 2.手動IPアドレス設定(サーバ側) 手順 5: で指定した優先DNSサーバーのIPアドレスを入力します。

手順 6:
「 閉じる 」を選択します。
5.ドメイン参加(クライアント側)
手順 1:
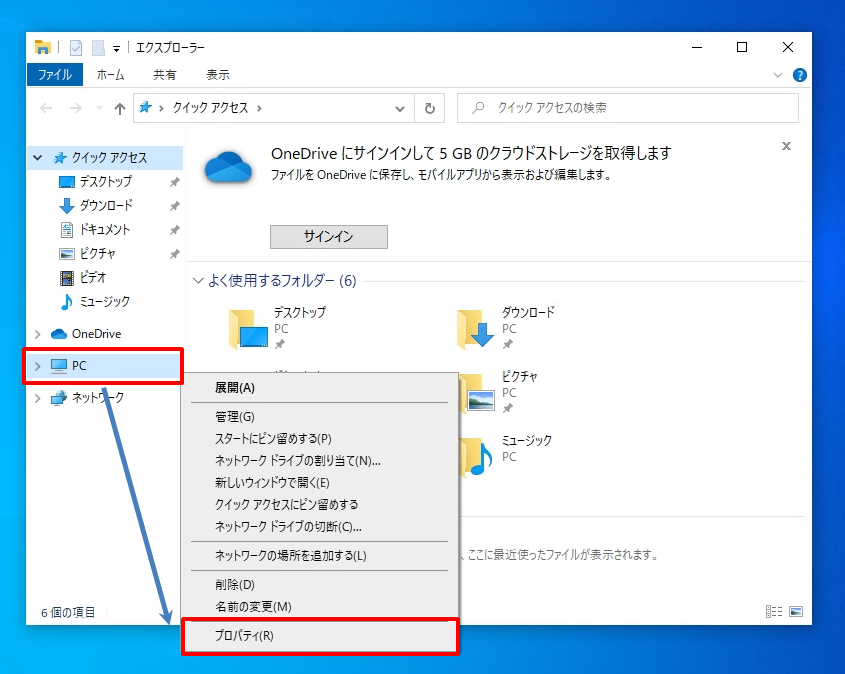
キーボード[ (Windowsロゴ) ]+「 E 」でエクスプローラーを開く –>「PC」を右クリック –> 「 プロパティ 」を選択します。
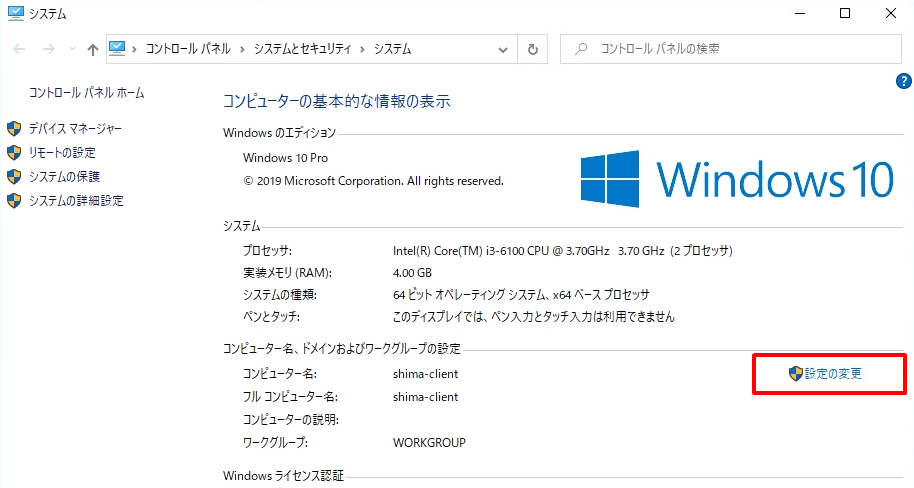
手順 2:
「 設定の変更 」を選択します。
手順 3:
「 変更 」を選択します。

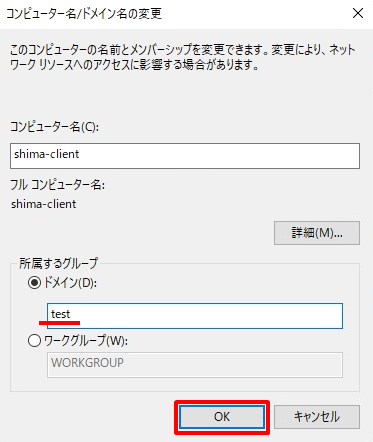
手順 4:
「 ドメイン 」を選択します。
ドメイン名は、3.役割と機能の追加ウィザードActive Directoryドメインサービス・DNSインストール 手順 16で表示されたNetBIOSドメイン名を入力します。
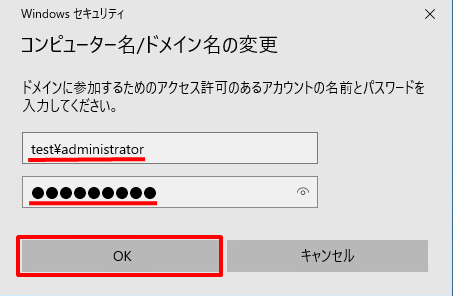
手順 5:
ドメインに参加するためのアクセス権限があるアカウントの入力画面が出力します。ドメインのAdministratorアカウントのパスワードはローカルで設定しているサーバーのAdministratorアカウントパスワードと同一です。
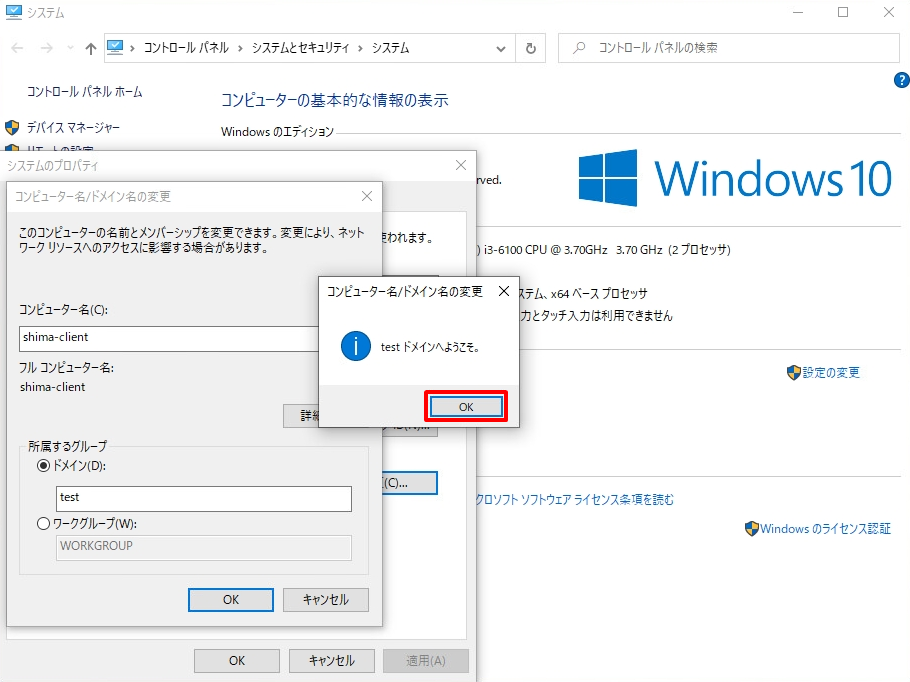
手順 6:
「 OK 」を選択します。
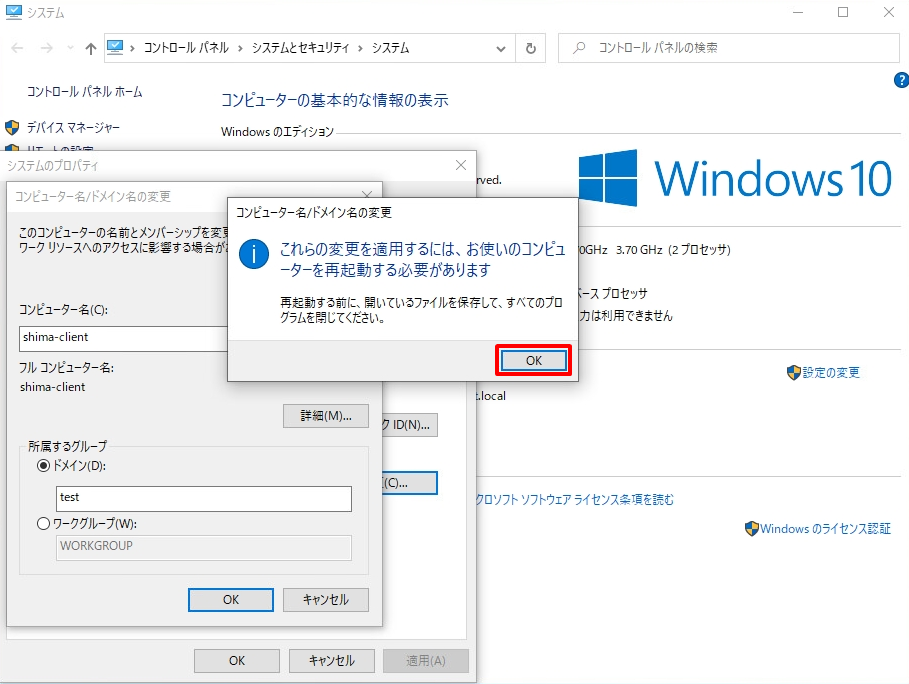
手順 7:
「 OK 」を選択します。
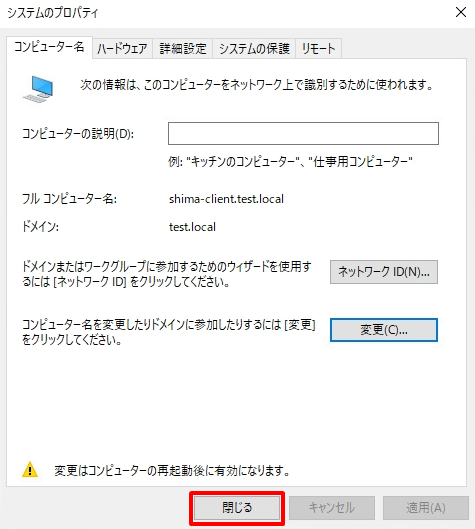
手順 8:
「 閉じる 」を選択します。
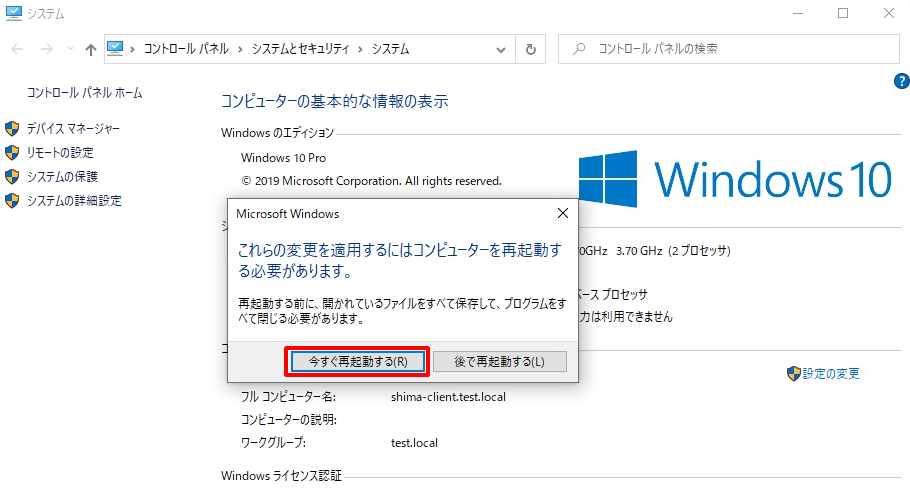
手順 9:
「 今すぐ再起動する 」を選択します。
手順 10:
再起動後、ログイン手前の画面まできたらサーバー側の作業に移ります。
6.組織単位 (OU)・ドメインユーザー作成(サーバー側)
手順 1:
管理者権限(administrator)のあるユーザーでログインします。
※5.ドメイン参加(クライアント側) 手順 5:で認証したユーザーを選択します。
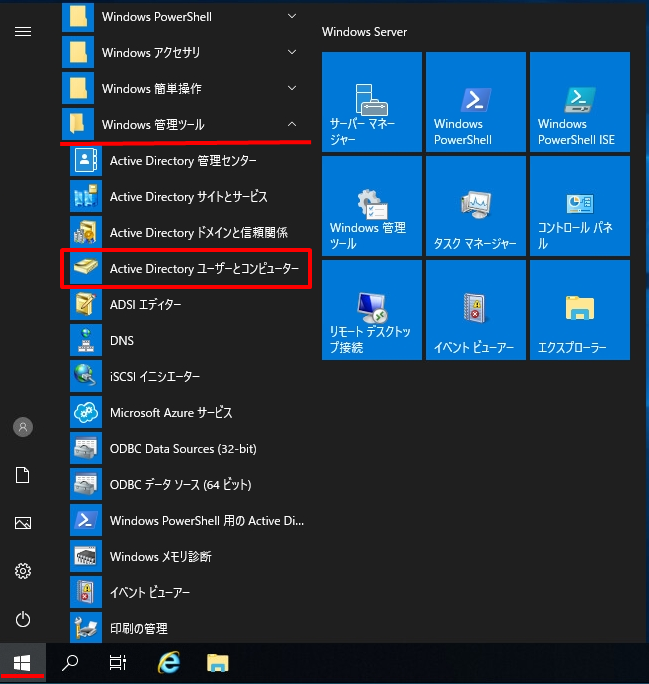
手順 2:
デスクトップ左下「 (Windowsロゴ) 」をクリック –>「 Windows 管理ツール 」 –> 「 Active Directoryユーザーとコンピューター 」を選択します。
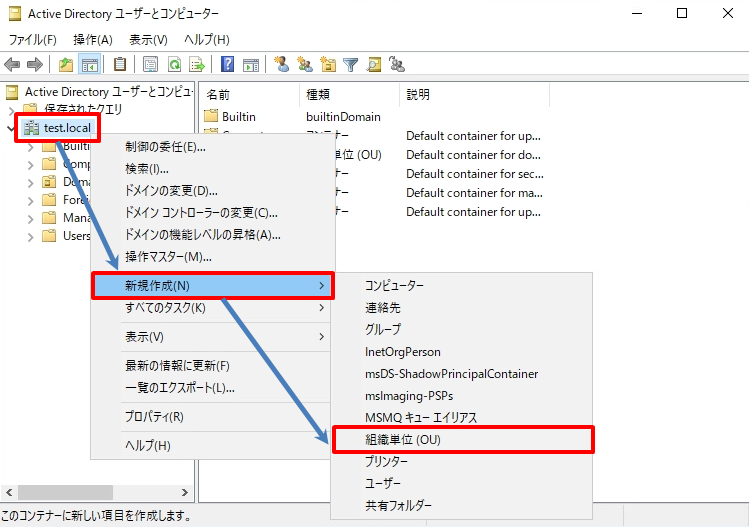
手順 3:
OU 作成をします。作成したドメインを右クリック –>「 新規作成 」 –> 「 組織単位 (OU) 」を選択します。
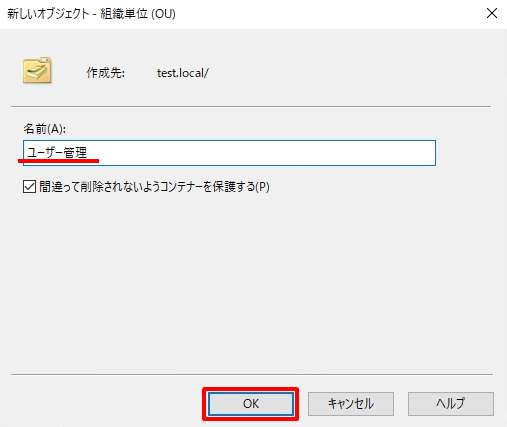
手順 4:
名前に「 任意の名称 」を入力 –>「 OK 」を選択します。
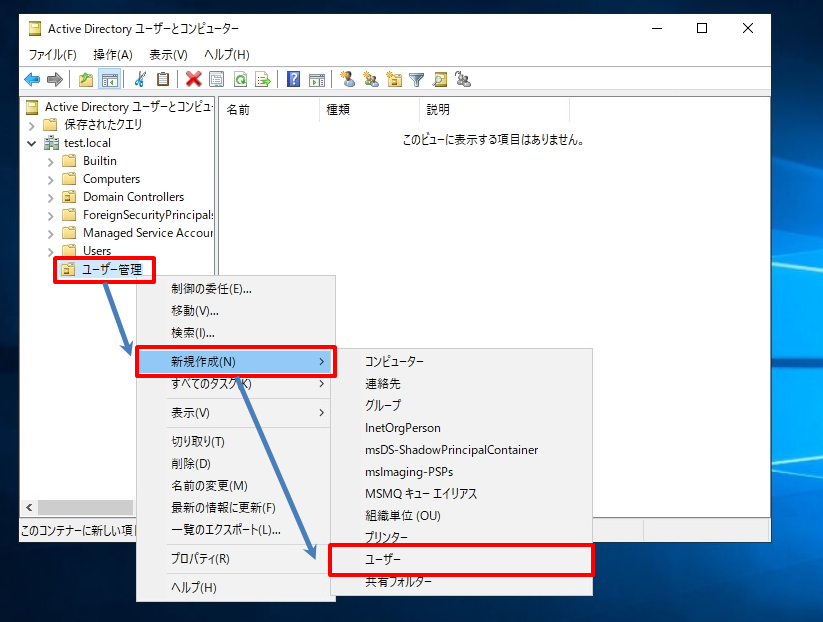
手順 5:
「 新規作成したOU 」を選択し右クリック –> 「 新規作成 」 –>「 ユーザー 」を選択します。
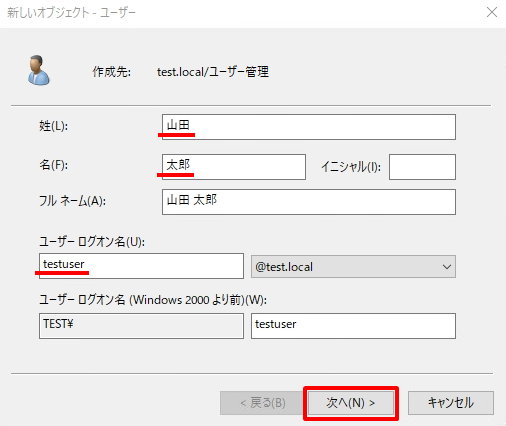
手順 6:
任意の「 姓 / 名 」を入力 –> 「 ユーザーログオン名 」 –>「 次へ 」を選択します。
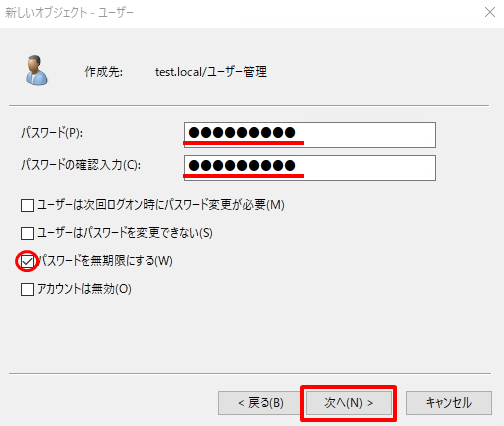
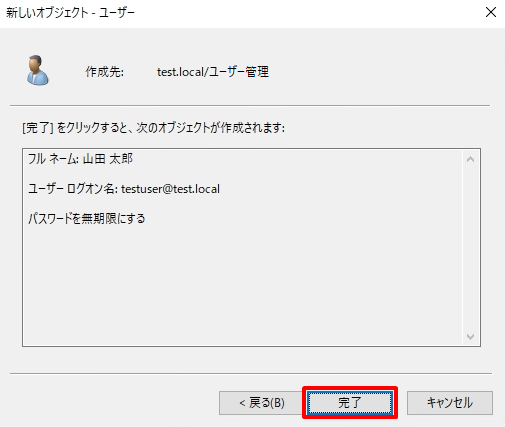
手順 7:
「 パスワード 」を入力 –> 「 パスワードを無期限にする 」 –> 「 次へ 」を選択します。
※ パスワード変更したい場合は以下、画面から変更できます。
手順 8:
「 完了 」を選択します。
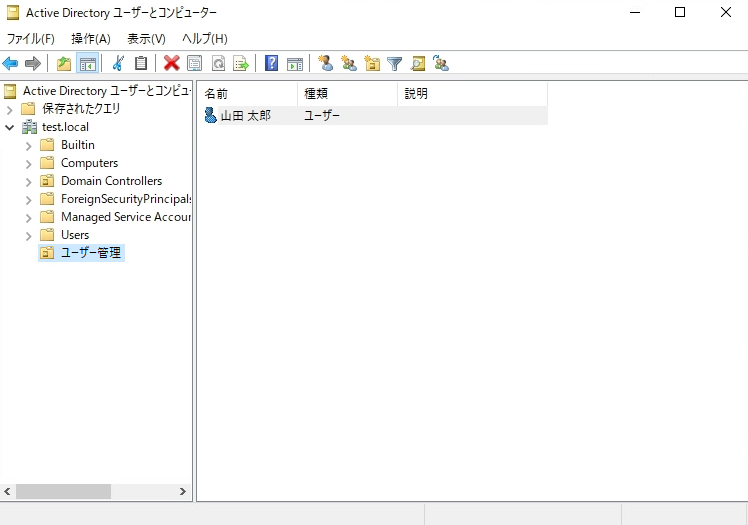
手順 9:
ドメインユーザーが作成されたことを確認します。作成したドメインユーザーでログインするためクライアント側の作業に移ります。
7.ドメインユーザーログイン(クライアント側)
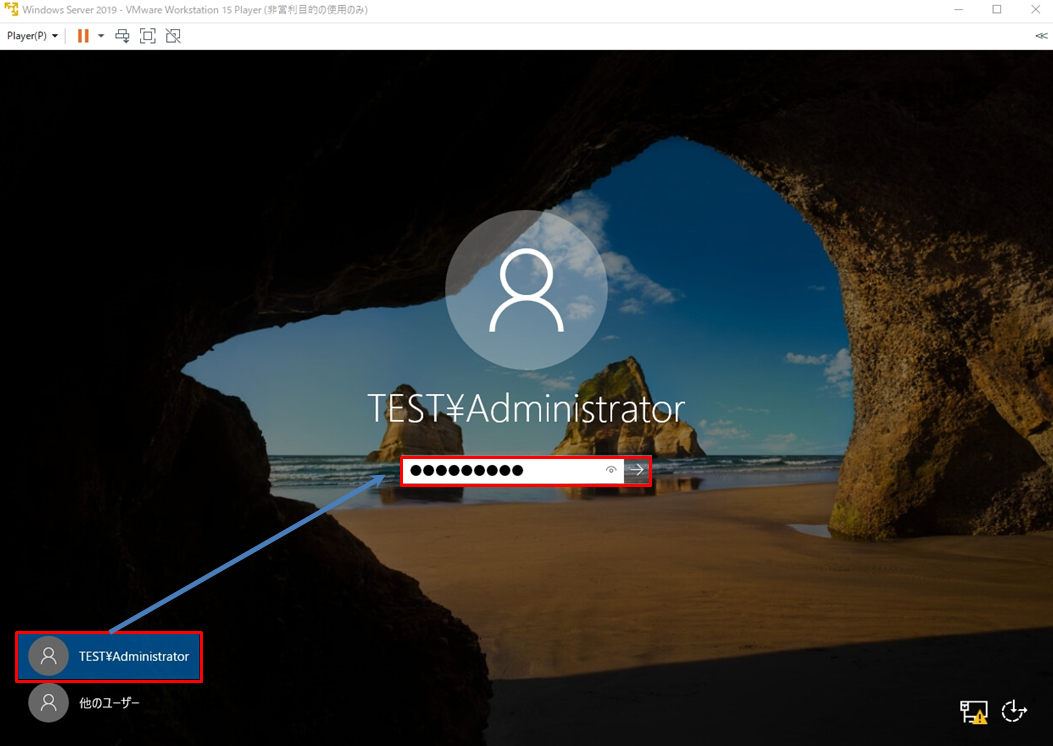
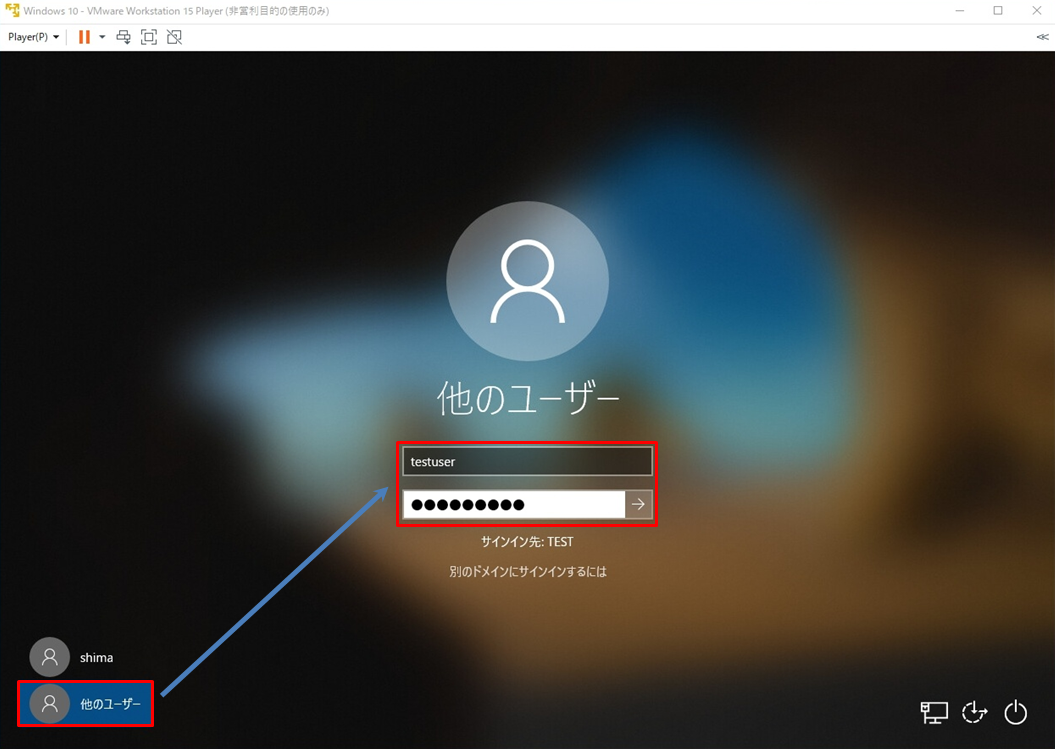
手順 1:
「 他のユーザー 」を選択 –> 前手順で作成したドメインユーザーの「 ユーザー名・パスワード 」を入力しログインします。
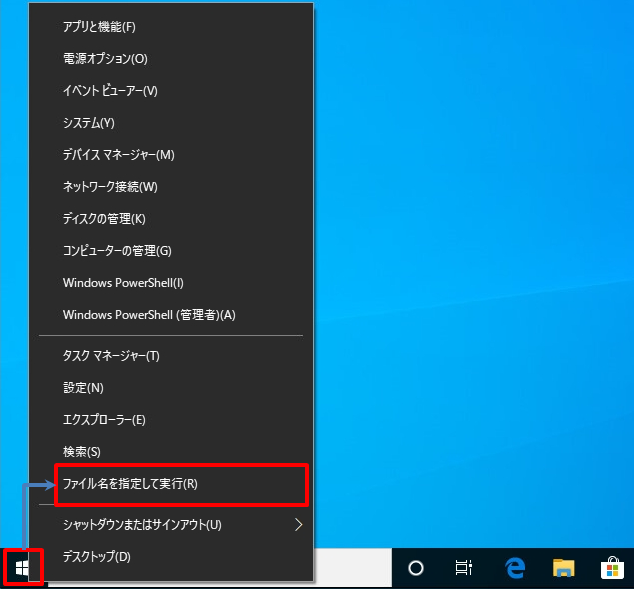
手順 2:
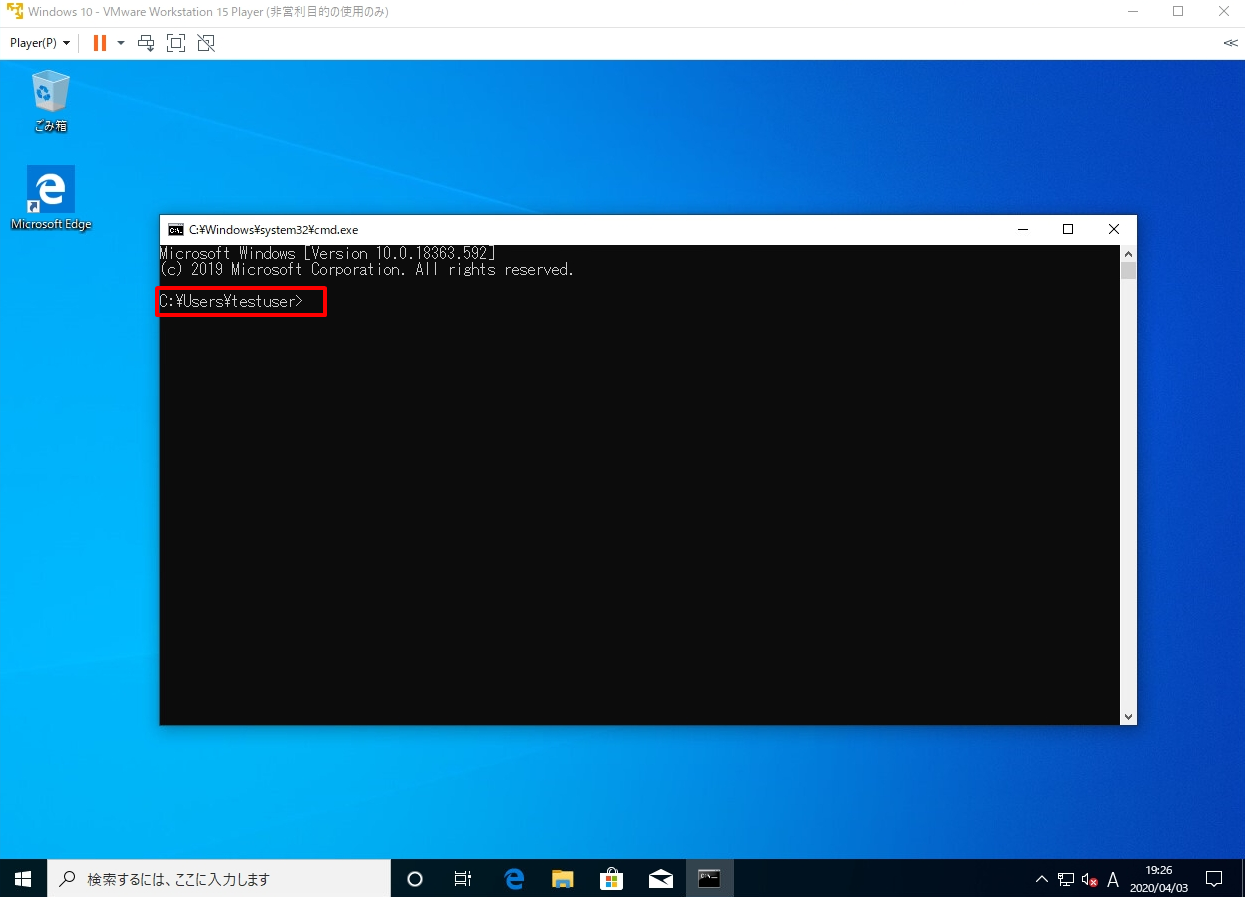
作成したドメインユーザー(testuser)でログインしたことを確認します。デスクトップ左下「 Windowsロゴ 」を右クリック –>「 ファイル名を指定して実行 」を選択します。
手順 3:
ファイル名を指定して実行画面で名前に「 cmd 」を入力 –> 「 OK 」を選択します。
手順 4:
作成したドメインユーザー(testuser)でログインしたことを確認できました。