
This section describes how to connect a Windows 10 PC to a wireless LAN base unit (wireless LAN router, modem, etc.) installed for general households. You can connect to Wi-Fi by entering and setting the security key for the network name (SSID) written on the label of the base unit from a Windows 10 PC.
Windows 10 PC:Wi-Fi (wireless) Connection Settings
Step 1:
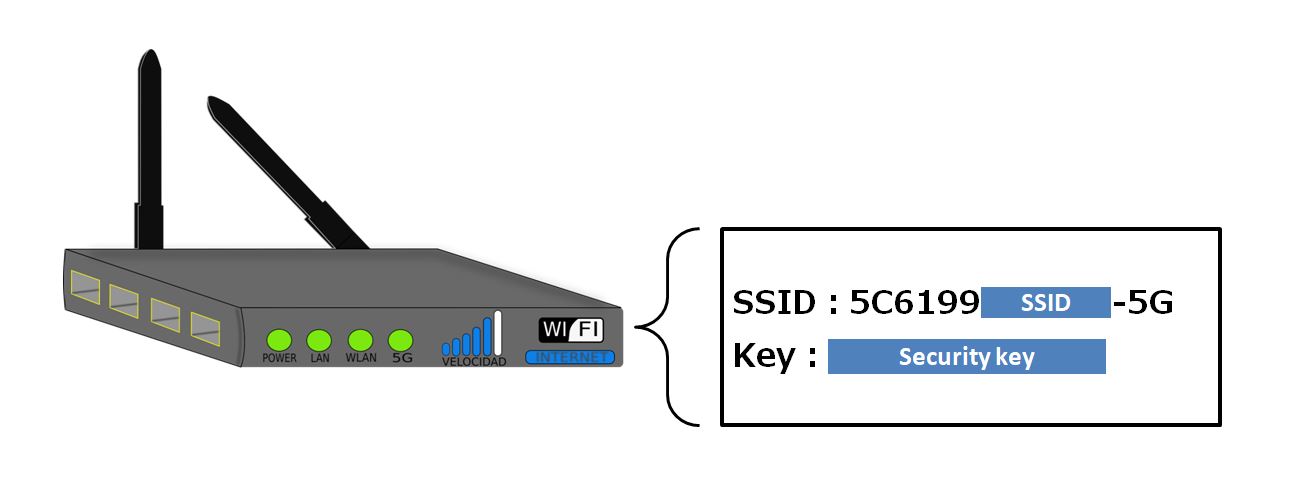
First, make a note of the “SSID” and “security key” of the wireless LAN base unit. It is generally printed on the side or back of your Wi-Fi router. The following stickers are attached to the device and the “SSID” and “security key” are written.
Step 2:
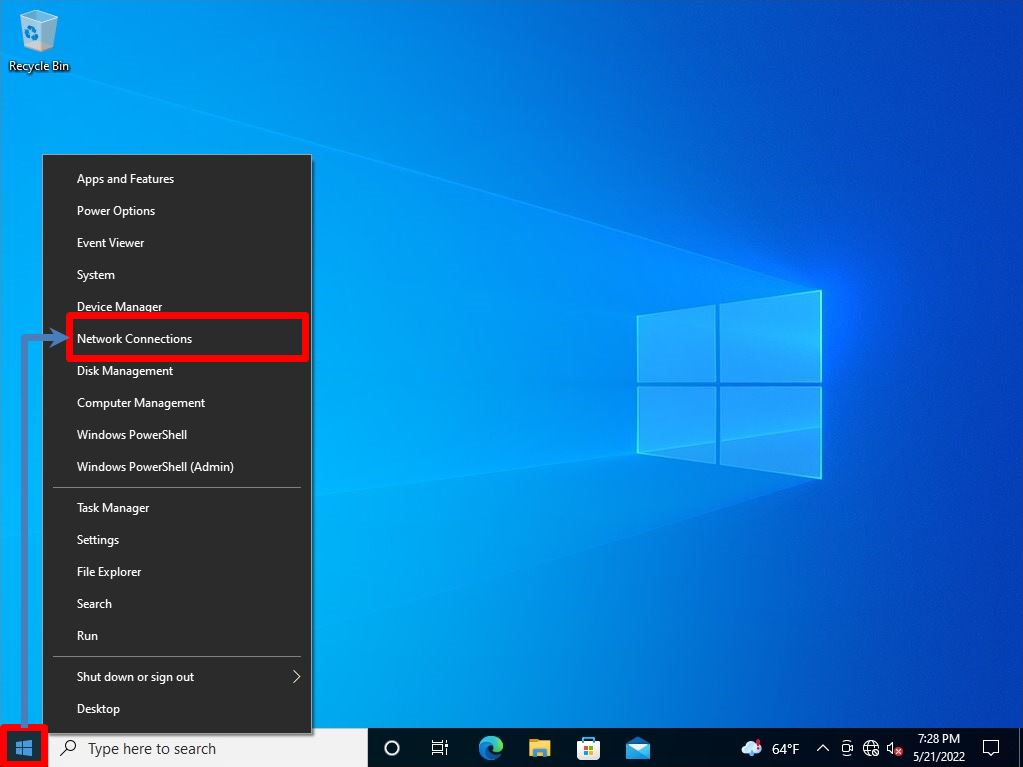
Right-click on the Windows mark at the bottom left of your desktop and select Network Connections.
Step 3:
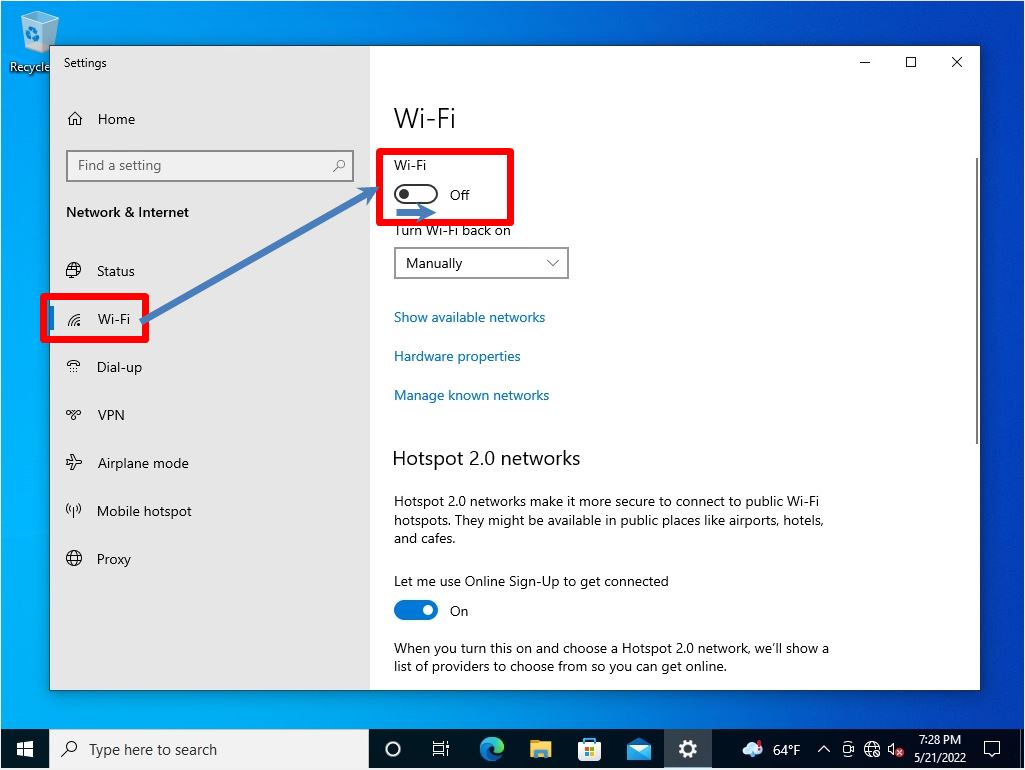
Wi-Fi -> Wi-Fi and set the Wi-Fi setting to “On”.
Step 4:
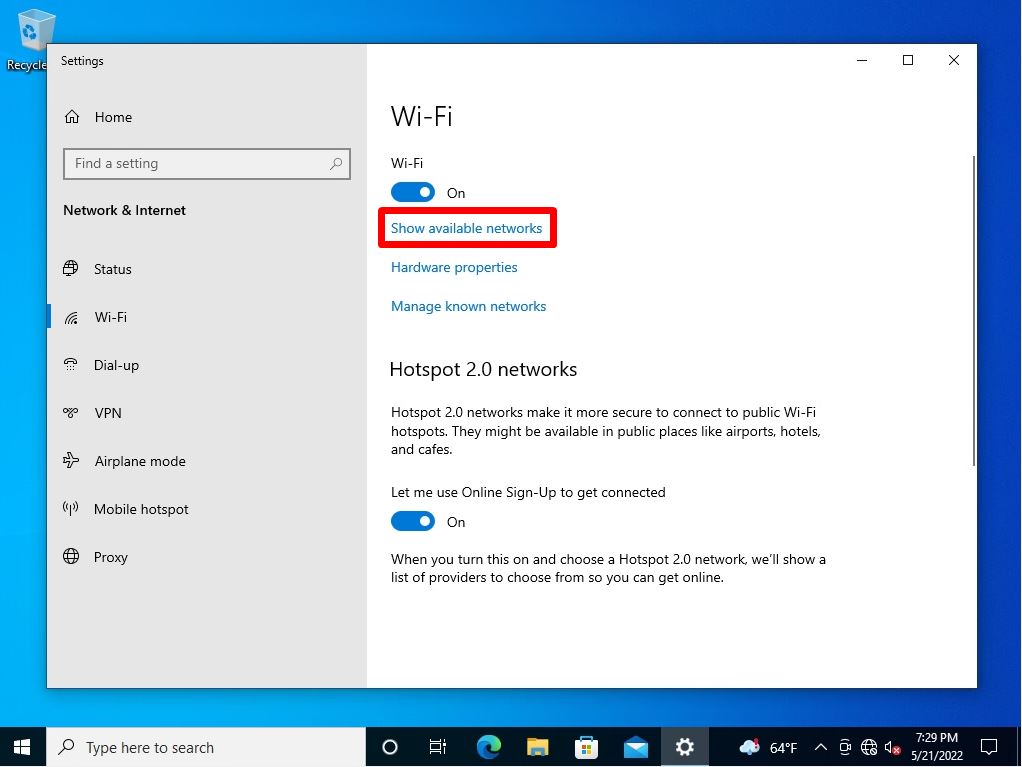
Select Show available networks.
Step 5:
The Wi-Fi router “SSID” list is displayed. Select the SSID to connect to.
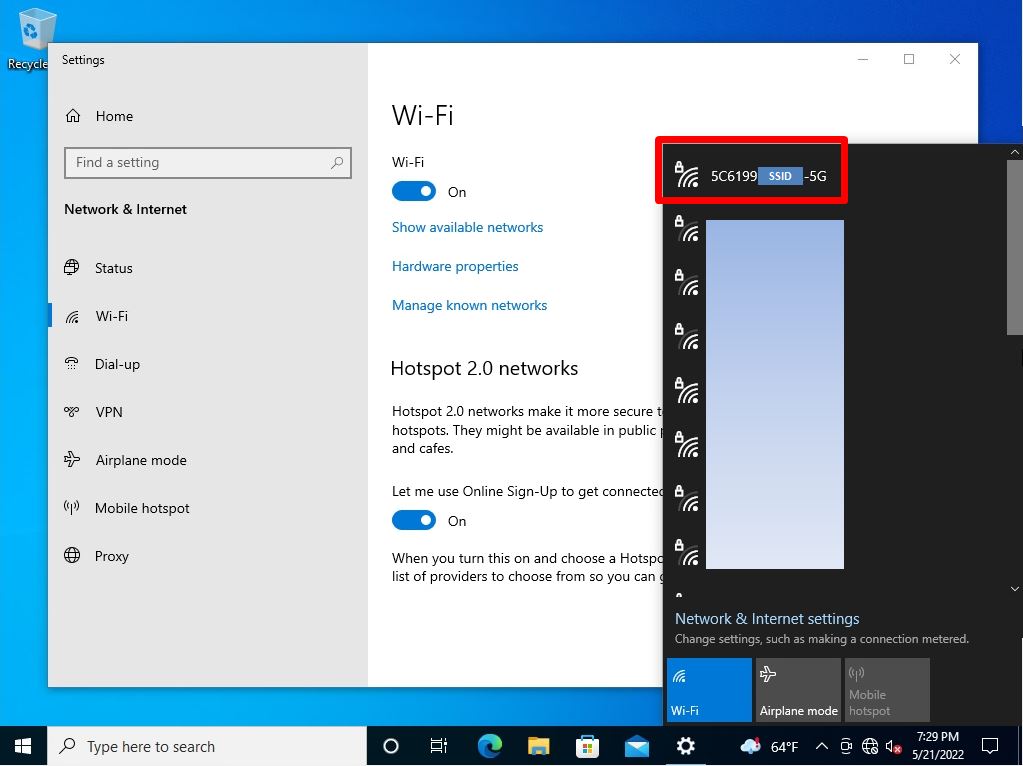
Step 6:
Select “Connect”.
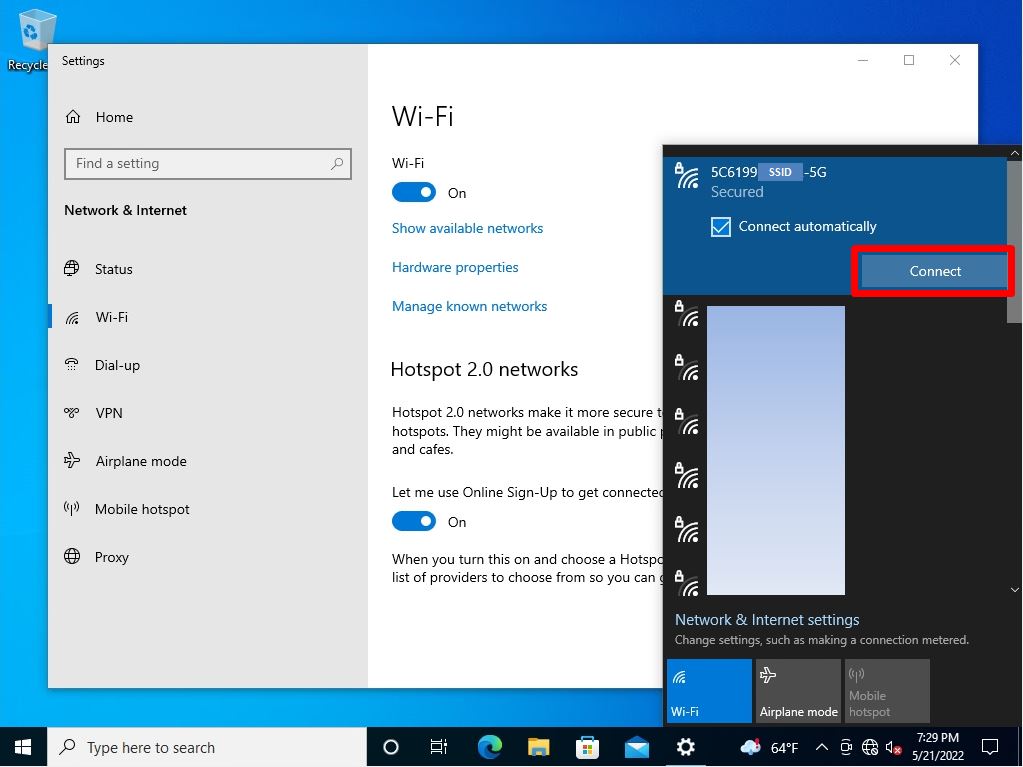
Step 7:
Enter the encryption key printed on the label of the base unit on the “Enter Network Security Key” screen-> Select “Next”.

Step 8:
After connecting to Wi-Fi, it will change to a Wi-Fi icon.
