“Microsoft .NET Framework” is a software development and execution program provided by Microsoft for free. It is a role like a part required to operate Windows software.
.NET Framework 3.5 may be required depending on the application running on Windows 10. By default, Windows 10 has “.NET Framework 4.8 Advanced Services” installed and .NET Framework 3.5 not installed. Install .NET Framework 3.5 according to your system requirements. This time, I will explain how to install “.NET Framework 3.5” manually in an environment where you can connect to the Internet. ※ In an environment where you can connect to the Internet, you do not need to use the physical OS installation disk or ISO file.
Windows 10 PC: .NET Framework 3.5 Install
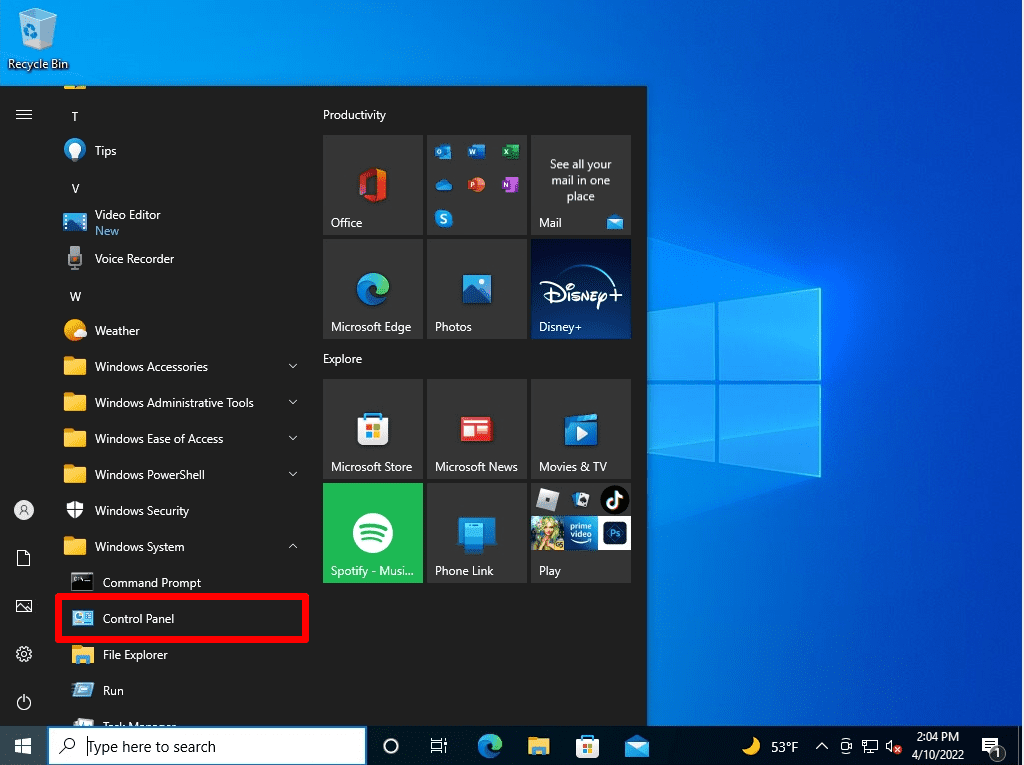
Step 1:
Click the Windows mark at the bottom left of the desktop –> “Windows System” –> Select “Control Panel”.
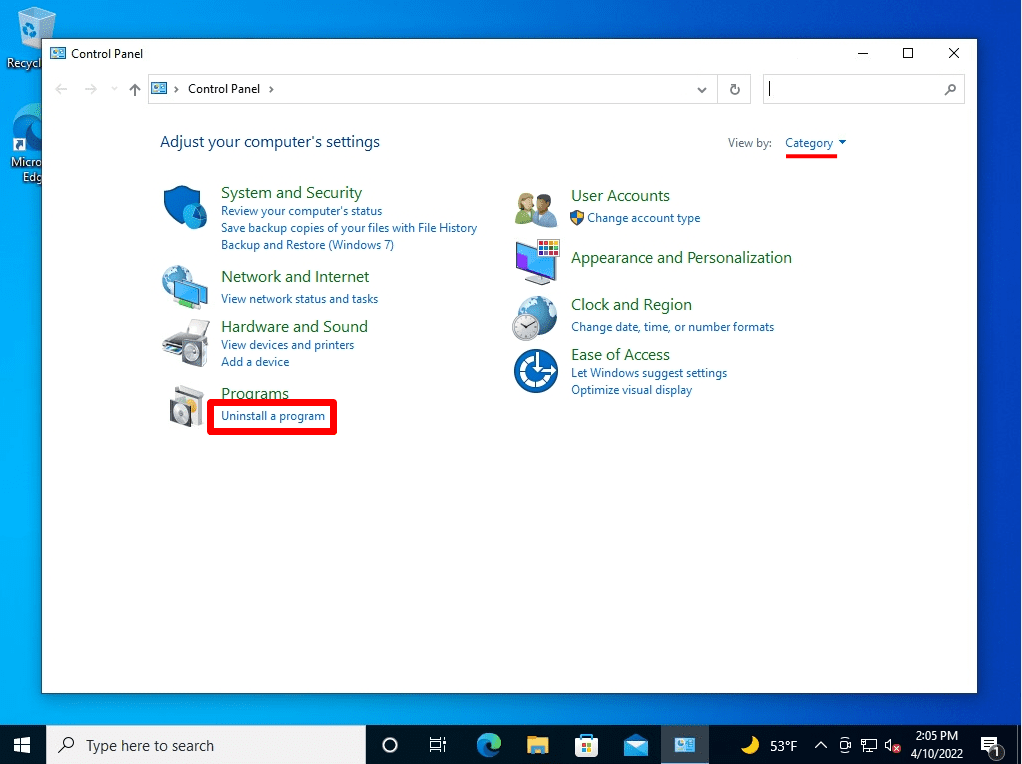
Step 2:
View by : Select Category -> “Uninstall a program”
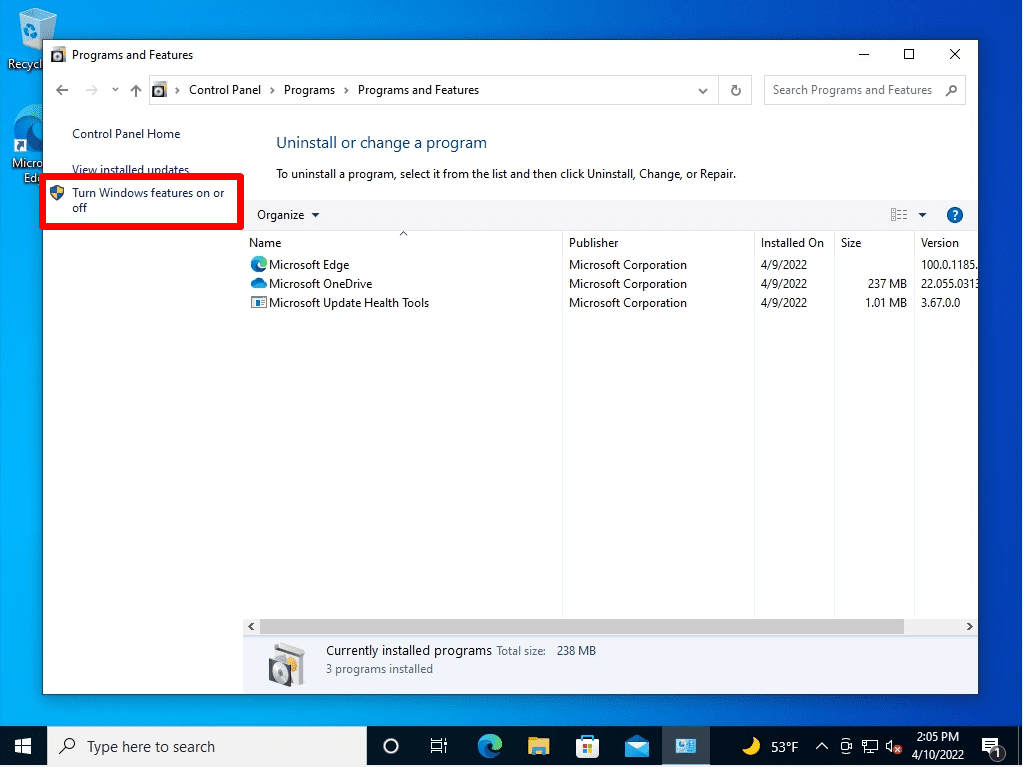
Step 3:
Select Turn Windows features on or off
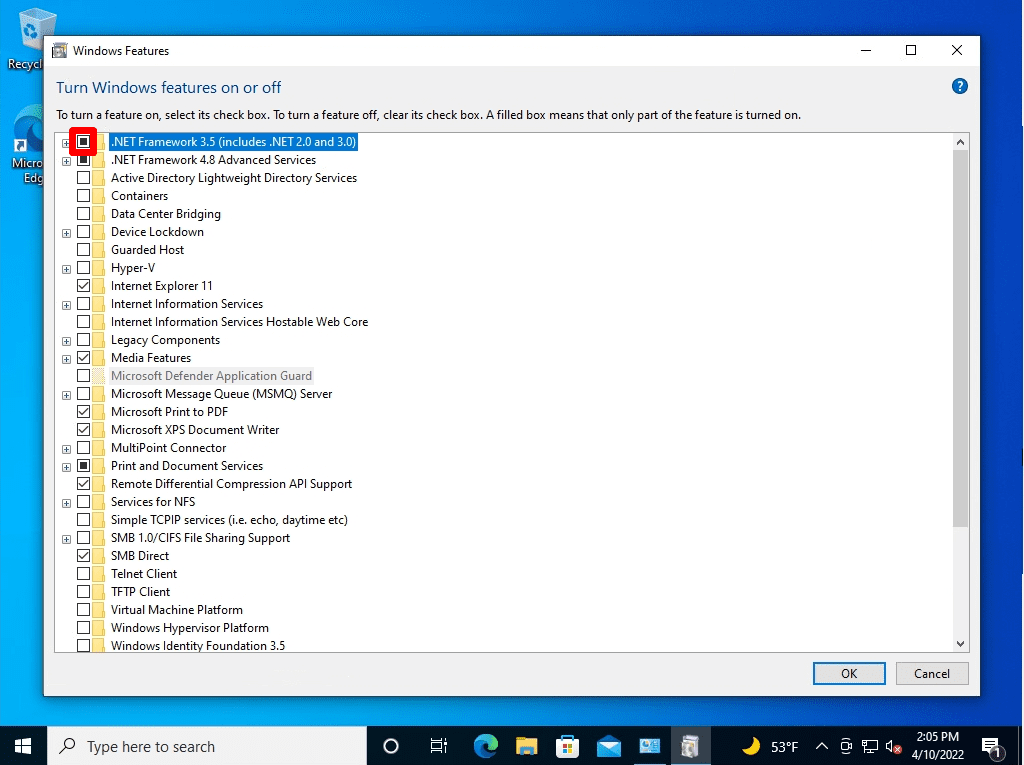
Step 4:
Select .NET Framework 3.5 (includes .NET 2.0 and 3.0)
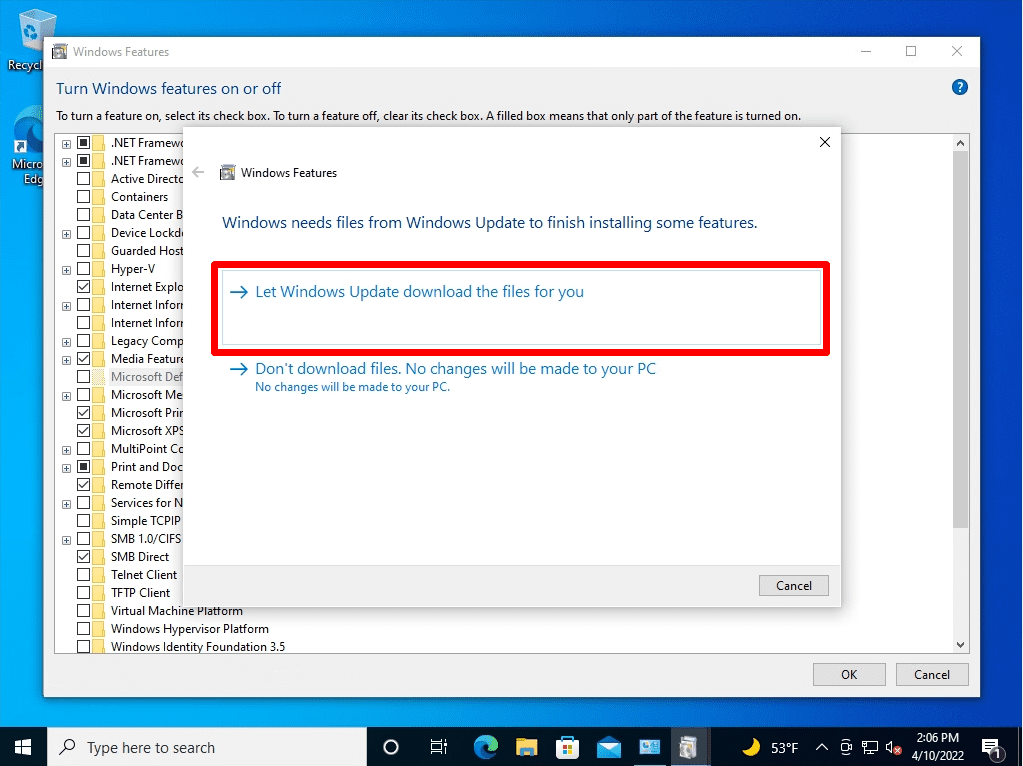
Step 5:
Select Let Windows Update download the files for you
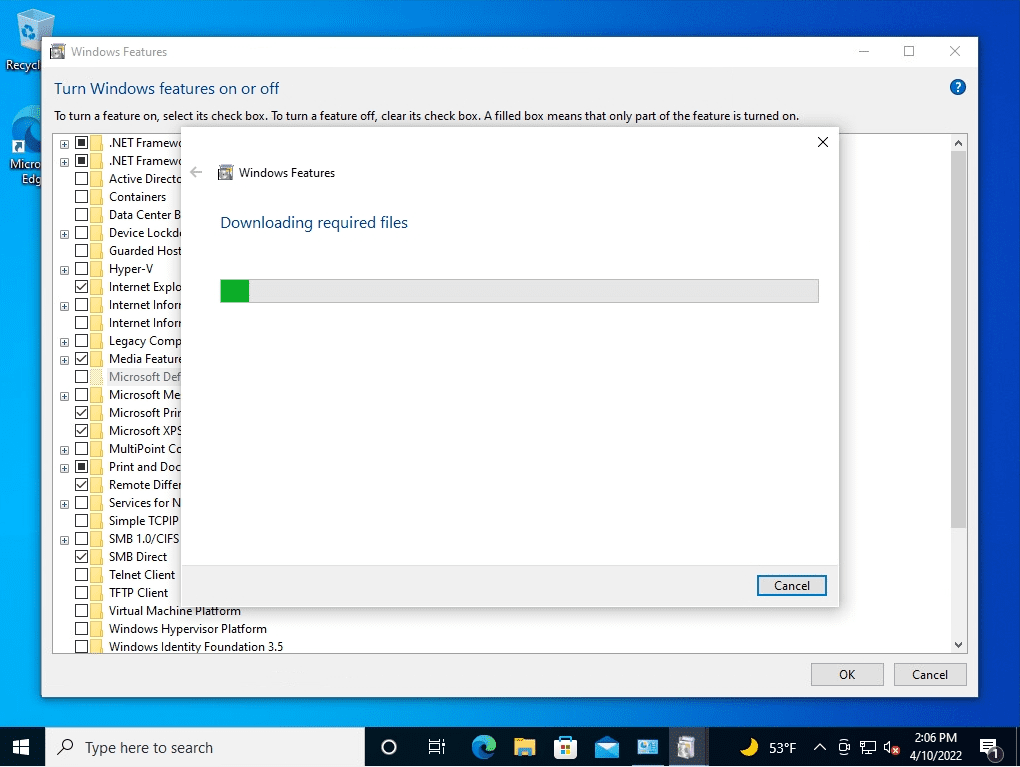
Downloading of required files will start. Wait a moment until it finishes
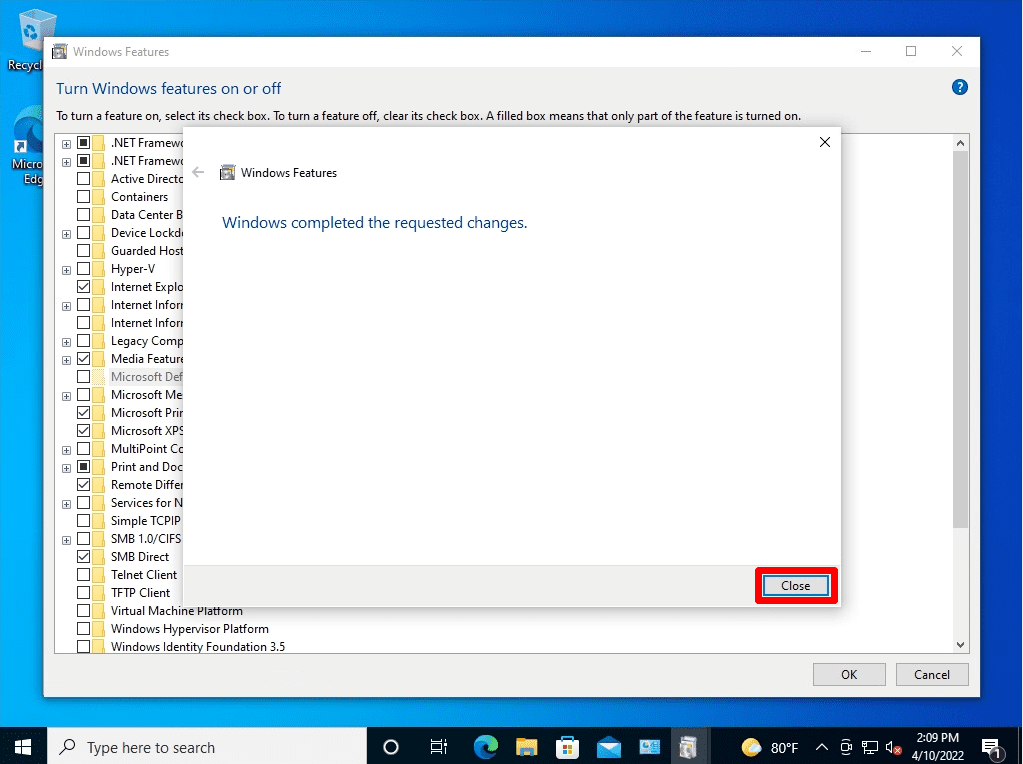
Step 6:
The .NET Framework 3.5 has been installed on Windows 10. Select Close