Checkdisk is a drive error checking tool that can be used as standard with Windows OS. If a system error or bad sector (area where data cannot be recorded) is detected on the hard disk / SSD of a Windows PC and an error is found, it may be possible to repair it with a check disk. This article explains how to execute the check disk and how to check the result using the event log. * Check disk is not a function to repair physical disk errors. It is a function to check and correct the file system of software.
Windows10 PC:Check disk execution procedure
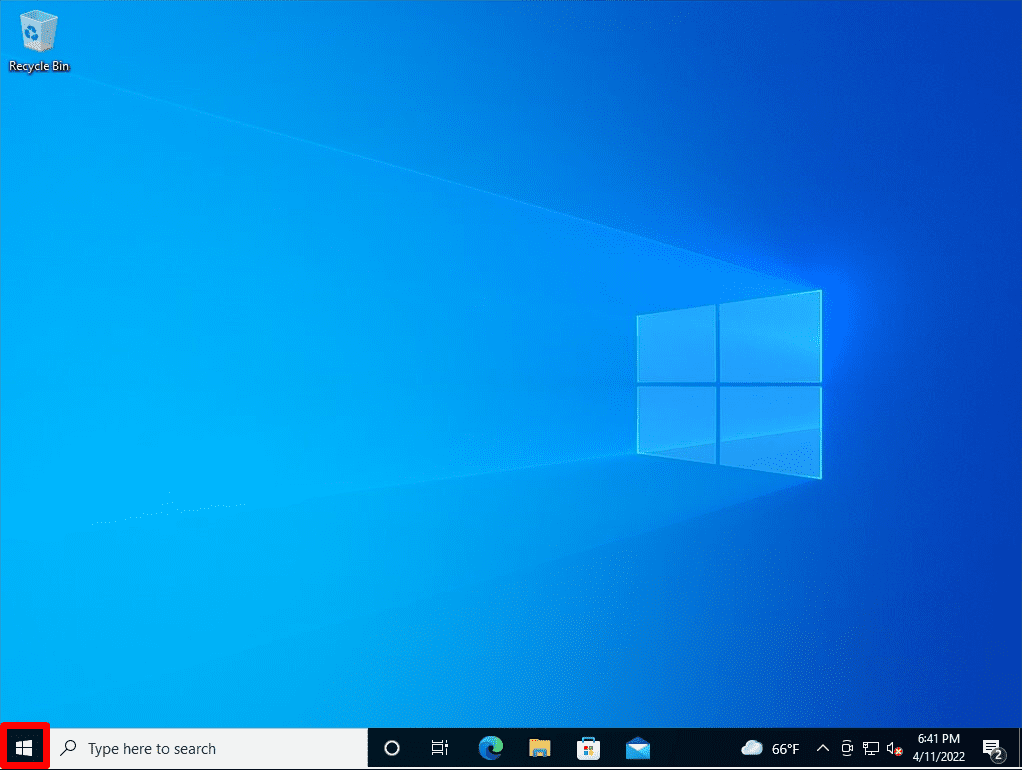
Step 1:
Select the Windows mark at the bottom left of the desktop screen.
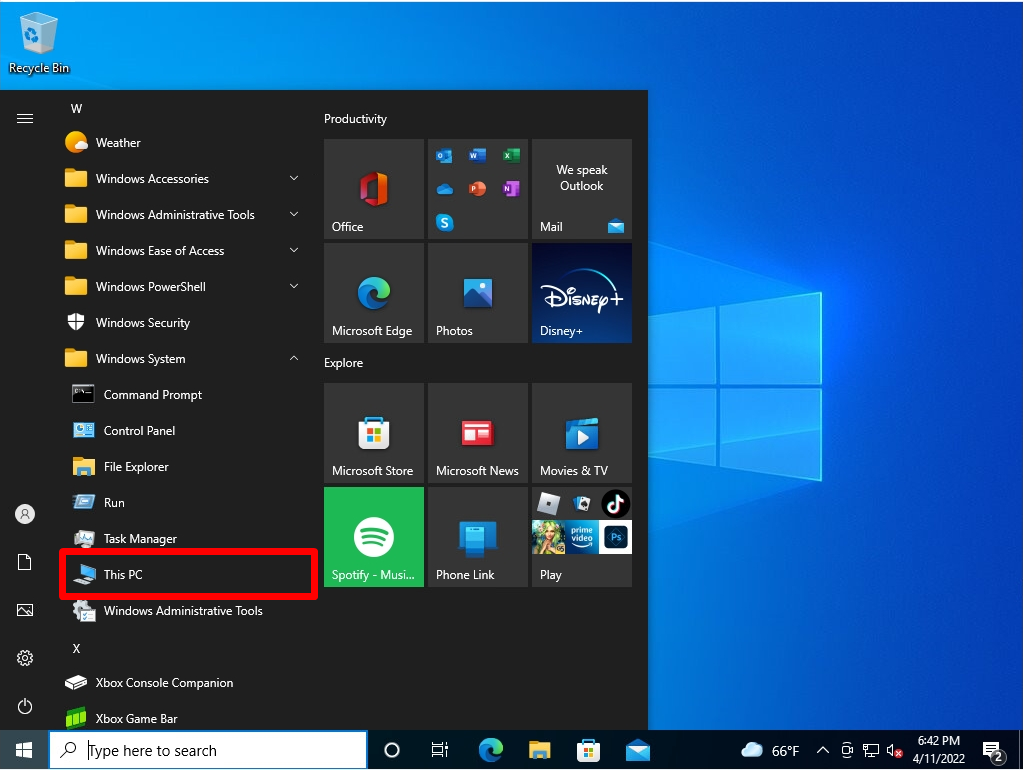
Step 2:
Select Windows System -> This PC.
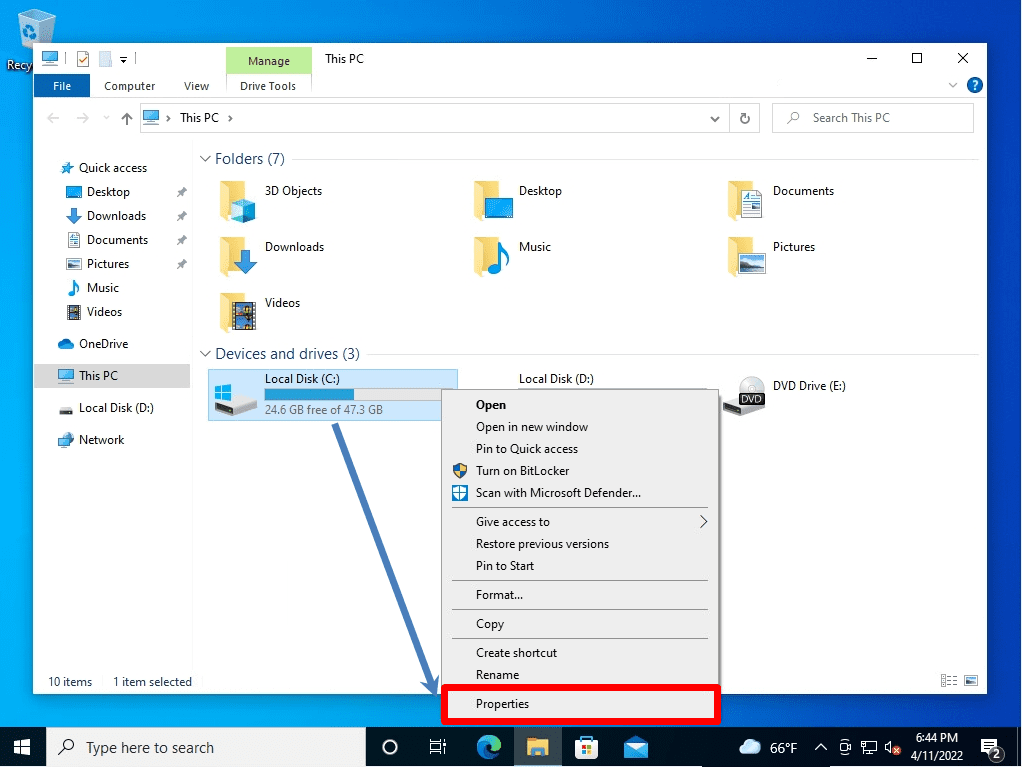
Step 3:
Right-click the local disk or volume you want to check disk -> select Properties.
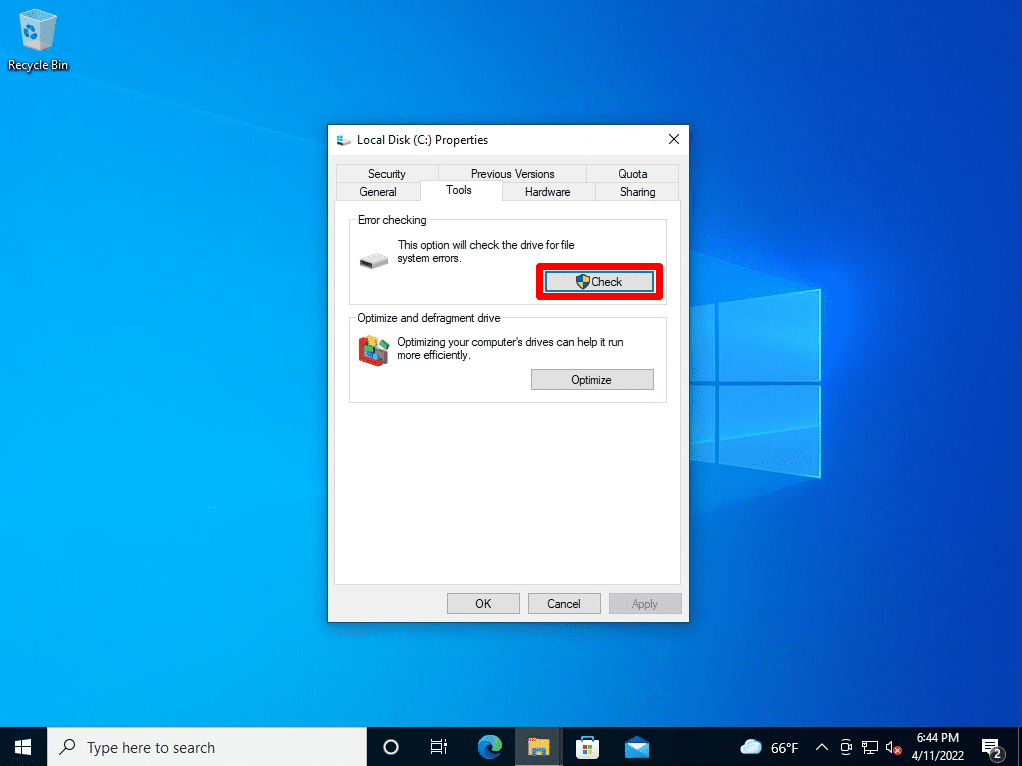
Step 4:
Select the Tools tab -> Check.
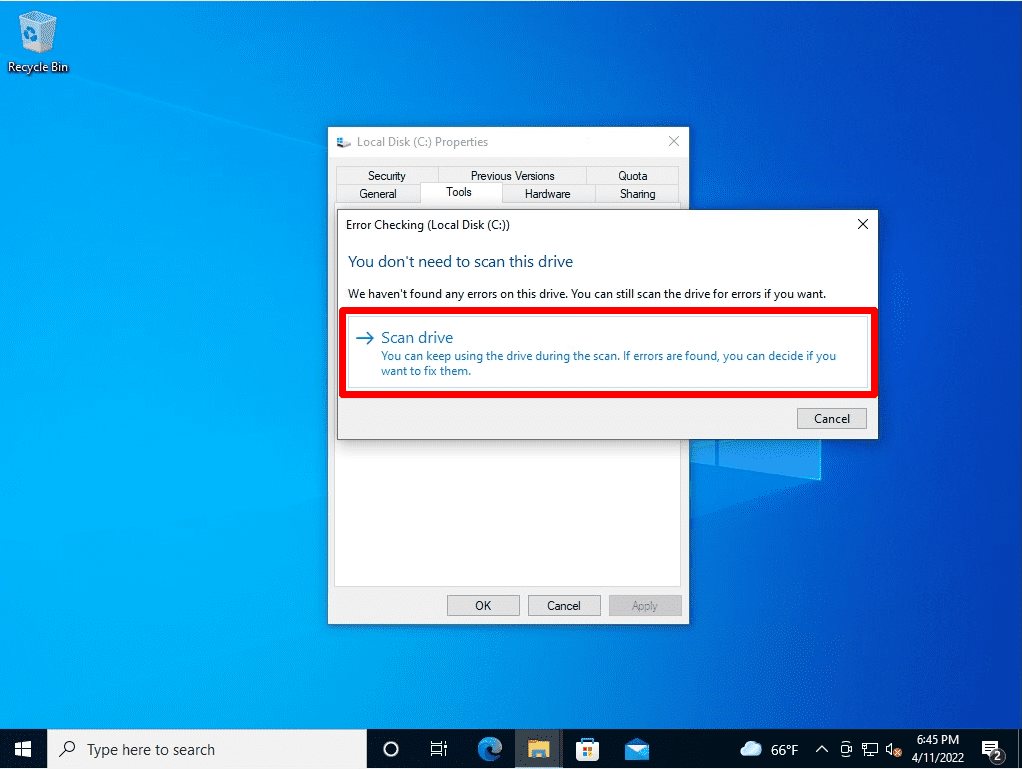
Step 5:
Select Scan drive.
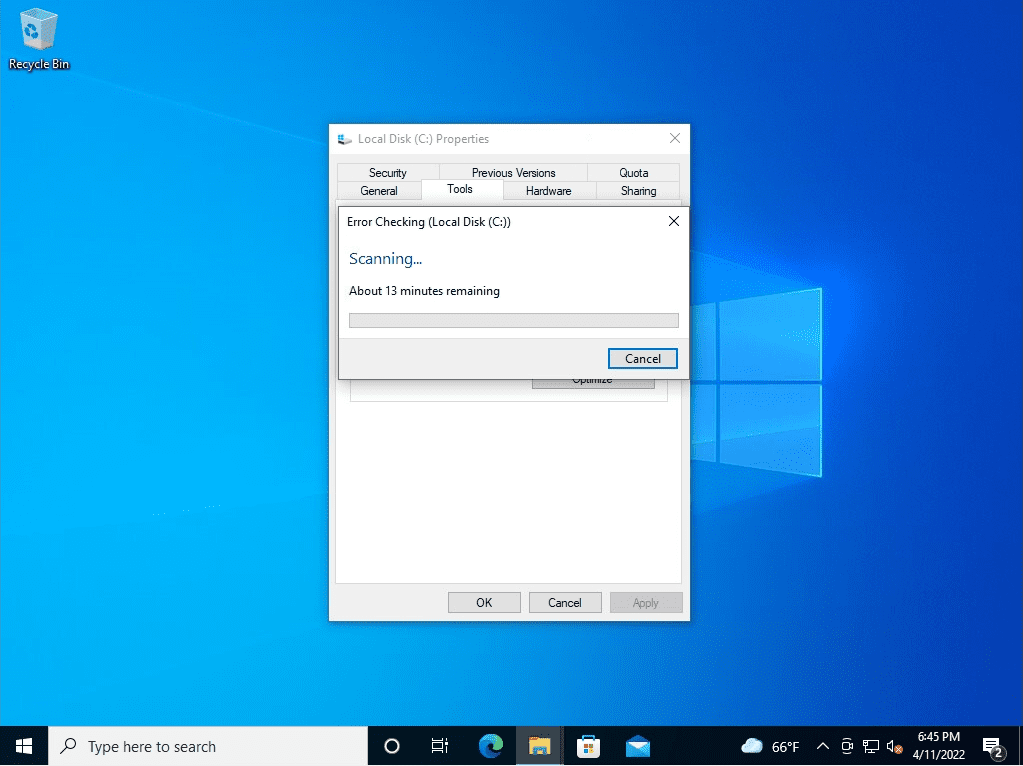
Error checking will start. Wait a moment for the process to finish.
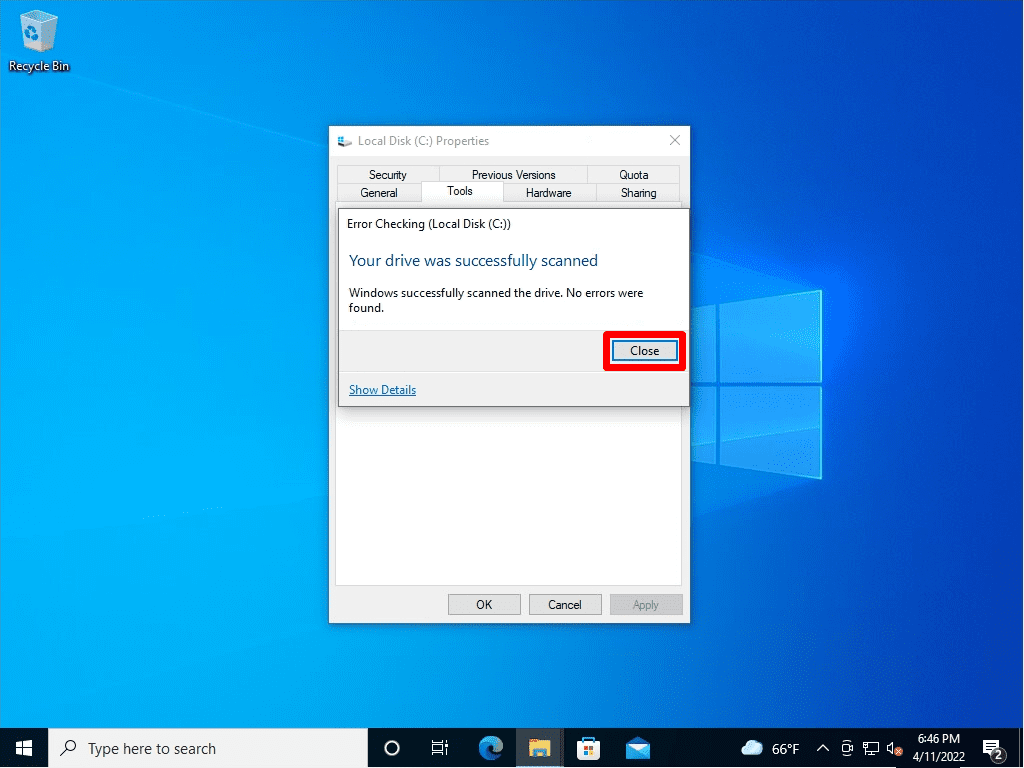
Step 6:
The drive error check is complete. Select “Close”.
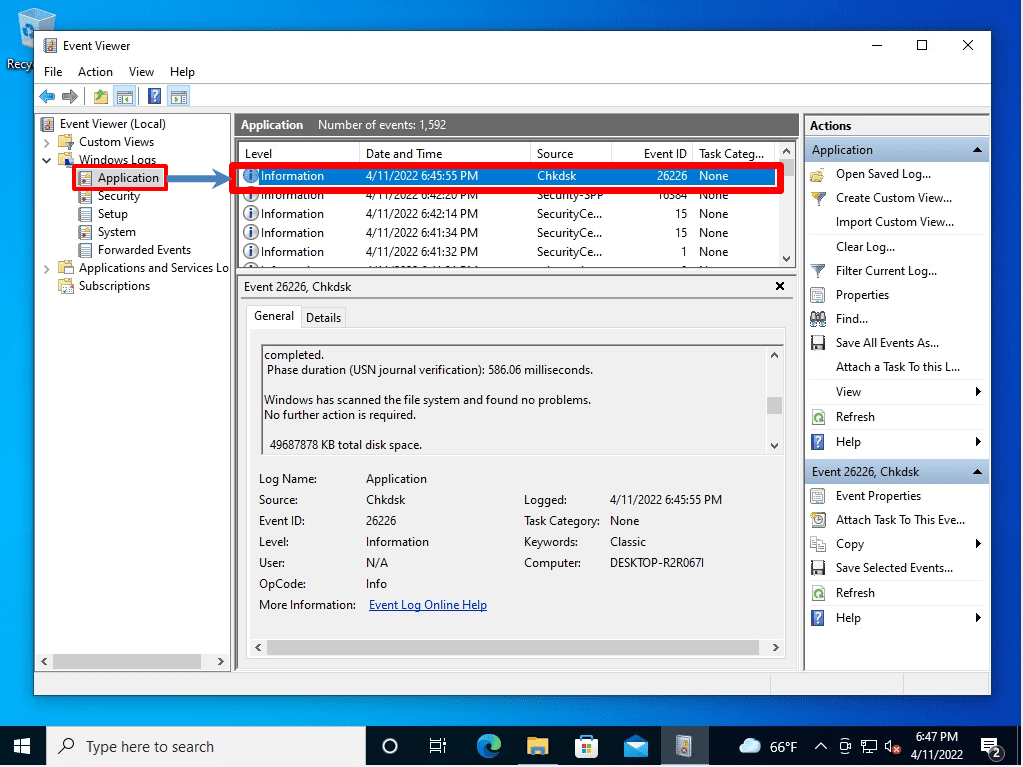
Windows10 PC:Check disk log check with Event Viewer
The result of executing the check disk is recorded in the application log of the event viewer.
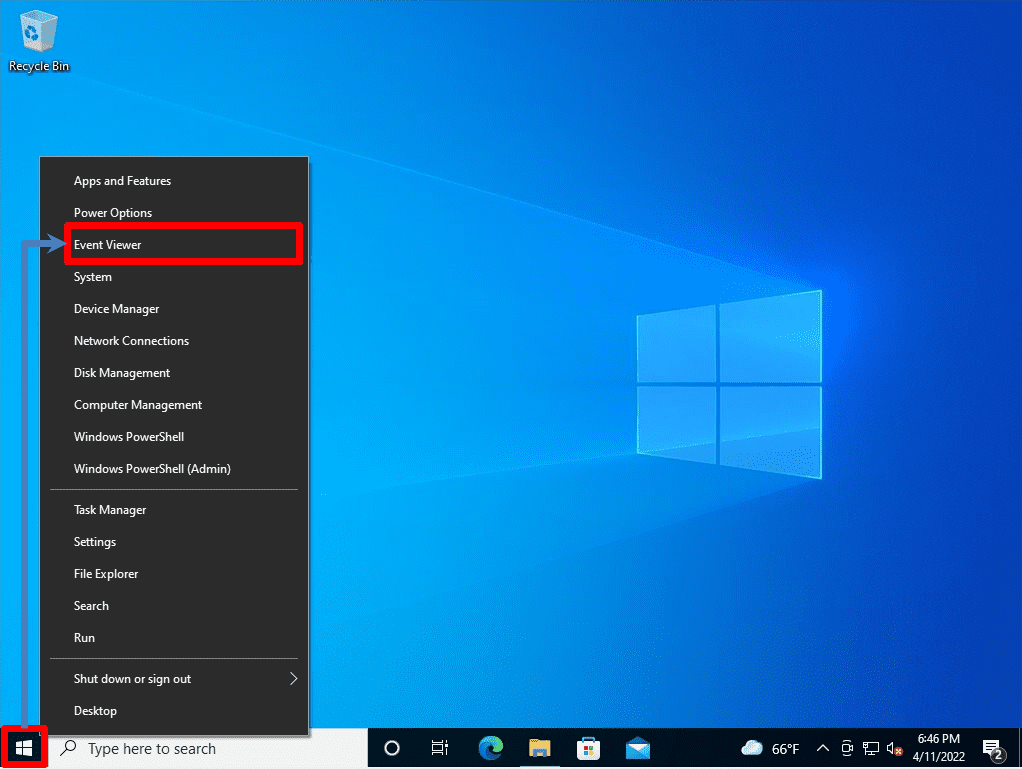
Step 1:
Right-click on the Windows mark at the bottom left of the desktop screen -> select Event Viewer.
Step 2:
The “Chkdsk” log is output to the “Event Viewer” -> “Windows Logs” -> “Application” source and the results are displayed.