Windows Server Backup is a standard Windows backup function that allows you to back up and restore data on an entire disk, folder, or file basis. It is a standard feature and can be used for free, but it must be installed from the Add Server Manager Roles and Features Wizard screen because the feature is not enabled in a clean installation of Windows Server 2019.
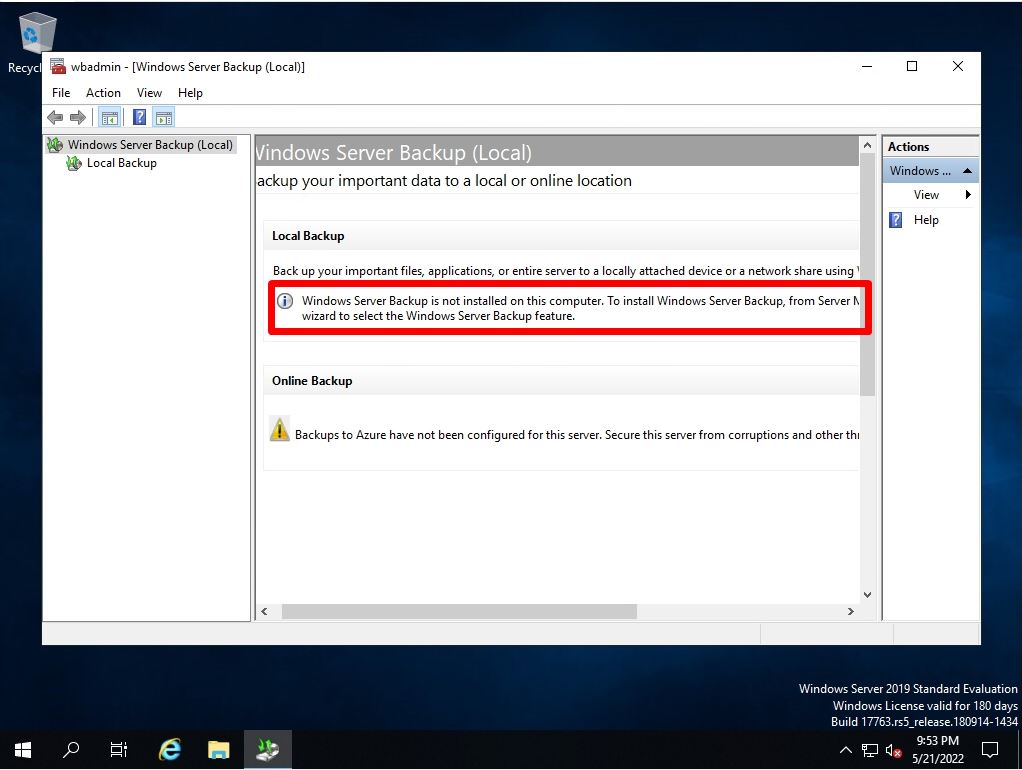
If the Windows Server Backup function is not installed, “Windows Server Backup is not installed on this computer.” Is displayed and cannot be used. This article describes how to use Windows Server 2019 to install Windows Server Backup.
Windows Server 2019: Windows Server Backup Installation
Step 1:
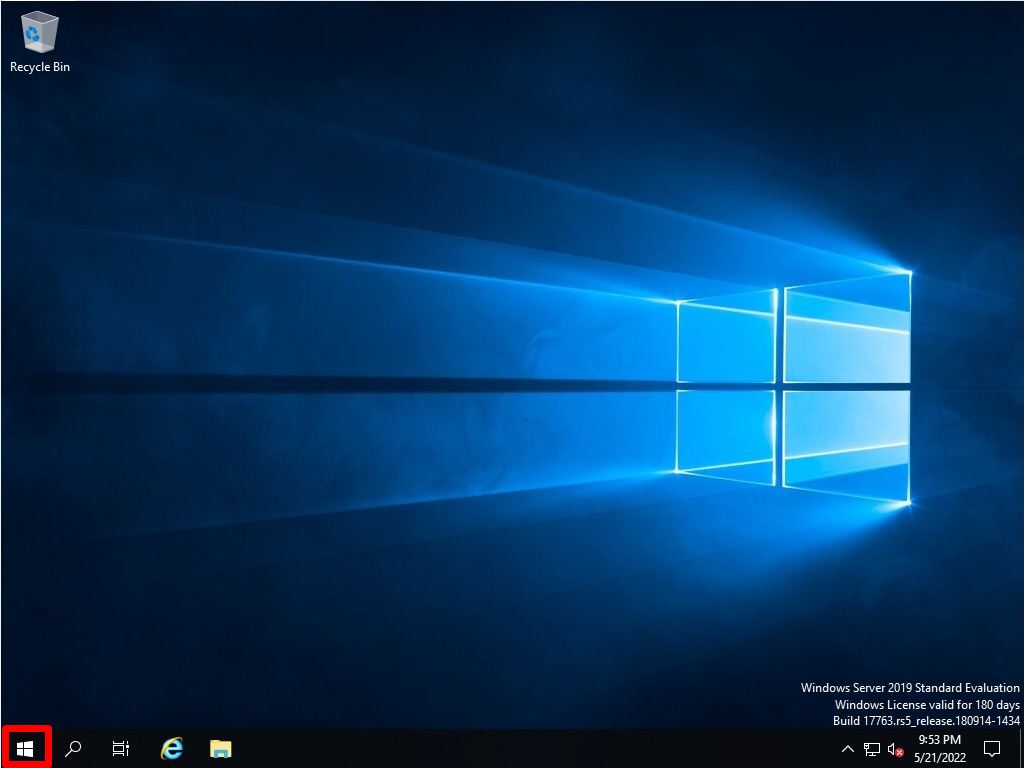
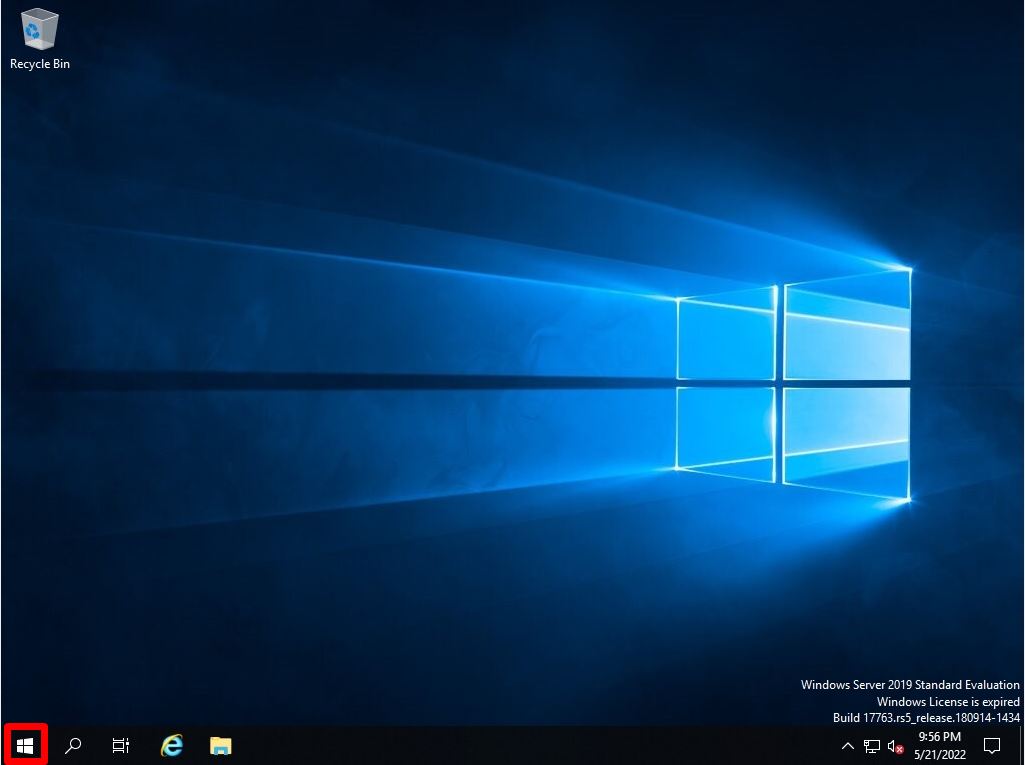
Select the Windows mark at the bottom left of the desktop screen.
Step 2:
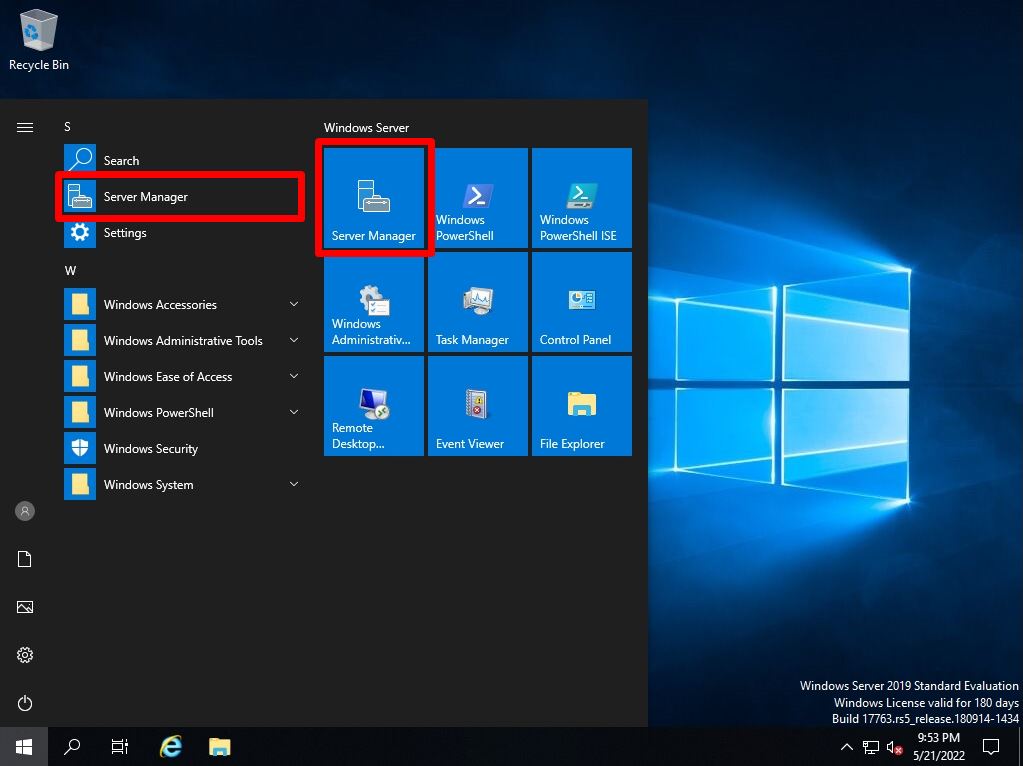
Select Server Manager.
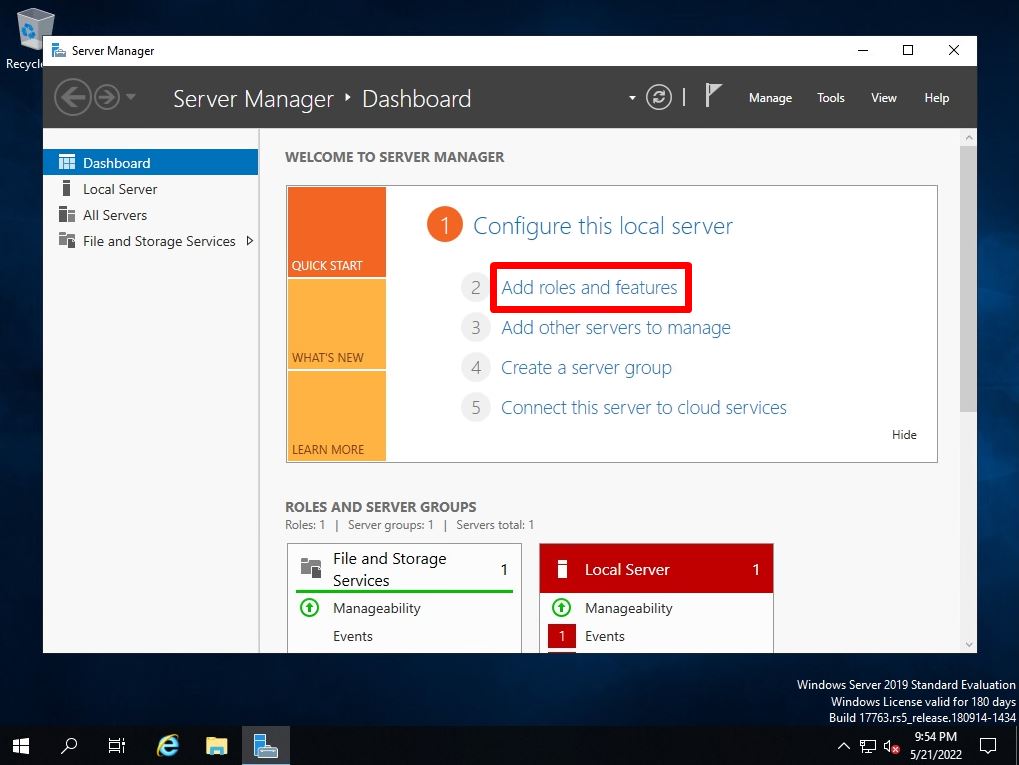
Step 3:
Select Add roles and features.
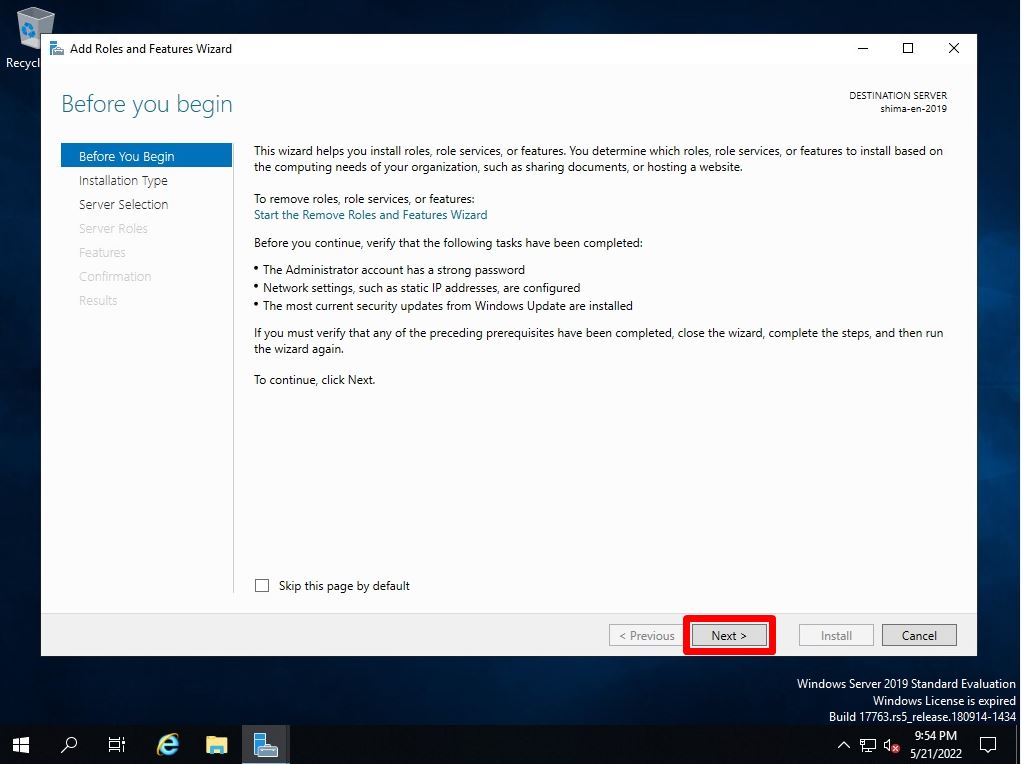
Step 4:
Before you begin Screen: Select Next.
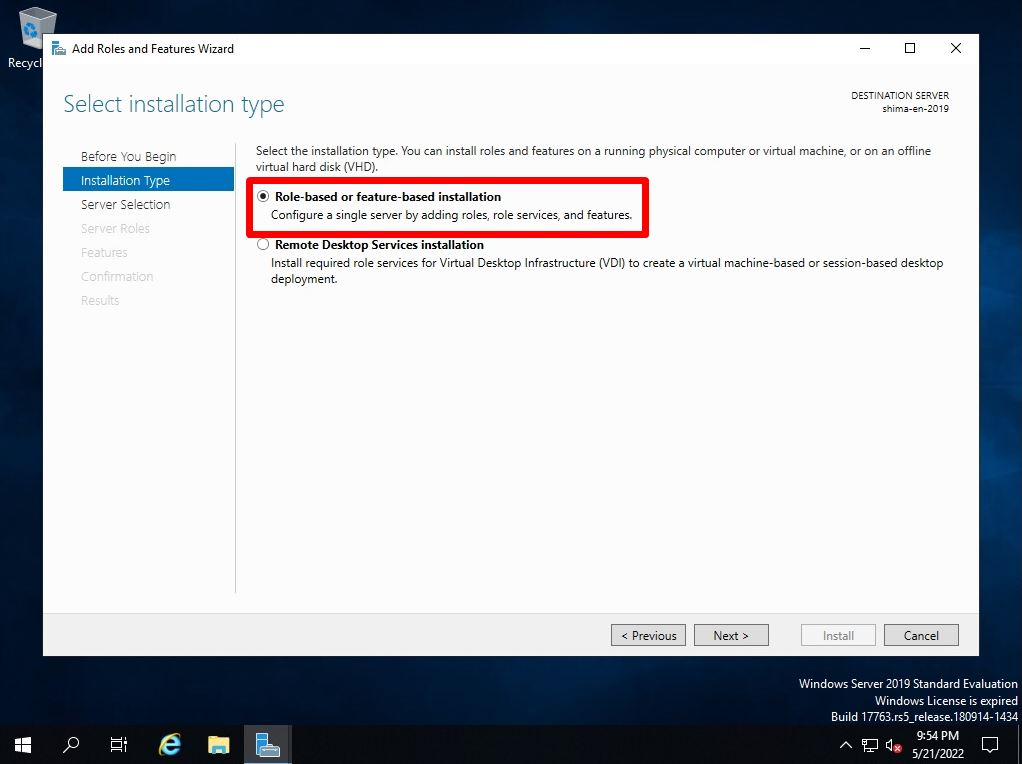
Step 5:
Select installation type screen: Select Role-based or feature-based installation.
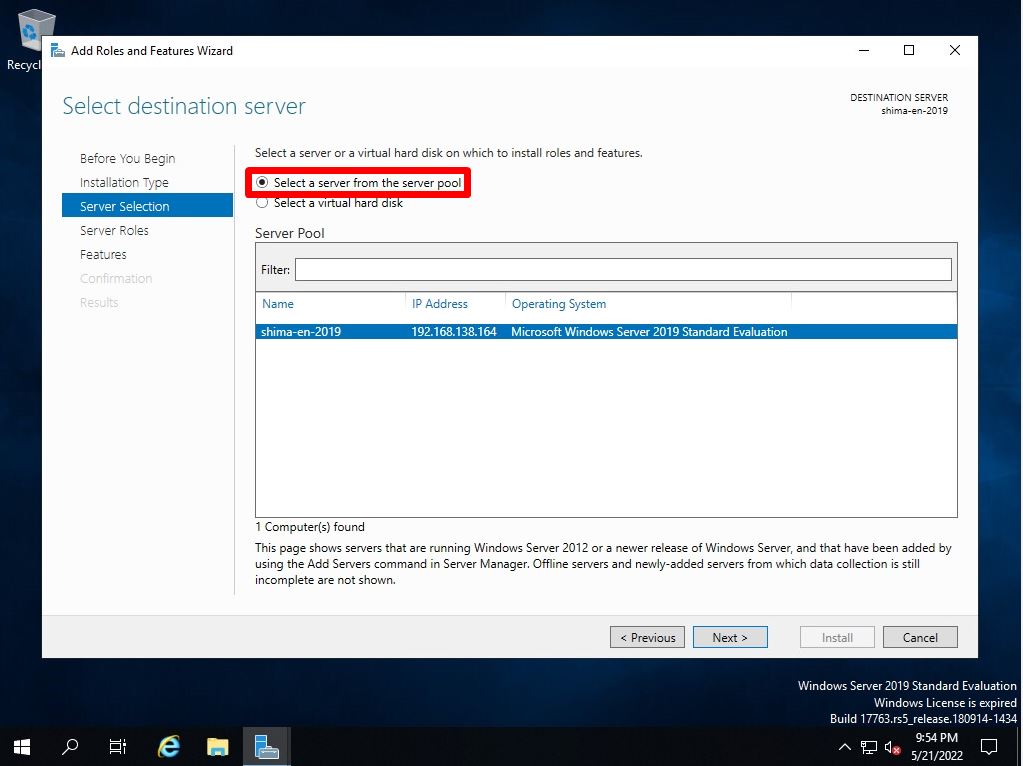
Step 6:
Select destination server screen: Select “Select a server from the server pool” -> Select the terminal name to install.
Step 7:
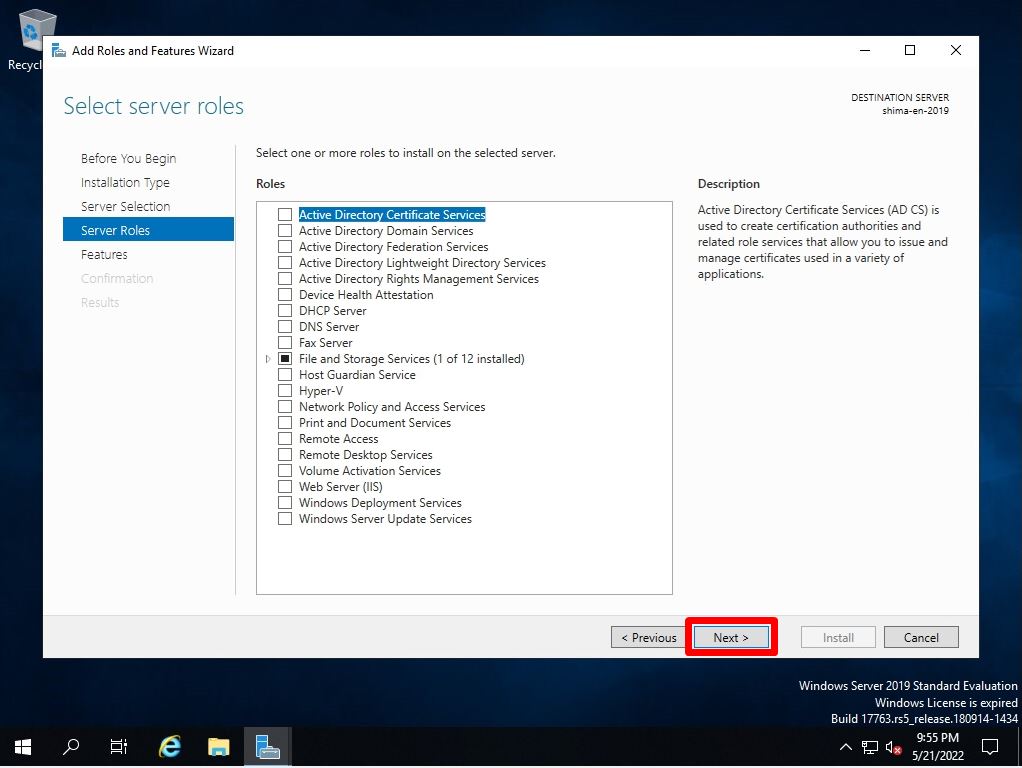
Select server roles screen: Select Next without selecting anything.
Step 8:
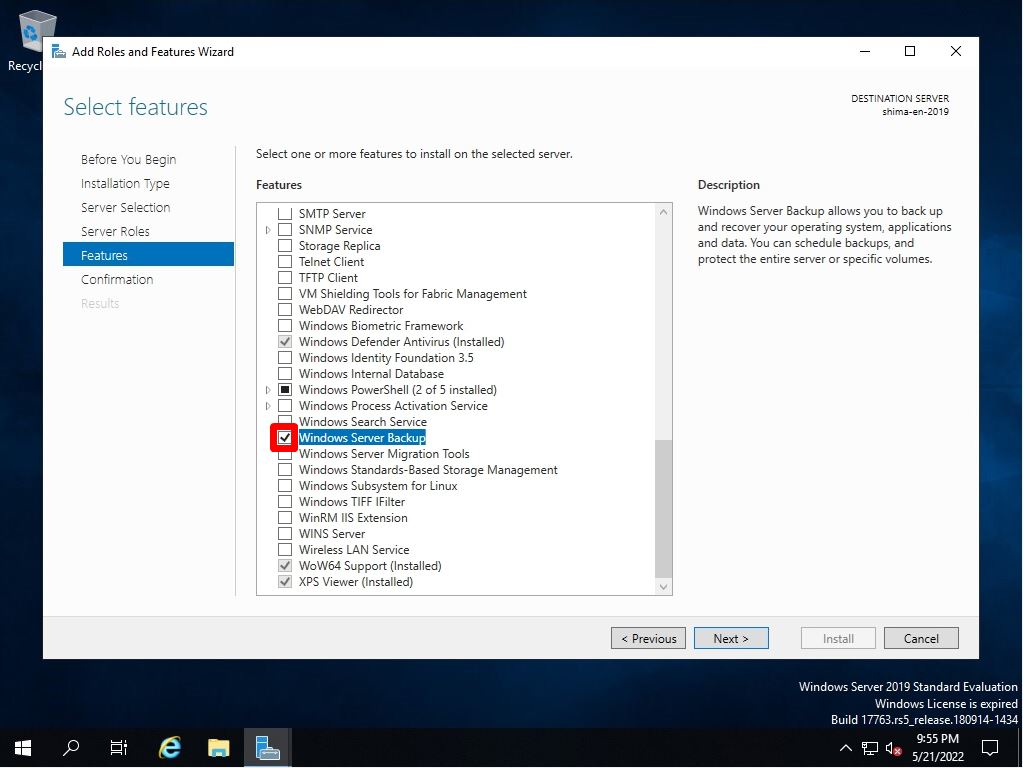
Select features screen: Enables the Windows Server Backup checkbox.
Step 9:
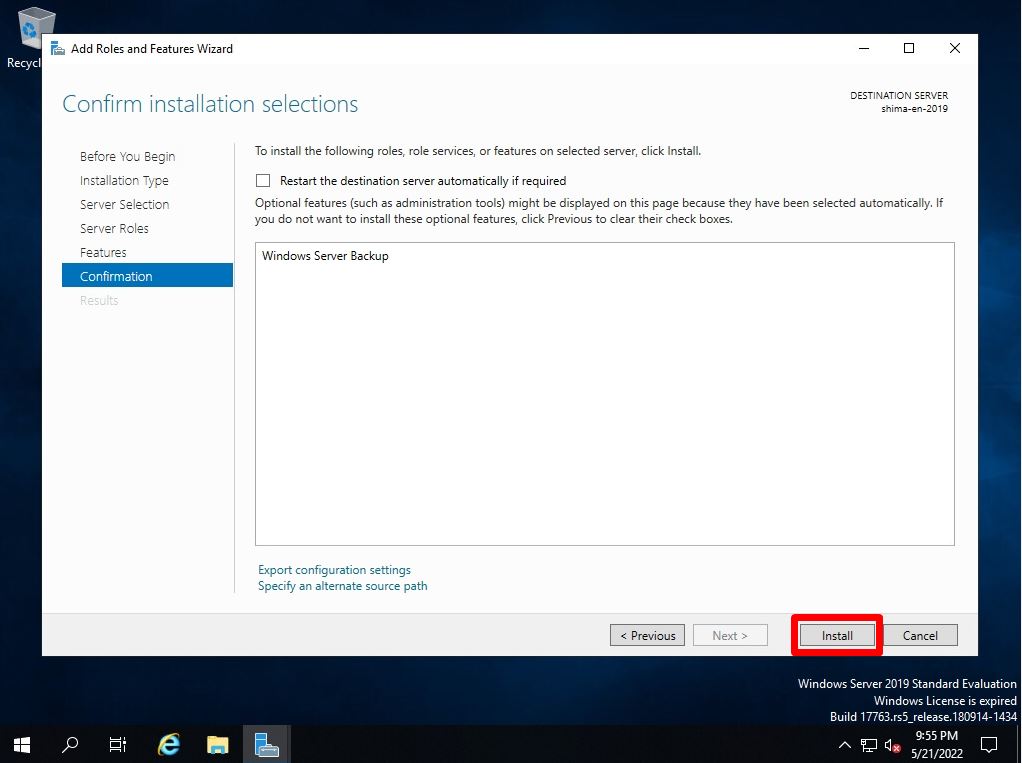
Confirm installation selections screen: Select “Install”.
Step 10:
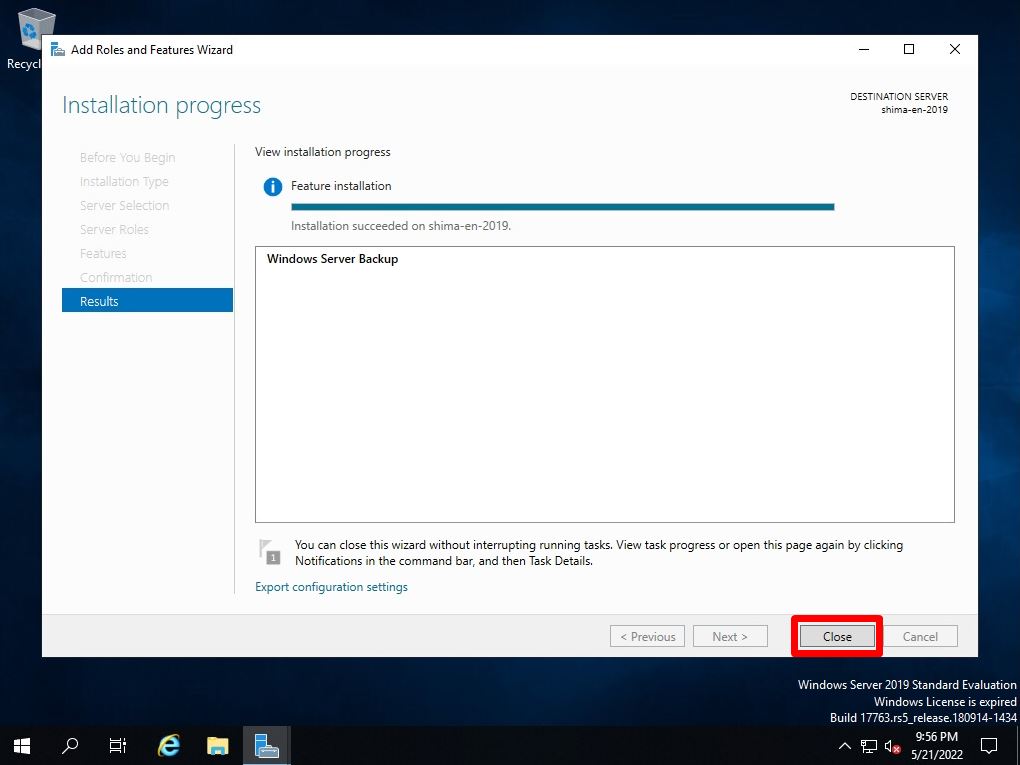
Installation progress screen: Select “Close”.
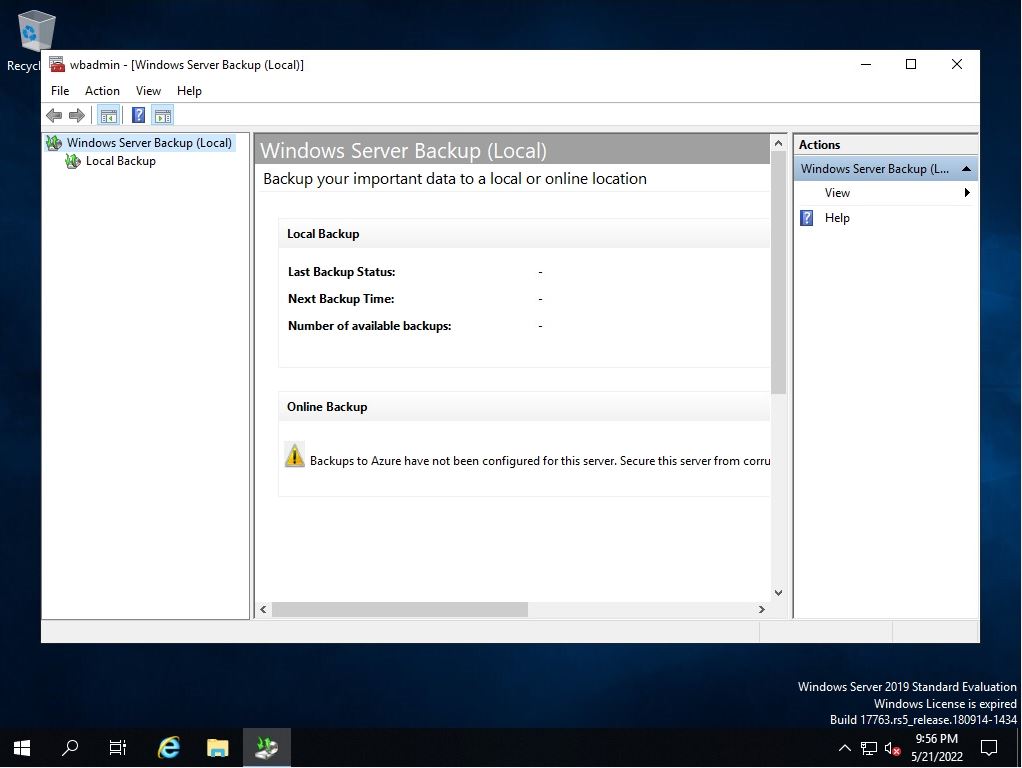
Windows Server 2019: Start Windows Server Backup
Step 1:
Select the Windows mark at the bottom left of the desktop screen.
Step 2:
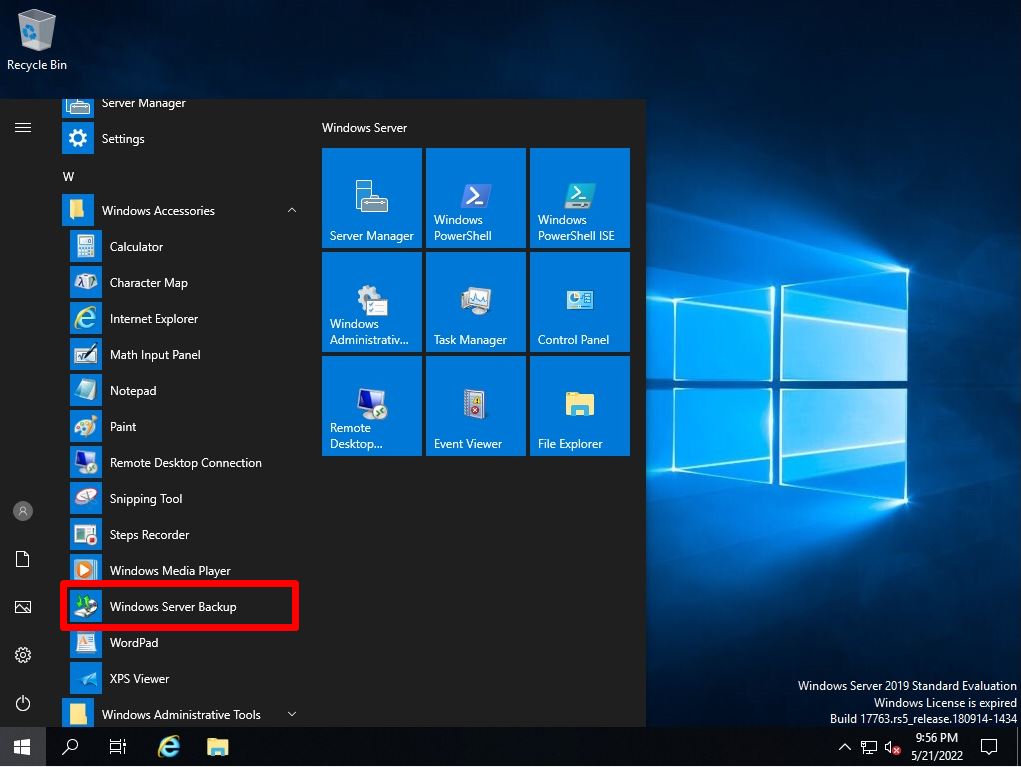
Select “Windows Accessories” -> “Windows Server Backup” to start it.
Step 3:
Confirm that the Windows Server backup has started.