The security application software “WindowsDefender” is installed by default in the edition Standard / Datacenter of Windows Server 2019
There are three types of Windows Defender scans available: Quick scan, Full scan, and Custom scan. The differences between each scan are as follows.
- Quick scan: Check only folders where threats are often detected in your system
- Full scan: Check all files and programs on your hard disk
- Custom scan: Check each specified drive (C drive, D drive, etc.) and each folder
This article describes how to perform Quick scan, Full scan, and Custom scan in Windows Defender on Windows Server 2019, and how to check the logs in Event Viewer after execution.
Windows Server 2019: Run Windows Defender Quick Scan
Step 1:
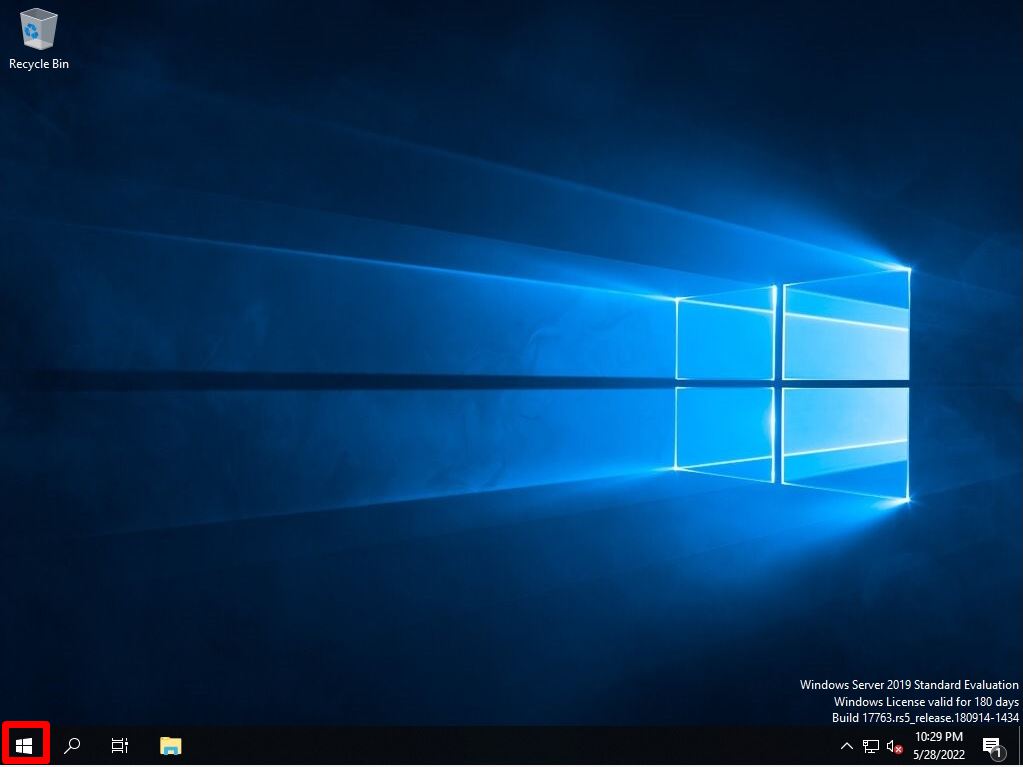
Select the Windows mark at the bottom left of your desktop.
Step 2:
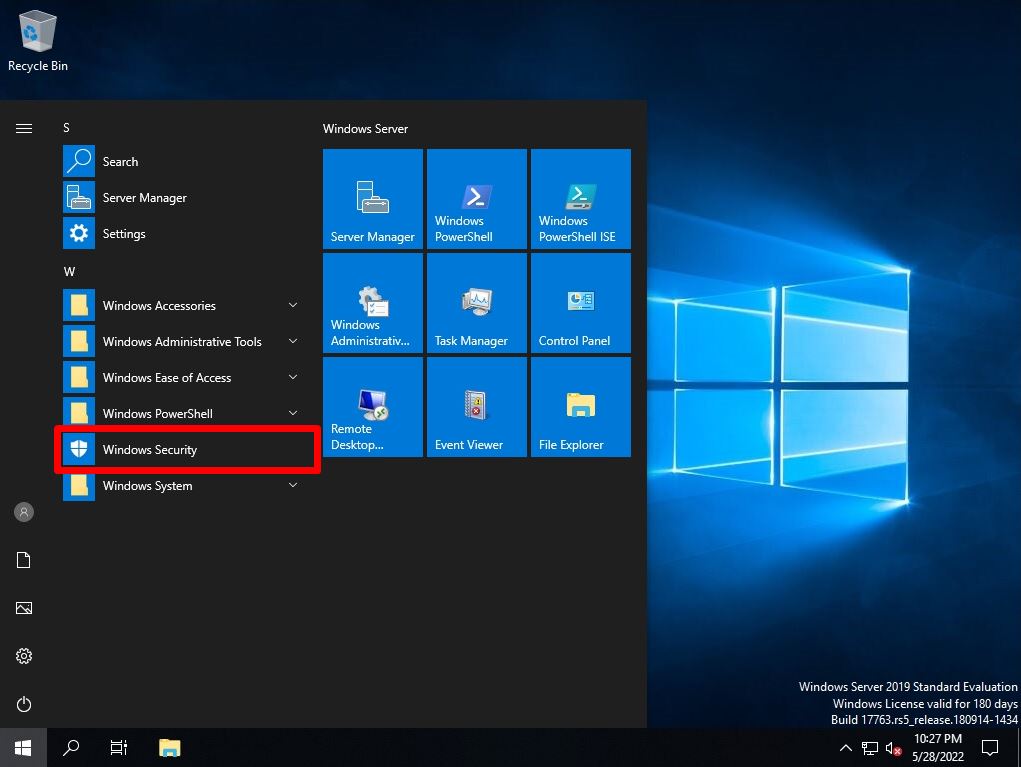
Select “Windows Security”.
Step 3:
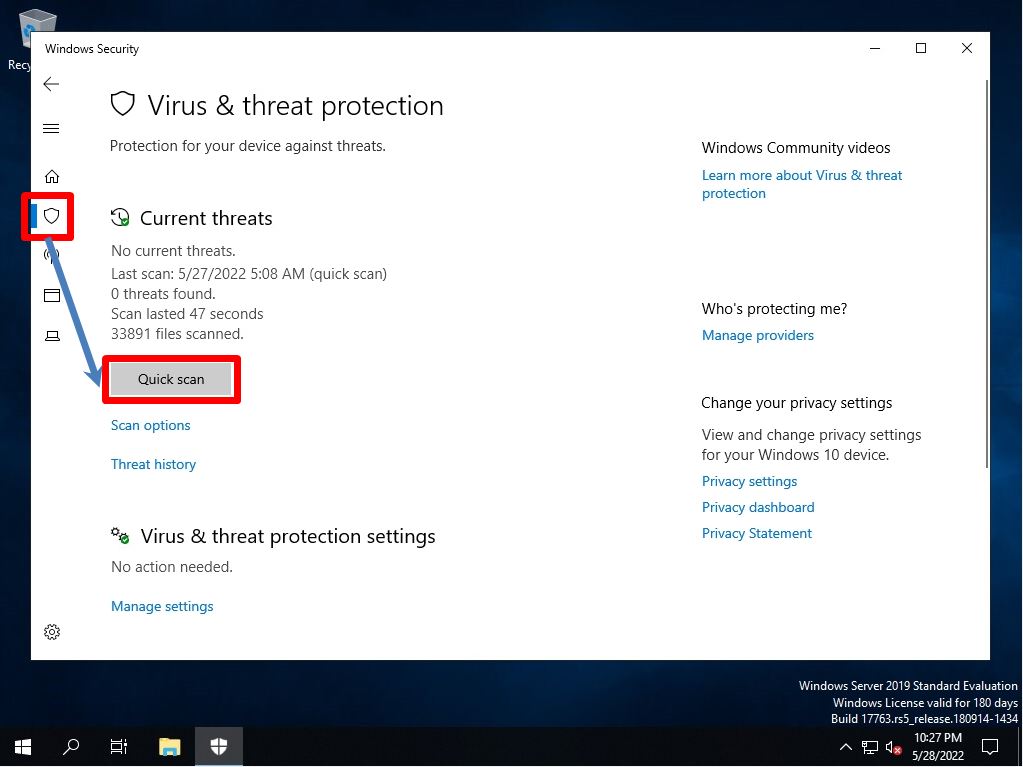
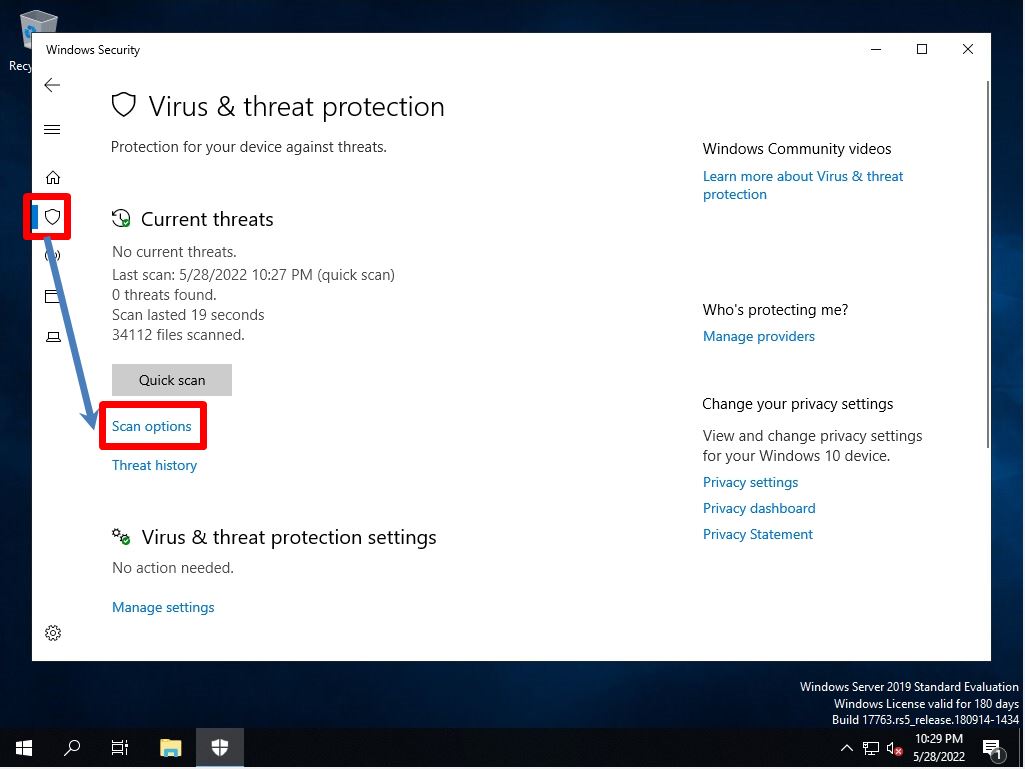
Click Virus & threat protection in the left pane –> select Quick scan.
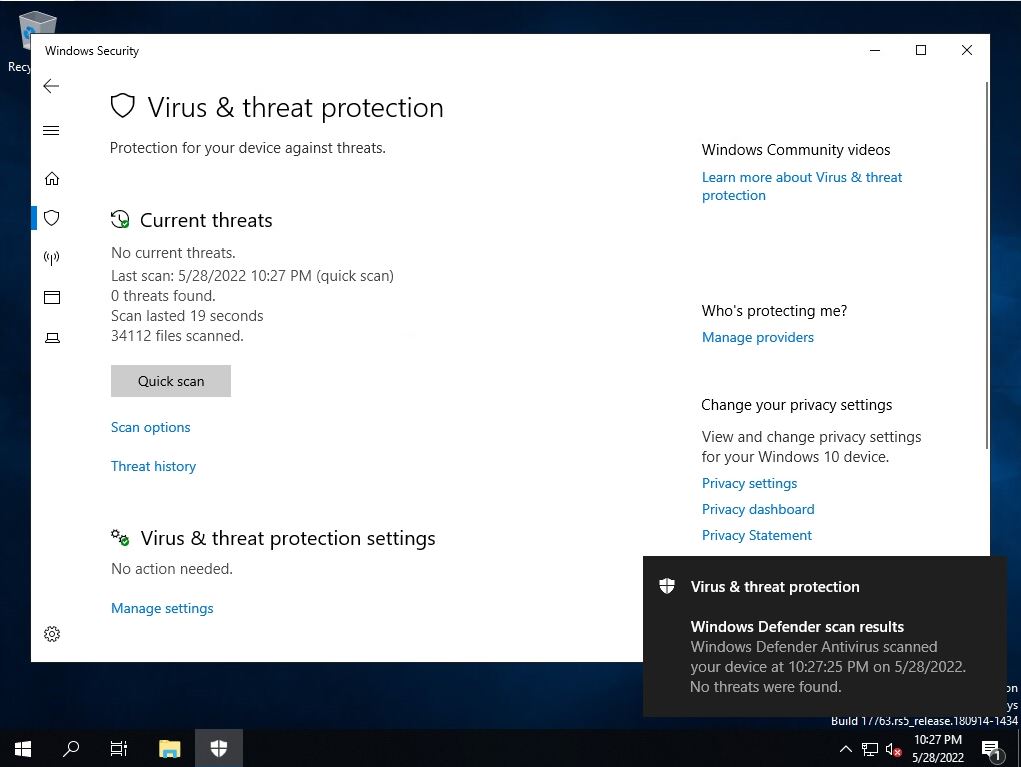
After executing the “Quick scan” button, scanning will start automatically.
After the Windows Defender quick scan is complete, the results of the Windows Defender scan are printed.
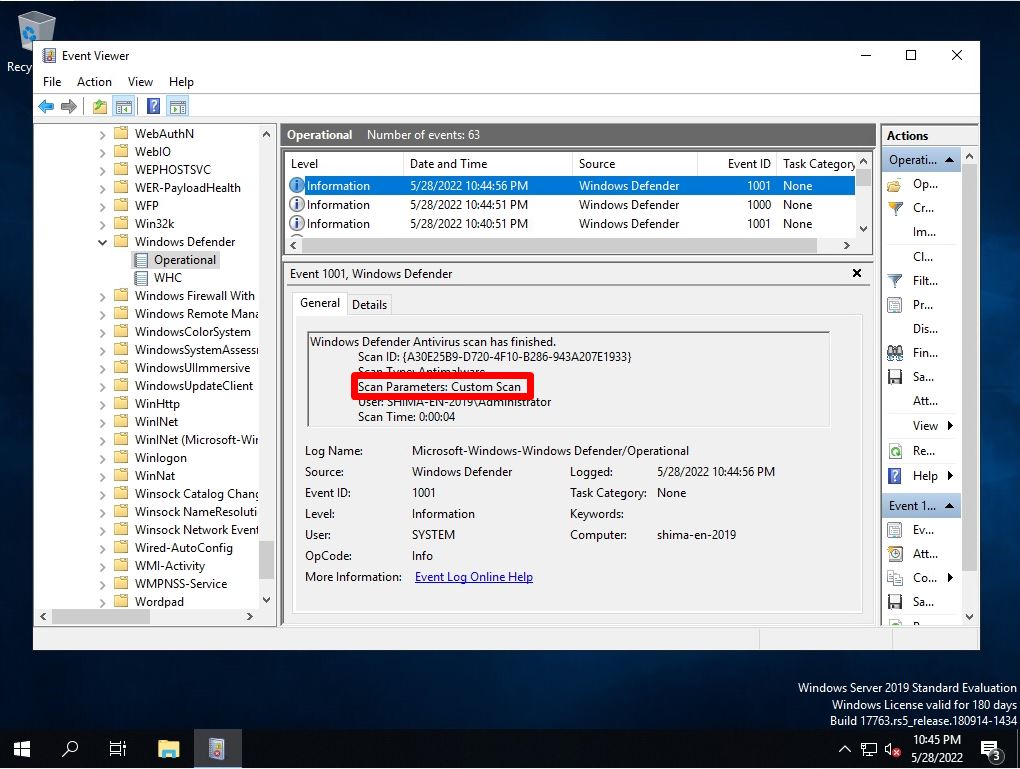
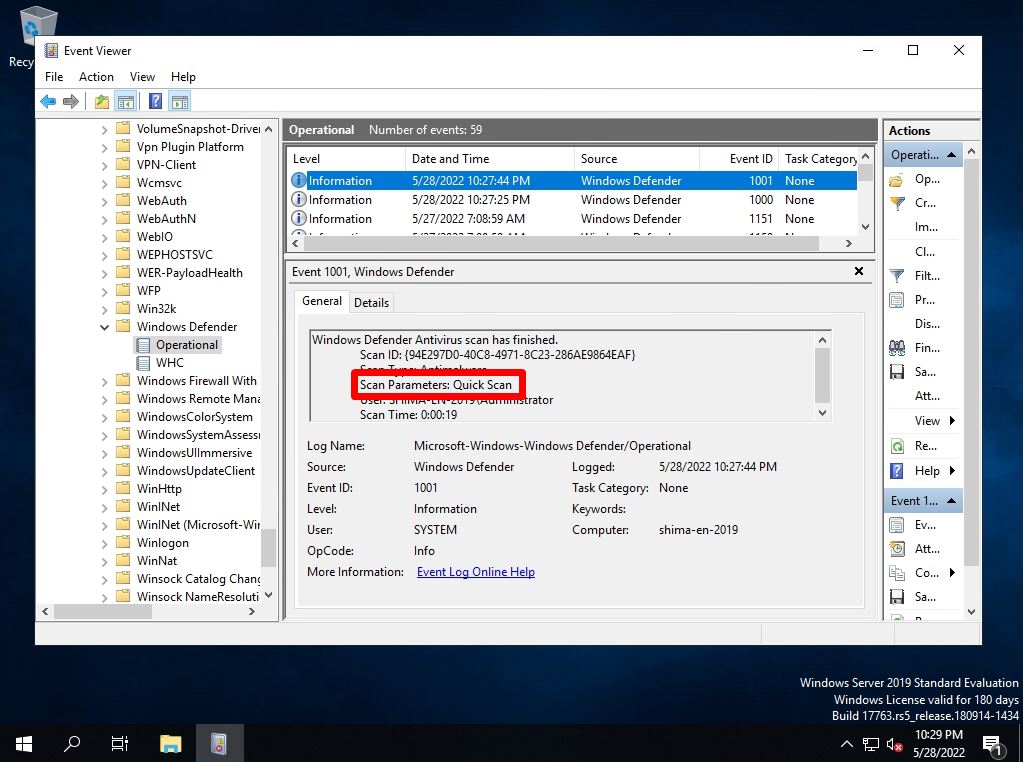
The results of the Windows Defender quick scan are output to the event viewer. You can check the “scan type”, “scan time”, etc. in the log. If you want to see the log history from the event log, go to Windows Defender-> Operational. The location of the log history details is as follows. * It is output to the same location even when full scan or custom scan is executed.
Event Viewer
-Application and Services Logs
-Microsoft
-Windows
-Windows Defender
-Operational
Windows Server 2019: Windows Defender full scan run
Step 1:
Select the Windows mark at the bottom left of your desktop.
Step 2:
Select “Windows Security”.

Step 3:
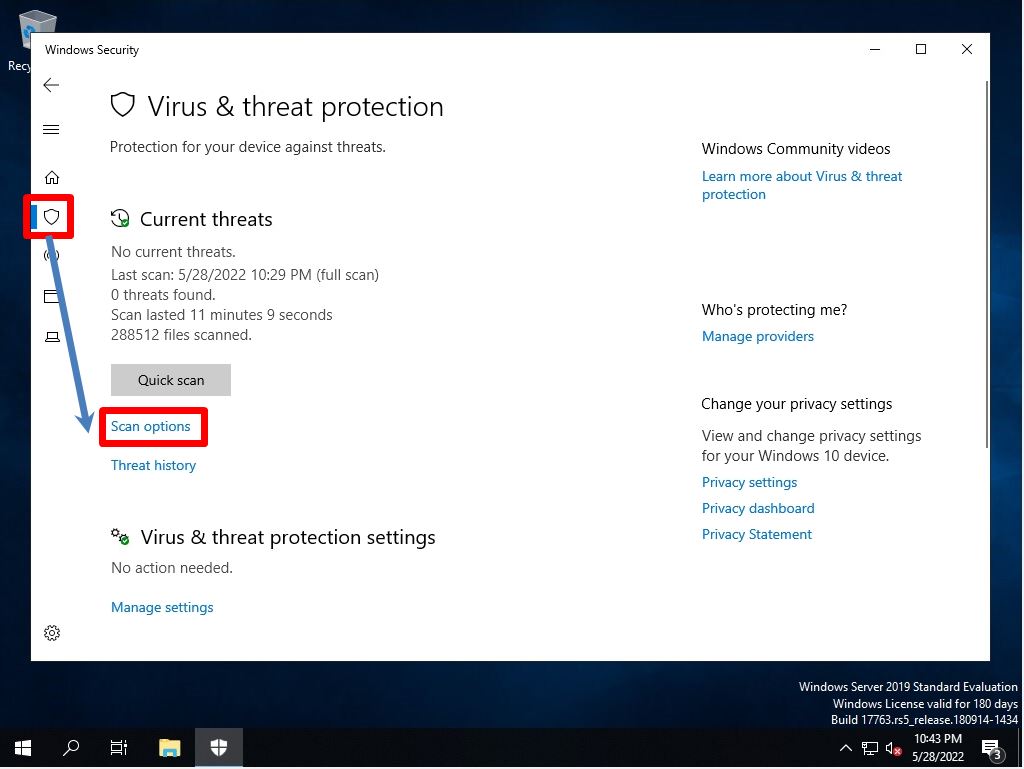
Click Virus & threat protection in the left pane –> select Scan options.
Step 4:
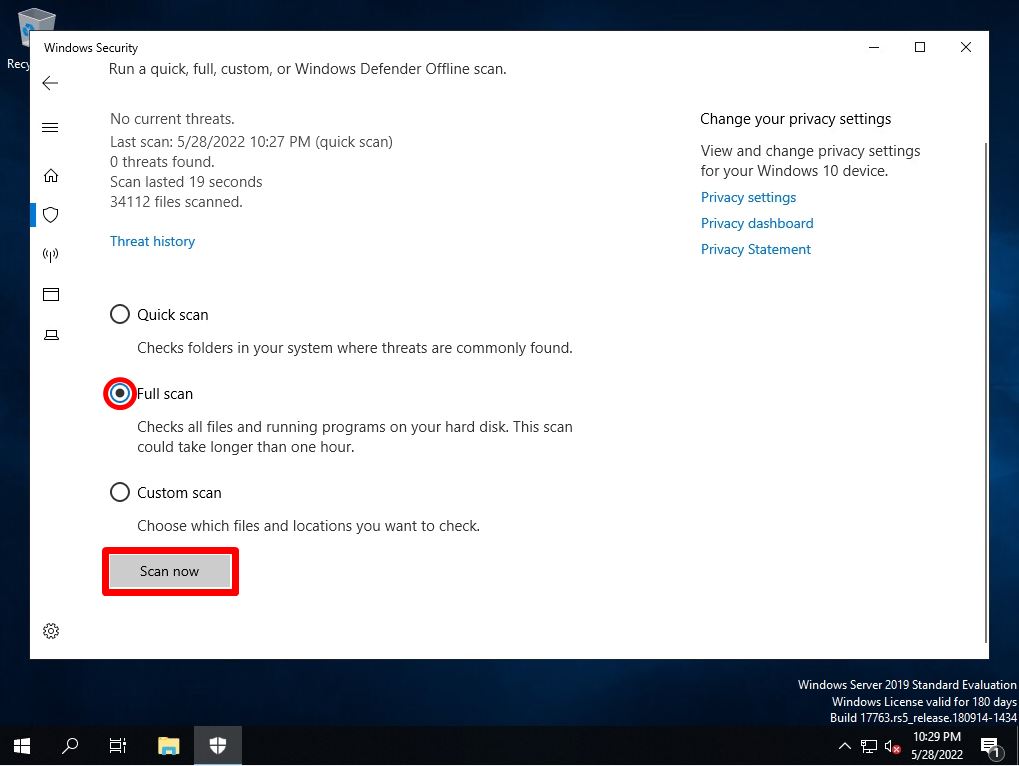
Select Full scan –> Scan now to run.
After executing the “Scan now” button, scanning will start automatically.
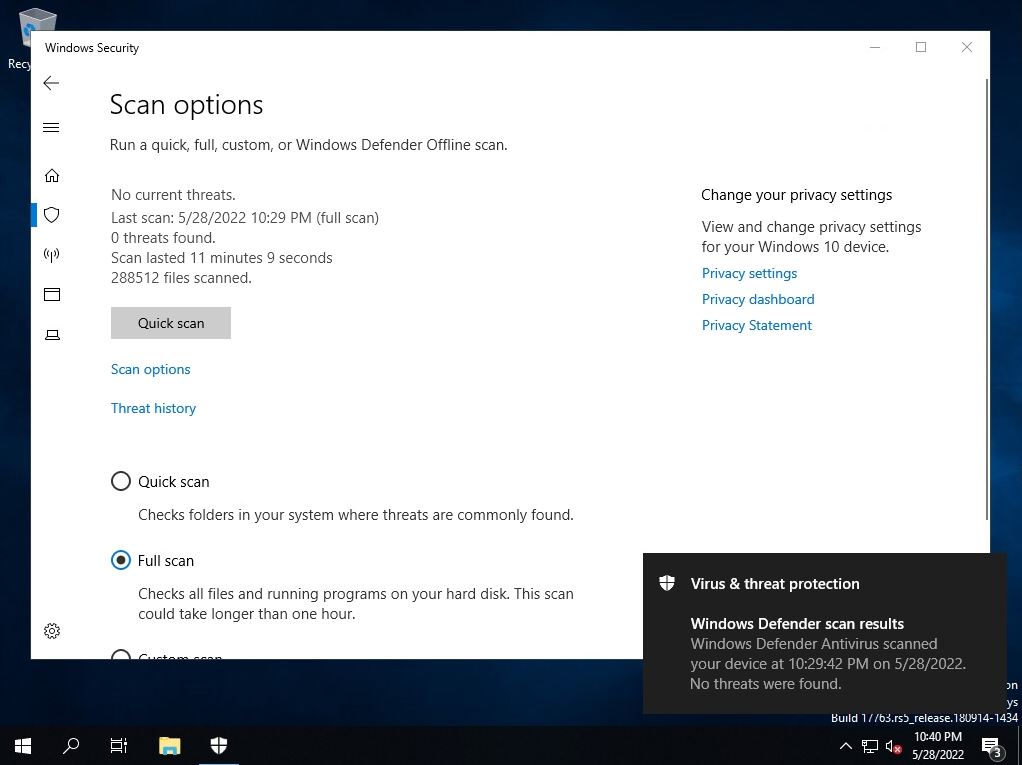
After a full Windows Defender scan, the results of the Windows Defender scan are printed.
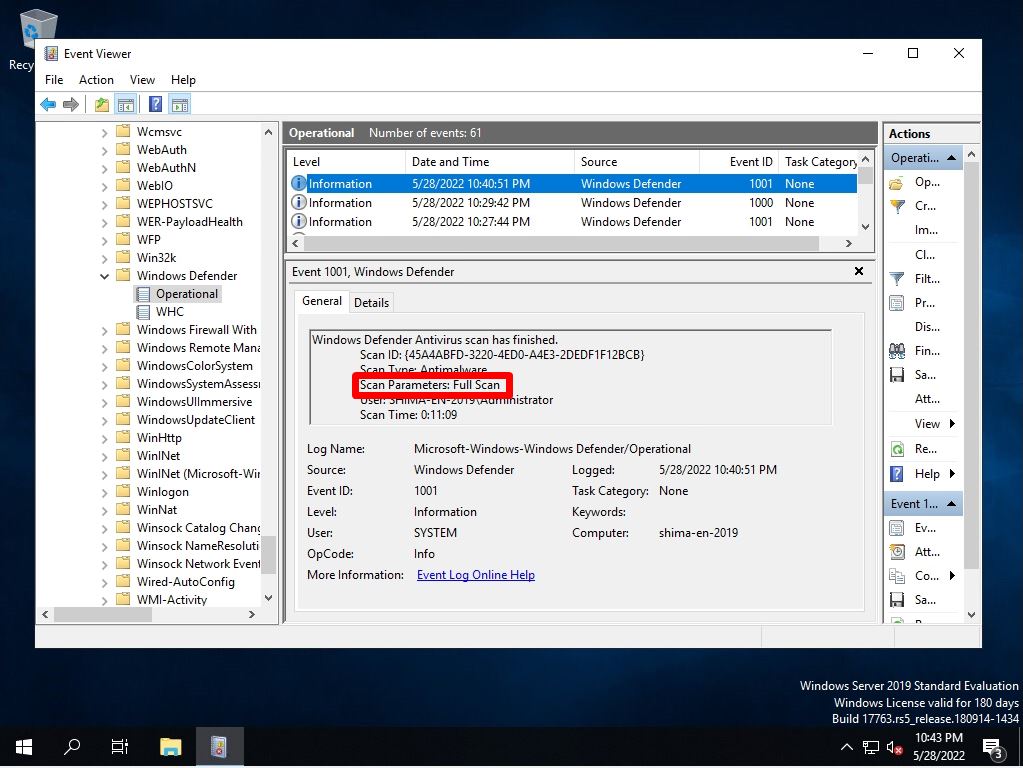
The full scan result of Windows Defender is output to the event viewer. You can check the “scan type”, “scan time”, etc. in the log. If you want to see the log history from the event log, go to Windows Defender-> Operational. The location of the log history details is as follows. * It is output to the same location when executing quick scan or custom scan.
Event Viewer
-Application and Services Logs
-Microsoft
-Windows
-Windows Defender
-Operational
Windows Server 2019: Windows Defender Custom Scan Run
Step 1:
Select the Windows mark at the bottom left of your desktop.

Step 2:
Select “Windows Security”.

Step 3:
Click Virus & threat protection in the left pane –> select Scan options.
Step 4:
Select Custom scan –> Scan now.
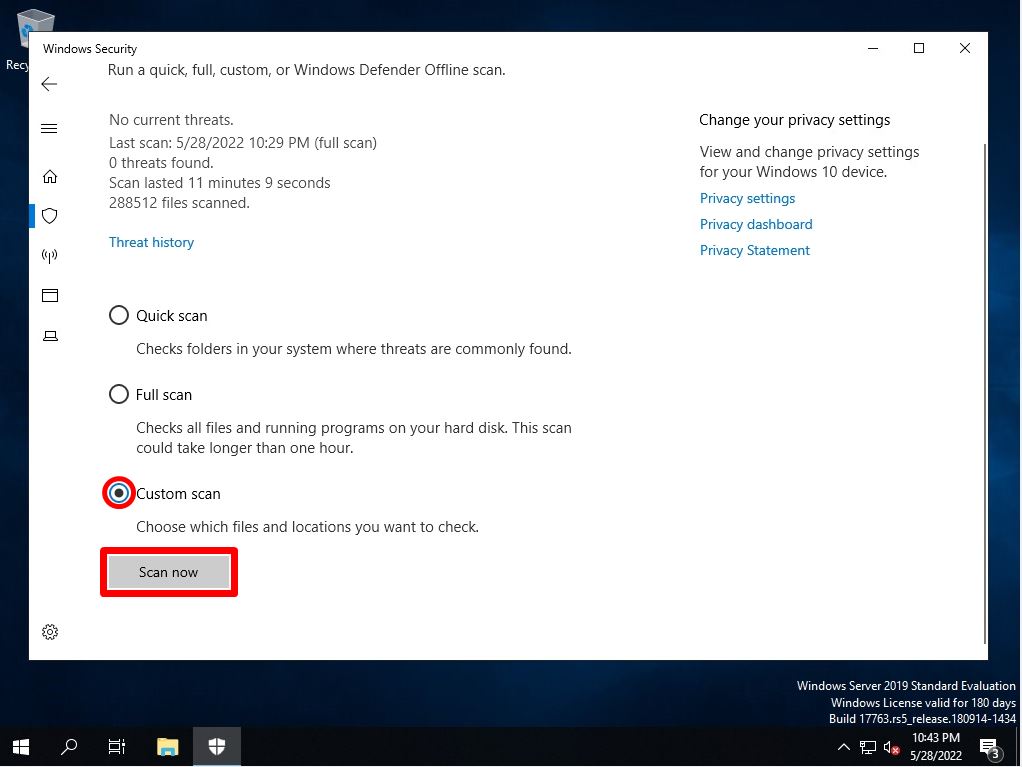
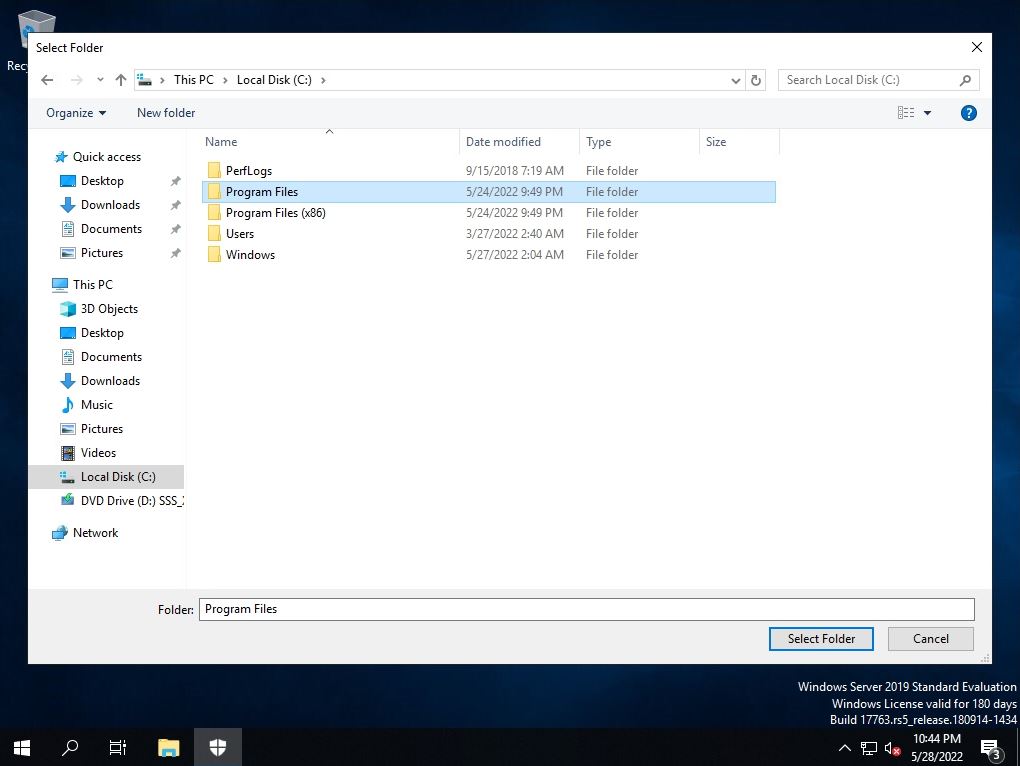
Step 5:
Select a drive (C drive, D drive, etc.) and target folder –> Click “Select Folder”.
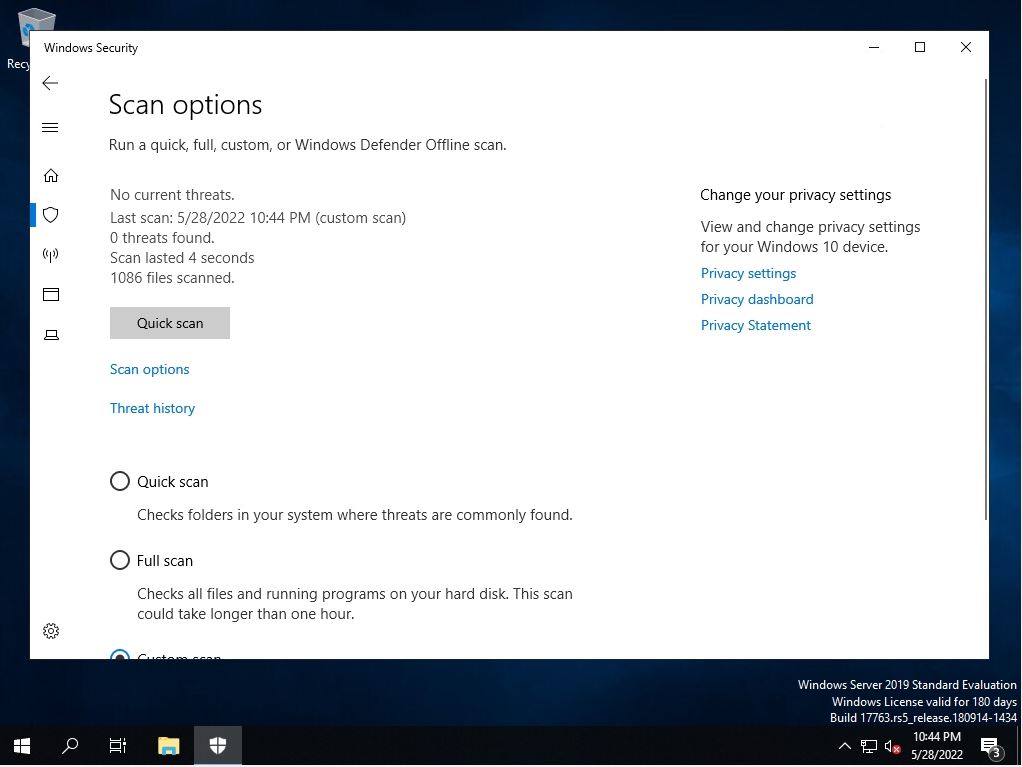
A confirmation of the completion of “Custom scan” is displayed on the scan options screen.
Windows Defender custom scan results are output to Event Viewer. You can check the “scan type”, “scan time”, etc. in the log. If you want to see the log history from the event log, go to Windows Defender-> Operational. The location of the log history details is as follows. * It is output to the same location even when quick scan / full scan is executed.
Event Viewer
-Application and Services Logs
-Microsoft
-Windows
-Windows Defender
-Operational