Active Directory ドメインサービス(AD DS)のデータをバックアップするには、Windowsサーバーに標準搭載されているWindows Server バックアップでシステム状態データをバックアップします。本記事では、Windows Server 2019 を利用したバックアップ手順を解説します。※「Windows Server バックアップ」を利用するためには、役割と機能の追加の「機能の選択」画面で有効化する必要があります。
AD(Active Directory):Windows Server バックアップ手順
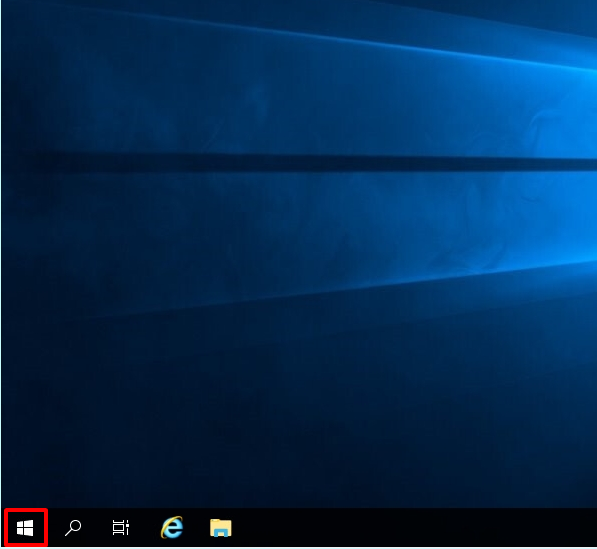
手順 1:
デスクトップ画面左下の「 Windowsアイコン」を選択します。
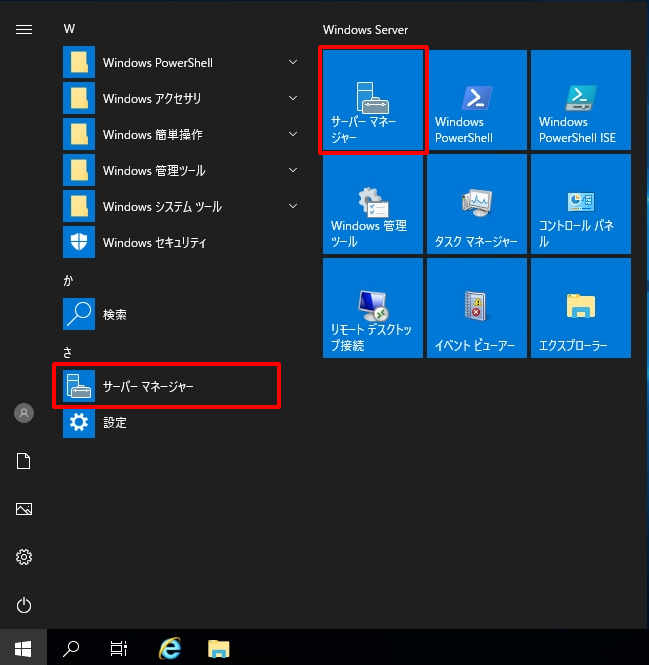
手順 2:
「サーバーマネージャー」を選択します。
手順 3:
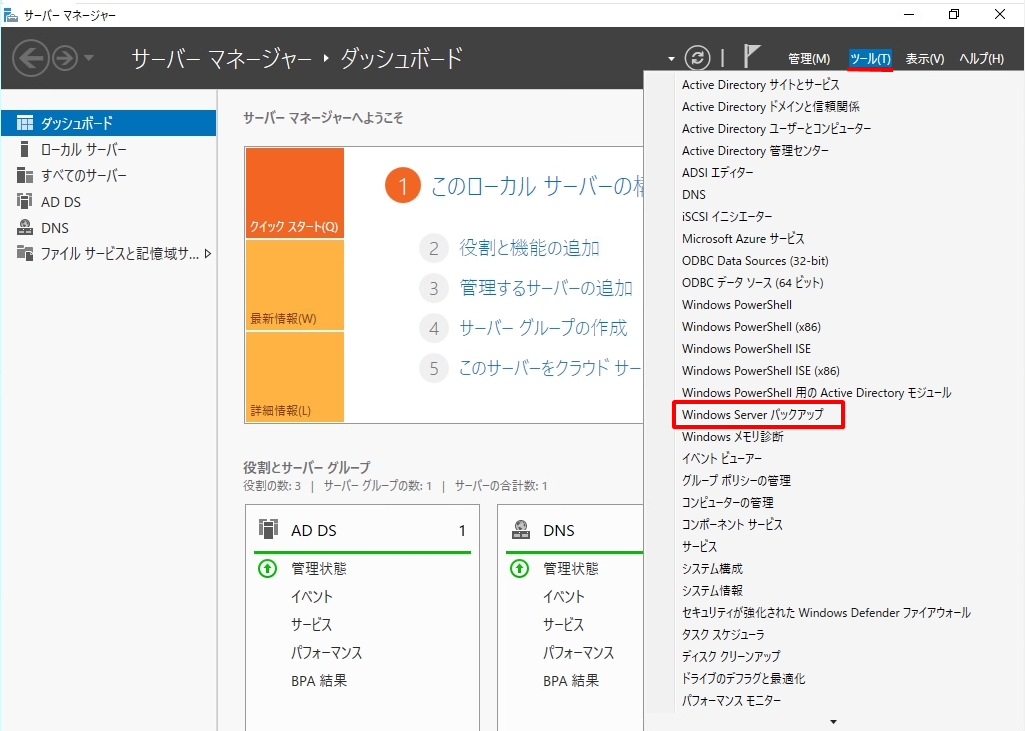
「ツール」->「Windows Server バックアップ」を選択します。
手順 4:
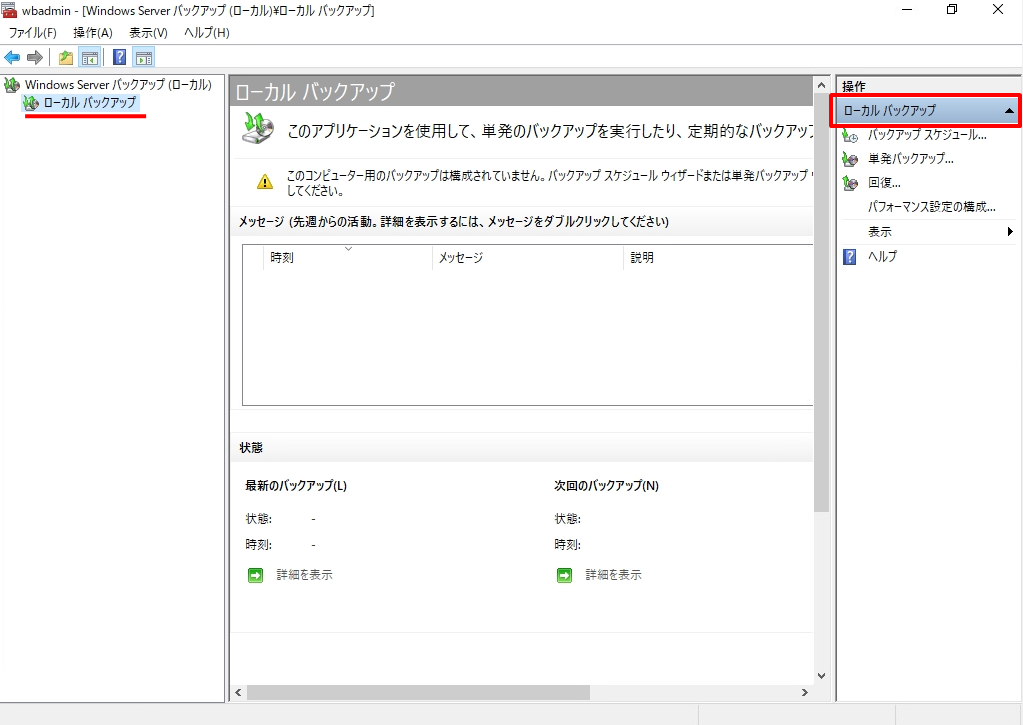
左ナビゲーションの「ローカルバックアップ」-> 操作「ローカルバックアップ」を選択します。
手順 5:
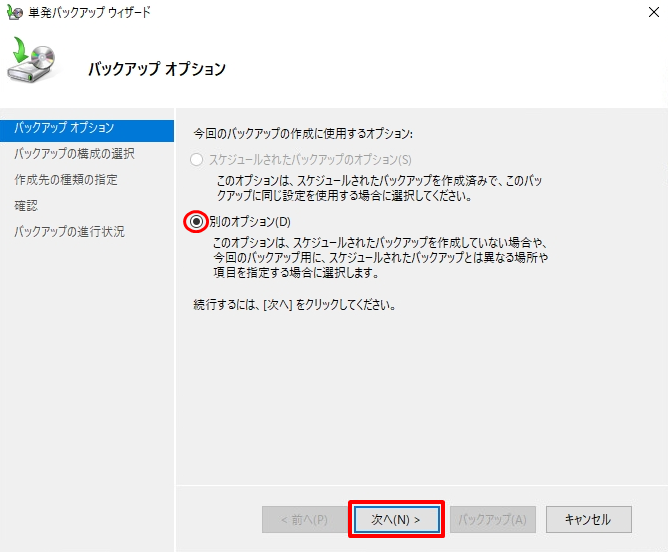
「別のオプション」->「次へ」を選択します。
手順 6:
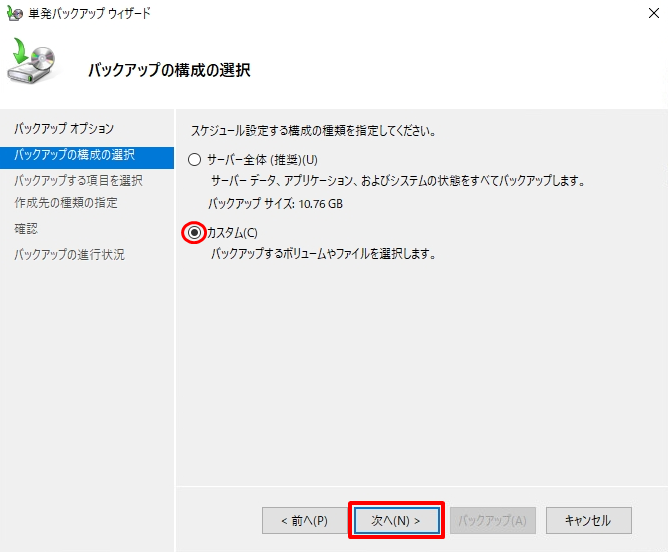
「カスタム」->「次へ」を選択します。
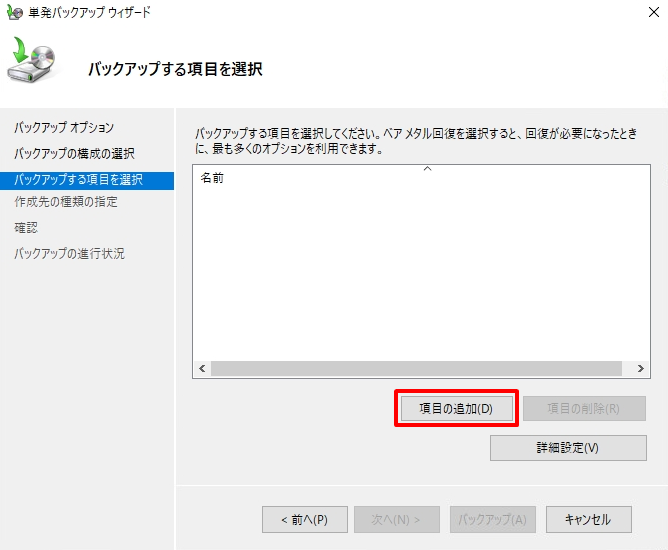
手順 7:
「項目の追加」を選択します。
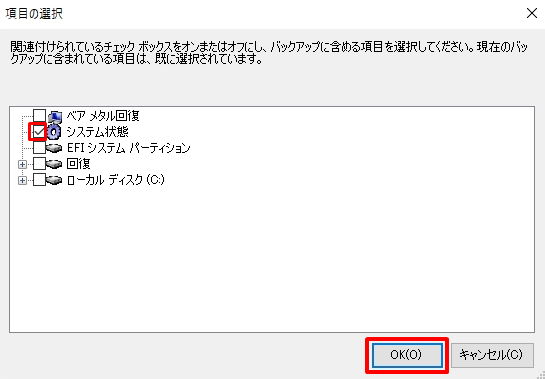
手順 8:
「システム状態」を有効化 ->「OK」を選択します。
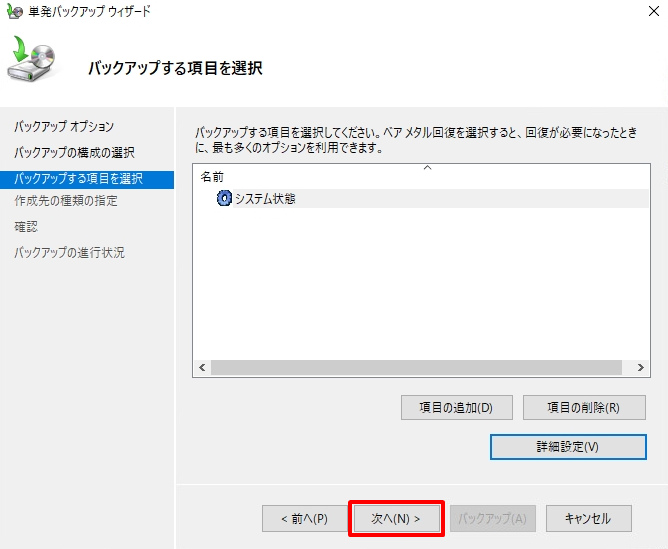
手順 9:
バックアップする項目を選択画面 -> 「次へ」を選択します。
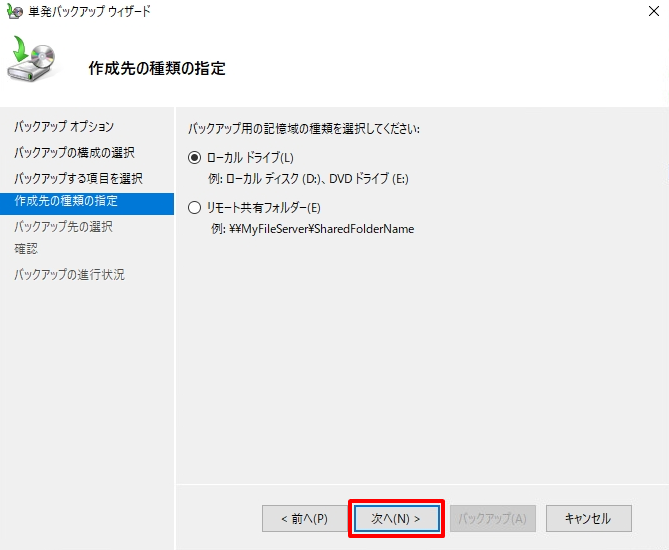
手順 10:
ローカルドライブにバックアップするか、ネットワーク上のリモート共有フォルダーにするか選択します。
※本記事では、ローカルドライブのEドライブにバックアップしています。
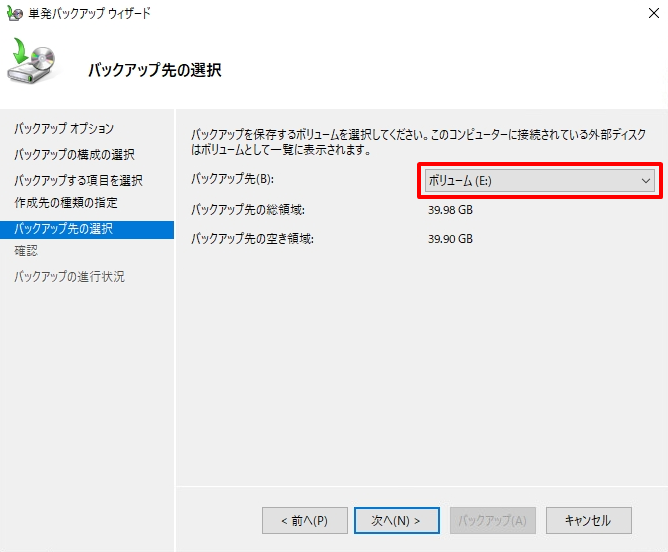
手順 11:
バックアップ先の選択画面でバックアップ先を選択します。
※本記事では、Eドライブのローカルドライブにバックアップしています。
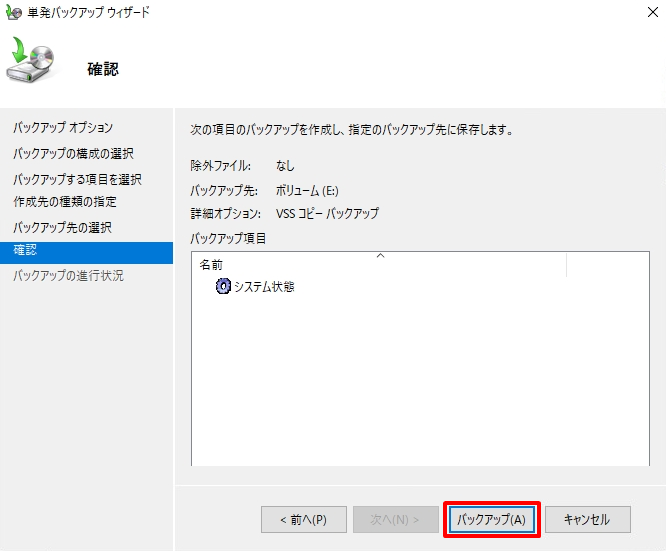
手順 12:
確認画面で「バックアップ」を選択します。
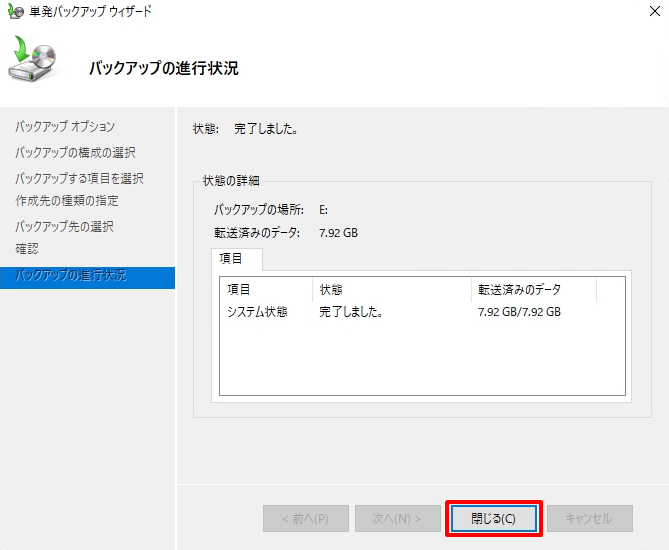
手順 13:
バックアップ終了後、「閉じる」を選択します。