Ubuntu Desktop is one of the most popular Linux distributions for desktop operating systems. Ease of use as a desktop like Windows 7 / Windows 10 ・It is attracting attention because it is equipped with LibreOffice, a free office product compatible with Microsoft Office, as standard.
Regardless of Windows or Linux OS, there are many cases where you want to check the network settings. This article describes the procedure to check the private IP address of Ubuntu Desktop 22.04 LTS GUI (graphical operation) and CUI (command line) using a Terminal.
Private IP address confirmation by GUI (graphical operation)
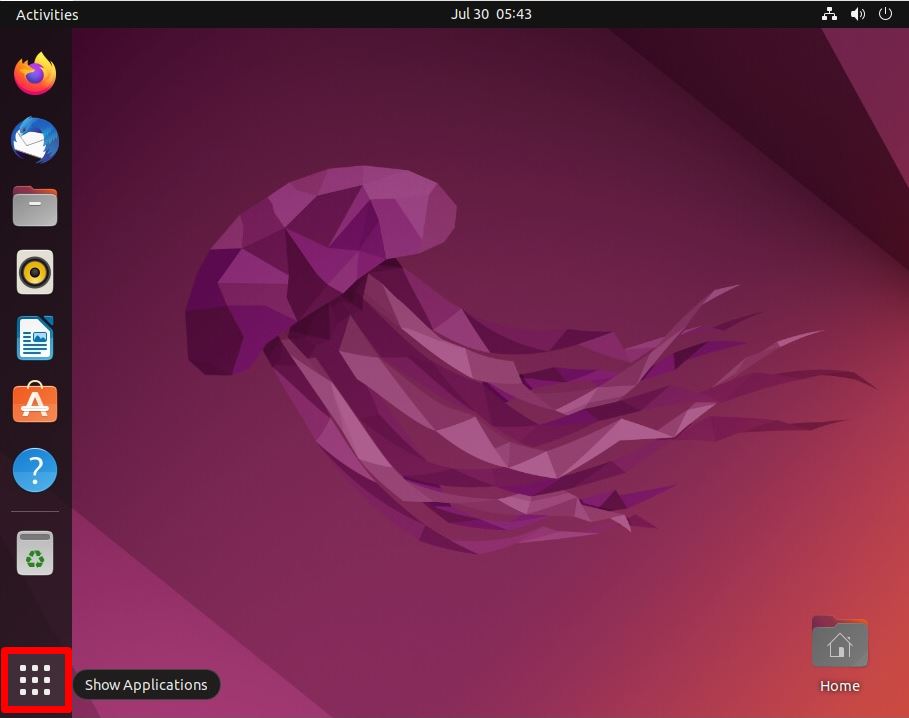
Step 1:
Select “Show Applications” in the lower left corner of the desktop.
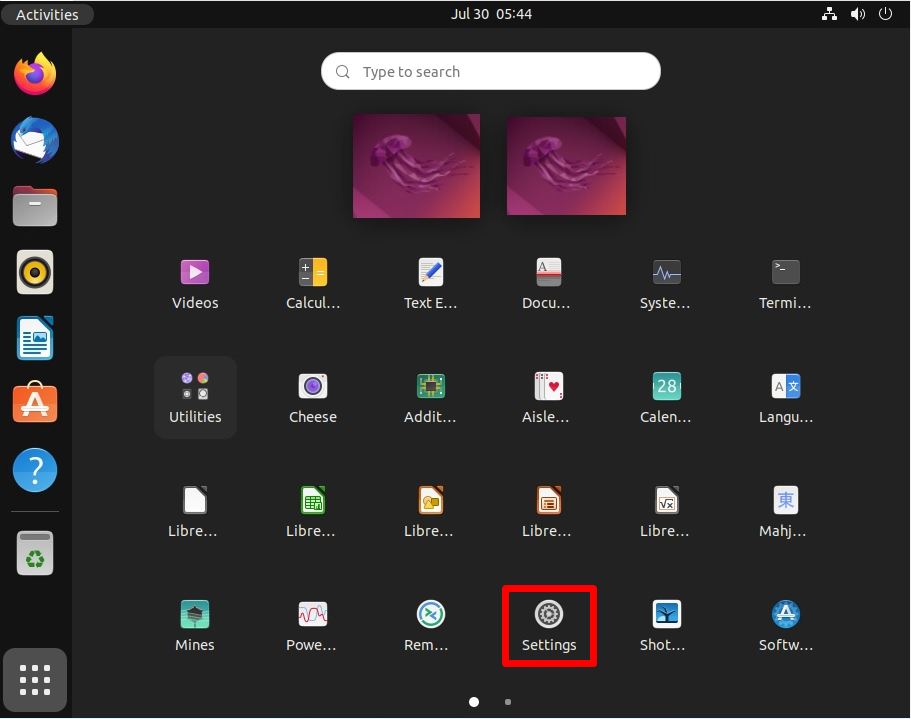
Step 2:
Select “Settings”.
Step 3:
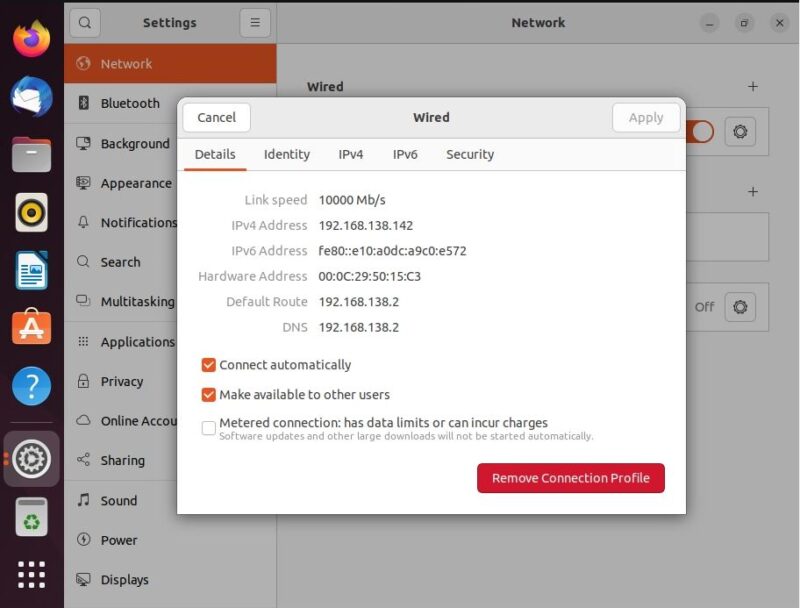
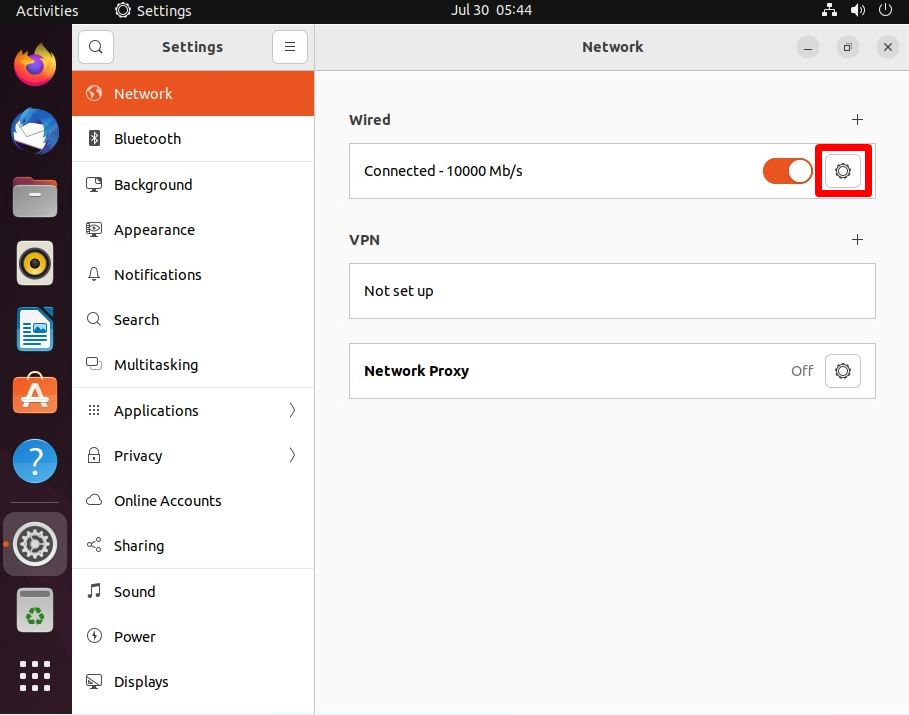
Select “Network” -> “Gear icon”.
Step 4:
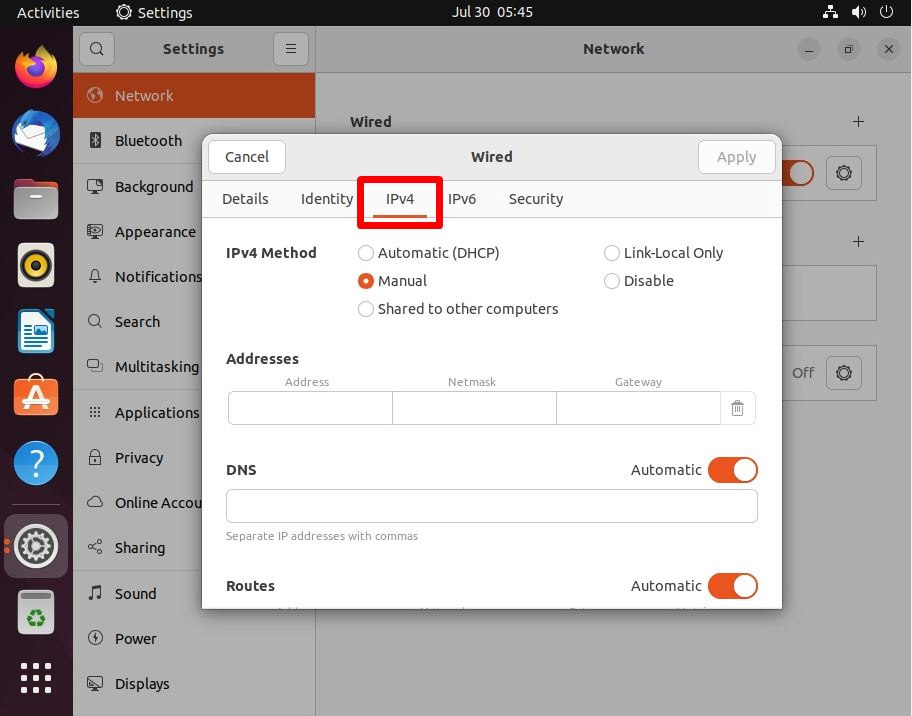
You can see the private IP address in “Details” -> IPv4 Address.

Confirmation of private IP address by command using “Terminal”
Step 1:
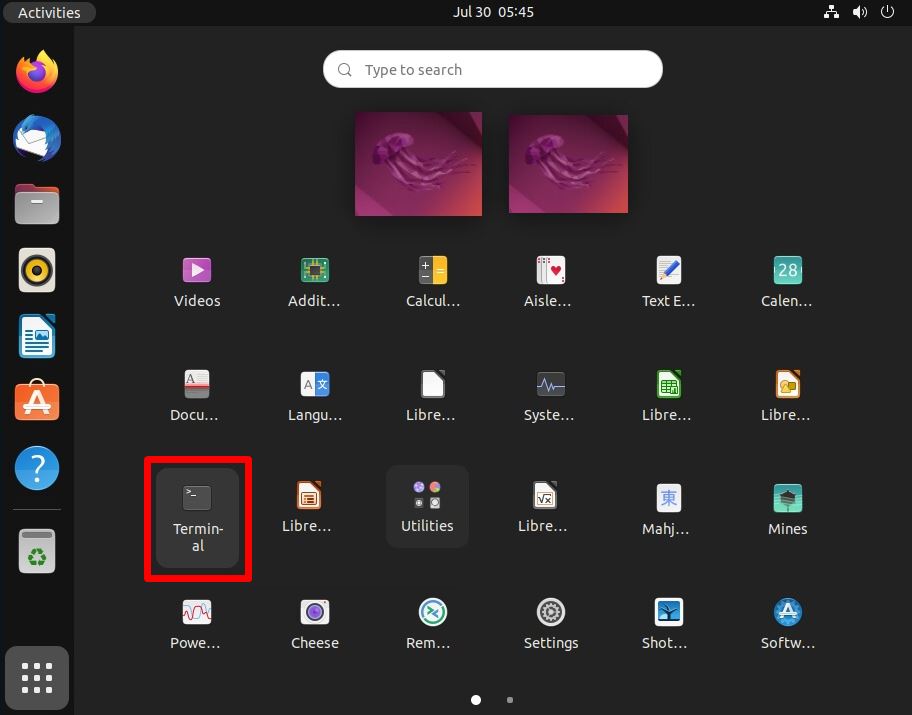
Select “Show Applications” in the lower left corner of the desktop.

Step 2:
Select “Terminal”.
Step 3:
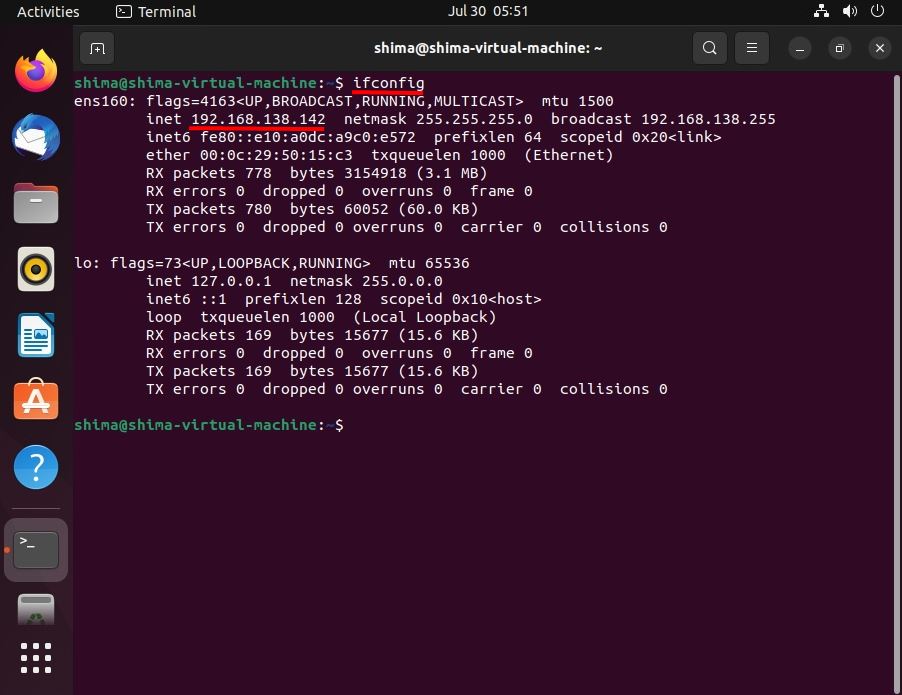
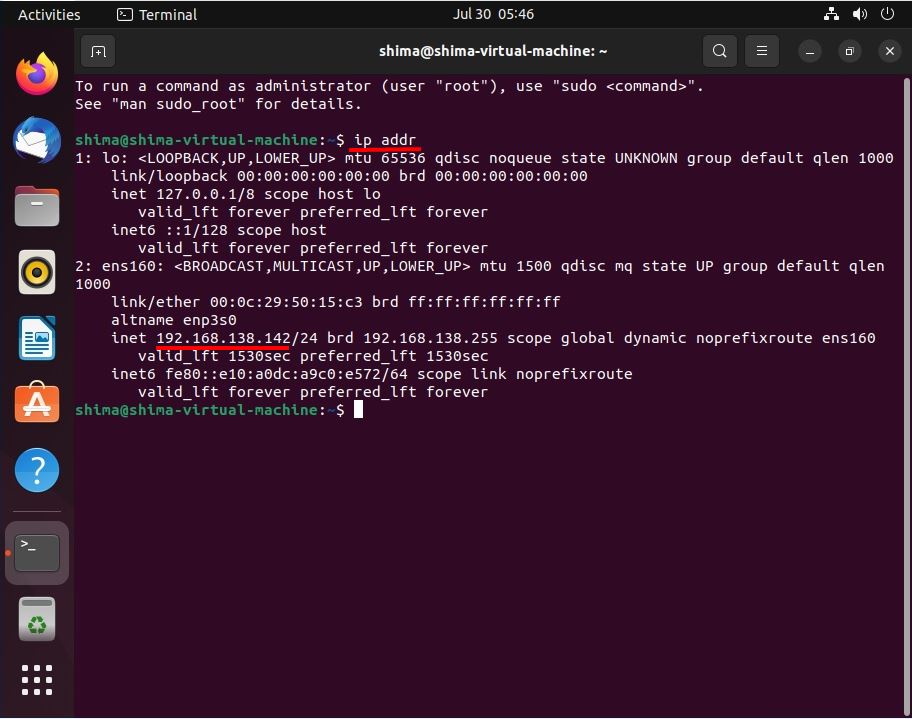
Execute the network display command to check the IP address.
Execution Command
ip addr
When using the ifconfig command, install the “net-tools” package with the apt command.
Execution Command
sudo apt install net-tools
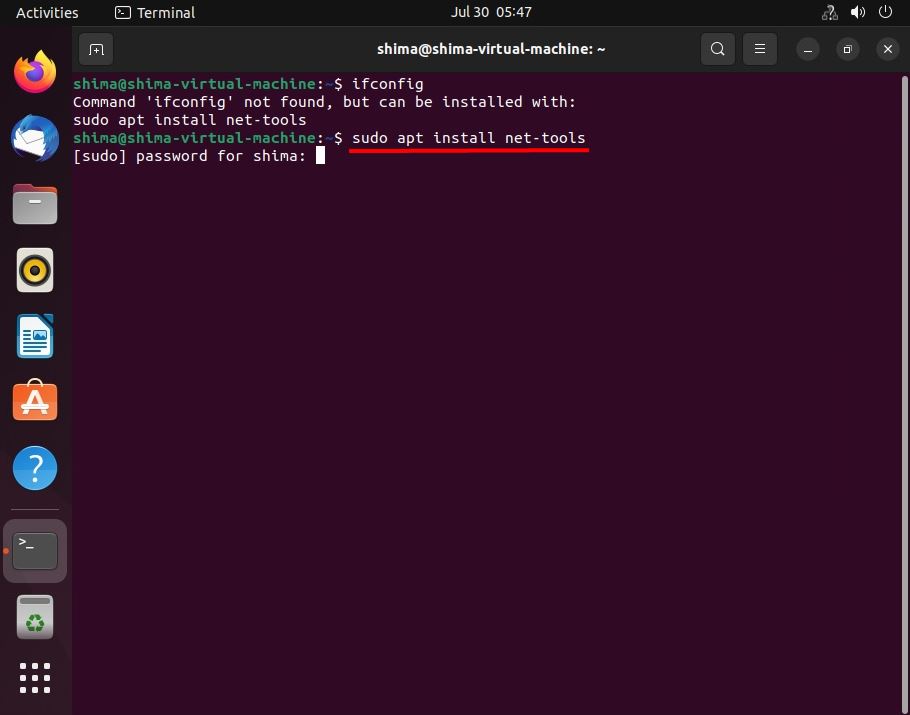
Execute the ifconfig command to display the private IP address.
Execution Command
ifconfig
The IP address confirmation commands using the command line on Linux OS are “ip addr” and “ifconfig”. *In Windows OS, the command is “ipconfig” and the execution command is different.