Defragmentation is a function that rearranges fragmented files on a hard disk (HDD) or solid state drive (SSD) into the correct location. You can do this with the free tool “Defragment and Optimize Drives” that is available as standard in Windows 7. The execution time due to defragmentation and optimization may take some time depending on the capacity of the drive and the number of fragmented files. If you are using a laptop computer, we recommend that you run it with the AC adapter connected.
By defragmenting the discs, it may be possible to eliminate the data division state and increase the read / write speed. * Defragmentation is a function to organize scattered data. It is not a function to increase the free disk space.
In this article, we will explain the procedure for executing “Drive Defragmentation and Optimization” using Windows 7, and how to check the log in Event Viewer, which allows you to check the defragmentation execution history.
Windows 7 PC Disk Defragmenter:How to run “Defragment and Optimize Drives”
Step 1:
Select the Windows mark at the bottom left of the desktop screen.
Step 2:
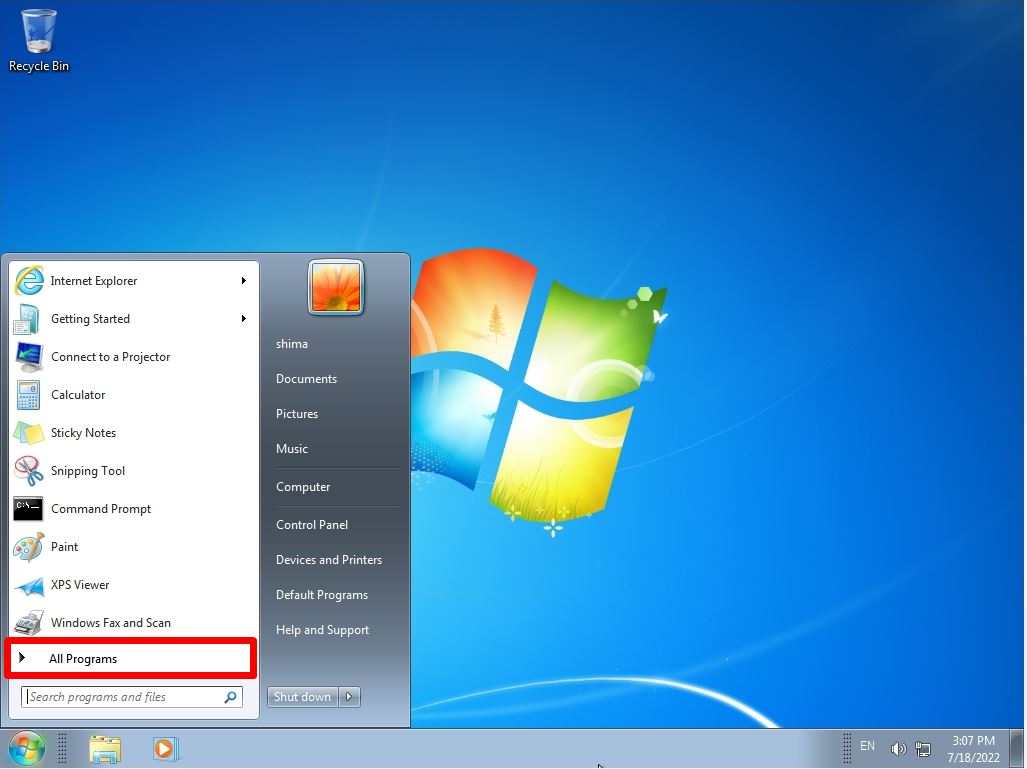
Select “All Programs”.
Step 3:
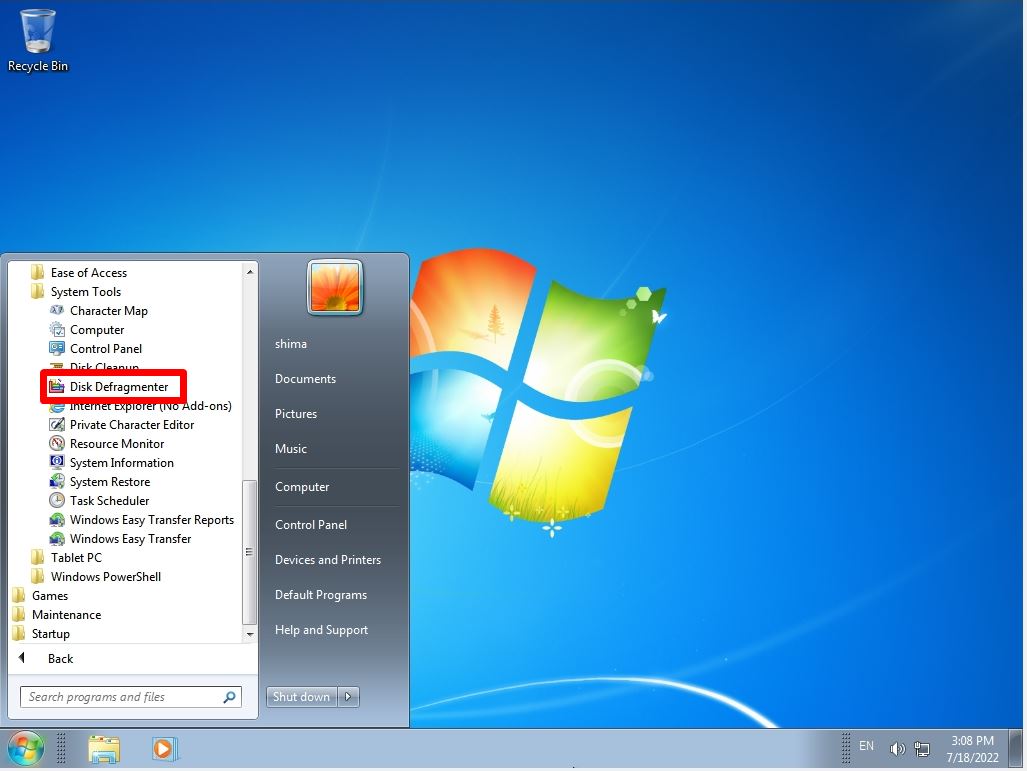
Select Accessories-> System Tools-> Disk Defragmenter.
Step 4:
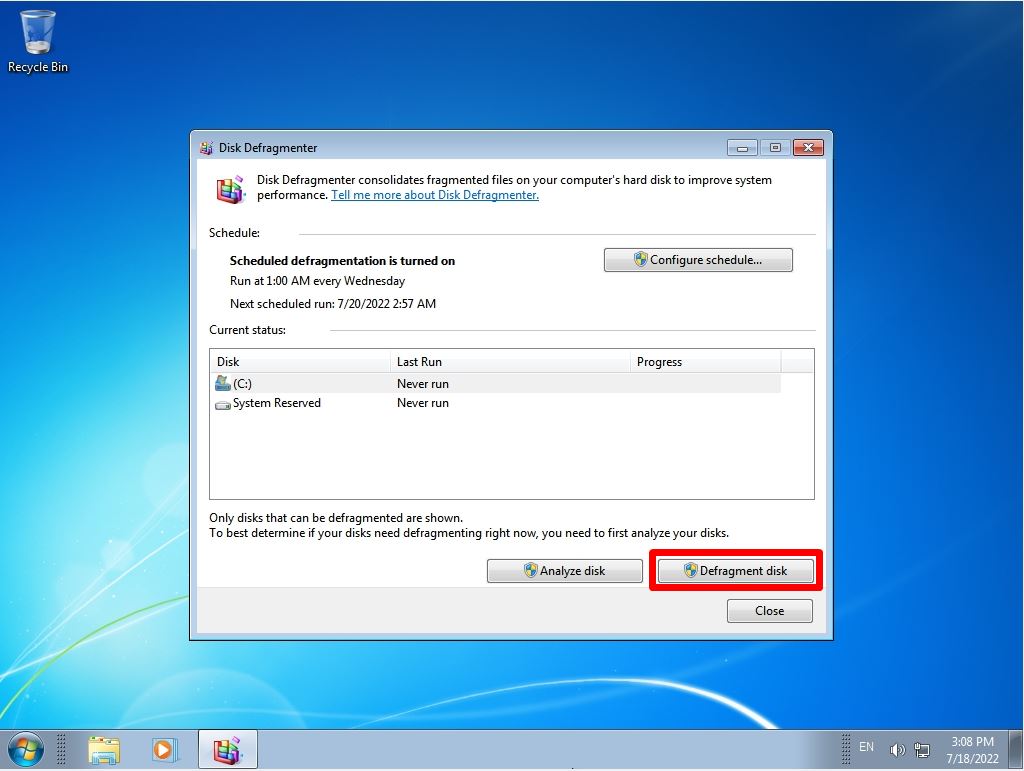
Disk Defragmenter screen: Select a drive such as C drive or D drive-> Select “Defragment disk”.
Step 5:
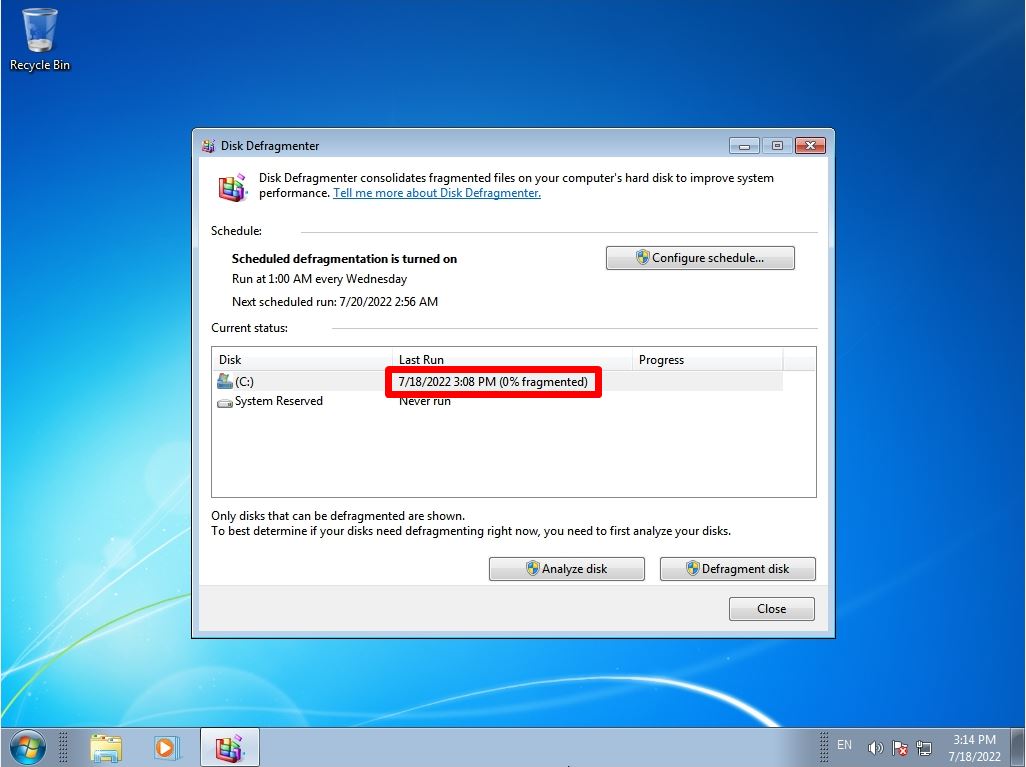
Defragmentation is complete when the “execution date” is displayed in the last execution.
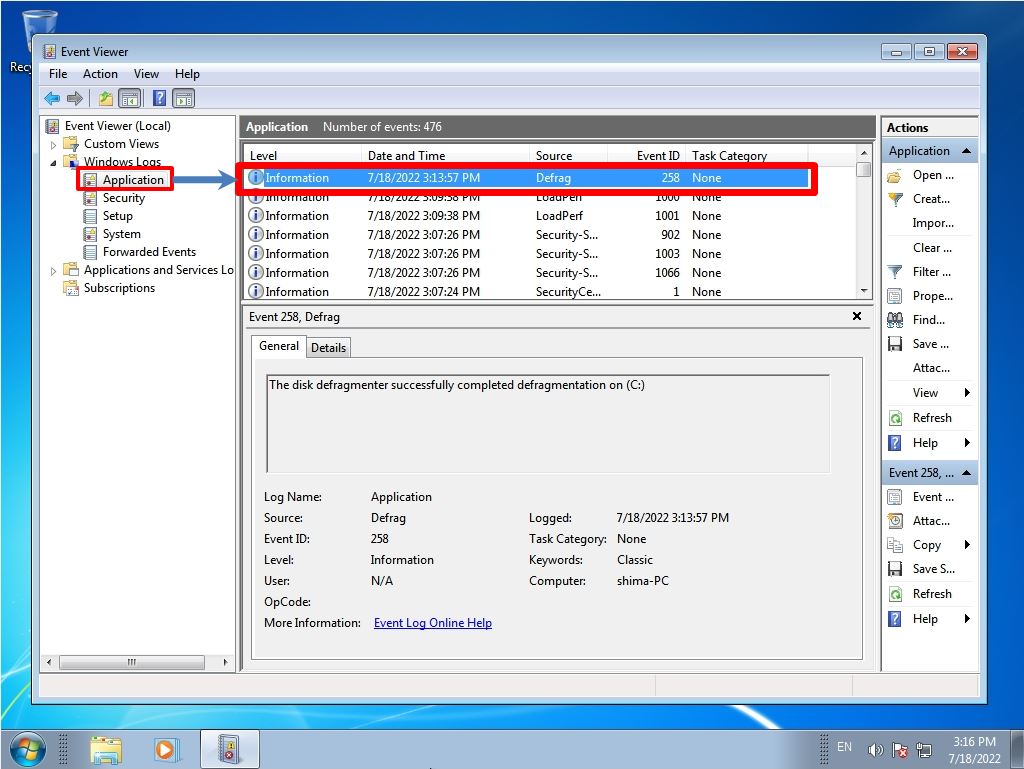
Windows7 PC Disk Defragmentation:Event Viewer Log Check
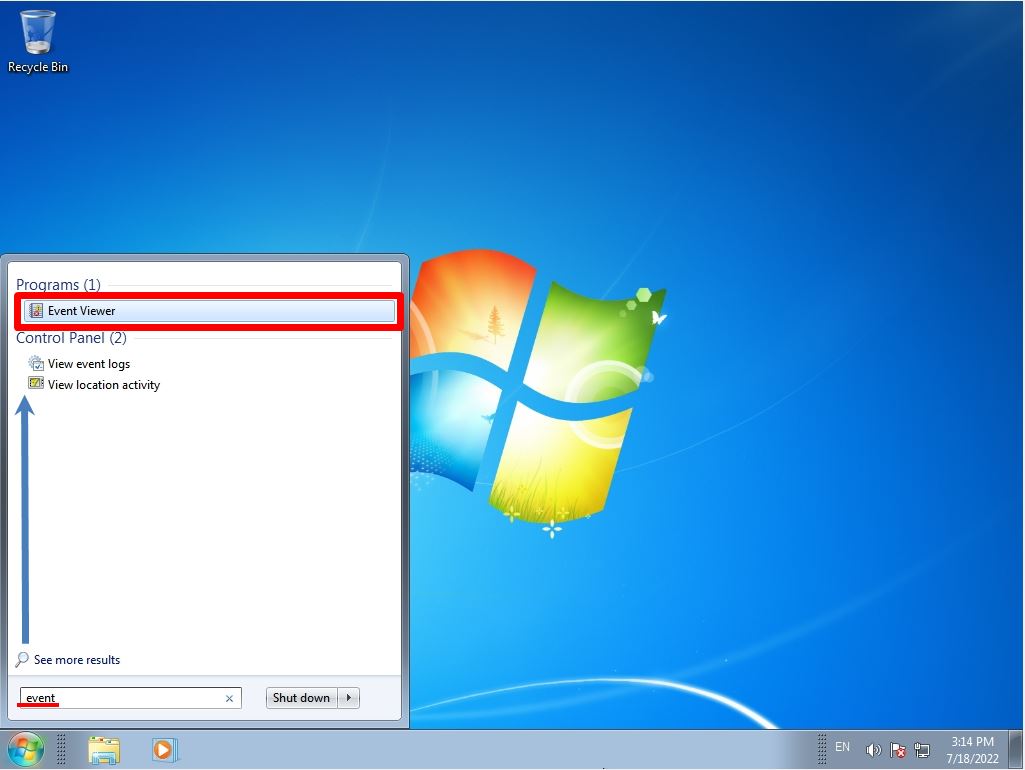
You can see the results of the Disk Defragmenter in the Event Viewer log. Click “Windows mark” at the bottom left of the desktop screen -> Enter “event” in the search window -> Select “Event Viewer”.
Windows Logs -> Application -> The “Defrag” log is output to the source and the result is displayed.