Windows 11 : Internet Information Services is not installed by default. To add features, you need to enable and install the Internet Information Services checkbox in Control Panel -> Uninstall a program -> Turn Windows features on or off.
This time, I will explain how to install Internet Information Services (IIS) and connect to Internet Information Services in a Windows 11 environment.
Windows 11: Internet Information Services (IIS) Installation
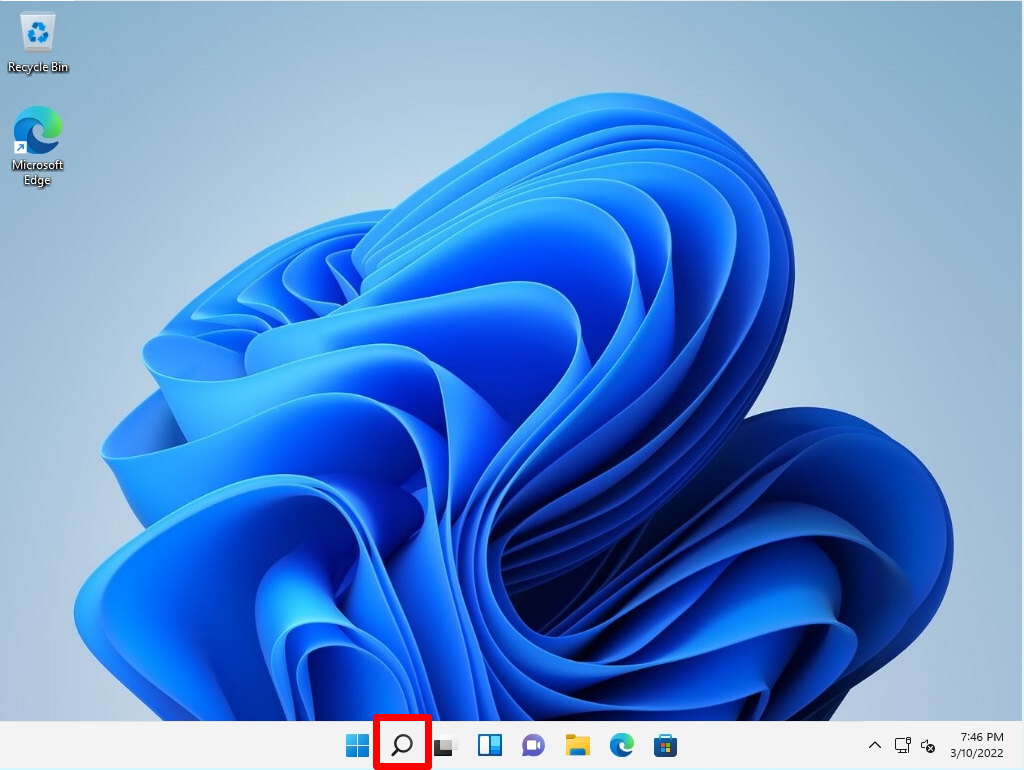
Step 1:
Select “Search” on the taskbar.
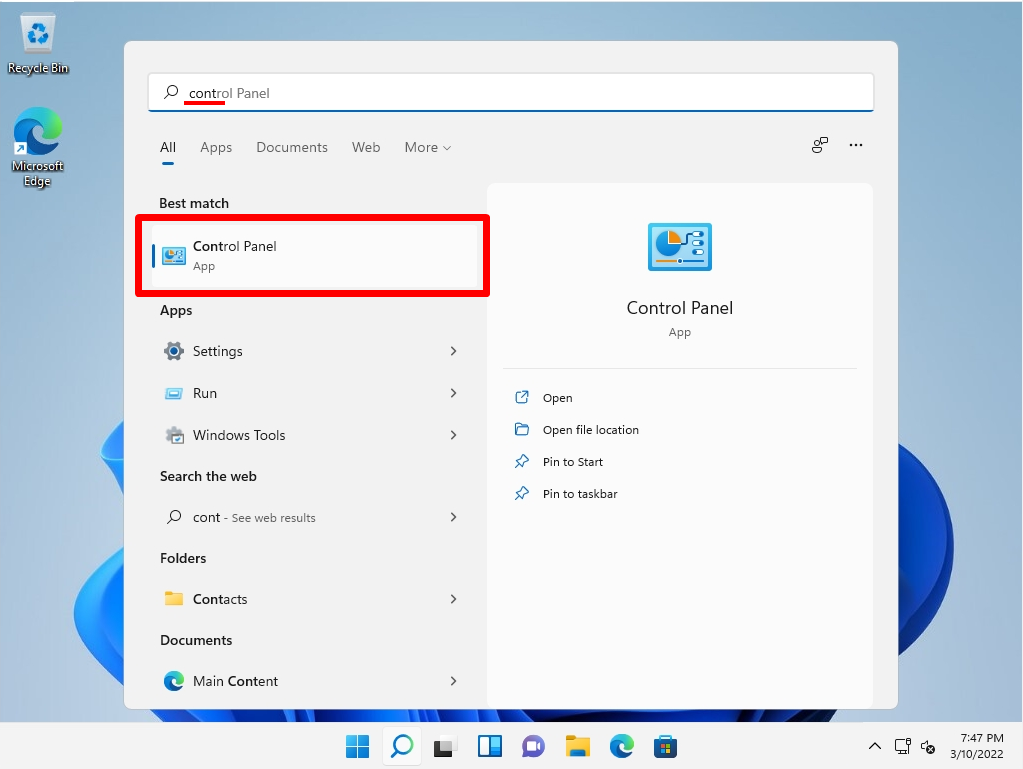
Step 2:
Enter “cont” as the search keyword -> Select “Control Panel”.
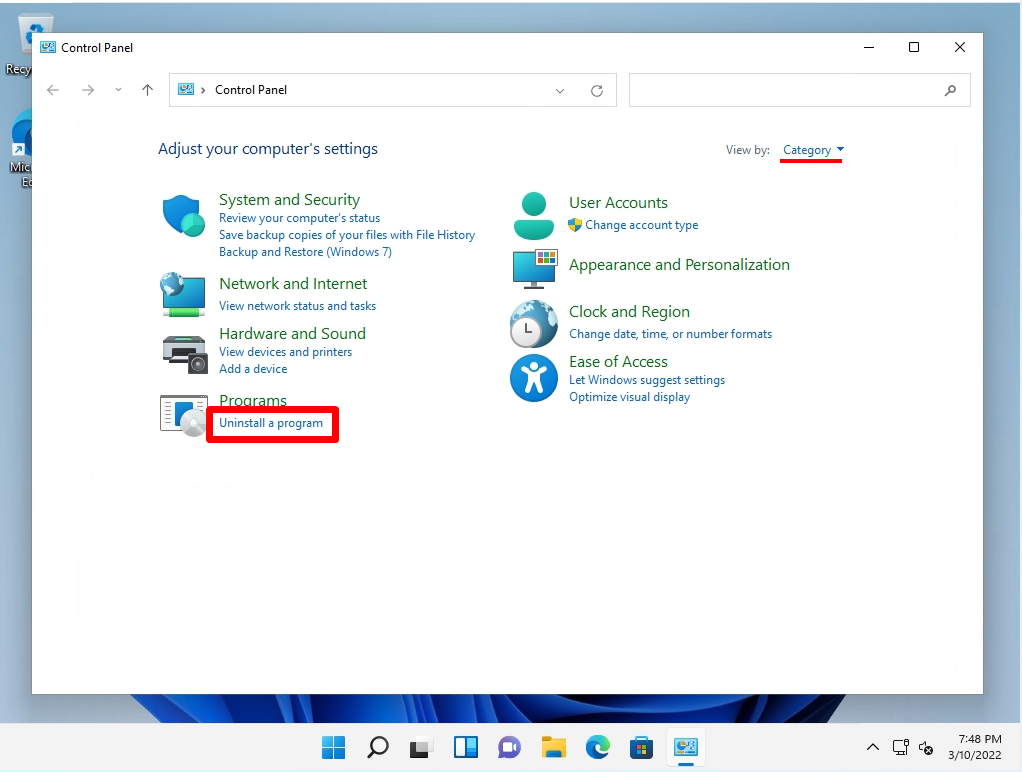
Step 3:
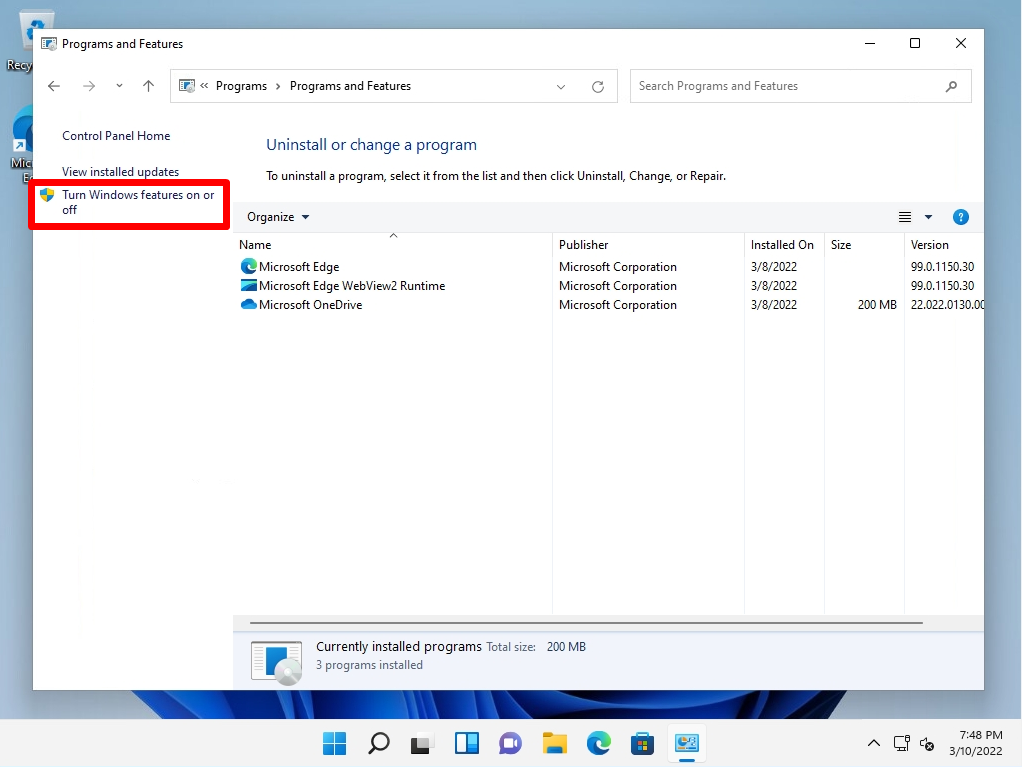
View by:Select Category -> “Uninstall a program”.
Step 4:
Select “Turn Windows features on or off”.
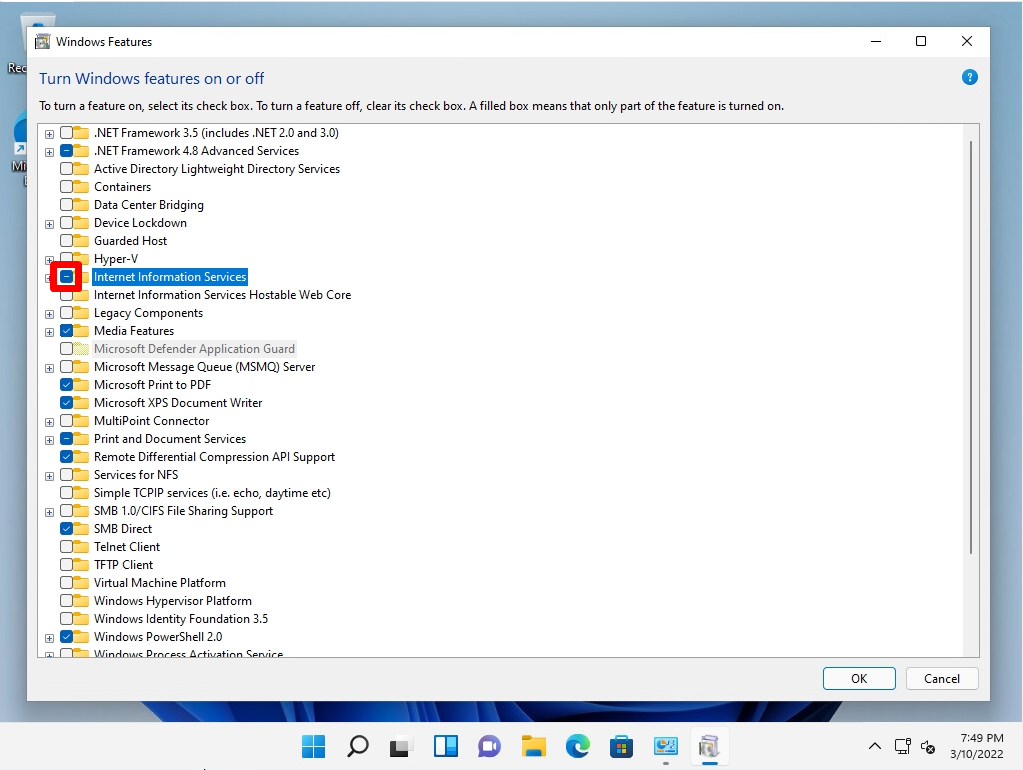
Step 5:
Enable the Internet Information Services checkbox -> select OK.
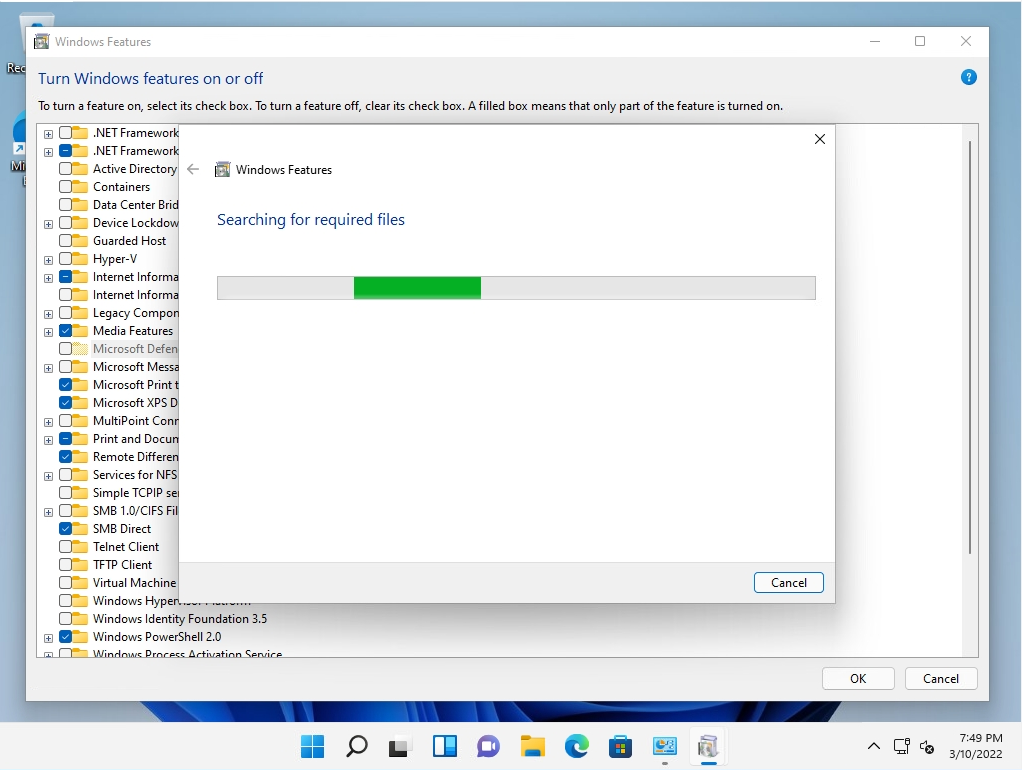
The change application process starts.
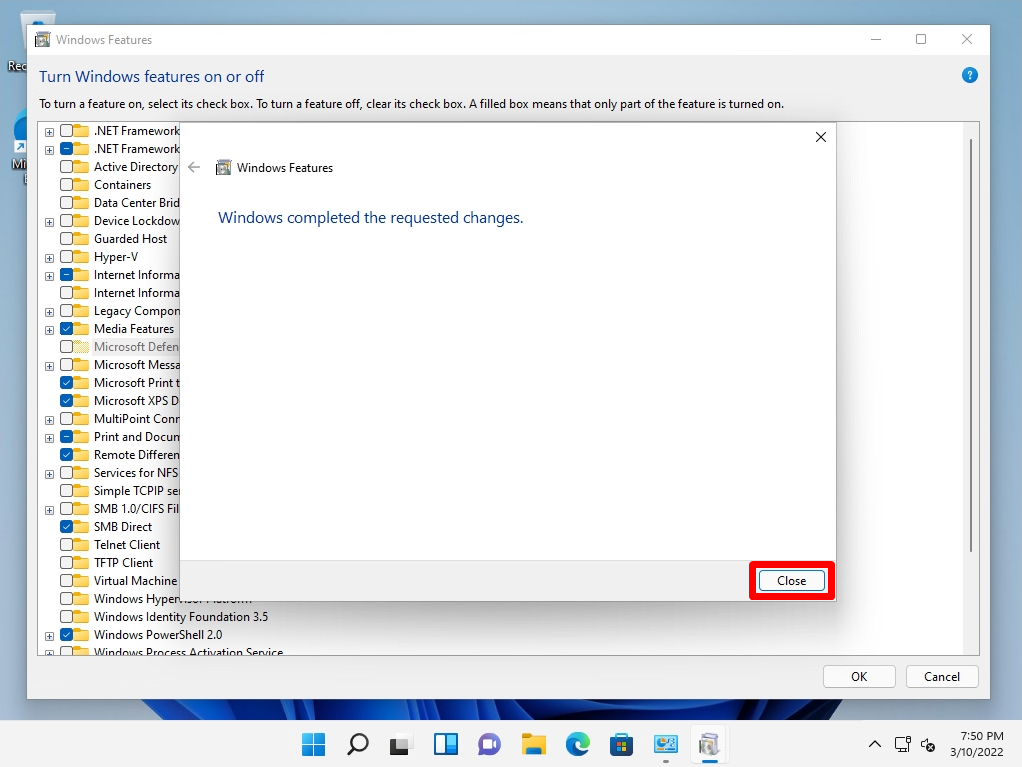
Step 6:
After the Internet Information Services installation is complete -> select Close.
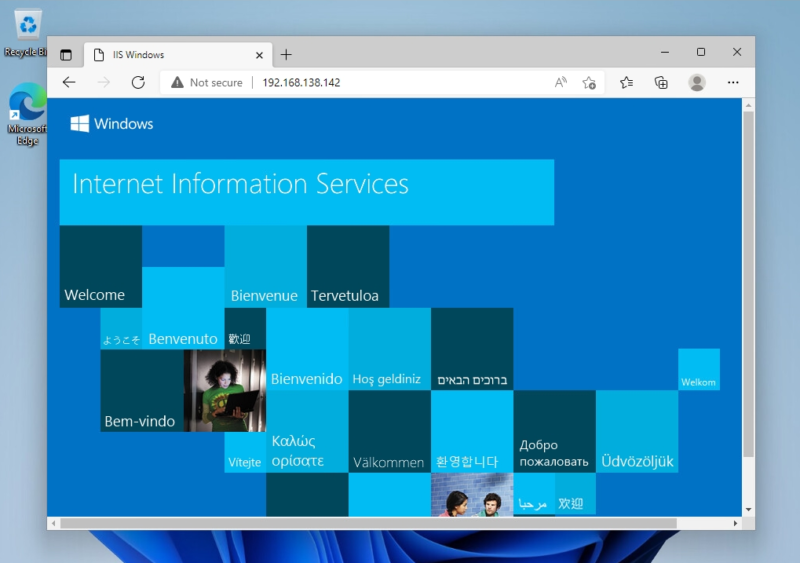
Windows 11: Internet Information Services (IIS) Connection Confirmation
Step 1:
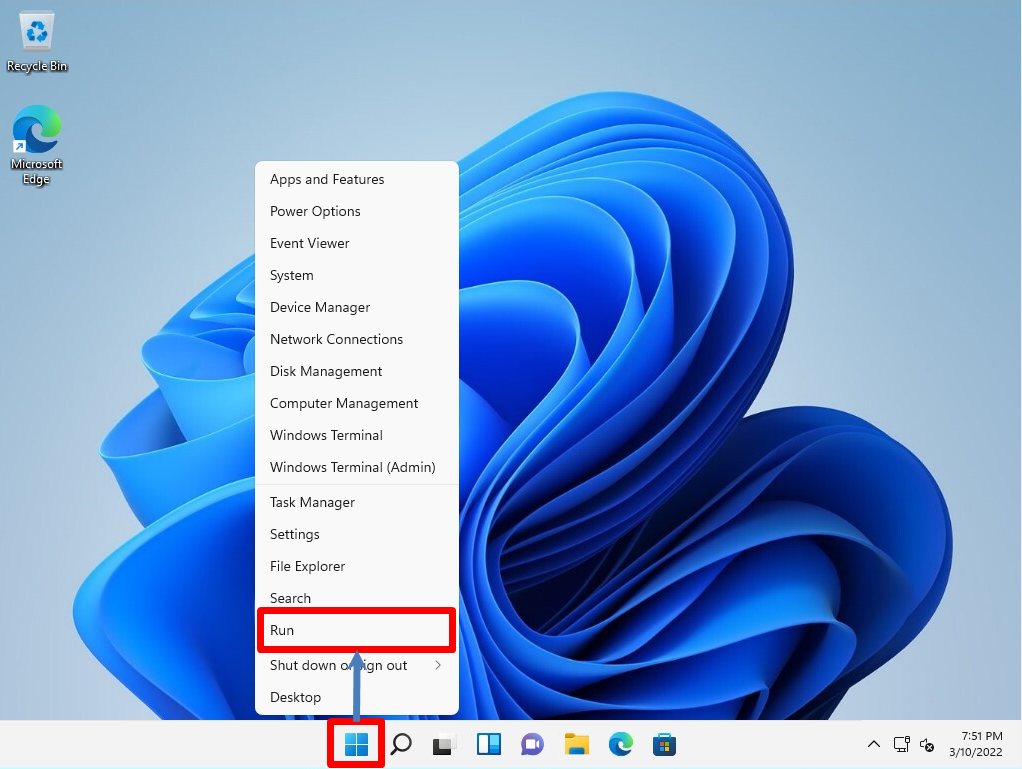
Right-click the Windows mark on the taskbar –> Select “Run”.
Step 2:
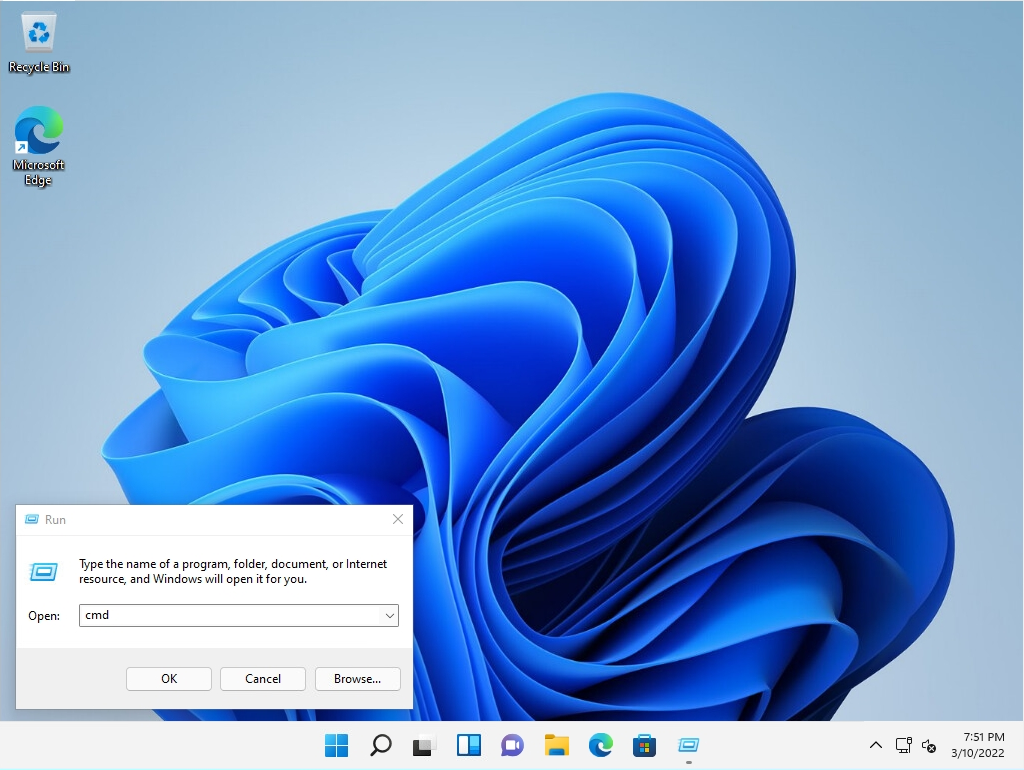
Enter cmd-> select OK.
Step 3:
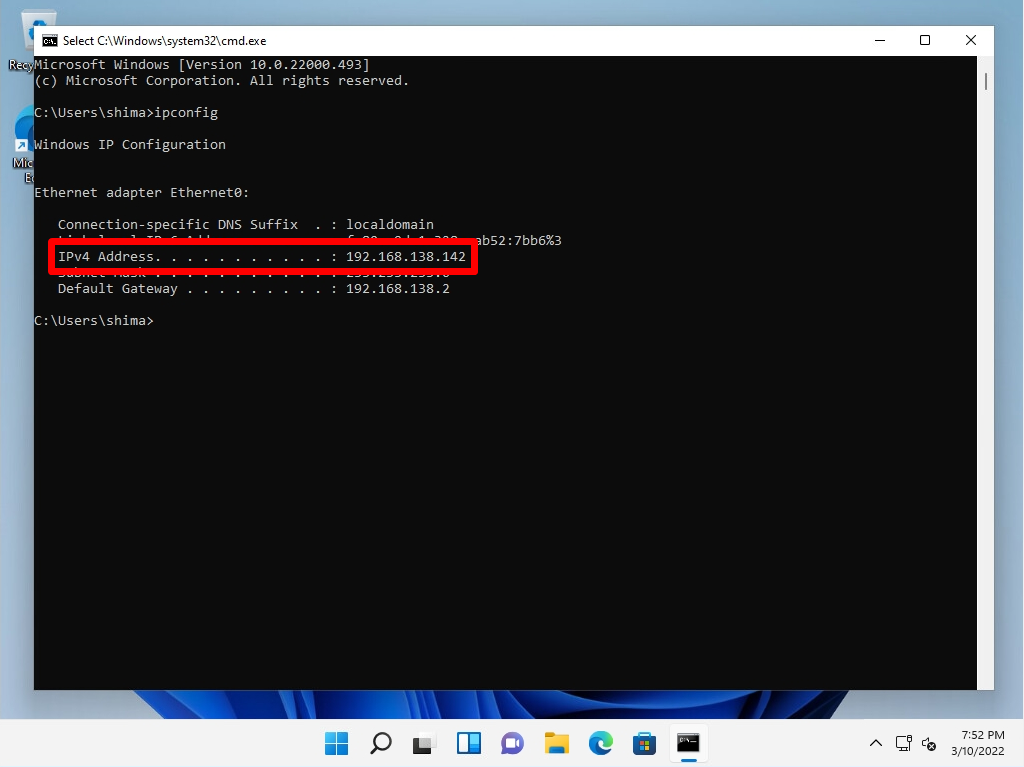
Enter “ipconfig” at the command prompt to check the IP address of your terminal.
Step 4:
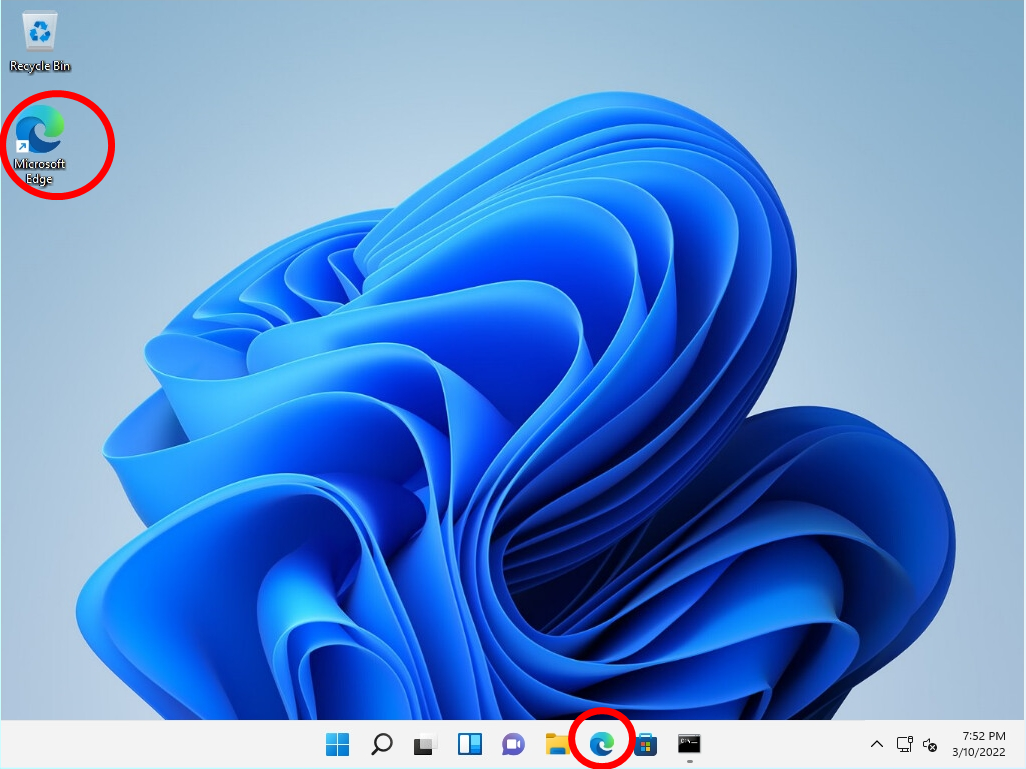
Launch your browser.
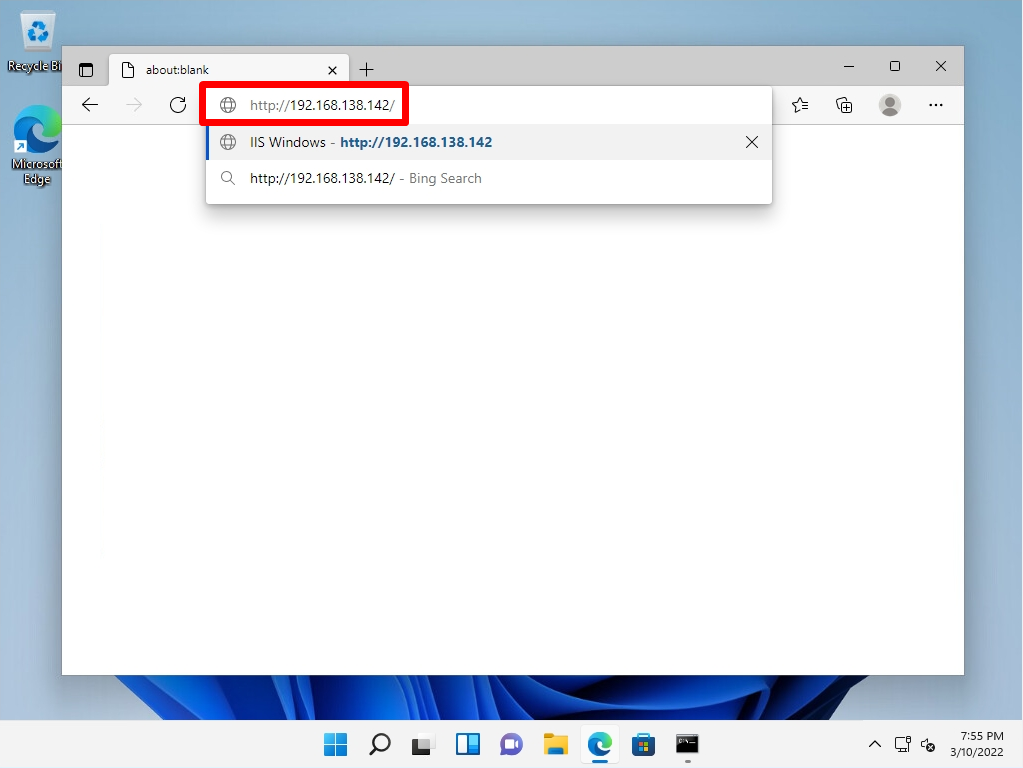
Step 5:
Enter the IP address of your terminal in the URL input field -> Press the “Enter” key.
Step 6:
Make sure you can connect to Internet Information Services (IIS).
