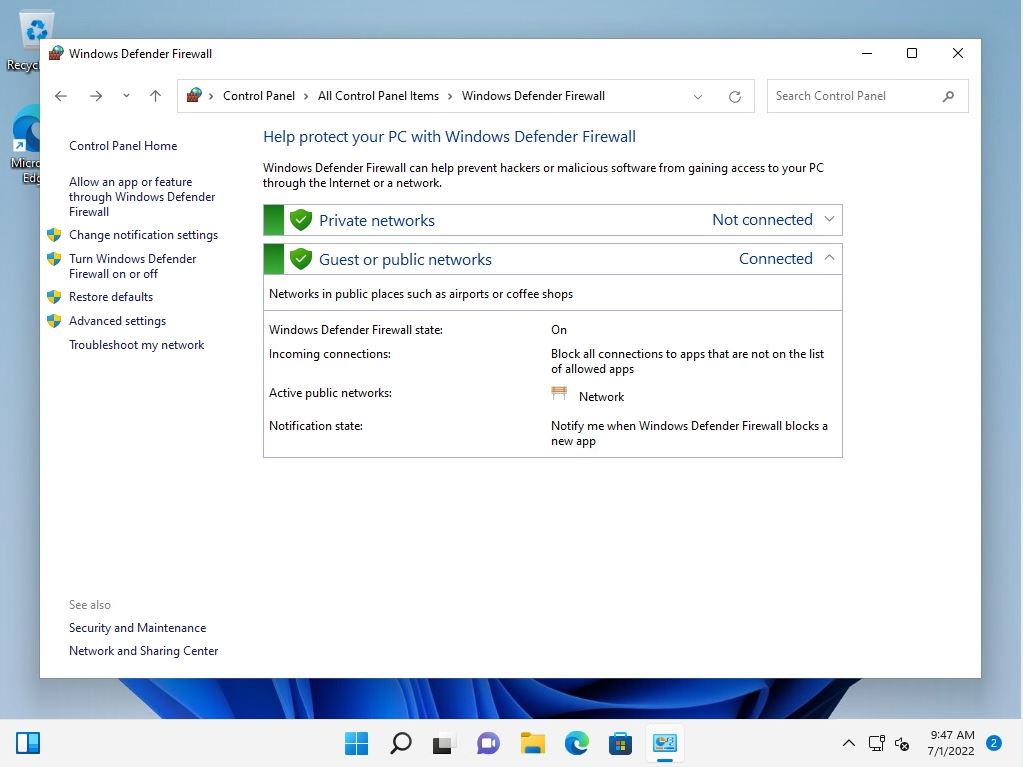
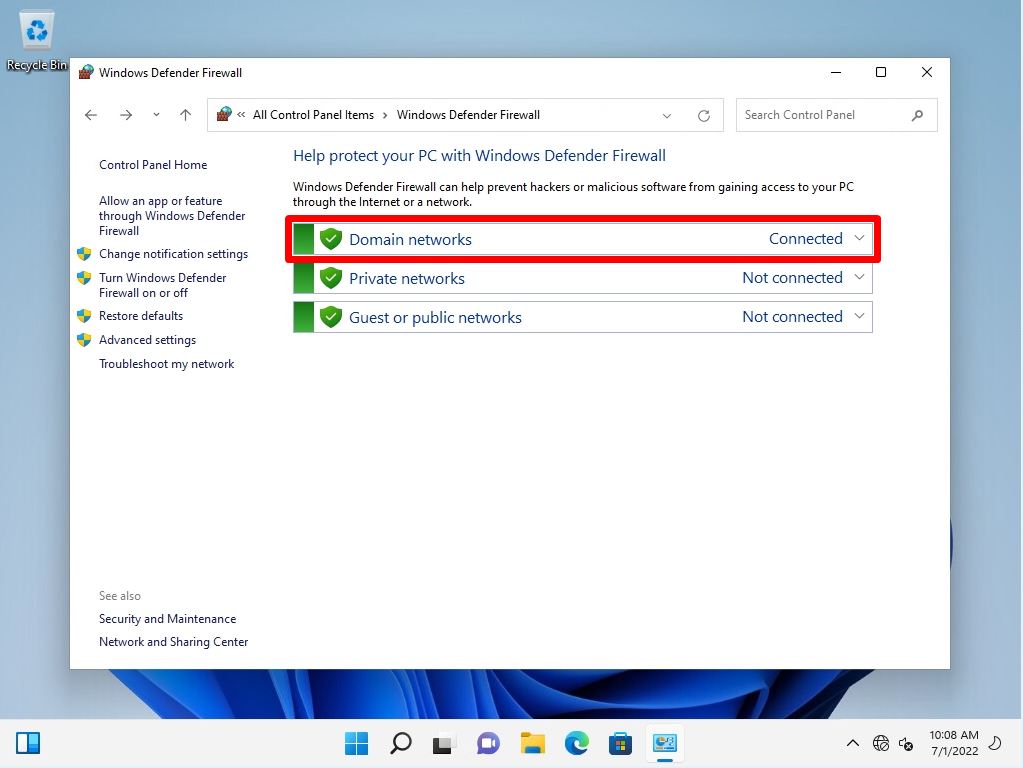
Windows Defender Firewall is a function that protects your computer from the access of external terminals by blocking the “port” of the network path and blocking communication. By default, Windows 11 has a firewall enabled, but communication may be blocked and unavailable depending on the application software you want to use. Change the Windows Defender firewall settings for Windows 11 from the Control Panel.
Windows11: How to disable Windows Defender firewall settings
Step 1:
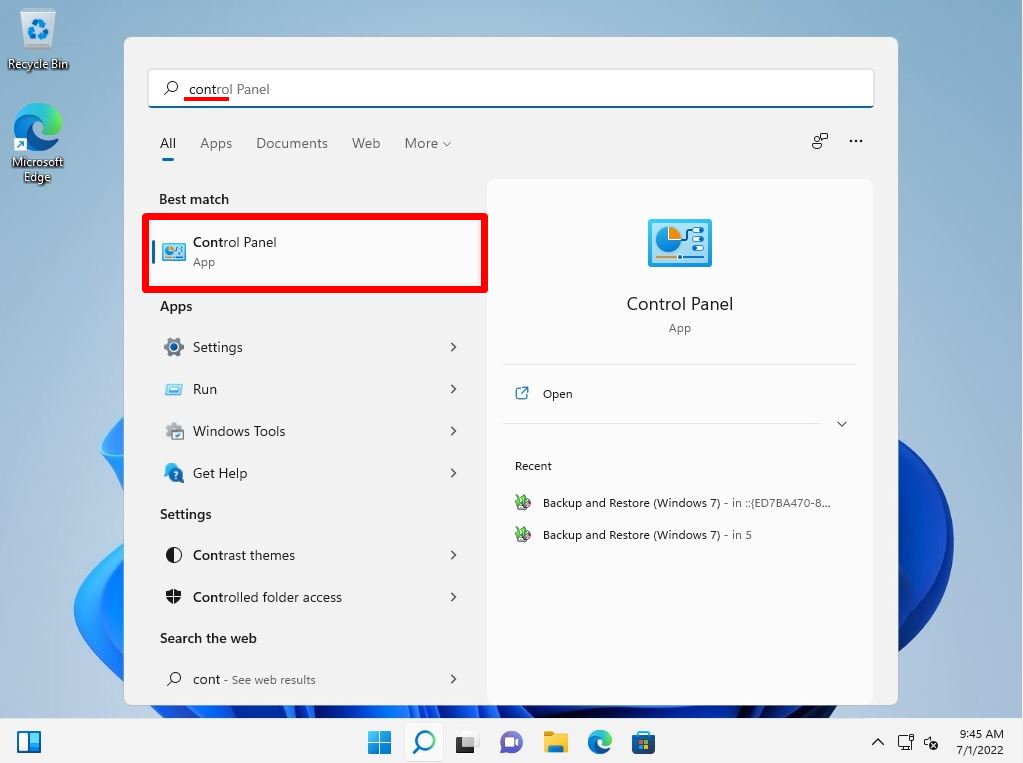
Select the taskbar “Search Box”.

Step 2:
Type “cont” in the search box -> Select the “Control Panel”.
Step 3:
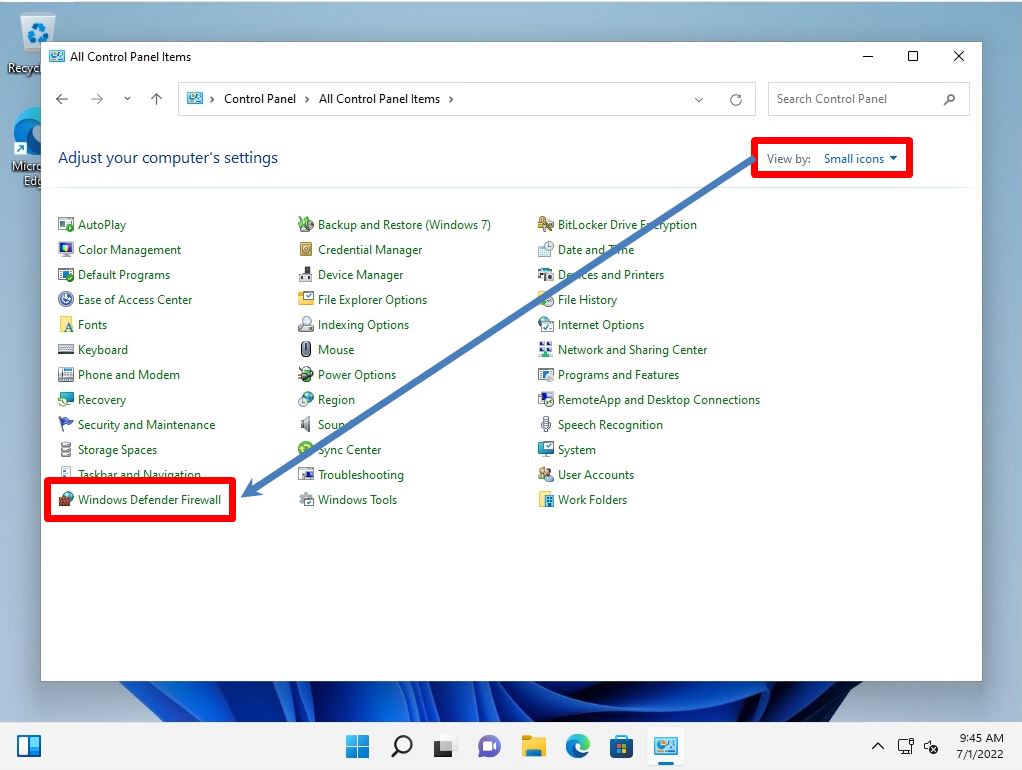
View by: Select the Small icons -> Windows Defender Firewall.
Step 4:
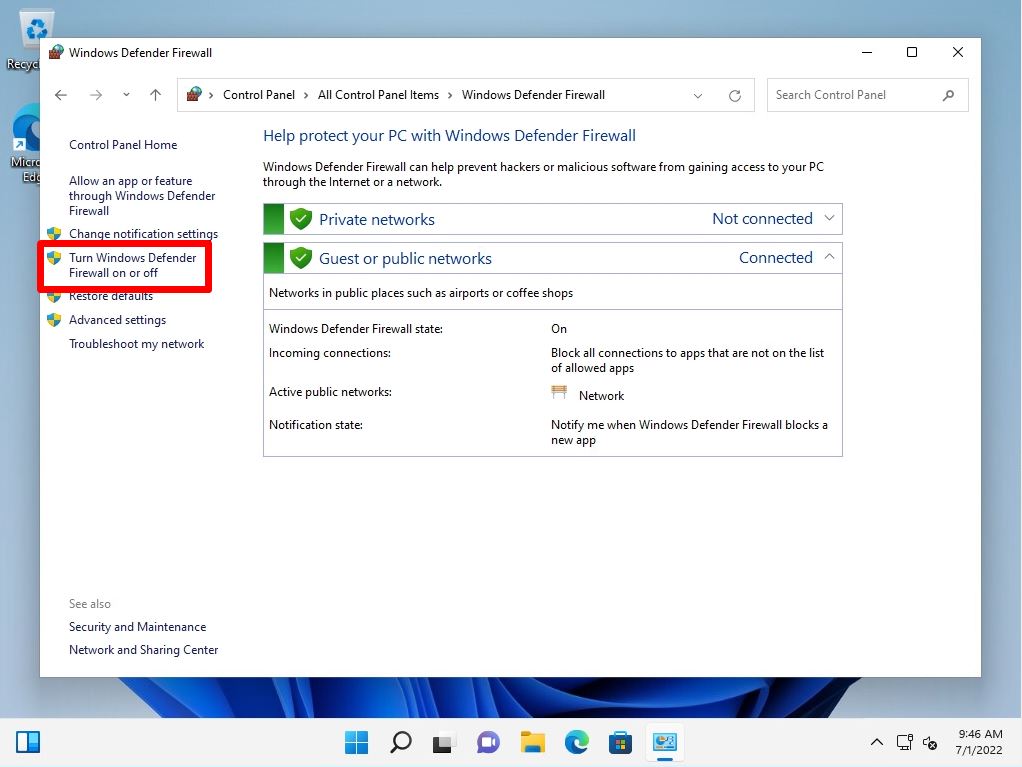
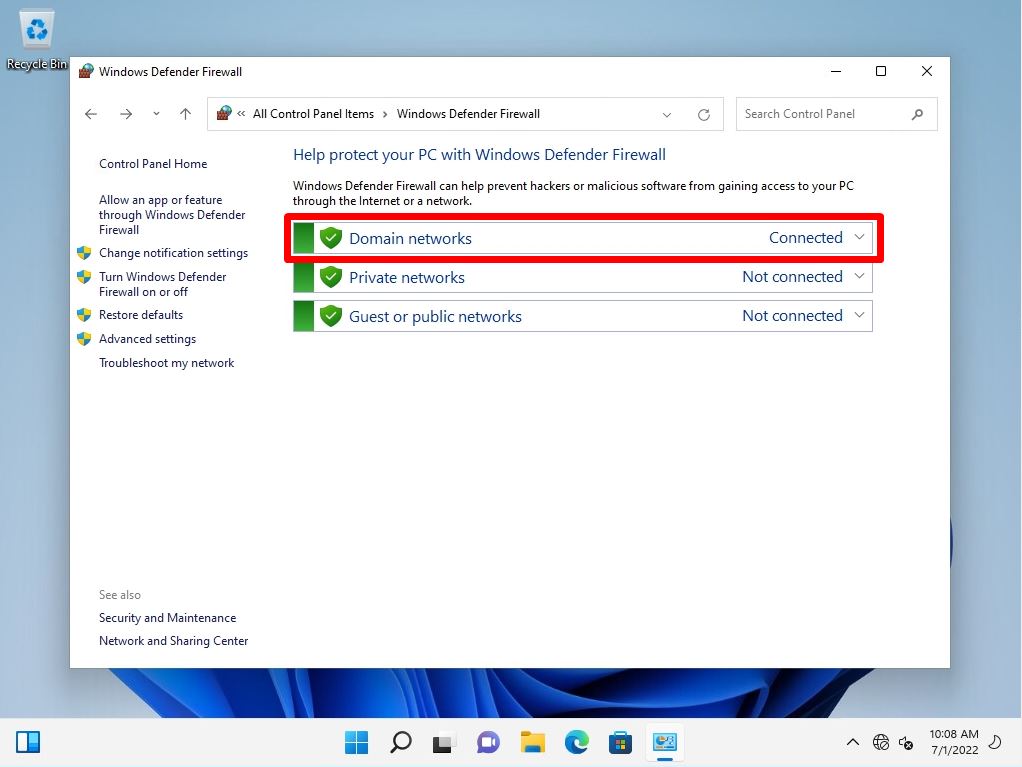
Select Turn Windows Defender Firewall on or off.
Step 5:
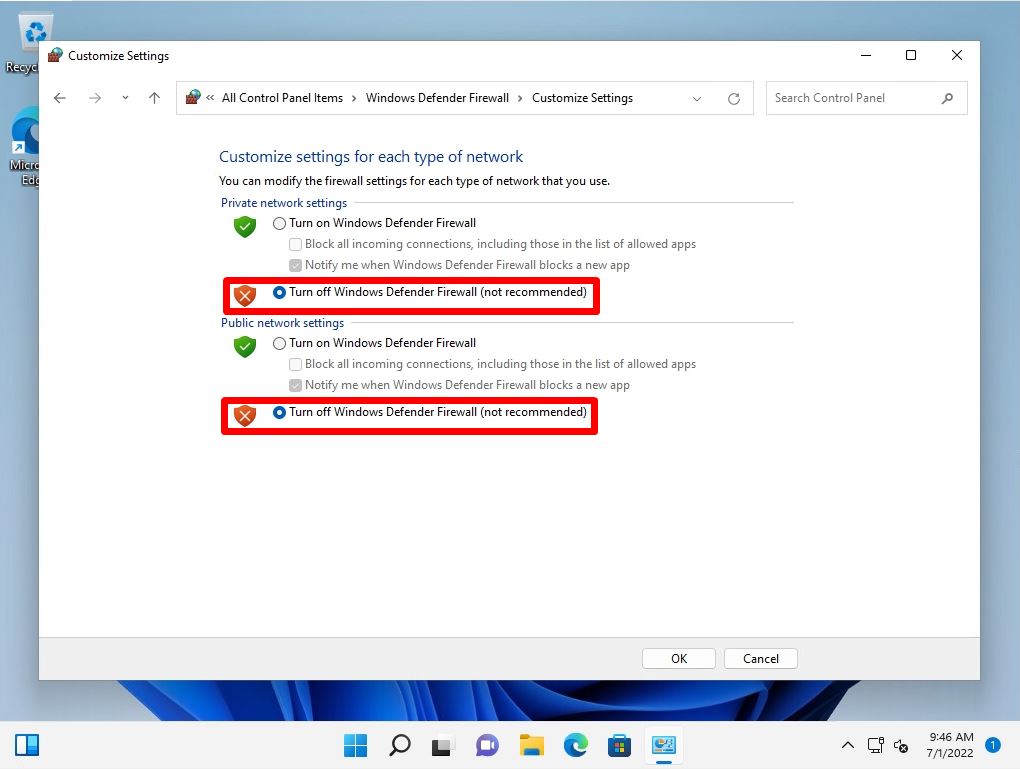
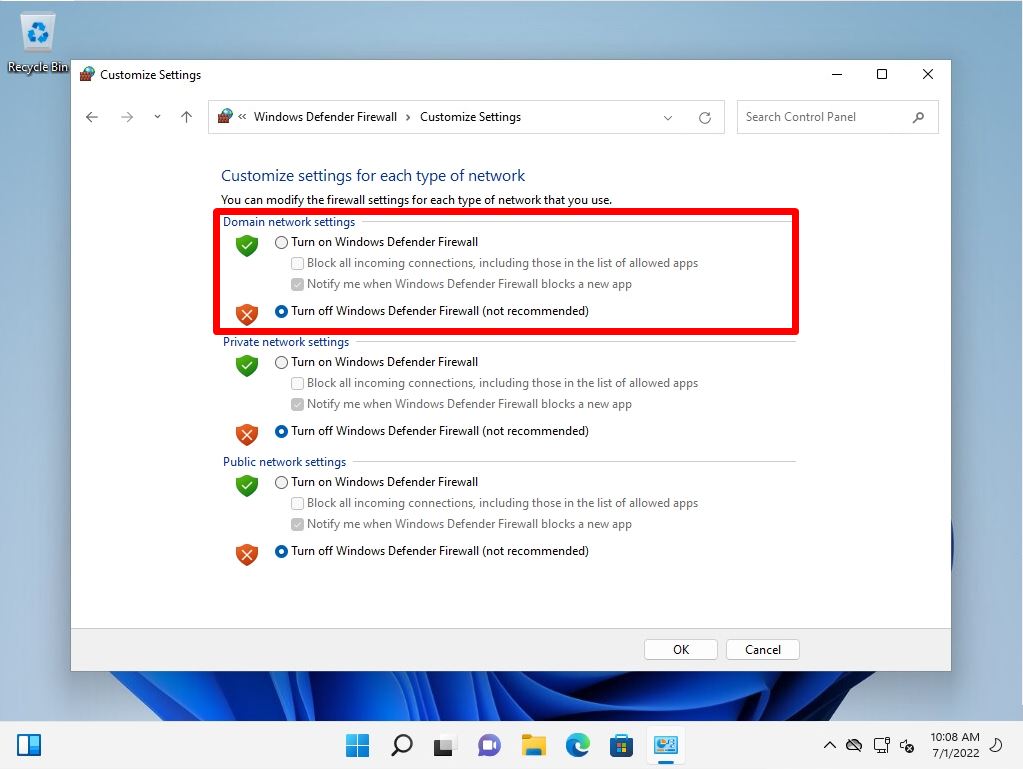
Select “Disable Windows Defender Firewall (not recommended)” in the Private network / Public network settings.
The network settings are explained below.
- Private network: Settings for trusted networks such as home and corporate networks
- Public network: Connection settings for networks in which a third party participates, such as public wireless LAN and hotel network.
Step 6:
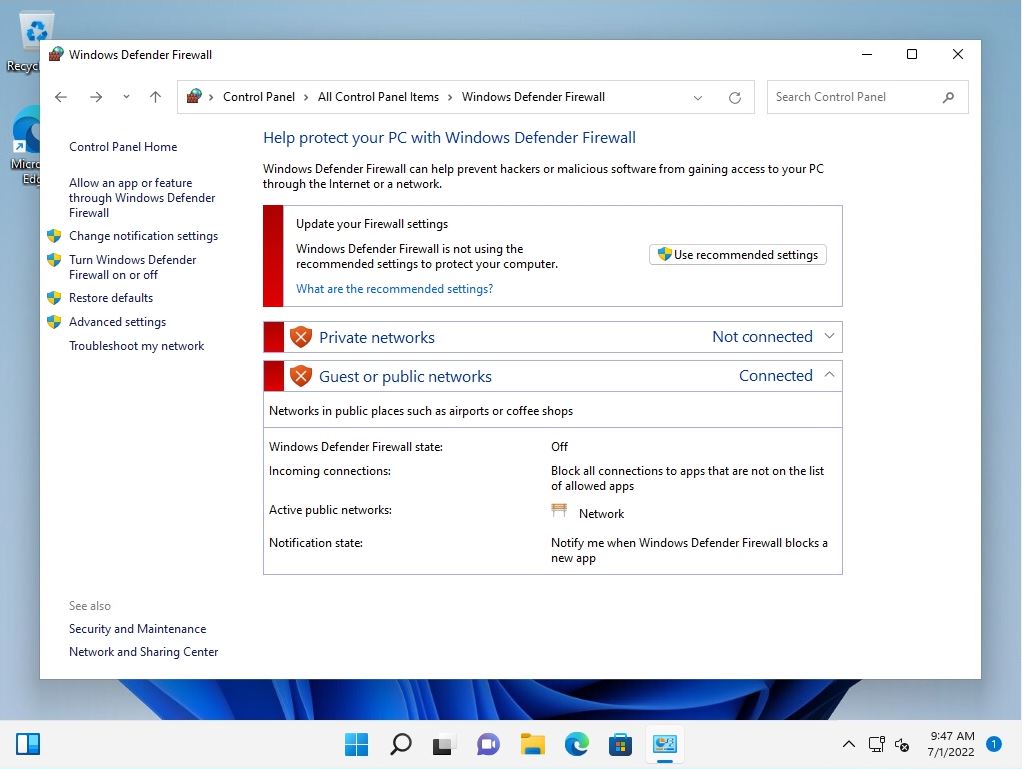
Make sure that Windows Defender Firewall is “disabled”.
Windows11: How to enable Windows Defender firewall settings
Step 1:
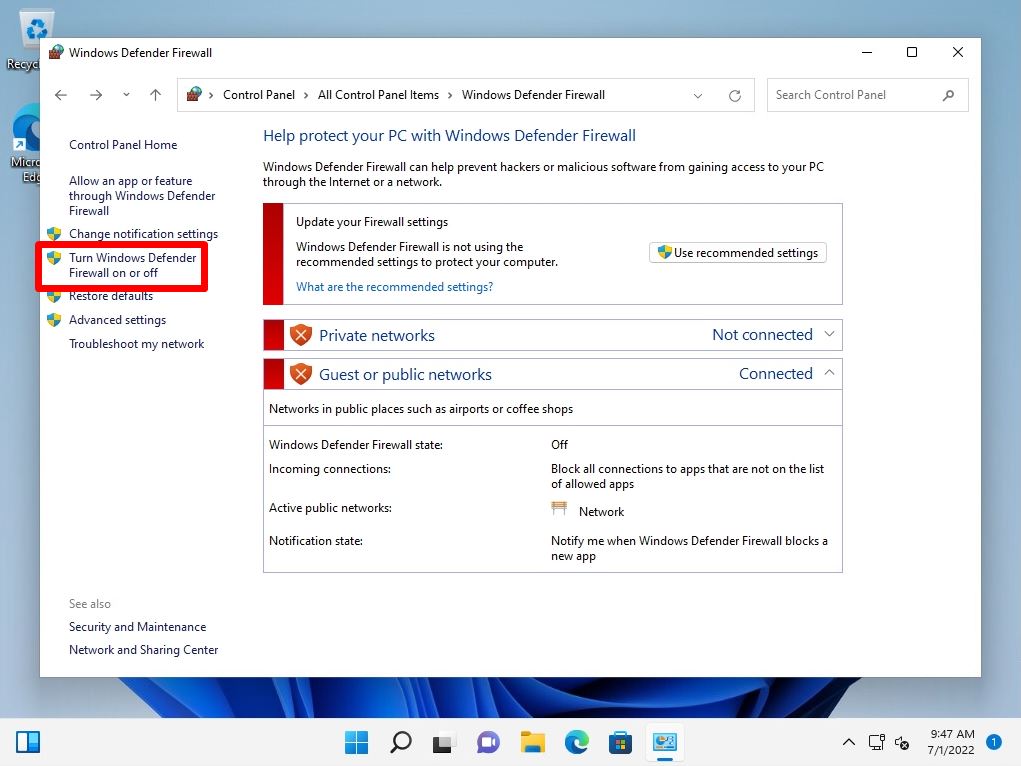
Select “Turn Windows Defender Firewall on or off” to restore the Windows Defender Firewall settings.
Step 2:
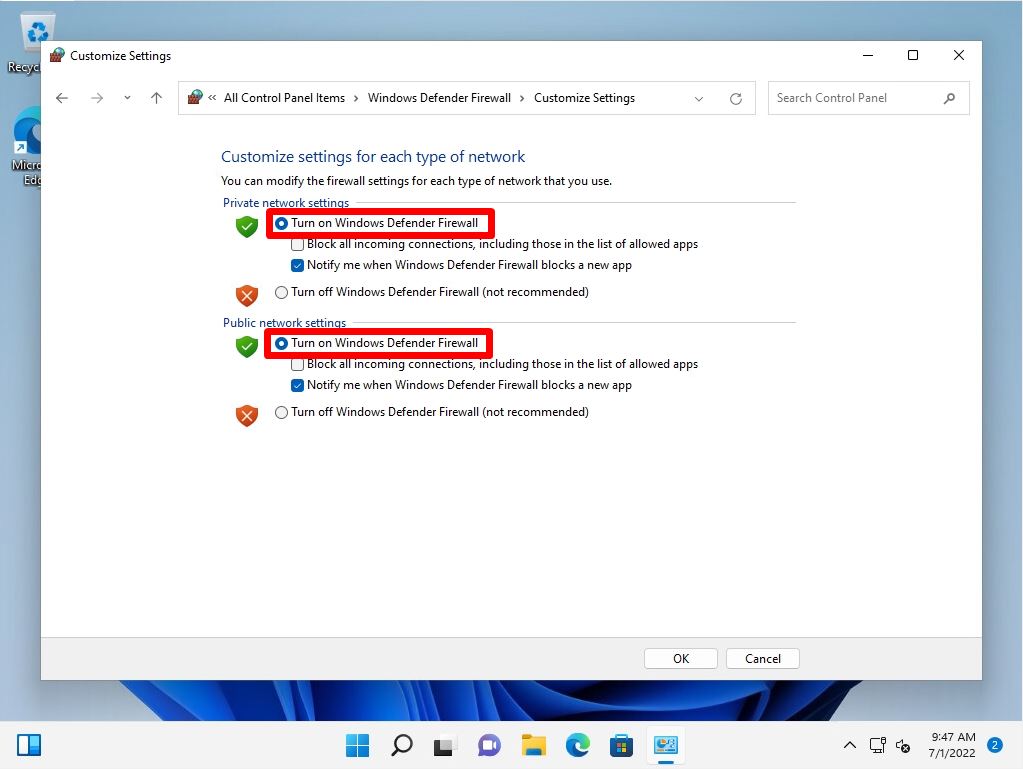
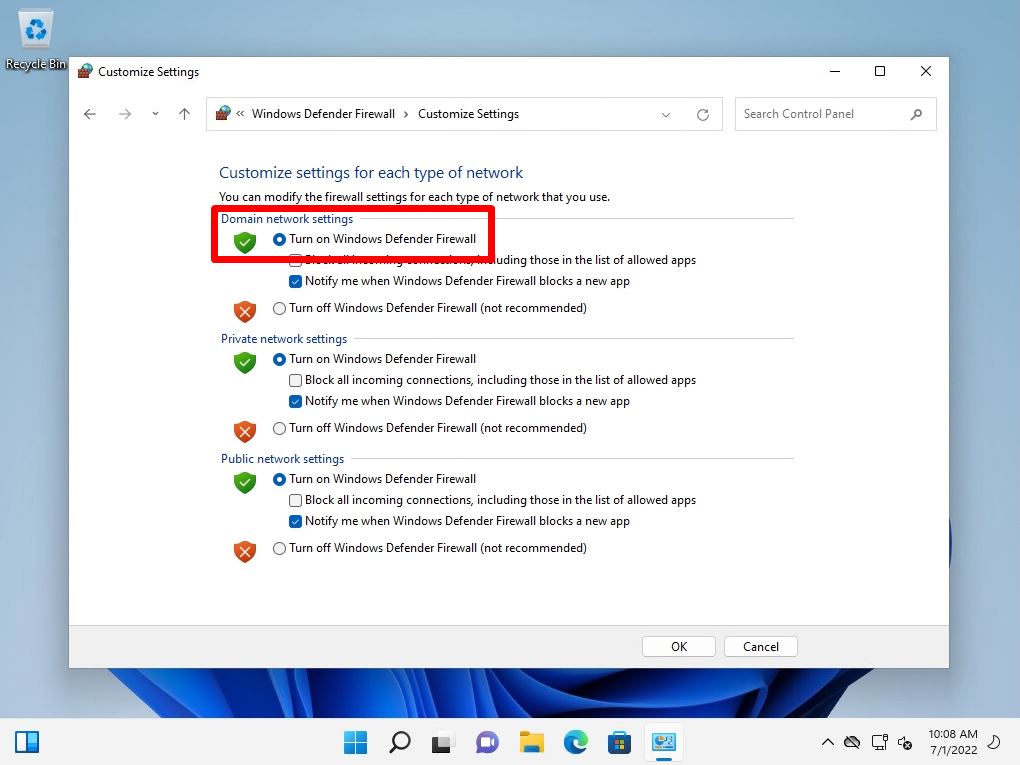
Select Turn on Windows Defender Firewall.
Step 3:
Make sure that the Windows Defender Firewall for Private networks, Guest or public networks is enabled.
