If you want to use different accounts for multiple users of Windows 11 Home PC, you can use personal folders and desktops by adding users with local accounts from “Settings” -> “Family & other users”. This article describes how to create a user for a local account in Windows 11 Home edition.
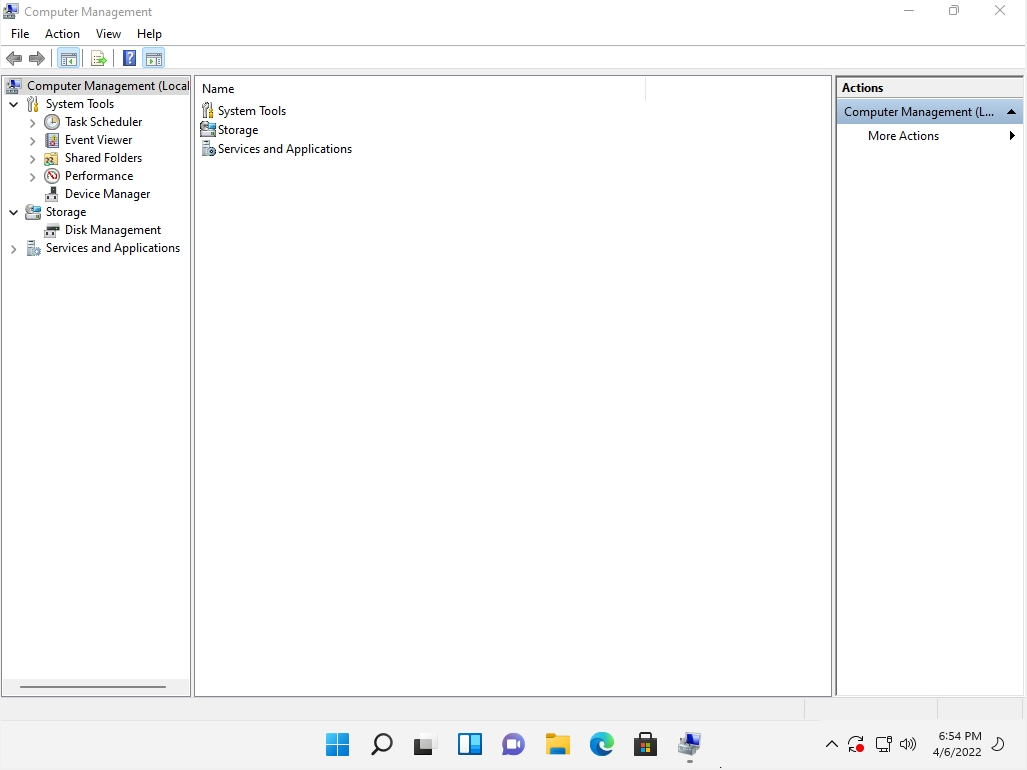
Windows11 Home edition, unlike Windows11 Pro edition, does not appear in “Local Users and Groups” in Computer Management.
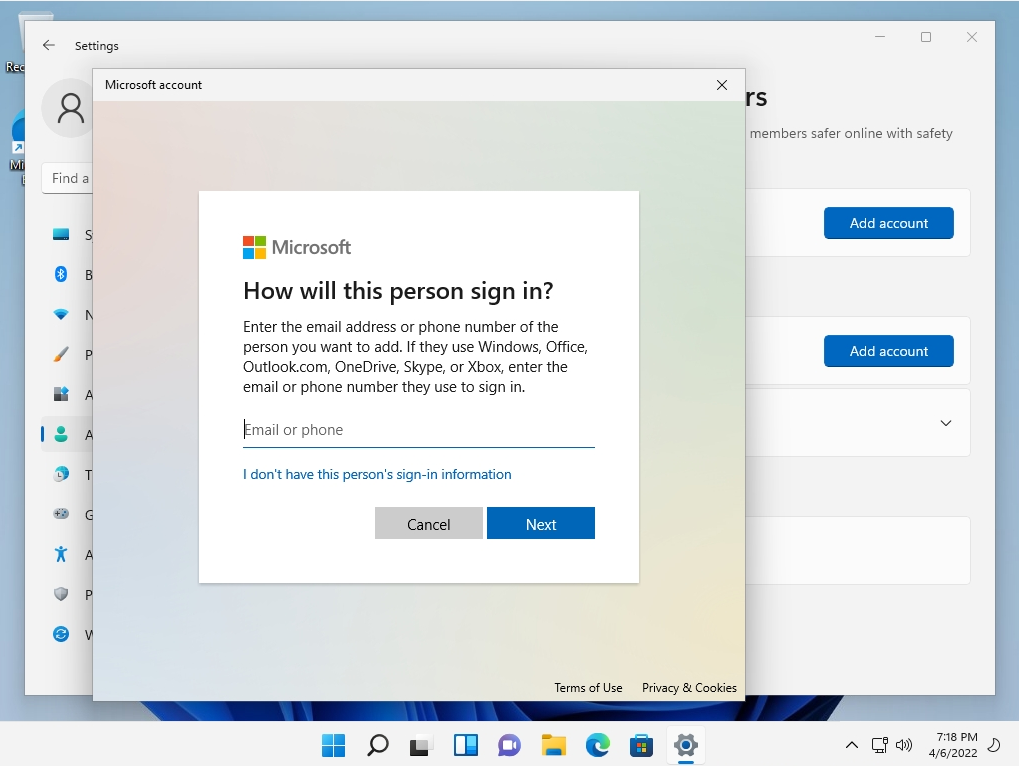
Set without connecting to the Internet. * If you are connected to the Internet, you need to enter the microphone software account on the screen below.
Windows 11 Home PC:Create a local user
Step 1:
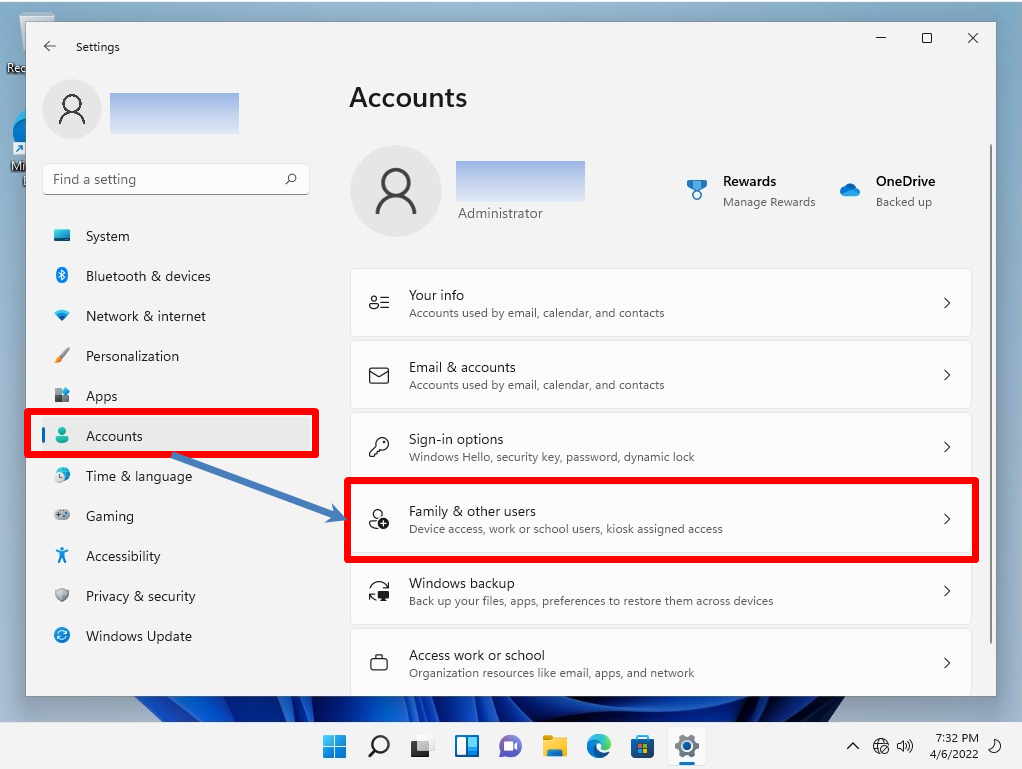
Right-click on his Windows mark on the taskbar -> select Settings.

Step 2:
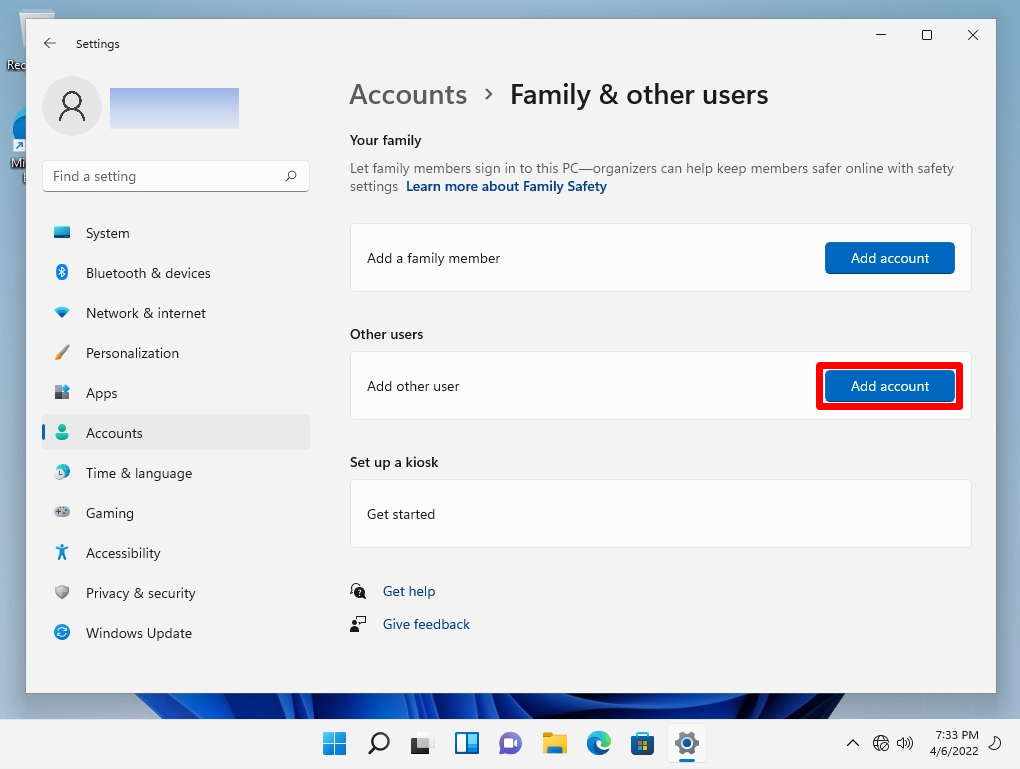
Select Accounts -> Family & other users.
Step 3:
Select Add account.
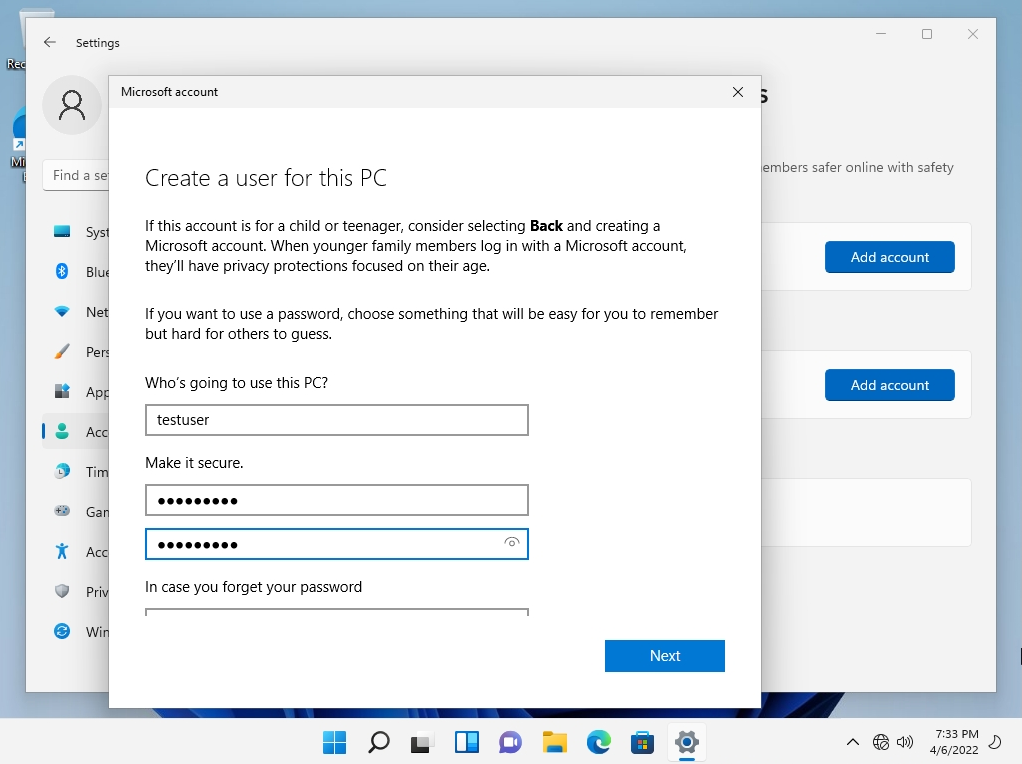
Step 4:
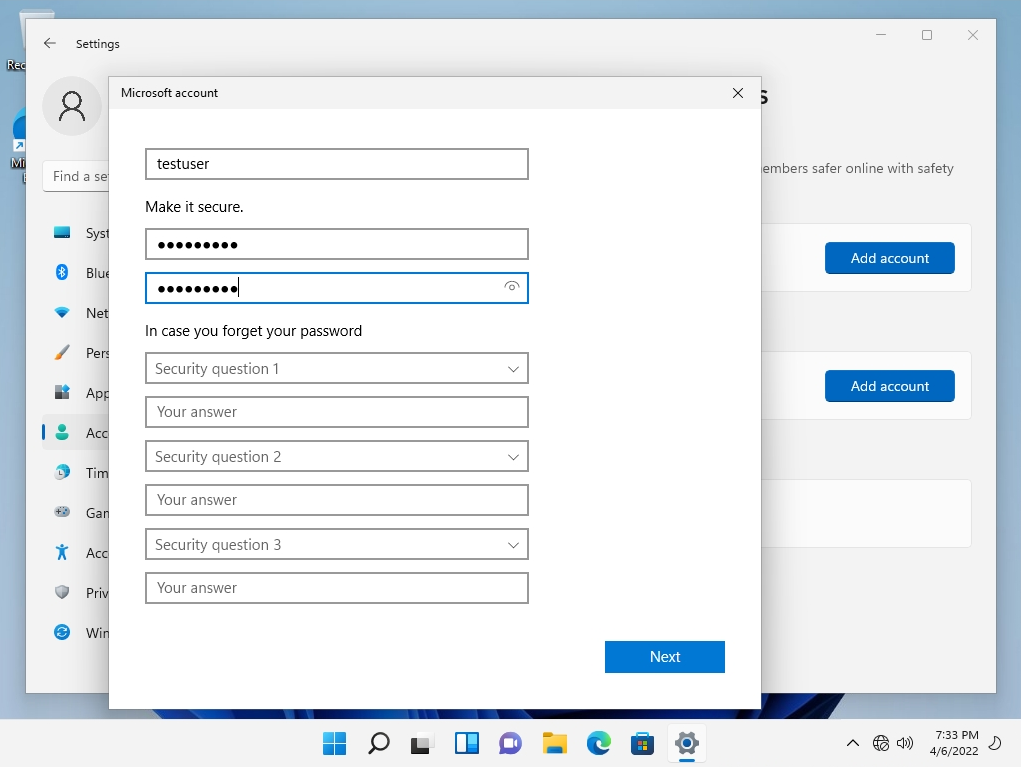
Enter the following information on the Create user for this PC screen-> Select Next.
- Who’s going to use this PC? : Enter any user account
- Make it secure : Enter any password
Step 5:
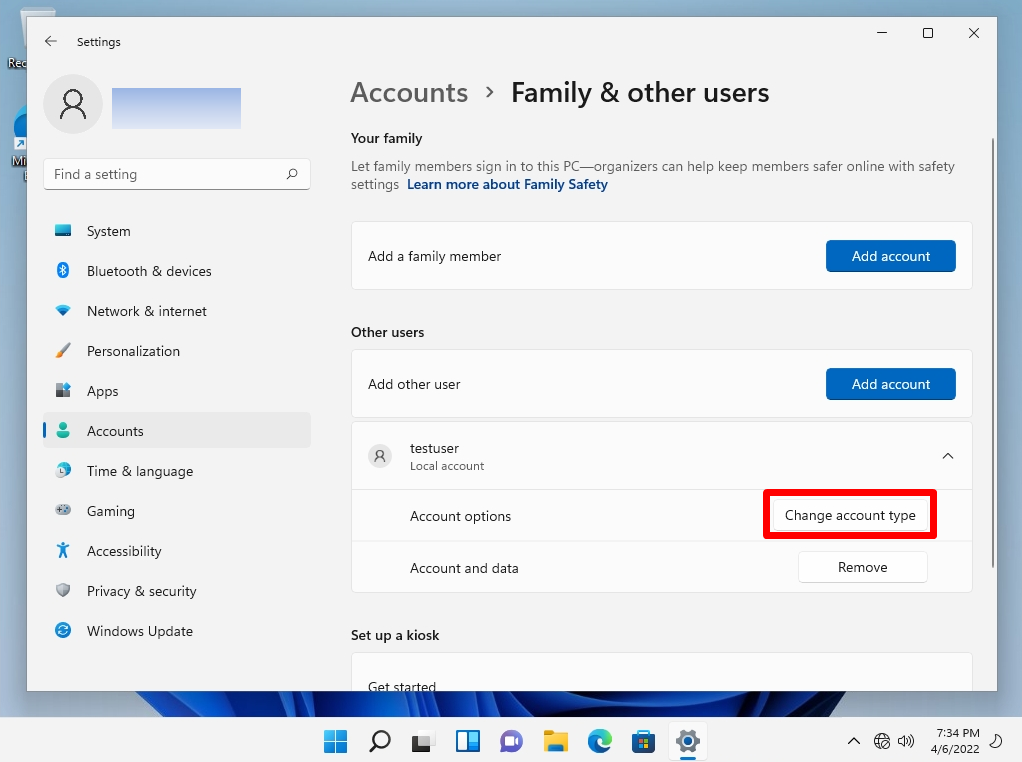
Confirm that a new local account has been created.
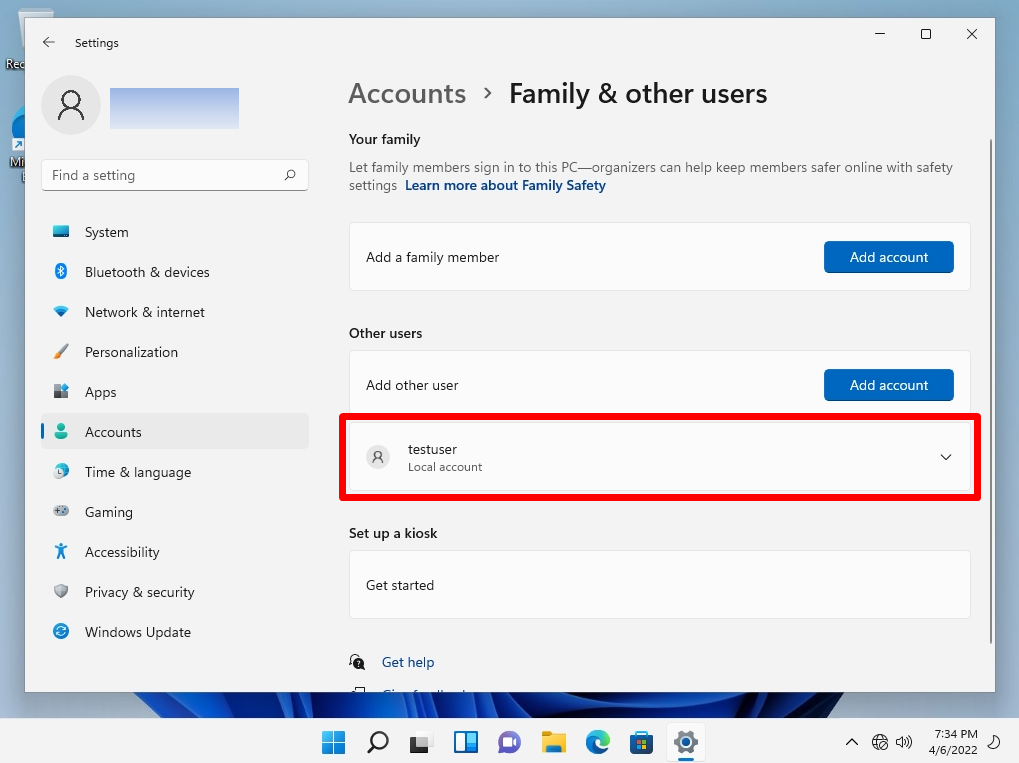
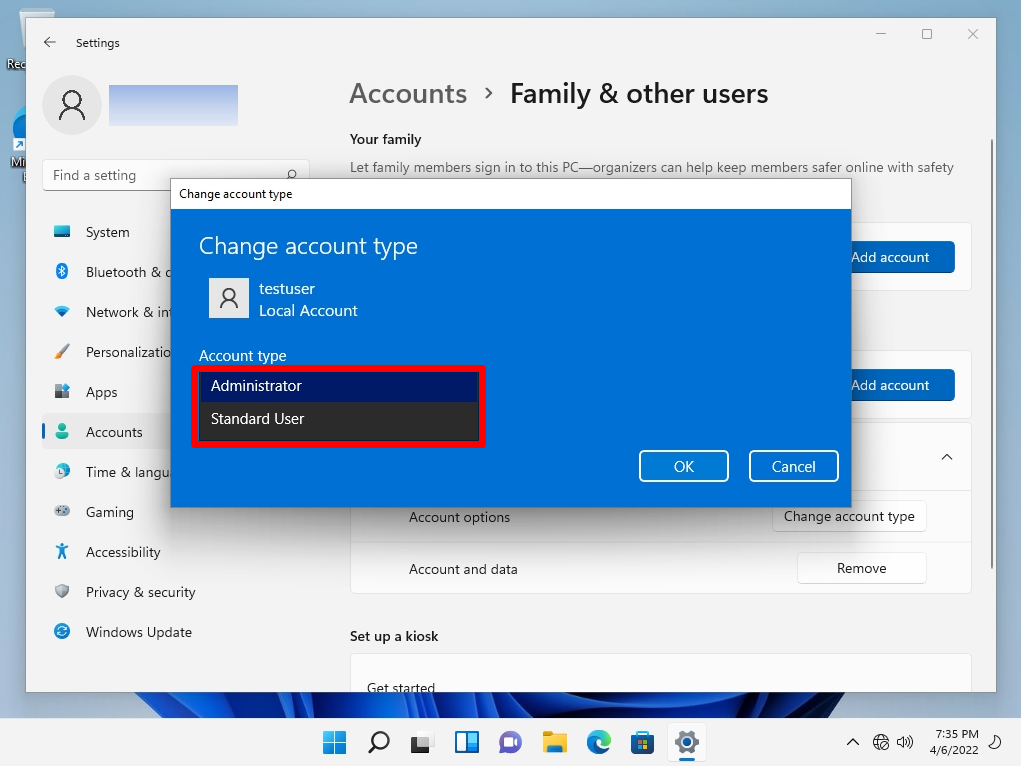
If you create a new local account, it defaults to the standard user. Select “Change account type” to grant administrator privileges.
Account type change screen: Select an administrator.