“Backup and Restore (Windows 7)” of Windows 10 is the same function as “Backup and Restore” that is installed as standard in Windows 7. In Windows 10, the name has been changed to “Backup and Restore (Windows 7)”.
If you make a backup in advance with Backup and Restore (Windows 7), you can restore from the backup taken in advance if the files and folders saved in the C drive are damaged or lost. In addition, if the computer does not operate normally, you can restore it to the state it was in when the computer was operating normally by using the system image to recover.
Since backup is recommended to be saved to an external hard drive, this article also uses an external medium. The following describes how to back up and restore data using Backup and Restore (Windows 7) on a Windows 10 computer.
Windows 10 PC: Backup and Restore (Windows 7) How to get a backup
To get a backup, launch Backup and Restore (Windows 7) from Control Panel. Also, connect the external hard drive specified as the backup acquisition destination to the Windows 10 computer.
Step 1:
Select the Windows mark at the bottom left of your desktop.

Step 2:
Select Windows System -> Control Panel.

Step 3:
View by: Select Category -> Backup and Restore (Windows 7).
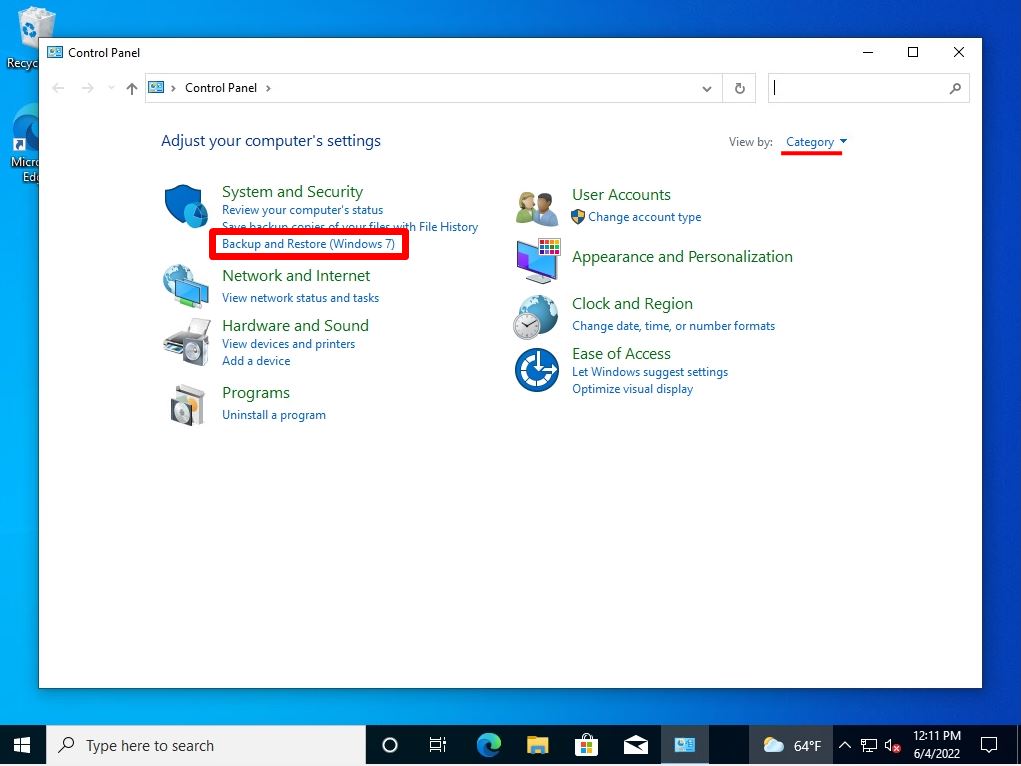
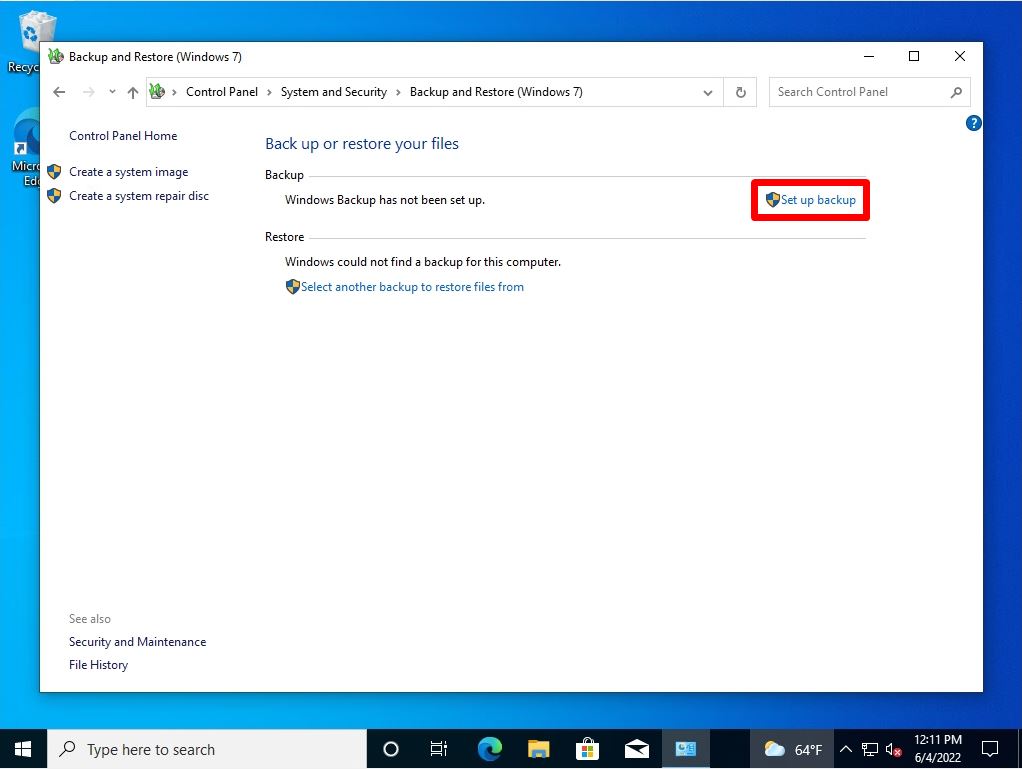
Step 4:
Select “Set up backup”.
Step 5:
Select a backup destination.
In this article, we selected an external HDD and backed it up.

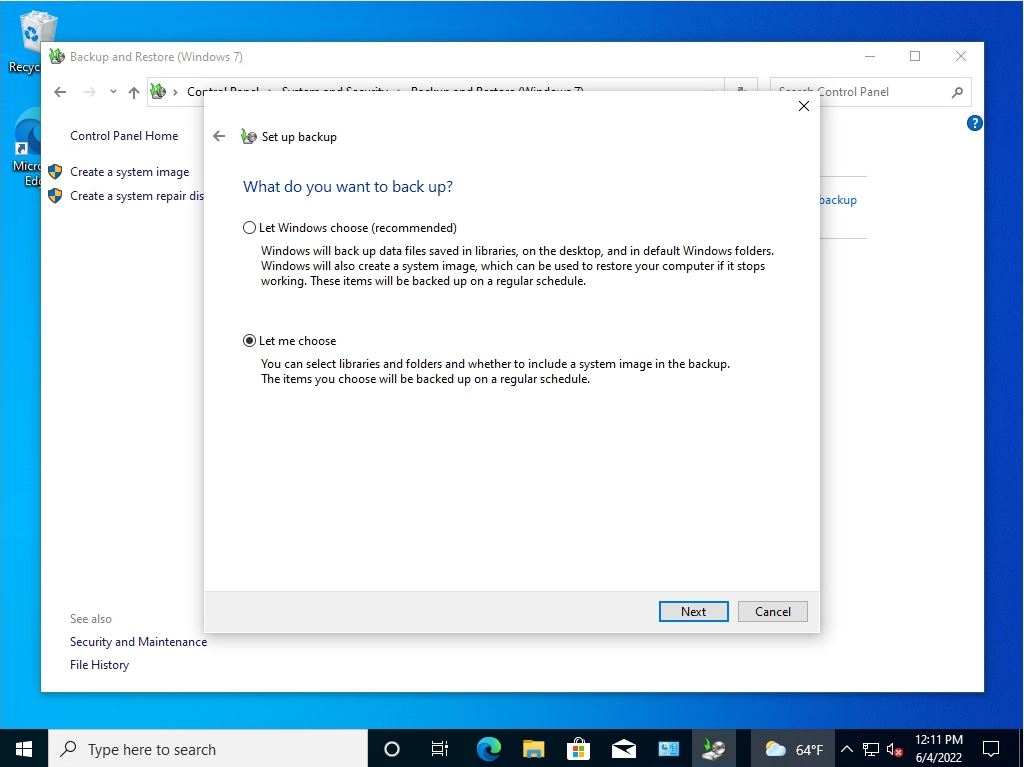
Step 6:
You can select “Let Windows choose” or “select Let me choose” as the backup target. * In this article, “Select by yourself” is selected to restore a specific folder.
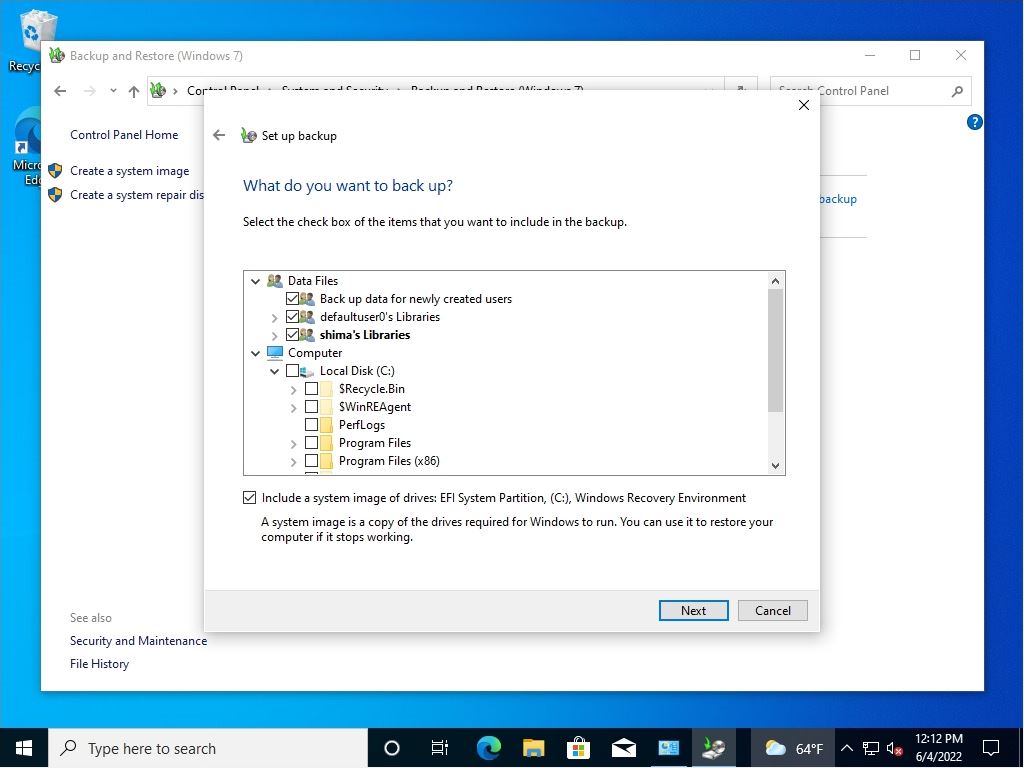
Step 7:
Enable the checkbox for the folder you want to backup.
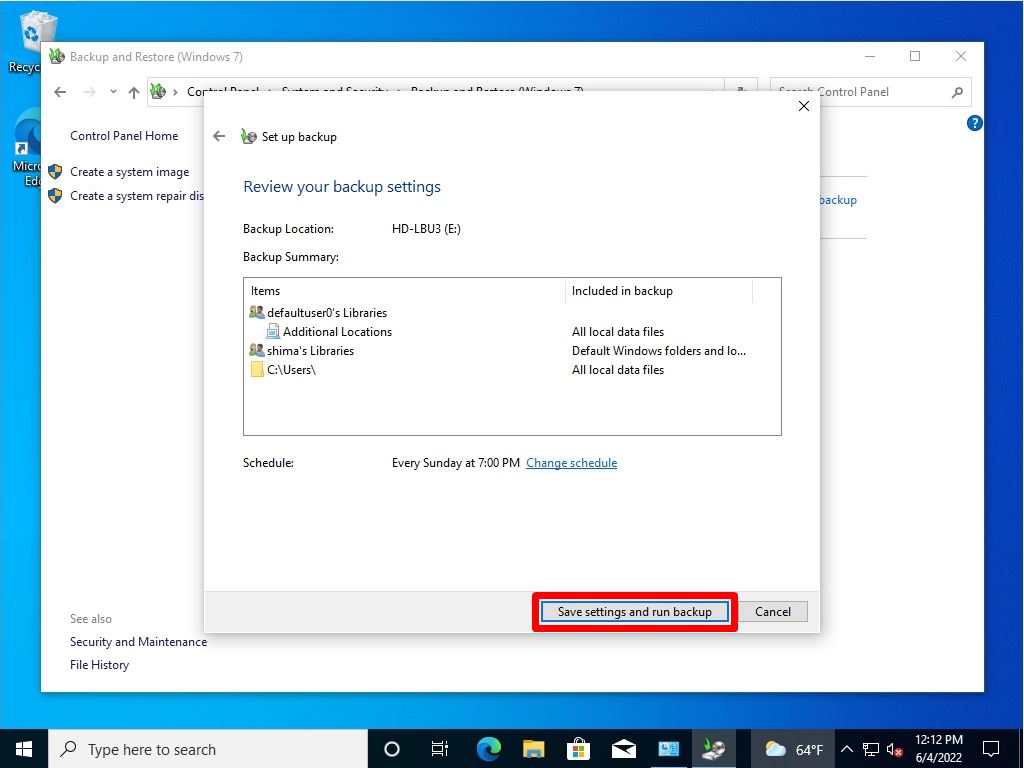
Step 8:
After confirming the contents, select “Save settings and run backup”.
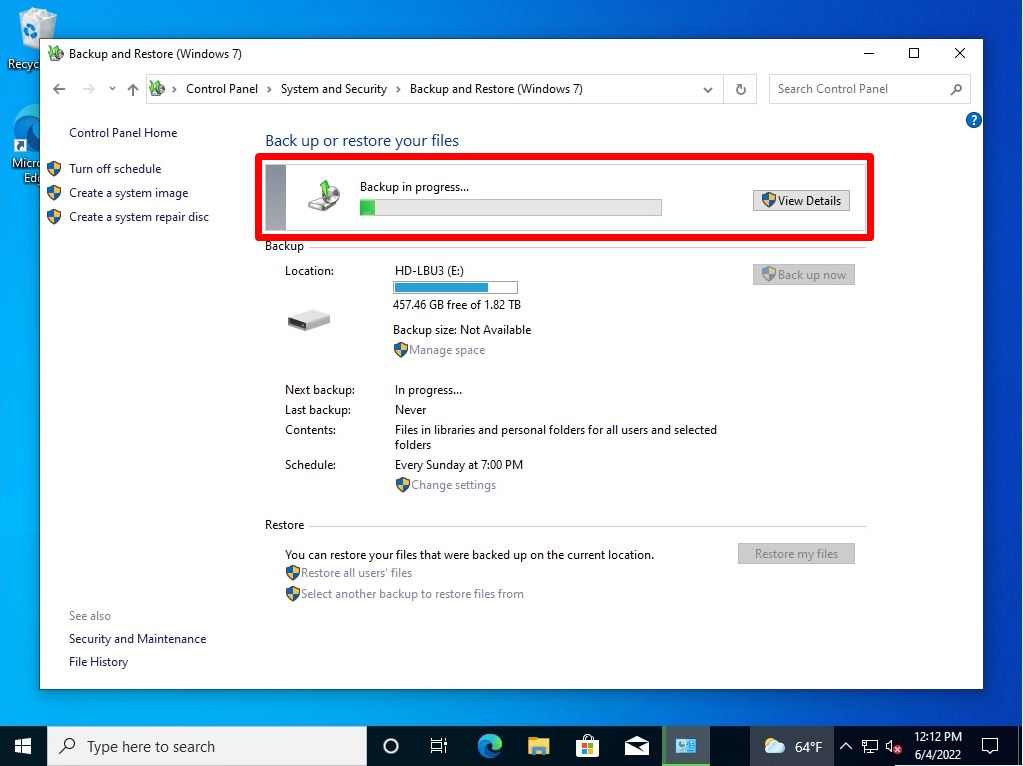
Step 9:
Wait for the backup to finish.
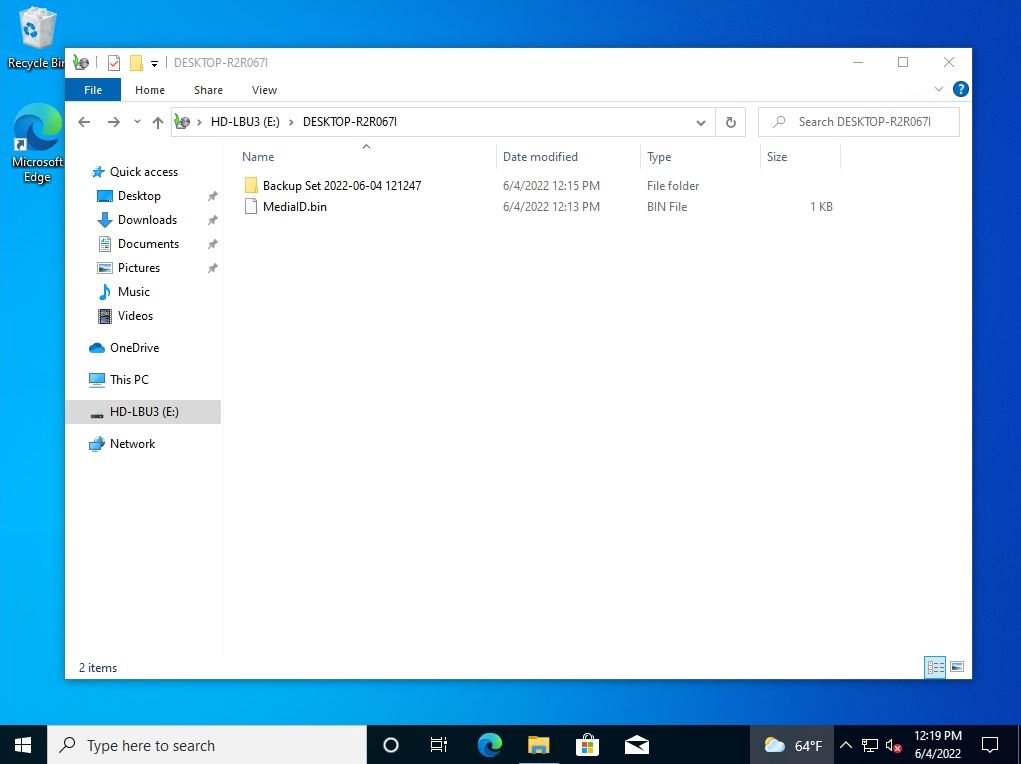
Step 10:
After the data backup is completed, confirm that the backup data has been saved on the acquisition destination drive.
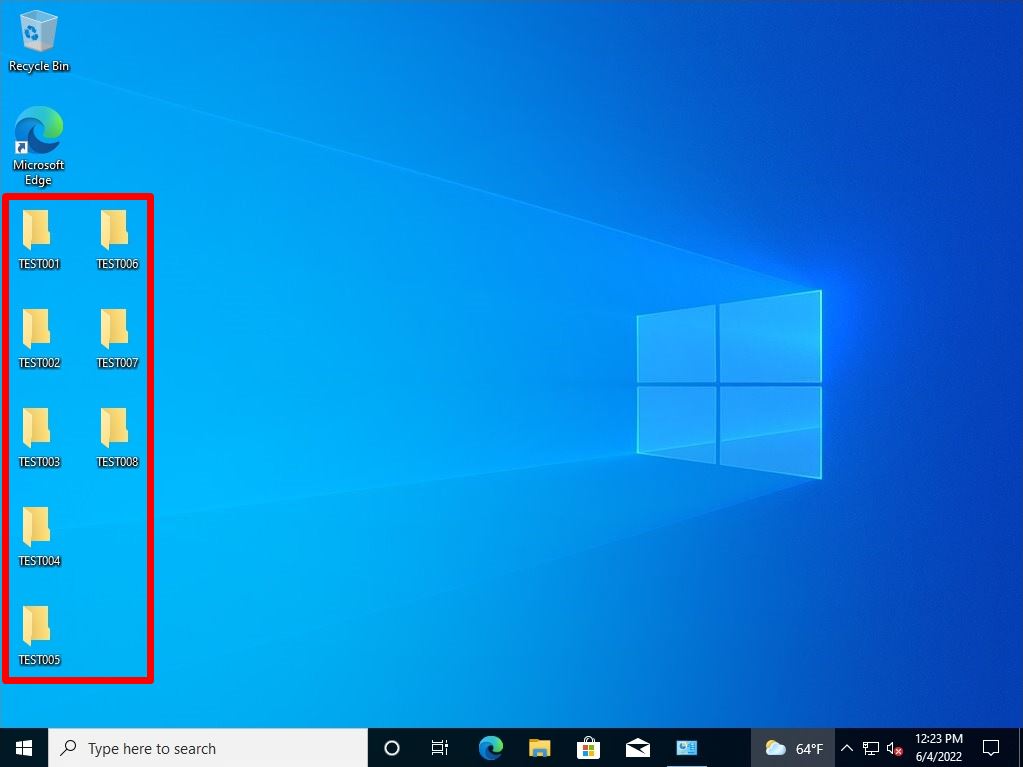
Windows 10 PC: Backup and Restore (Windows 7) How to restore data
I completely deleted the data (folder) on the desktop to explain that it was restored.
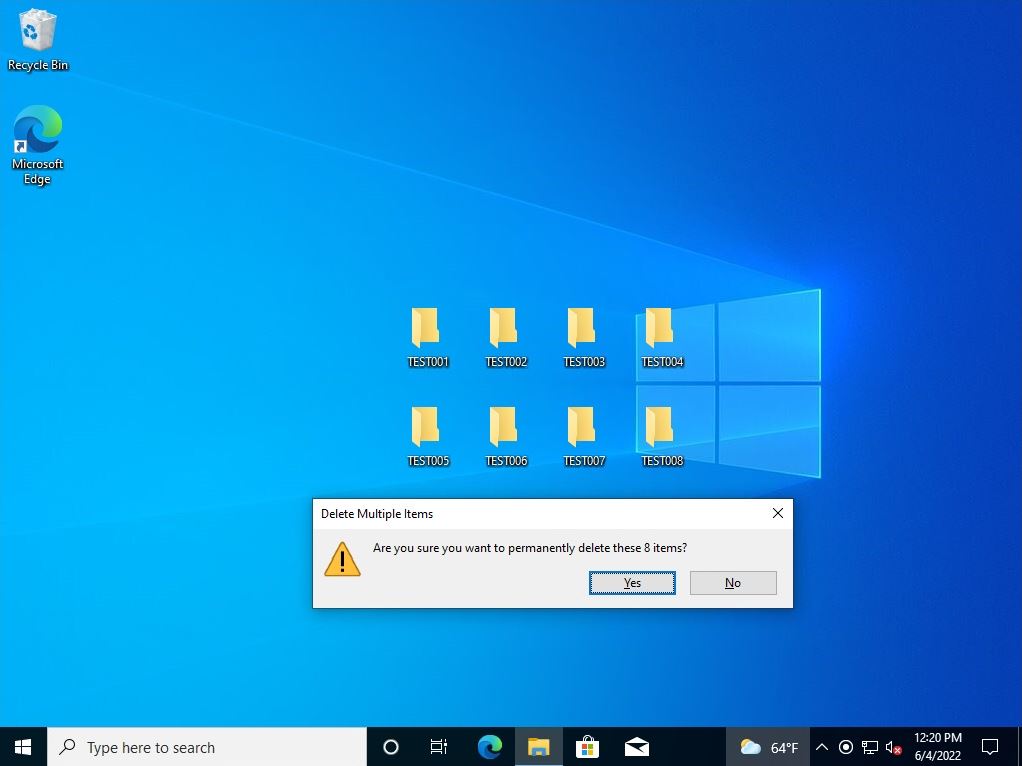
Restore a completely erased folder from a previously acquired backup and restore (Windows 7).

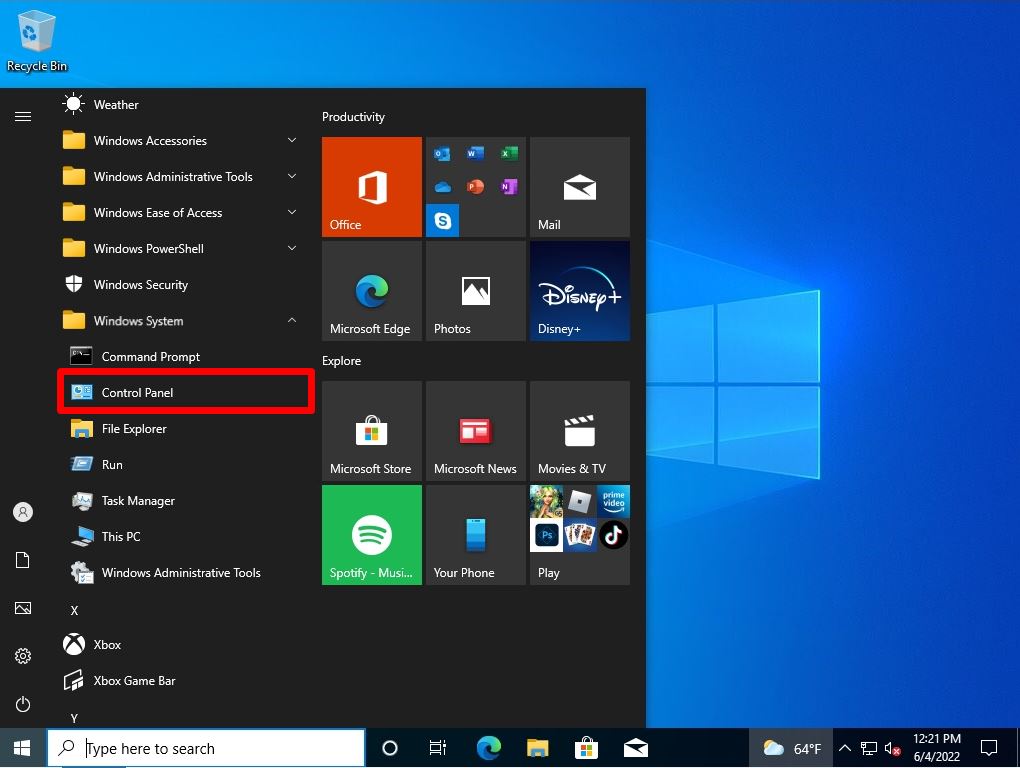
Step 1:
Select “Windows mark” at the bottom left of the desktop and select “Windows System”-> “Control Panel”.
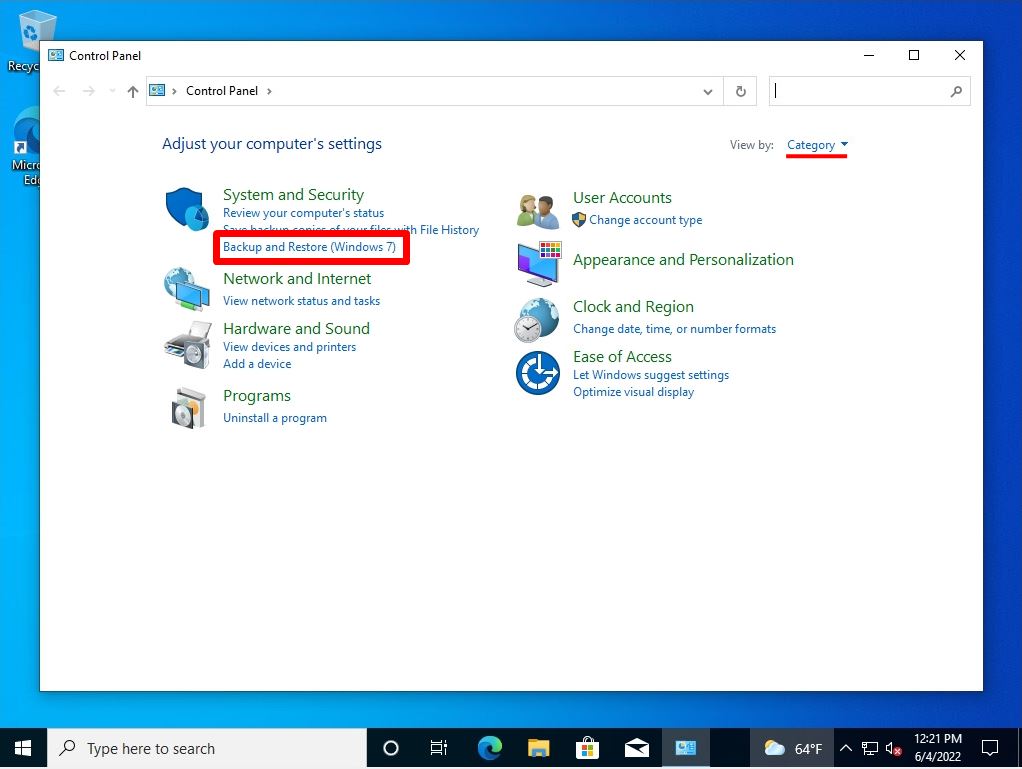
Step 2:
View by: Select Category -> Backup and Restore (Windows 7).
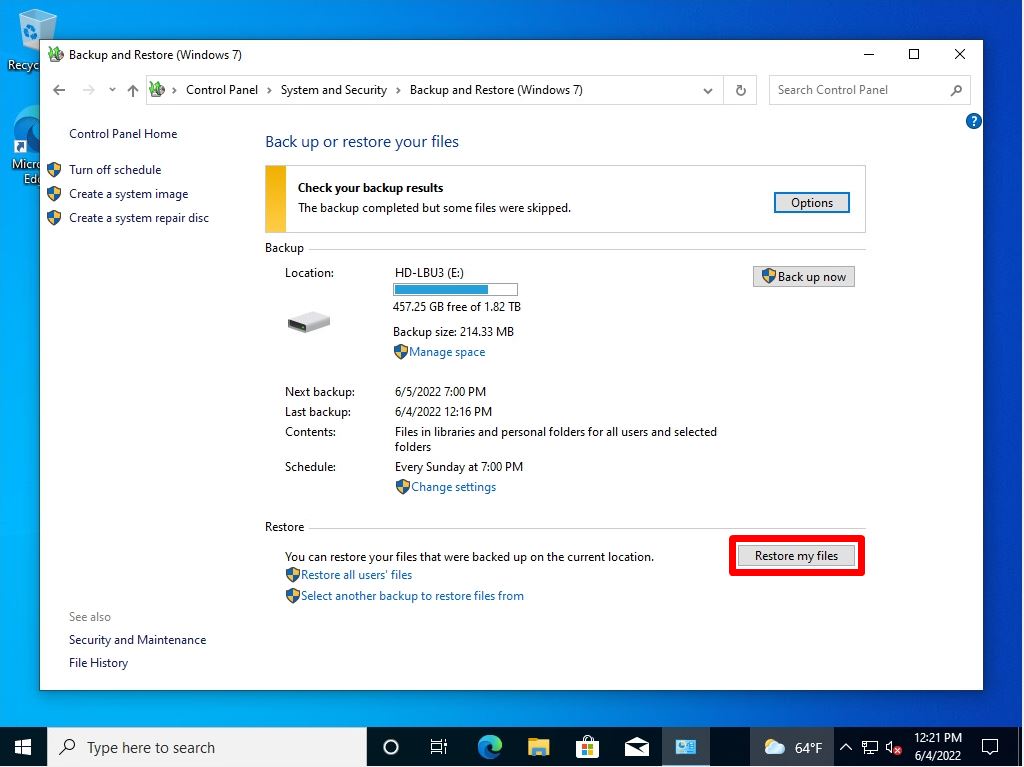
Step 3:
Back up or restore your files screen: Select “Restore my files”.
Step 4:
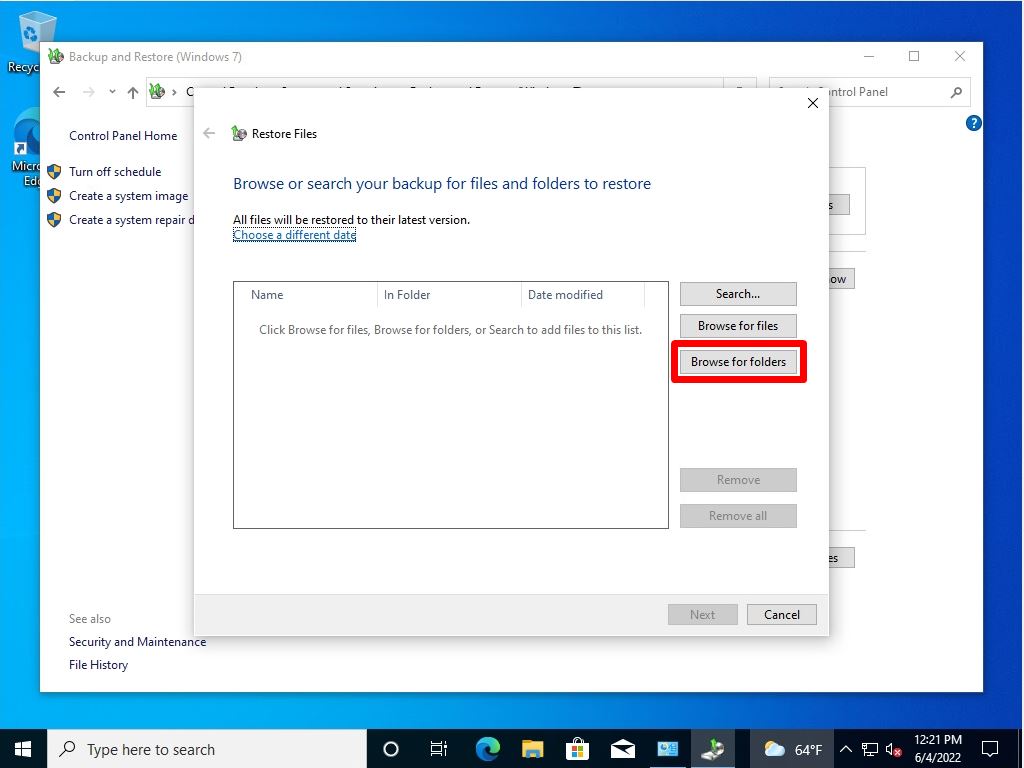
Select Browse for Folders.
*To restore the file, select “Browse for files”.
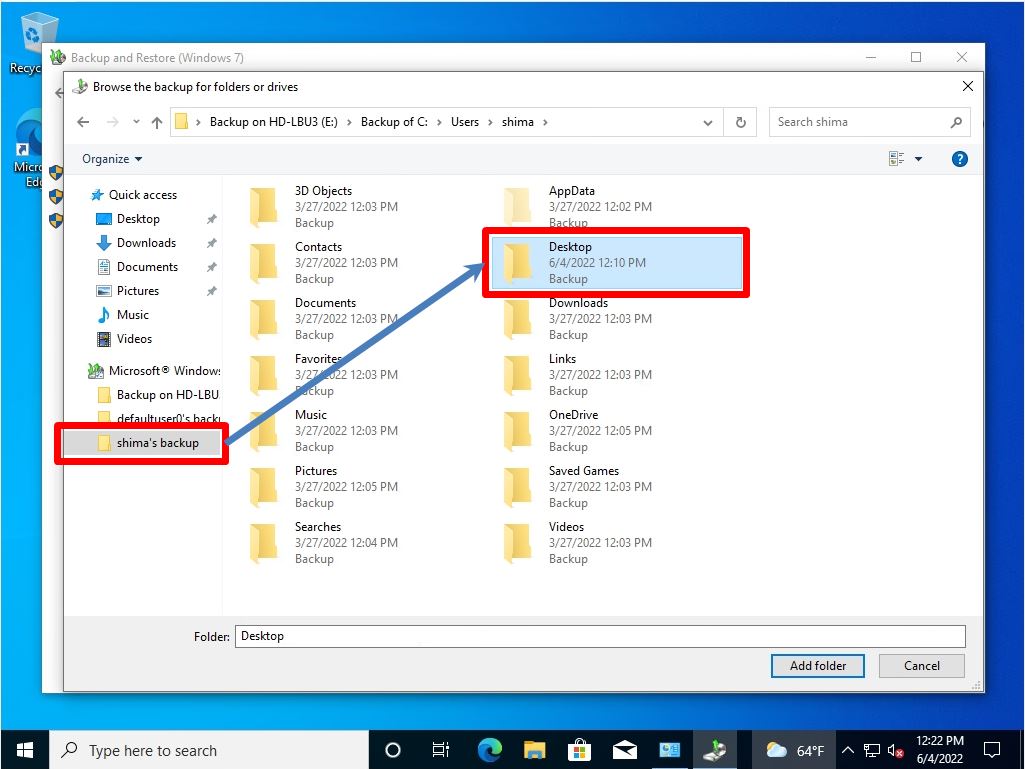
Step 6:
Browse or search your backup for files and folders to restore: Make sure the folders you want to restore are displayed and select Next.
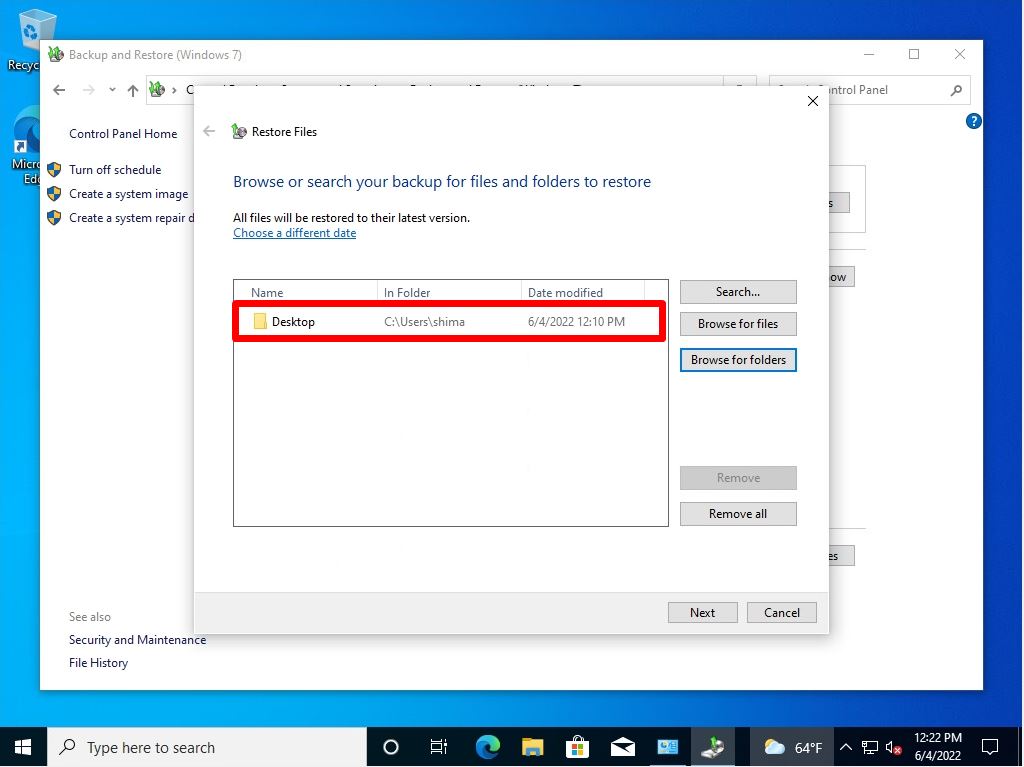
Step 6:
Browse or search your backup for files and folders to restore: Make sure the folders you want to restore are displayed and select Next.
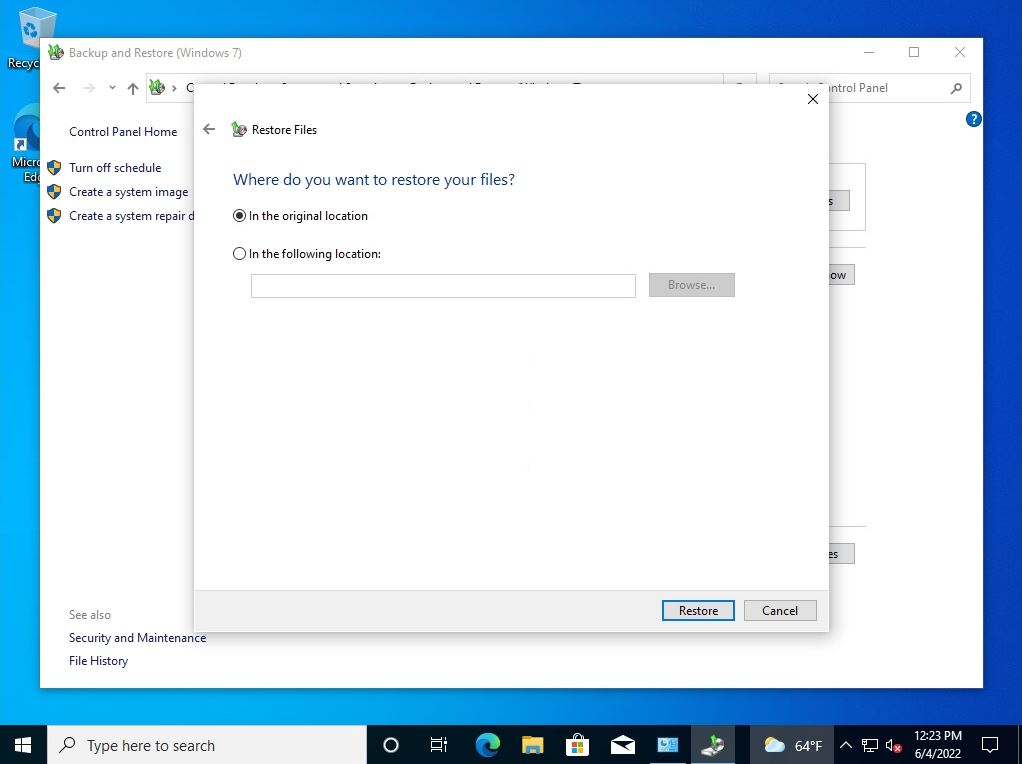
Step 7:
Where do you want to restore your files? screen: original location or following location -> Select “Restore”.
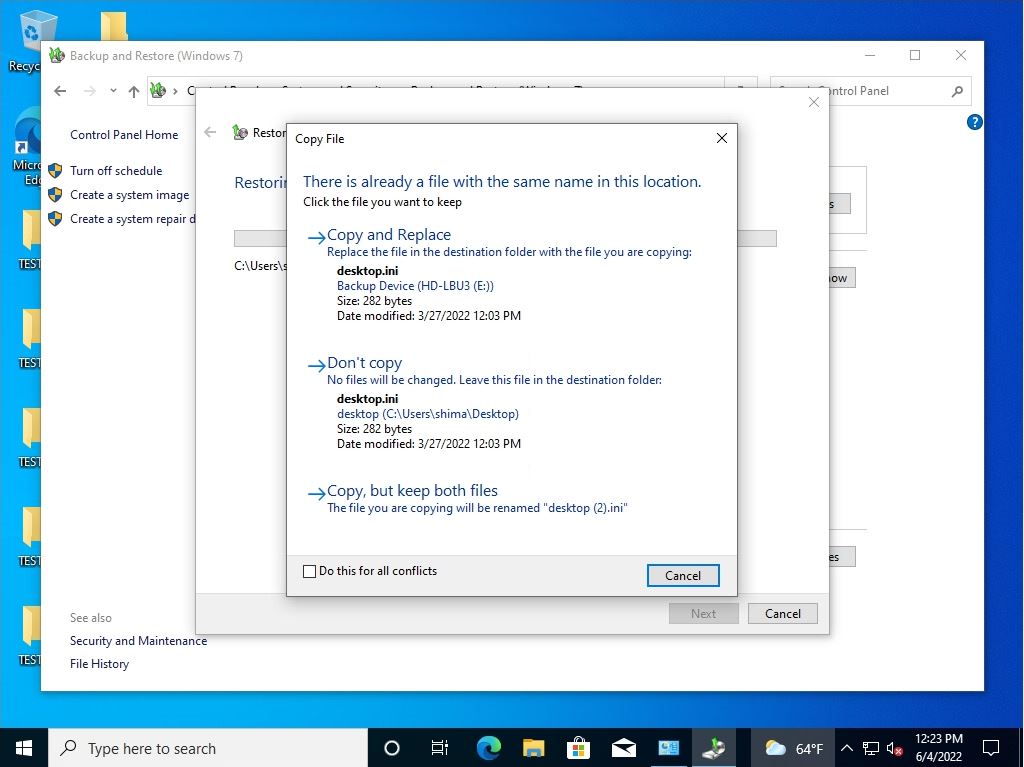
Copy File screen: The following screen may be output depending on the data to be restored. Check the contents and select one.
Step 8:
Restore Files screen: Select “Finish”.
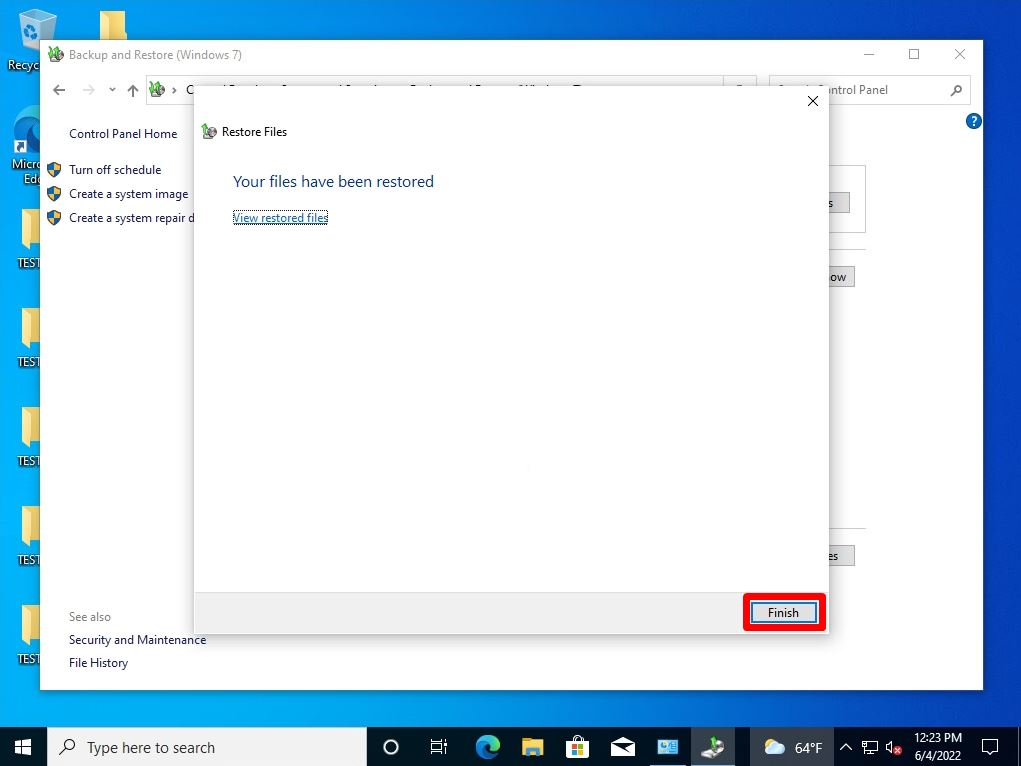
Step 9:
Confirm that the data has been restored to the specified location.