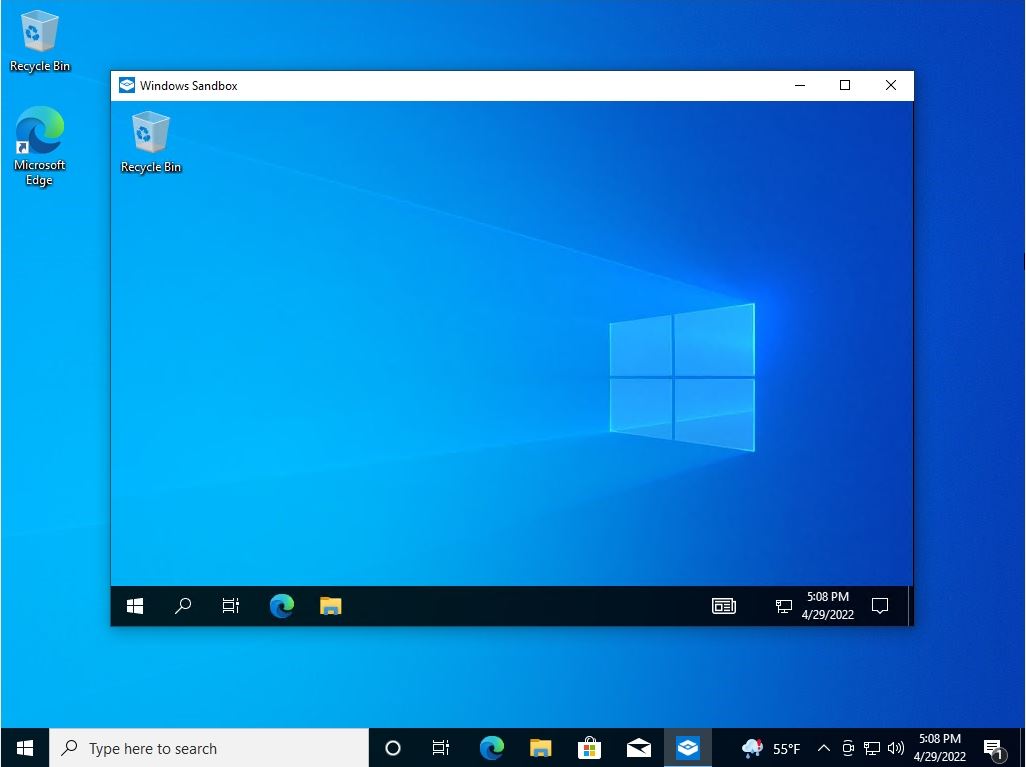
Sandbox is a function added from “Windows 10 May 2019 Update (version 1903)”. It can also be used with the subsequent client OS Windows 10.
Virtual machines on the sandbox can be run without being affected by viruses or unknown programs, such as when browsing software installation verifications or websites that are unreliable in terms of security.
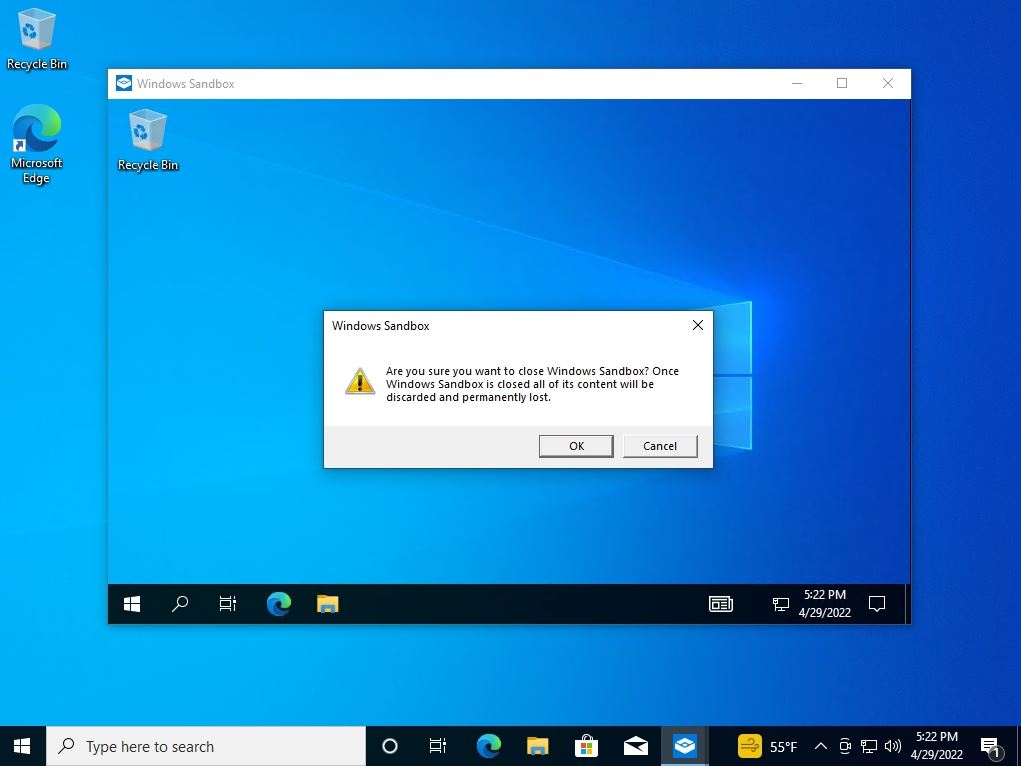
When the sandbox is stopped, the OS status such as website history, changed settings, and installed software is completely destroyed. If you start the sandbox again, it will start in a clean state of Windows 10.
Home edition is not supported on Windows 10. The following is an excerpt of the contents of the Microsoft official website.
・Windows 10 Pro, Enterprise or Education build 18305 or Windows 11 (Windows Sandbox is currently not supported on Windows Home edition)
・AMD64 architecture
・Virtualization capabilities enabled in BIOS
・At least 4 GB of RAM (8 GB recommended)
・At least 1 GB of free disk space (SSD recommended)
・At least two CPU cores (four cores with hyperthreading recommended)
Quote source:https://docs.microsoft.com/en-us/windows/security/threat-protection/windows-sandbox/windows-sandbox-overview
If you want to use the sandbox in Windows 10, enable the Windows sandbox on the “Control Panel”-> “Uninstall a program”-> “Turn Windows features on or off” screen.
Windows 10 PC:Sandbox Enabled
Windows Sandbox is disabled by default. You need to enable “Windows Sandbox” to use the function.
Step 1:
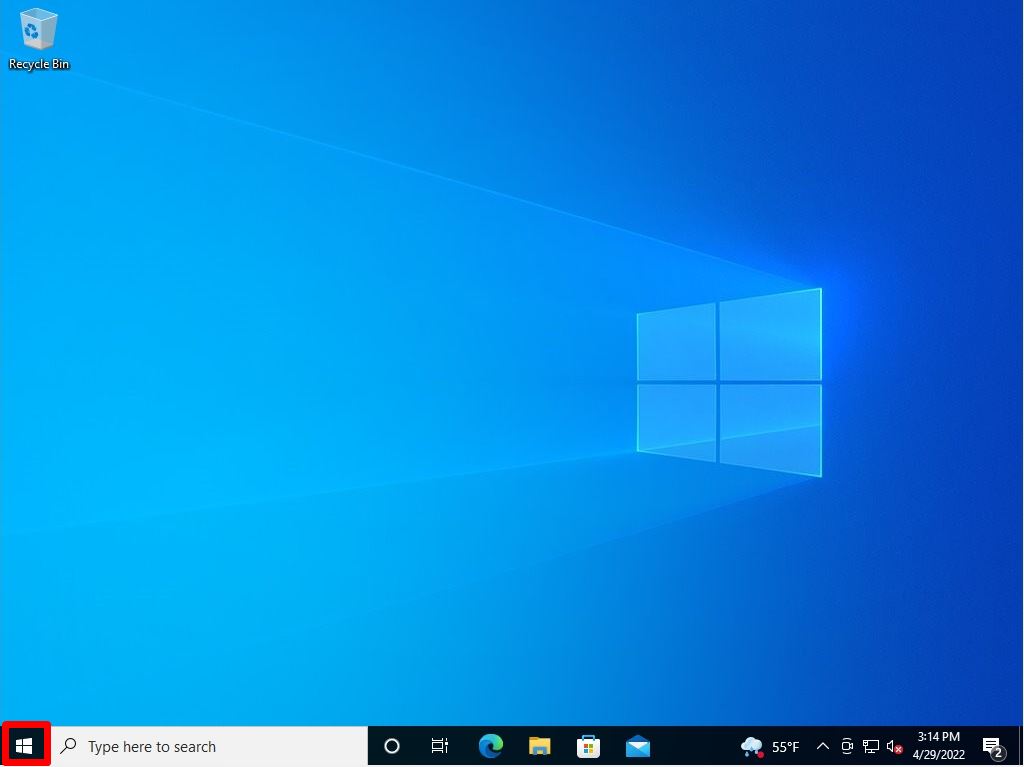
Select Search Box on the taskbar.
Step 2:
Select Control Panel.
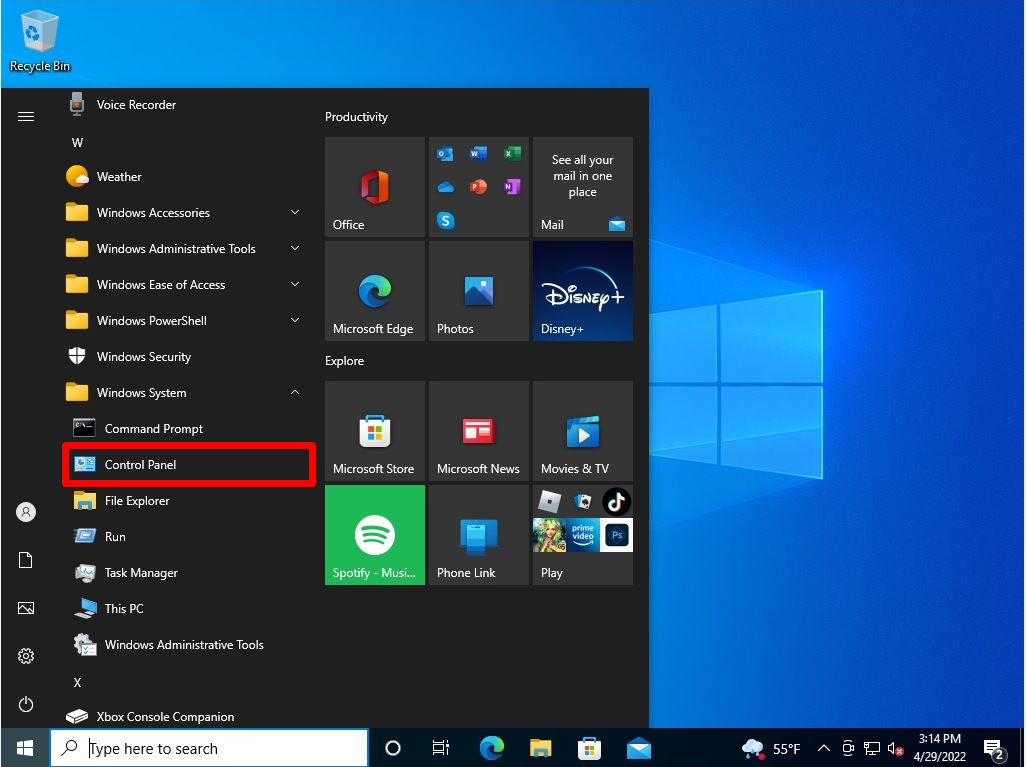
Step 3:
View by:Select Category -> Uninstall a program.
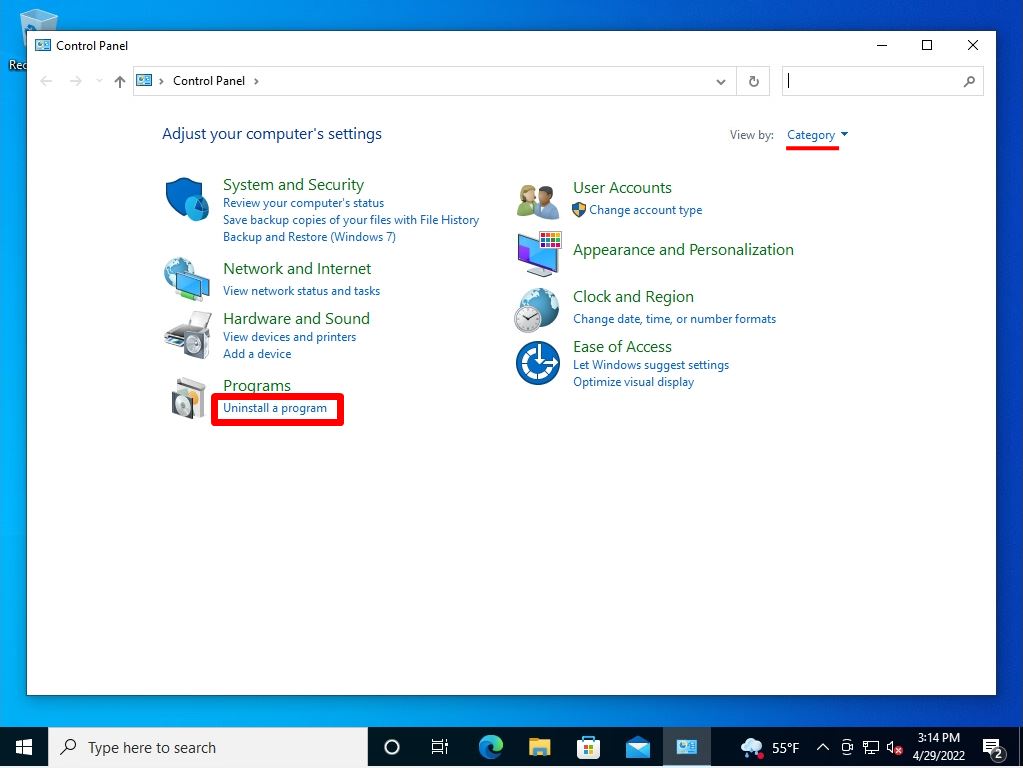
Step 4:
Programs and Features screen: Select “Turn Windows features on or off”.
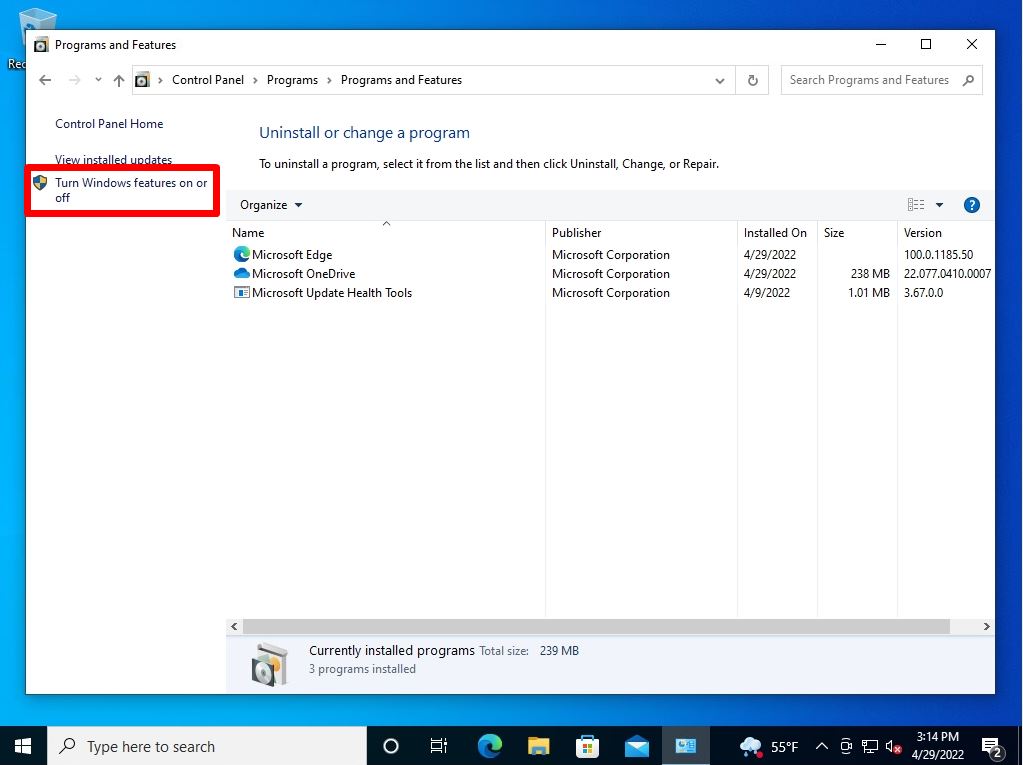
Step 5:
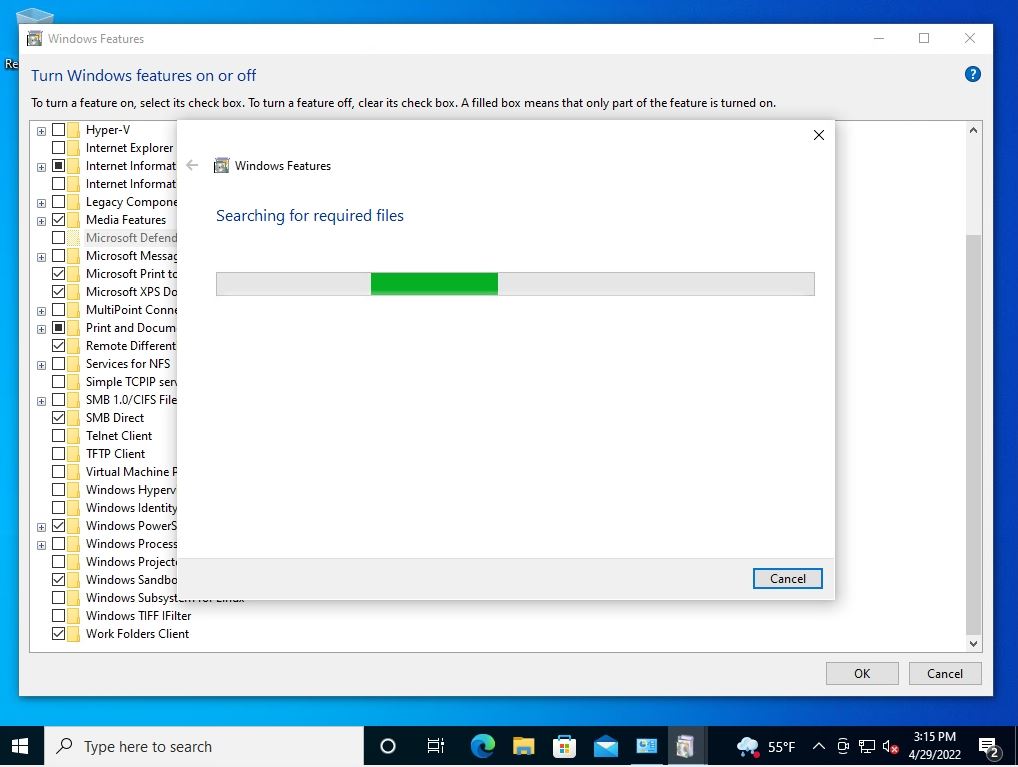
Windows Features Screen: Enable the Windows Sandbox checkbox -> Select OK.
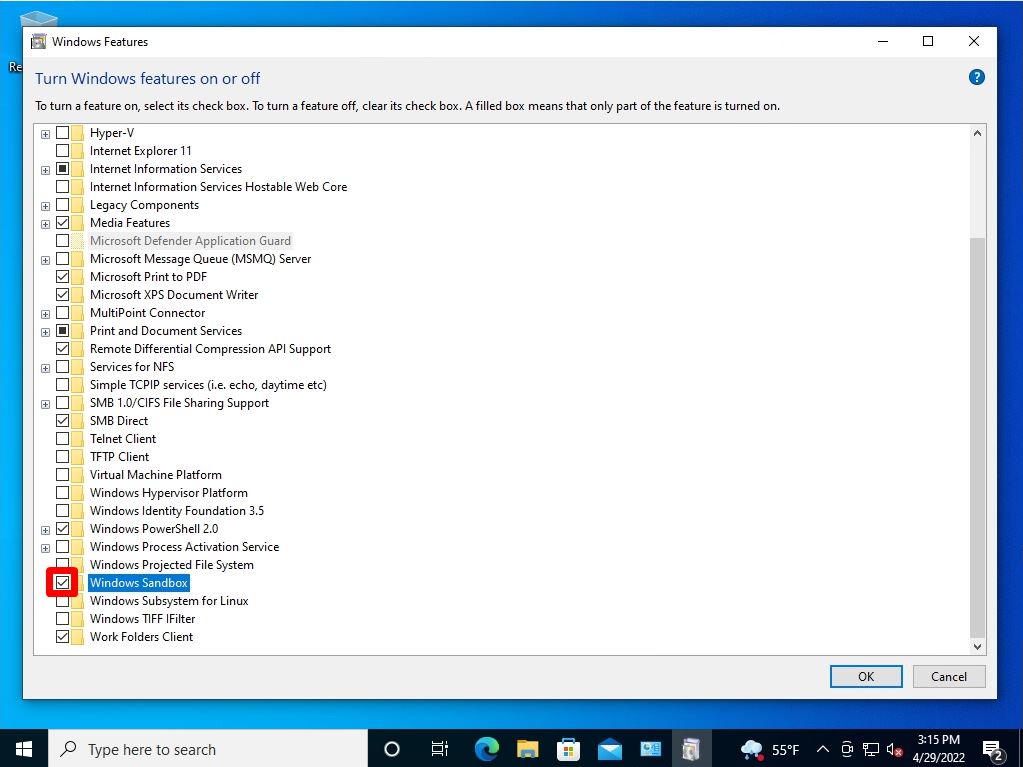
Wait a moment for the changes to be applied.
Step 6:
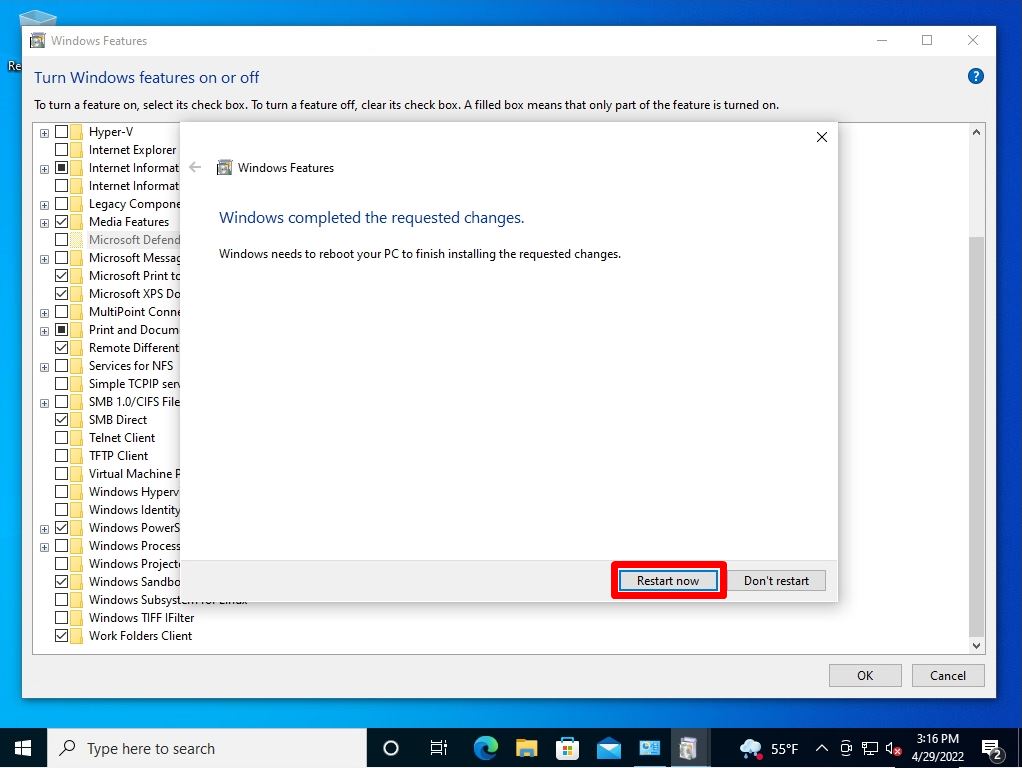
Select Restart Now.
Windows10 PC:Start Windows Sandbox virtual machine
Step 1:
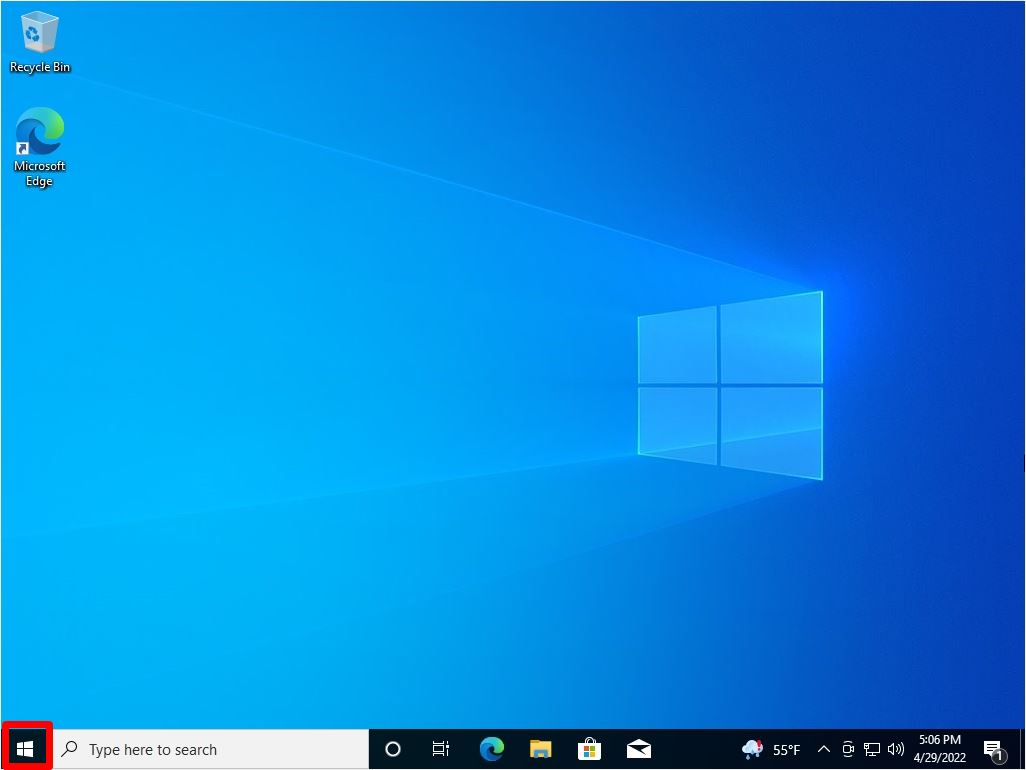
Select the Windows mark on the taskbar.
Step 2:
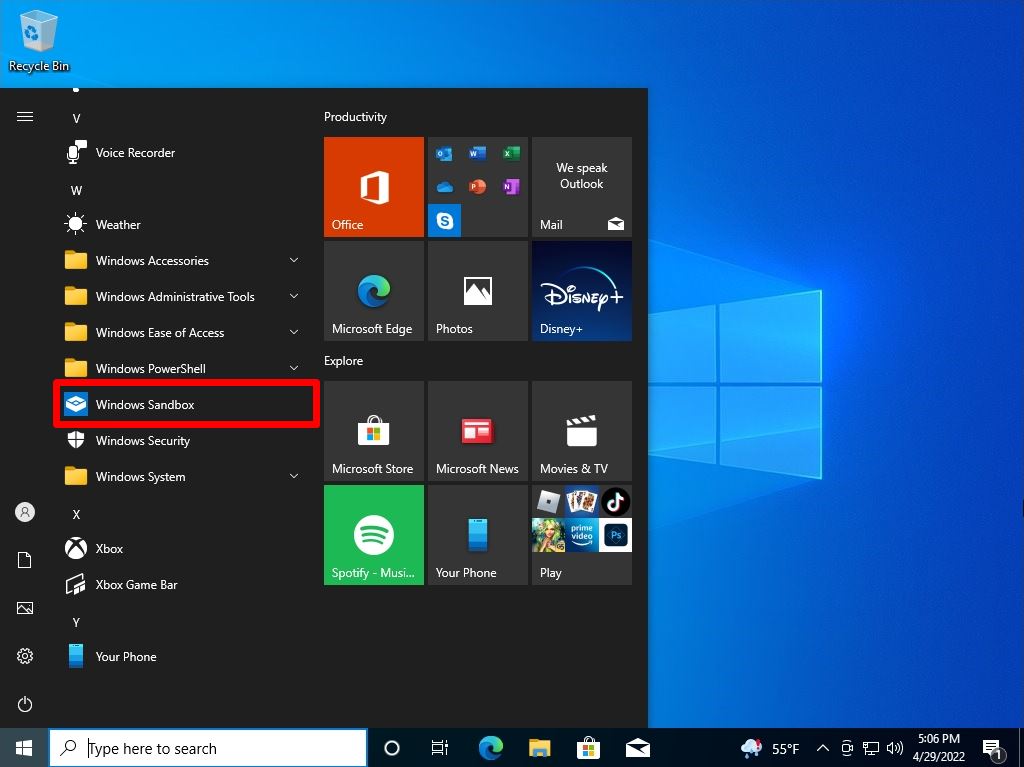
Select Windows Sandbox.
Step 3:
The sandbox virtual machine will start.
