The “Windows Memory Diagnostic” that comes standard with Windows Server 2019 is application software that allows you to check if there are any abnormalities in the memory. If the number of unintended restarts, sudden blue screens, and other errors that occur when using the terminal you are using increases, it is possible that there is a problem with the OS, disk, or memory, but there are cases where memory is the cause. It is often seen. * The resource handling method differs depending on the event ID output to the event viewer.
If there is a possibility of memory failure by judging the event ID / error message in the event viewer, we recommend “Windows Memory Diagnostic”, which is a standard Windows function. This time, we will explain how to check the log in the event viewer while executing the Windows Memory Diagnostic using Windows Server 2019.
Windows Server 2019: Run Windows Memory Diagnostic
Step 1:
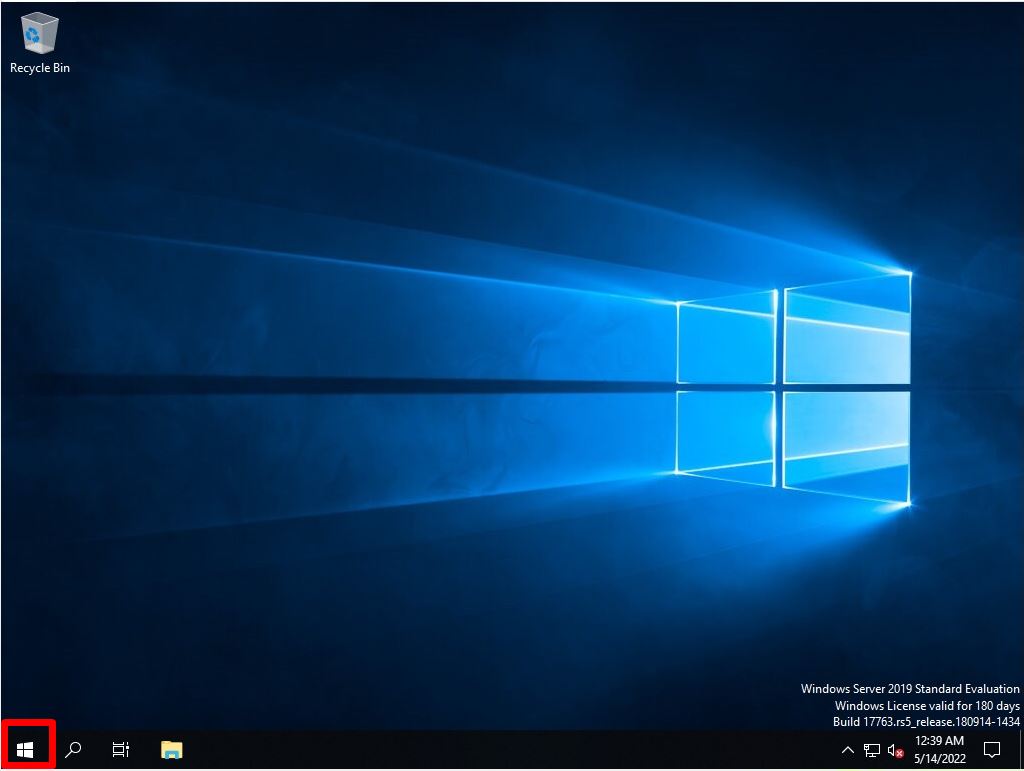
Click the Windows logo at the bottom left of your desktop
*As another execution method, it can be started by executing a command. Run –> Enter MDSCHED.EXE
Step 2:
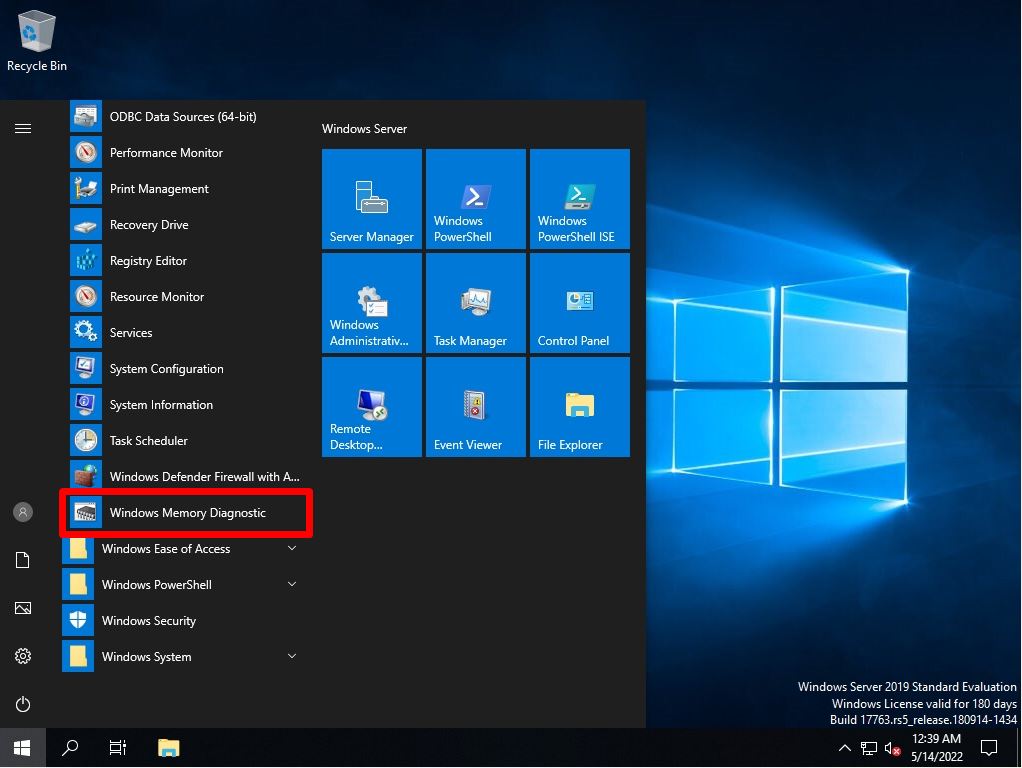
Windows Administrative Tools -> Select Windows Memory Diagnostic.
Step 3:
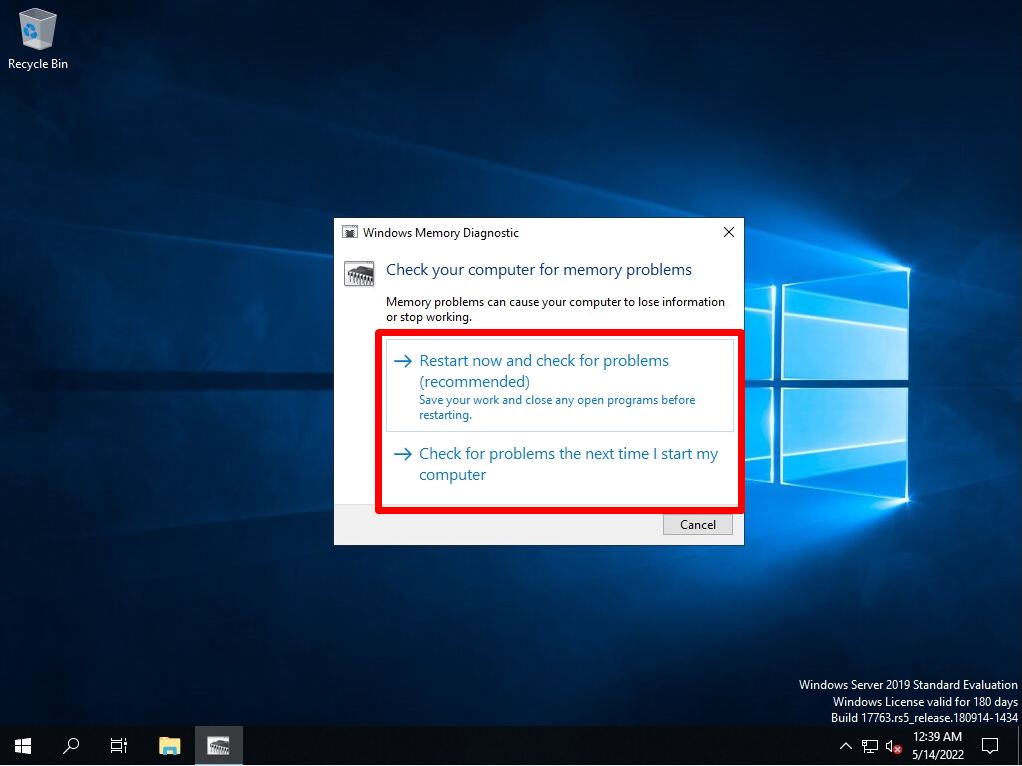
Select the timing to restart and restart.
Step 4:
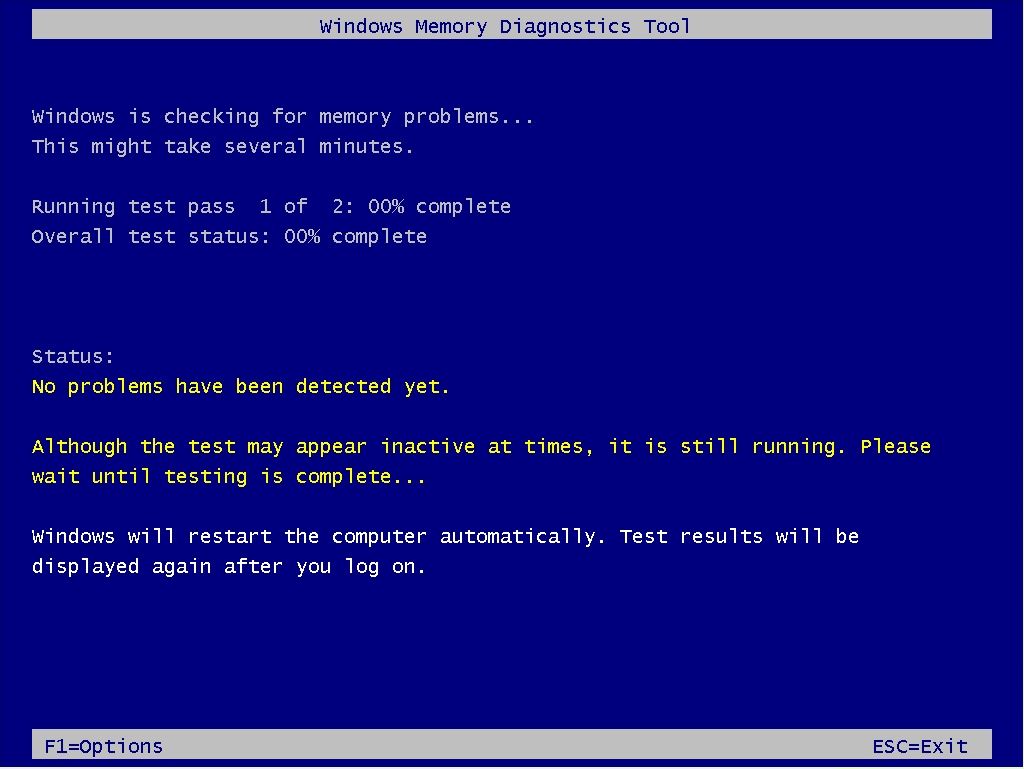
The Windows Memory Diagnostic Tool will start.
*The diagnostic processing time varies depending on the terminal (installed memory) used.
Step 5:
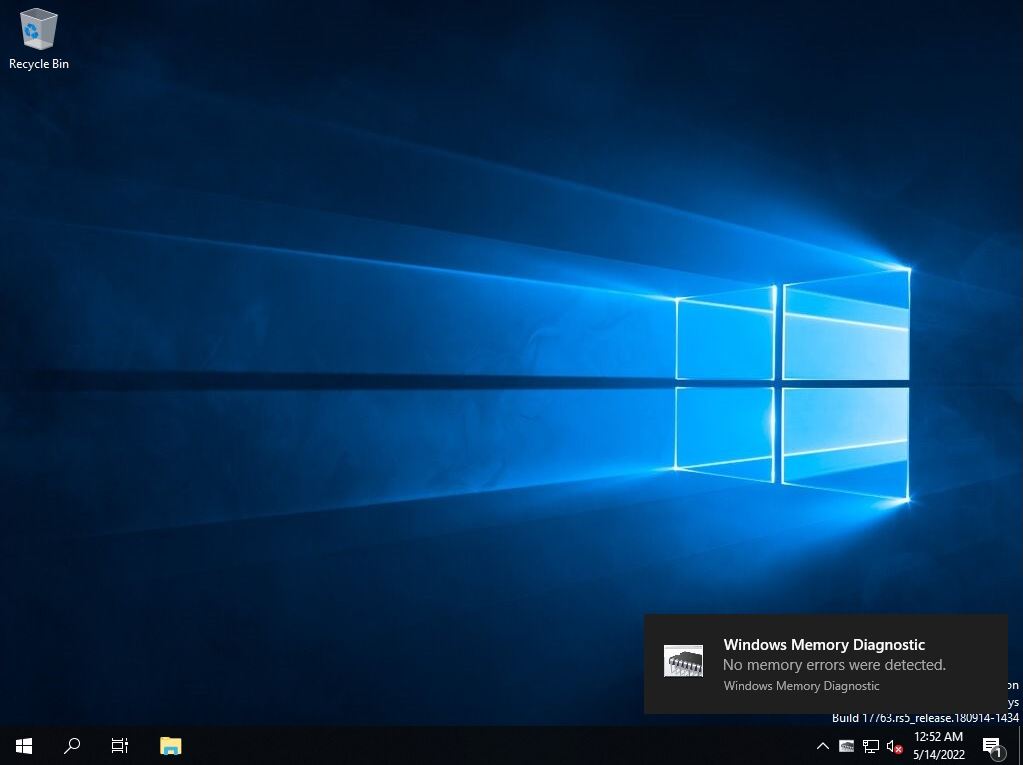
The Windows Memory Diagnostic result will be displayed a little after the memory diagnosis is completed.*This time, the result screen was displayed in about 4-5 minutes.
Run Windows Memory Diagnostic: Check logs in Event Viewer
Step 1:
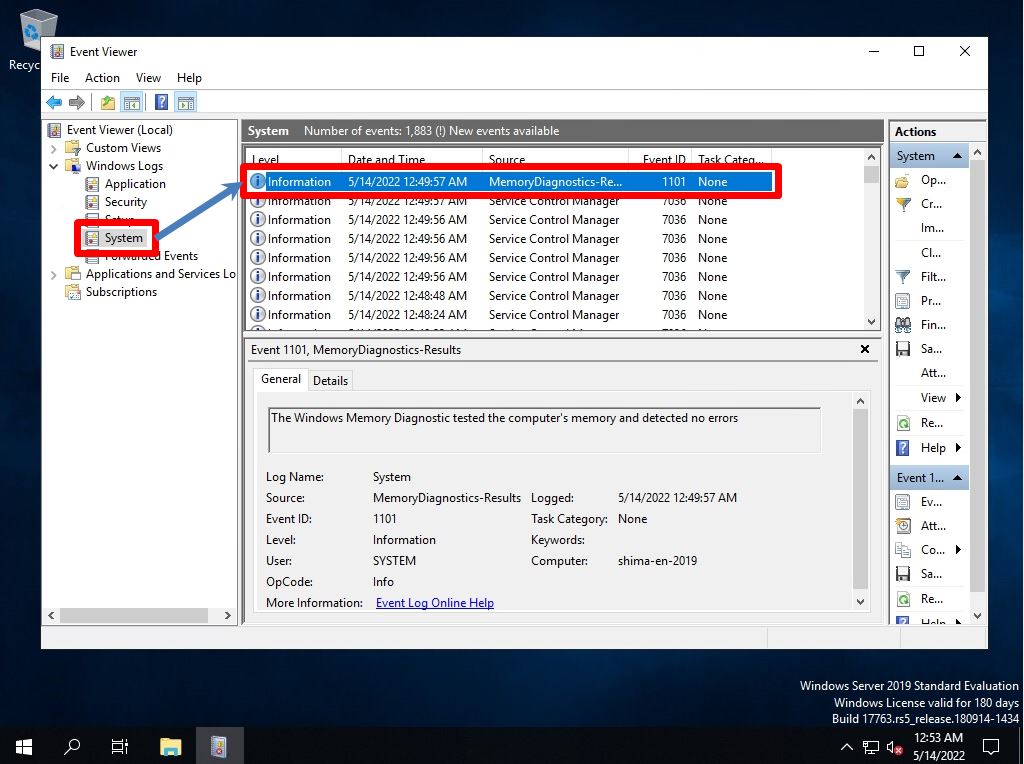
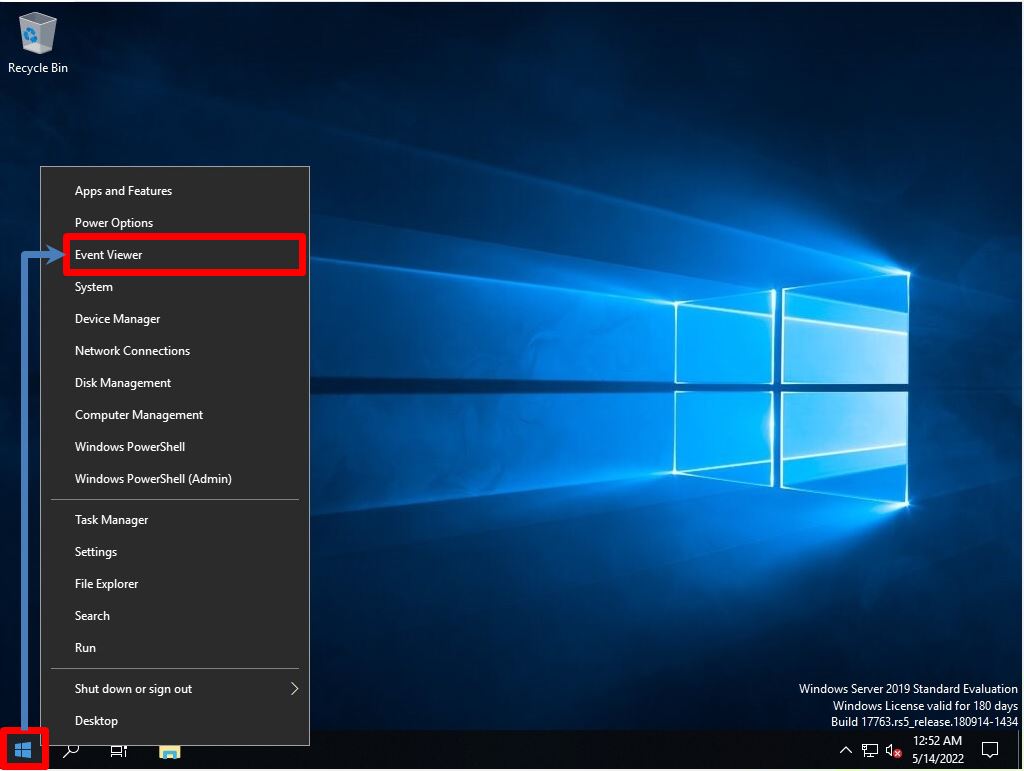
The memory diagnosis result can be confirmed in the Event Viewer log. Right-click on the Windows mark at the bottom left of your desktop –> select Event Viewer.
Step 2:
Windows Log -> System -> Source “Memory Diagnostics-Results” log is output and the result is displayed.
