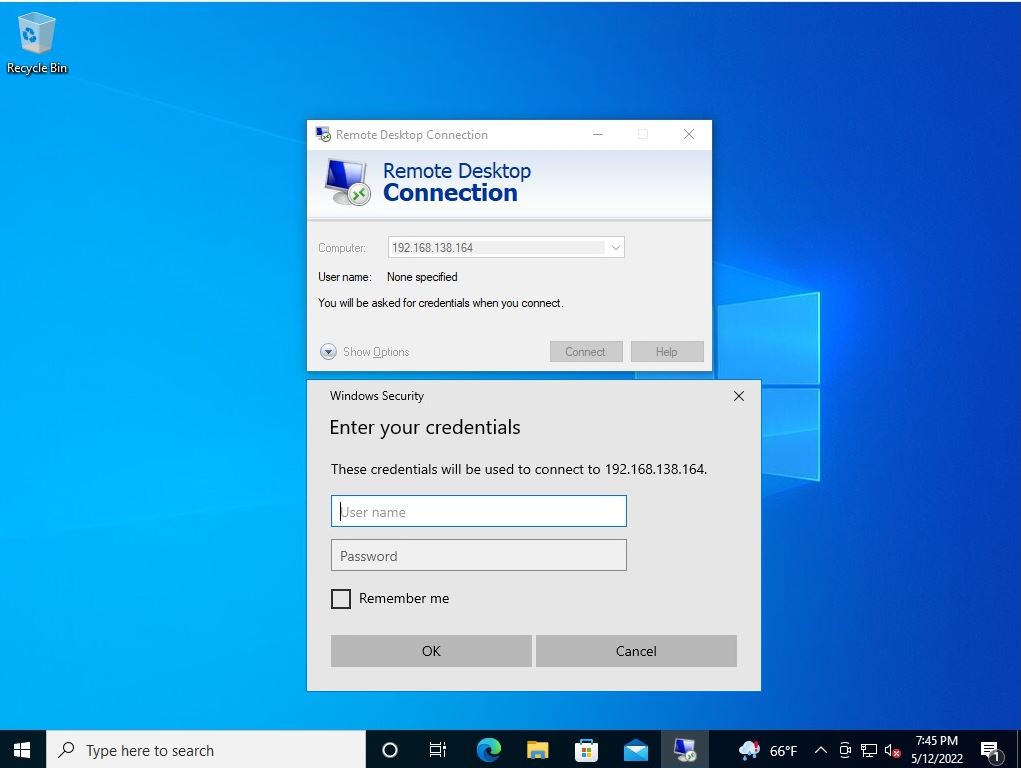
Desktop is a remote control function that allows you to operate a specific terminal via a network. To allow remote connection settings in Windows Server 2019, you need to enable the settings on the System-> Remote Desktop screen. By default, Windows uses the Remote Desktop Protocol (RDP) protocol and connects with port number “3389”.
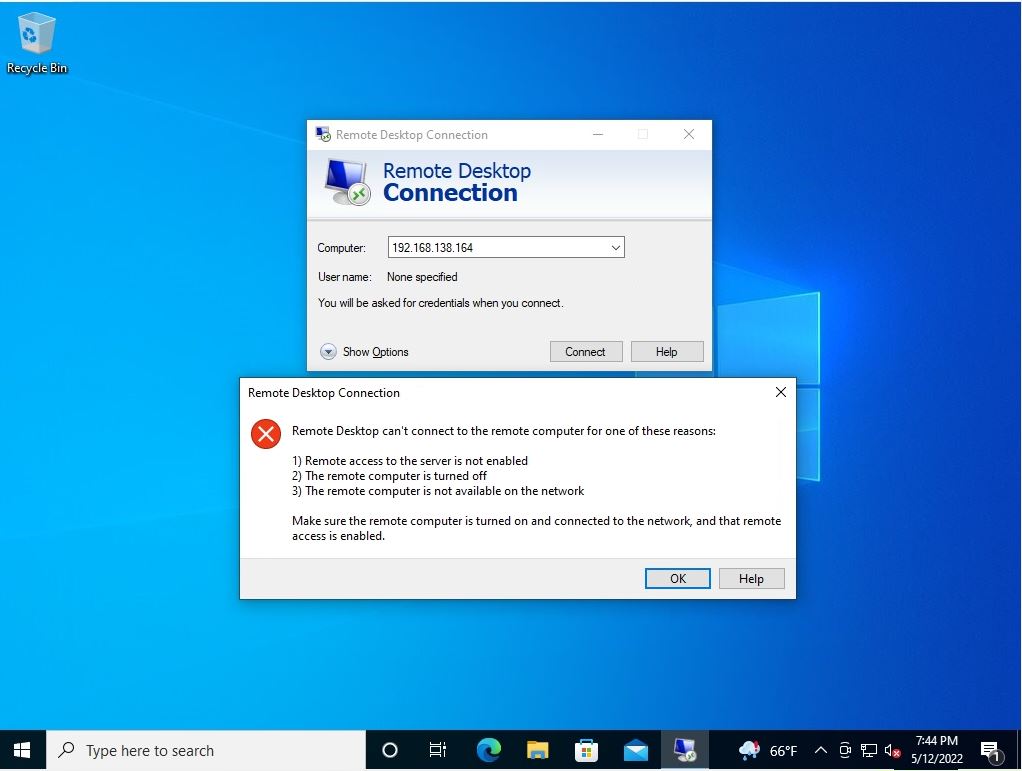
If you do not allow the remote connection setting, the remote desktop connection disabled message on the screen below is output.
1) Remote access to the server is not enabled
2) The remote computer is turned off
3) The remote computer is not available on the network
This article describes the procedure to enable Remote Desktop Connection using a terminal of Windows Server 2019.
Windows Server 2019: Remote Desktop Connection Permission Settings
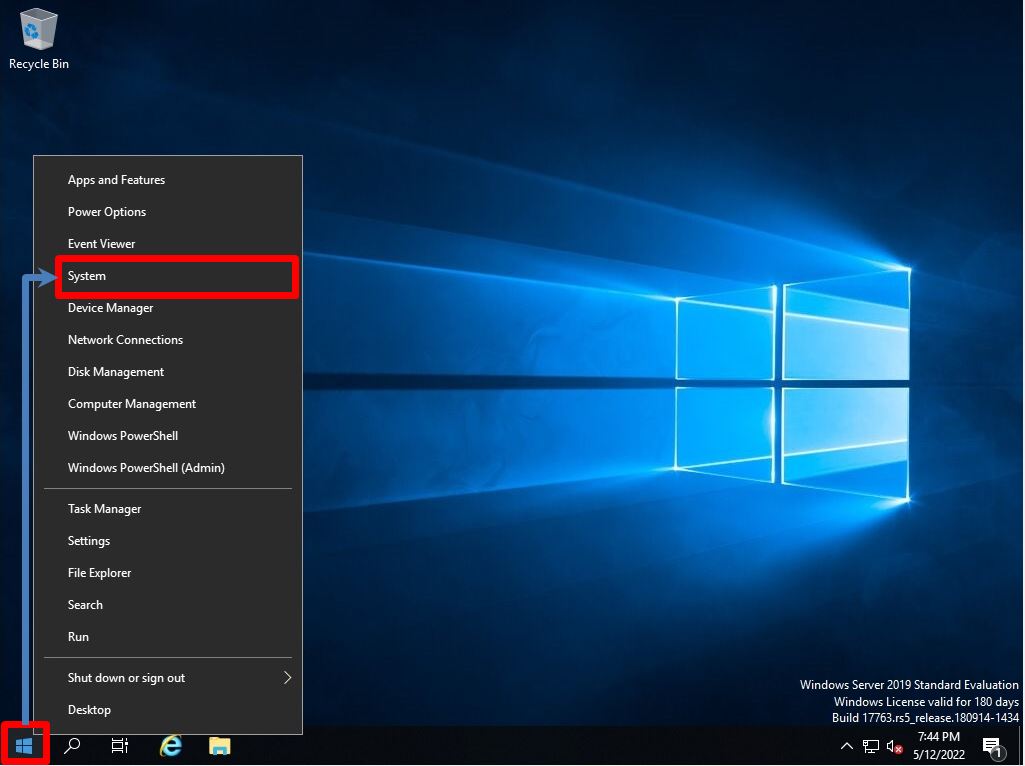
Step 1:
Right-click on the Windows mark at the bottom left of your desktop-> select System.
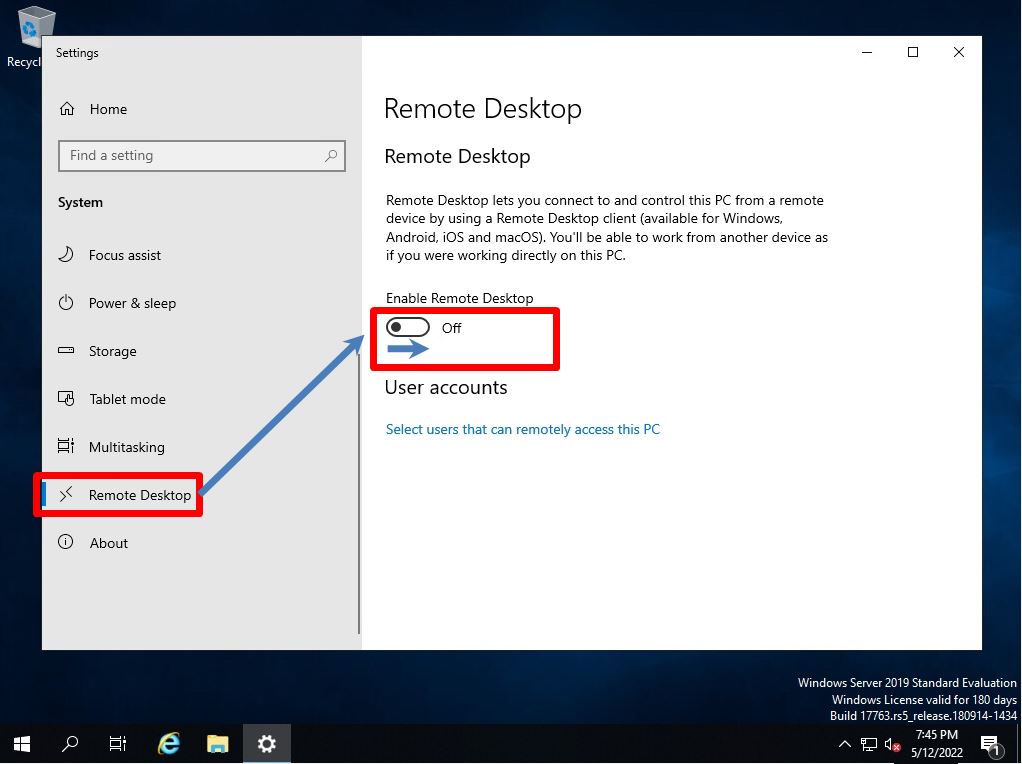
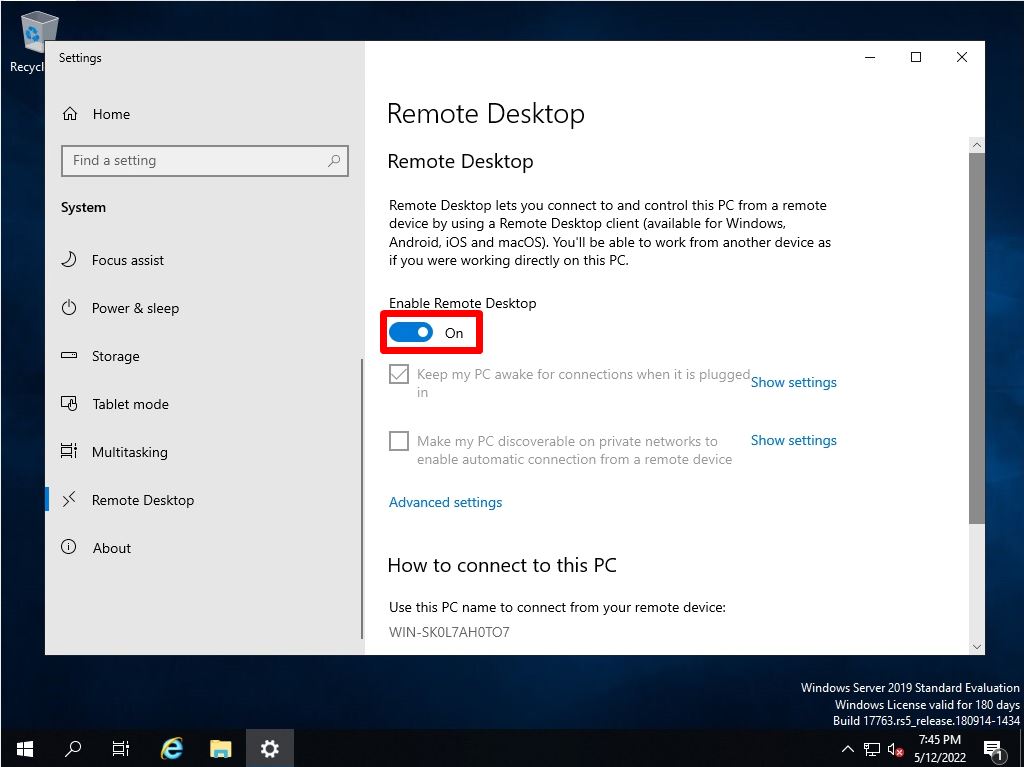
Step 2:
By default, the Remote Desktop setting is off. Switch Enable Remote Desktop to “On”.
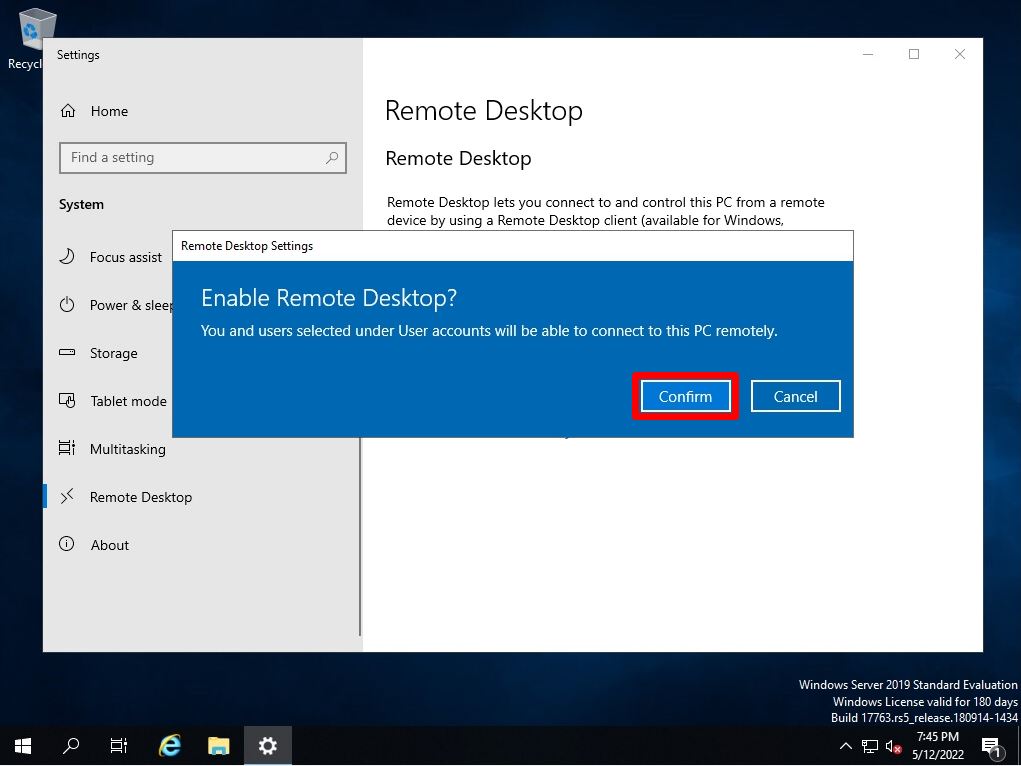
Step 3:
Enable Remote Desktop? Screen: Select “Confirm”.
Step 4:
Confirm that the setting to Enable Remote Desktop is set to “On”.
The remote connection permission setting is completed on Windows Server 2019. Check if you can connect to the remote desktop from the connection source terminal and log in to Windows Server 2019.