To build Hyper-V on Windows Server 2022, you need to enable Hyper-V from Server Manager -> Add roles and features wizard. By activating his Hyper-V on Windows Server 2022 and loading the target ISO file, you can use the following OS and other virtual machines.
- Windows OS: Windows10, Windows Server 2012, Windows Server 2016, Windows Server 2019, etc.
- Linux OS: Red Hat Enterprise Linux, Ubuntu, CentOS, etc.
This article describes the steps to enable / disable Hyper-V on Windows Server 2022.
Windows Server 2022:How to enable Hyper-V
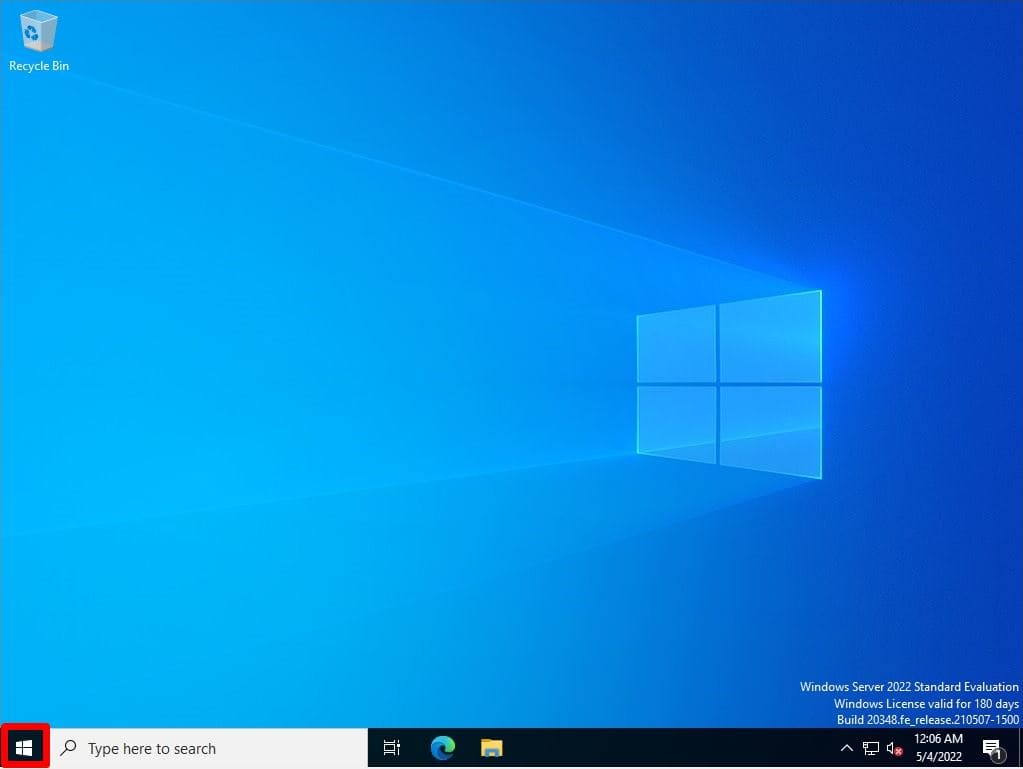
Step 1:
Select the Windows mark at the bottom left of your desktop.
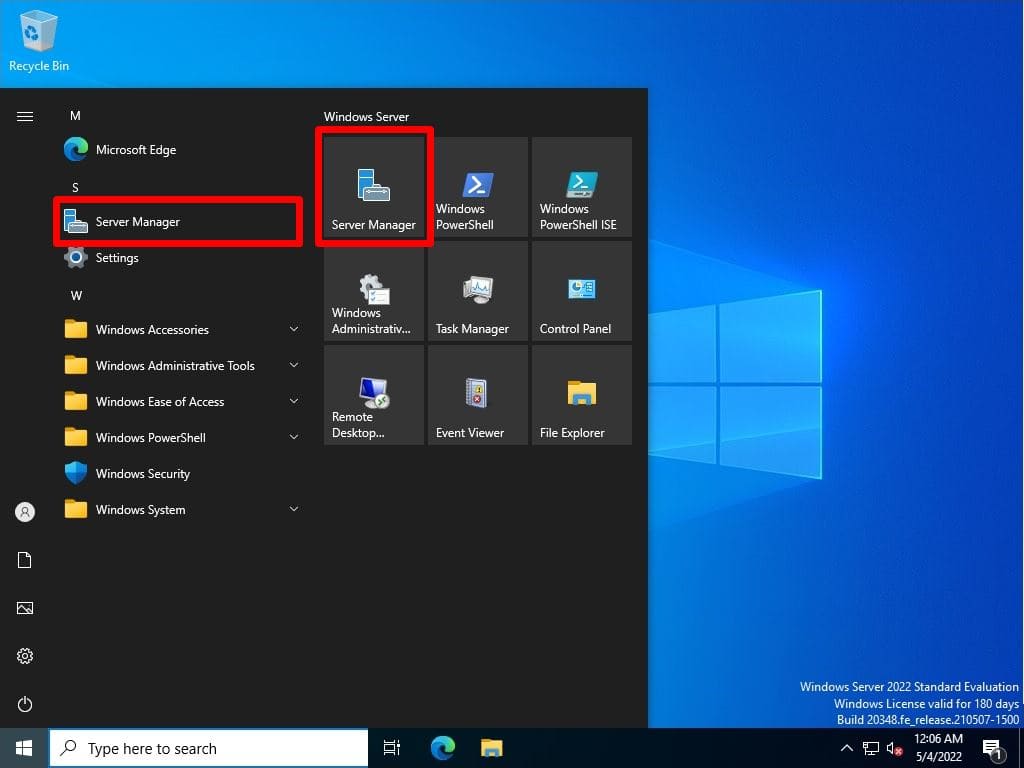
Step 2:
Select Server Manager.
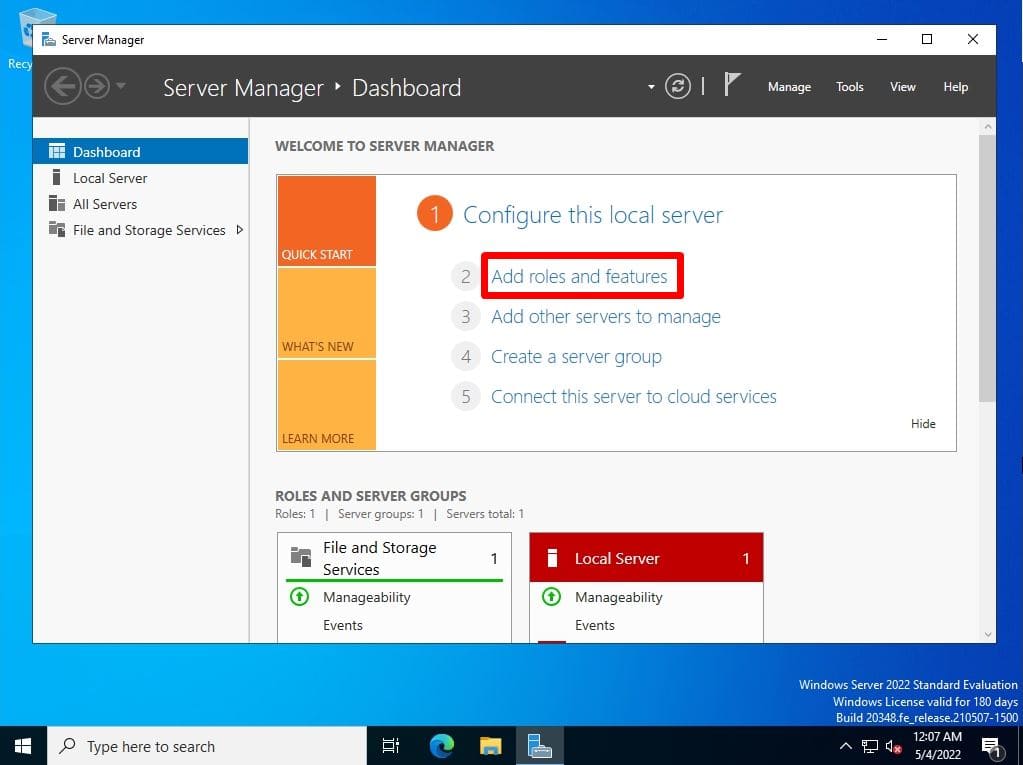
Step 3:
Select Add roles and features.
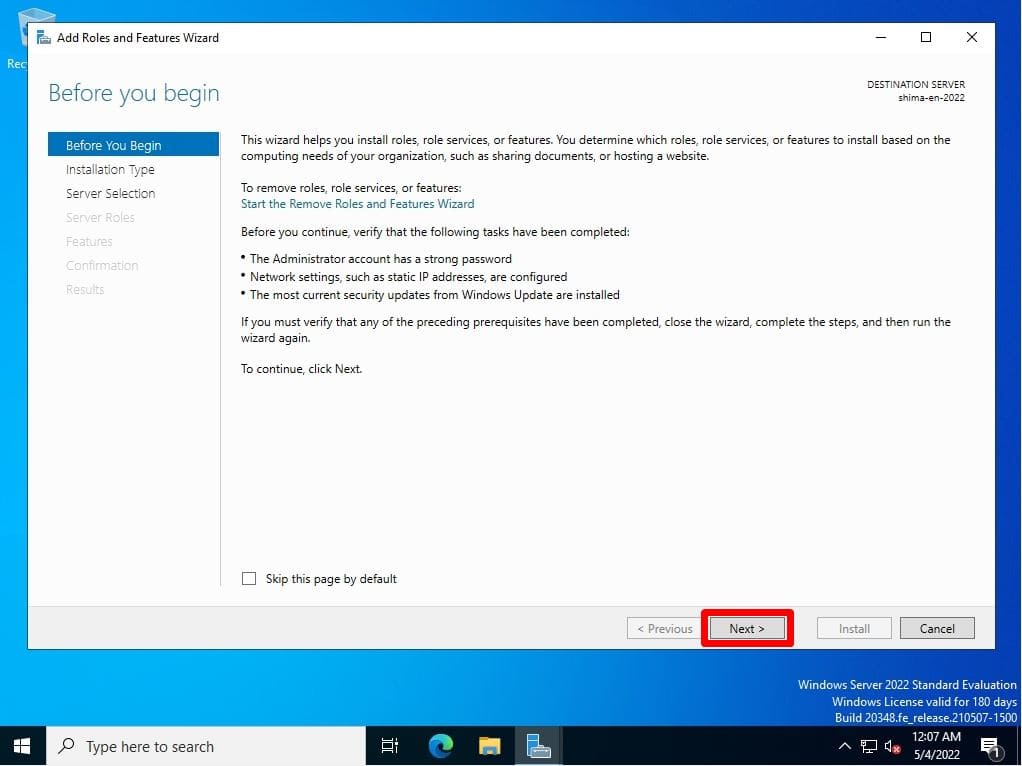
Step 4:
Before you begin screen: Select Next.
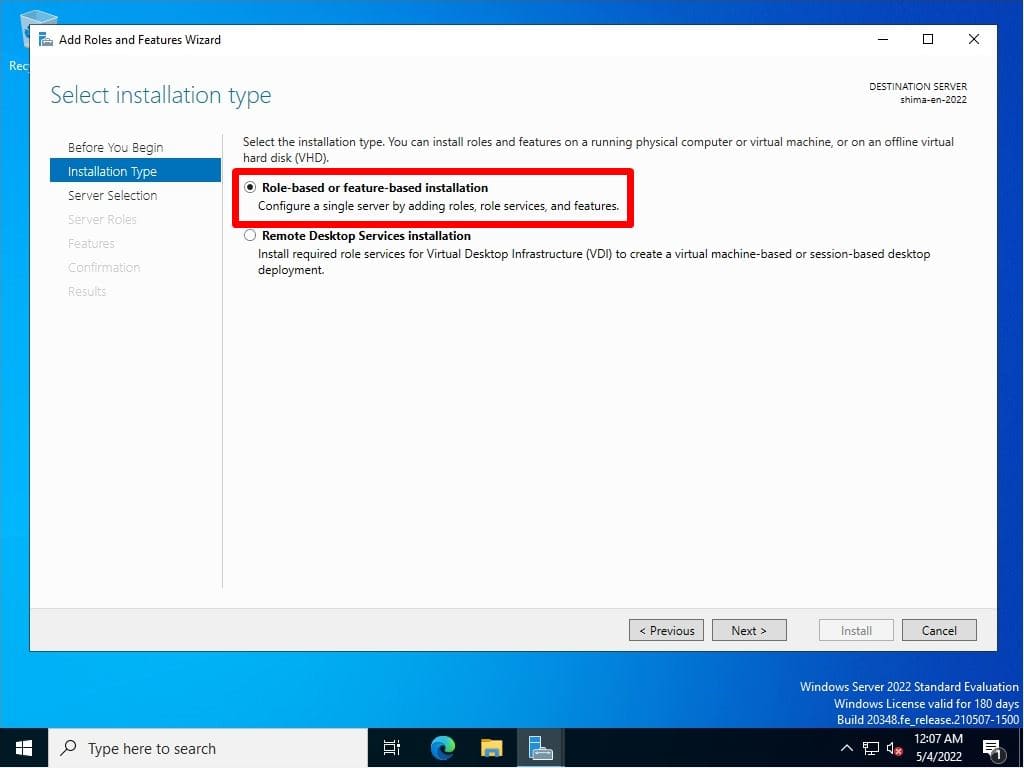
Step 5:
Select installation type screen: Select Role-based or feature-based installation -> Next.
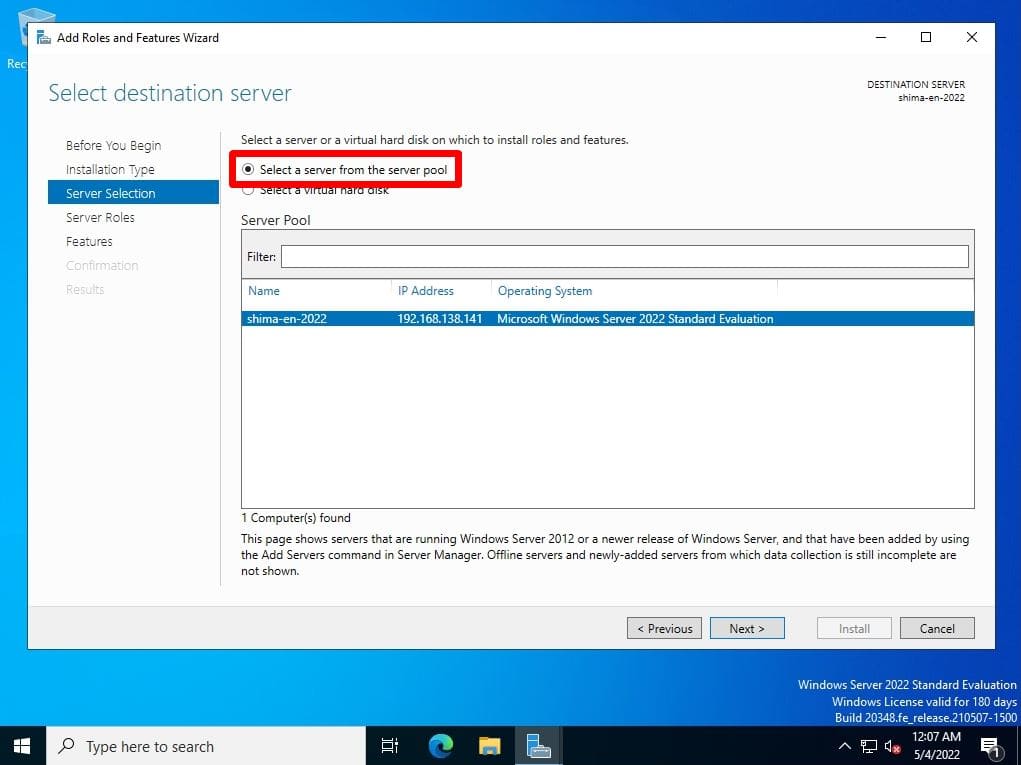
Step 6:
Select destination server screen: Select “Select a server from the server pool” -> “Next”.
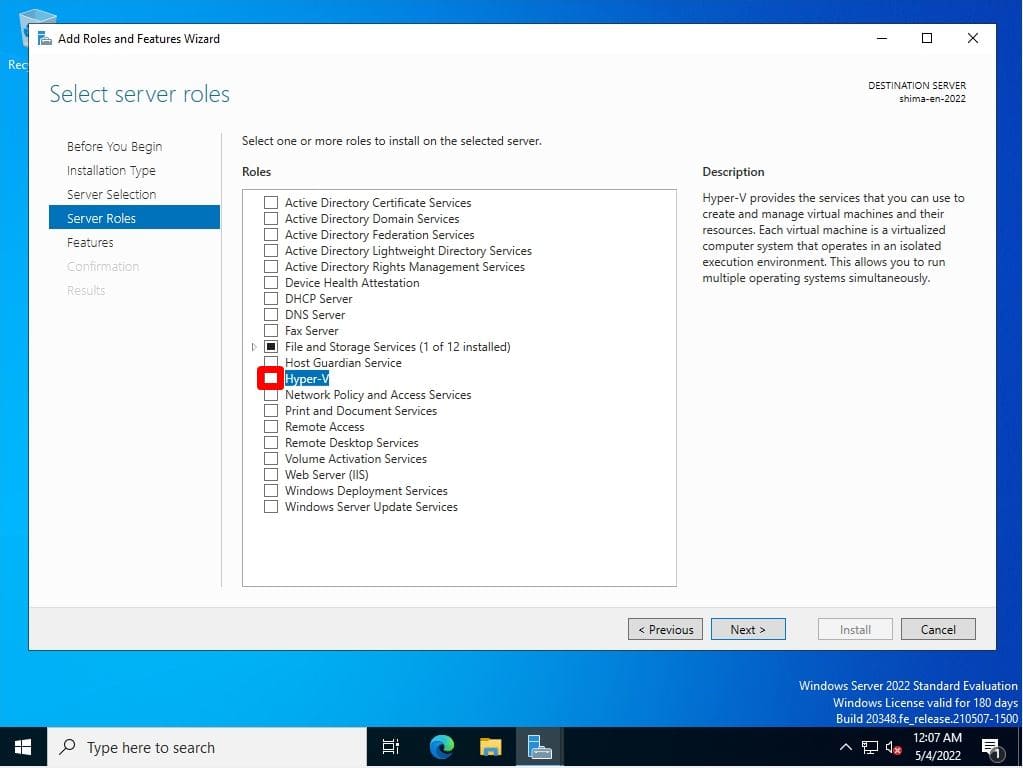
Step 7:
Select server roles screen: Select “Hyper-V” in the red frame.
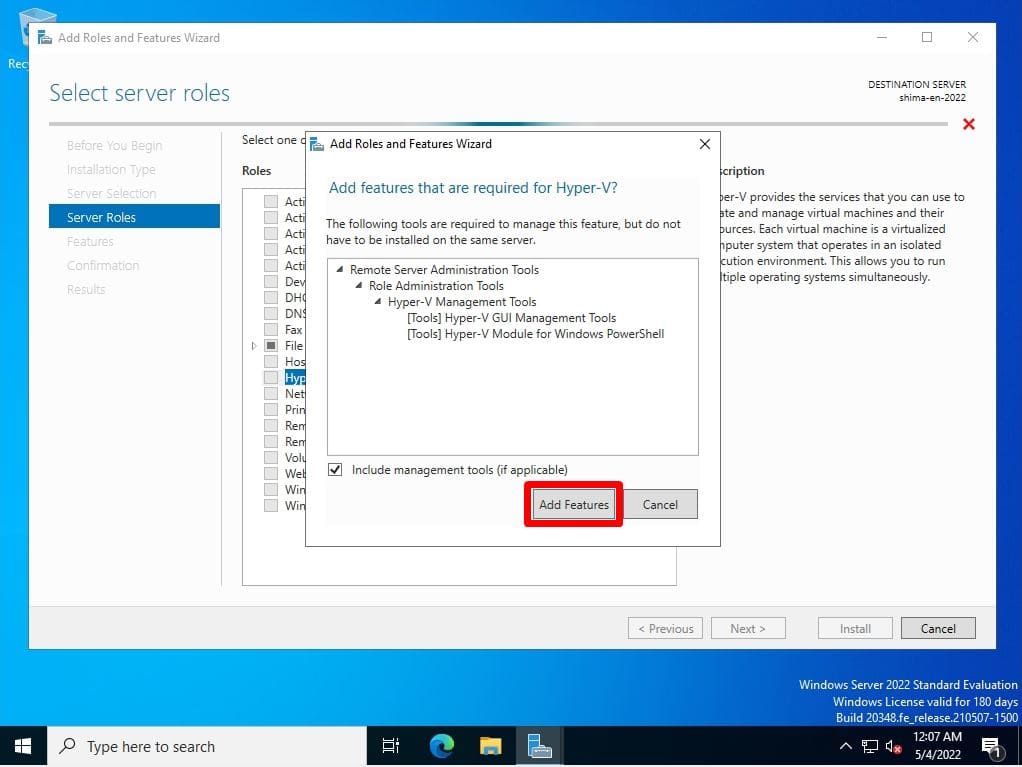
Step 8:
Select Add Features.
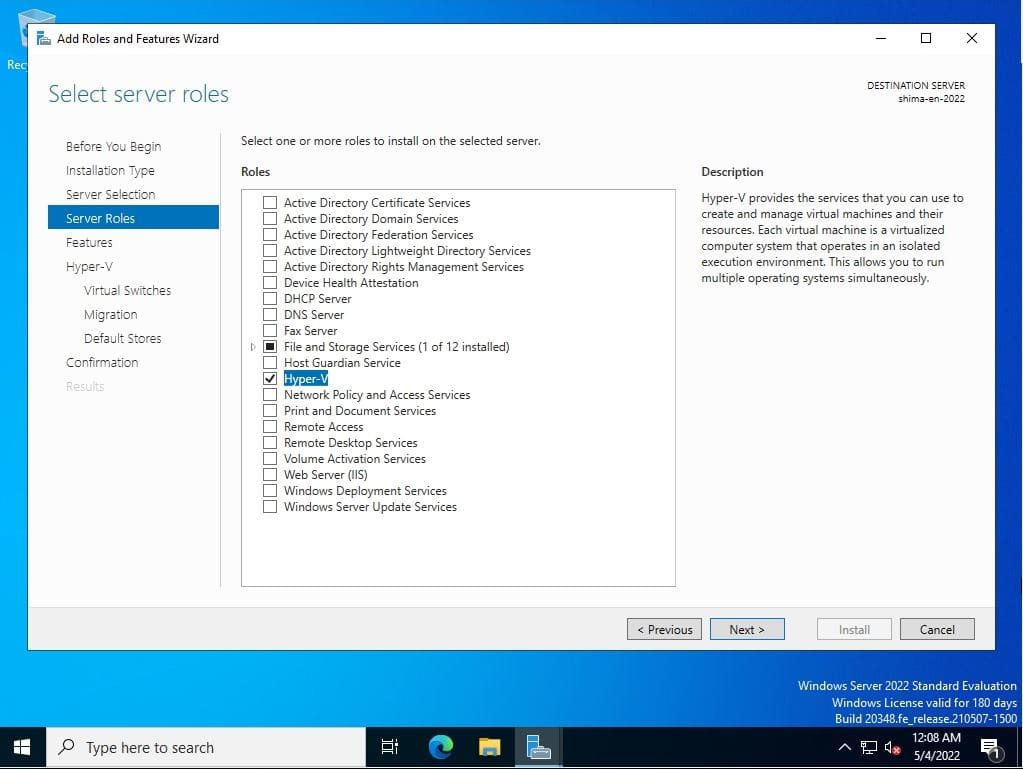
Step 9:
Make sure the Hyper-V checkbox is enabled and select Next.
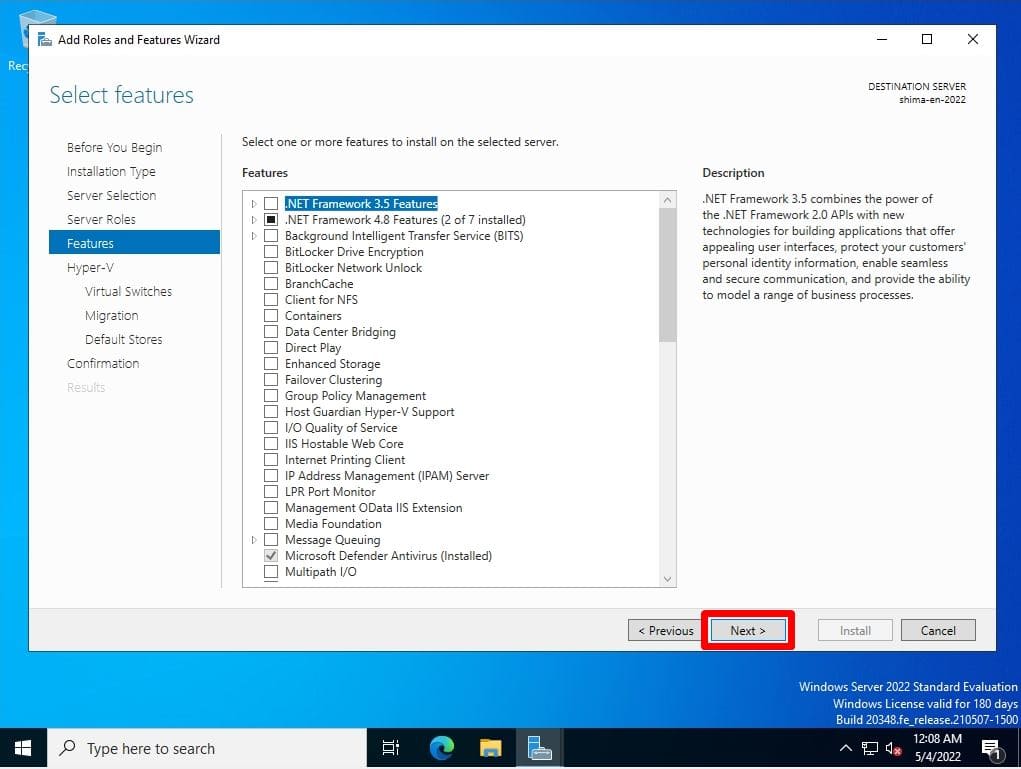
Step 10:
Select features screen: Select “Next” without selecting anything.
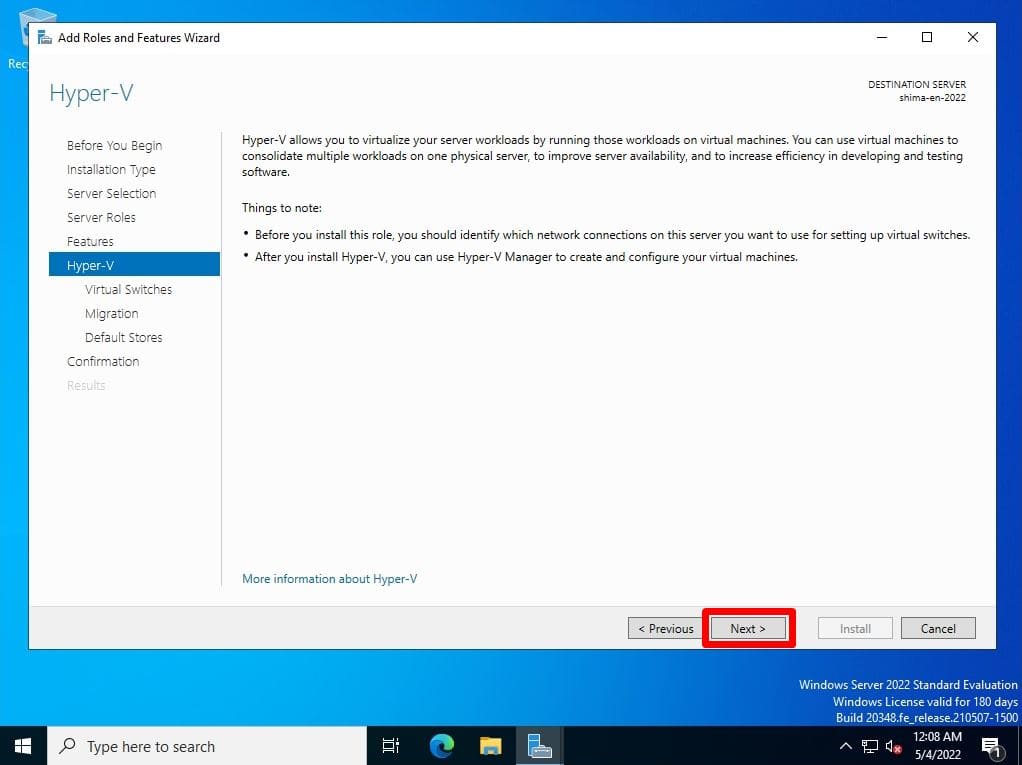
Step 11:
Hyper-V screen: Select “Next”.
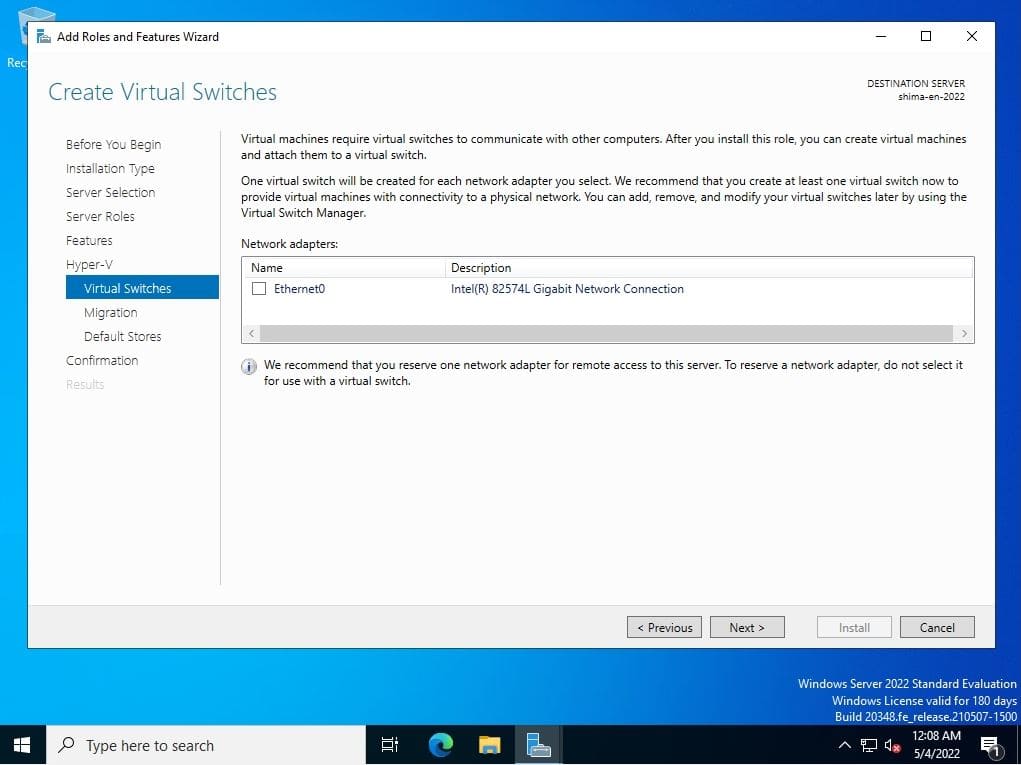
Step 12:
Create Virtual Switches screen: Select Next.
Since the virtual switch can be created even after Hyper-V is enabled, it is not created on this setting screen in this article.
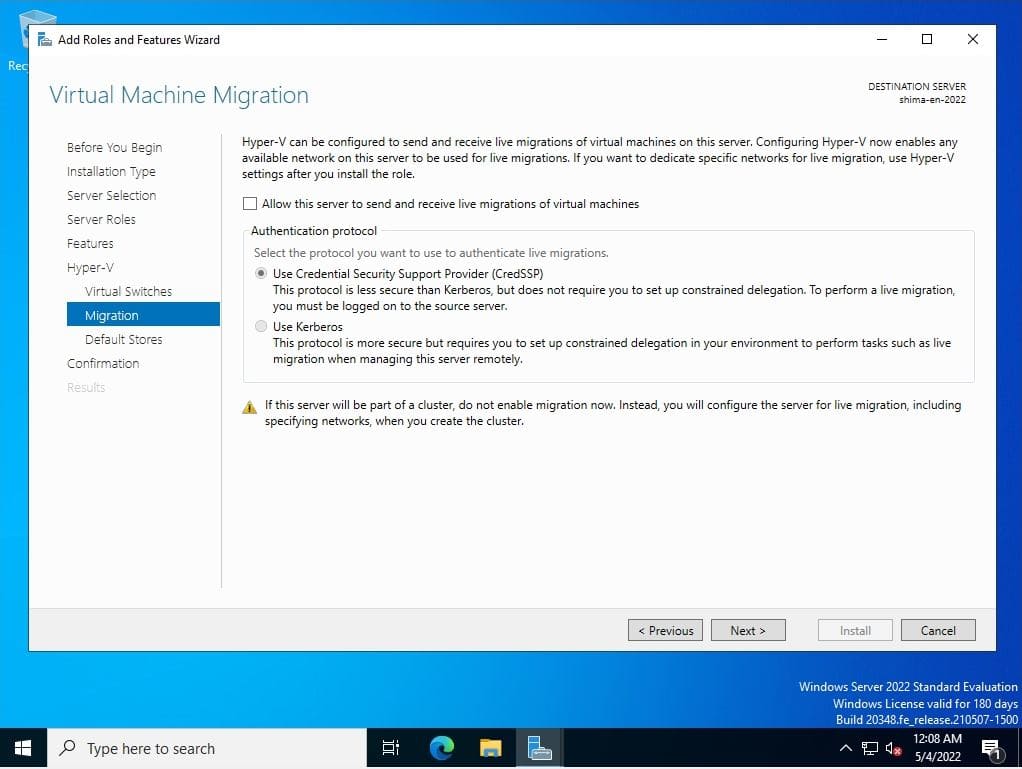
Step 13:
Virtual Machine Migration screen: Select Next.
Live migration can be set even after Hyper-V is enabled, so it is not set on this setting screen in this article.
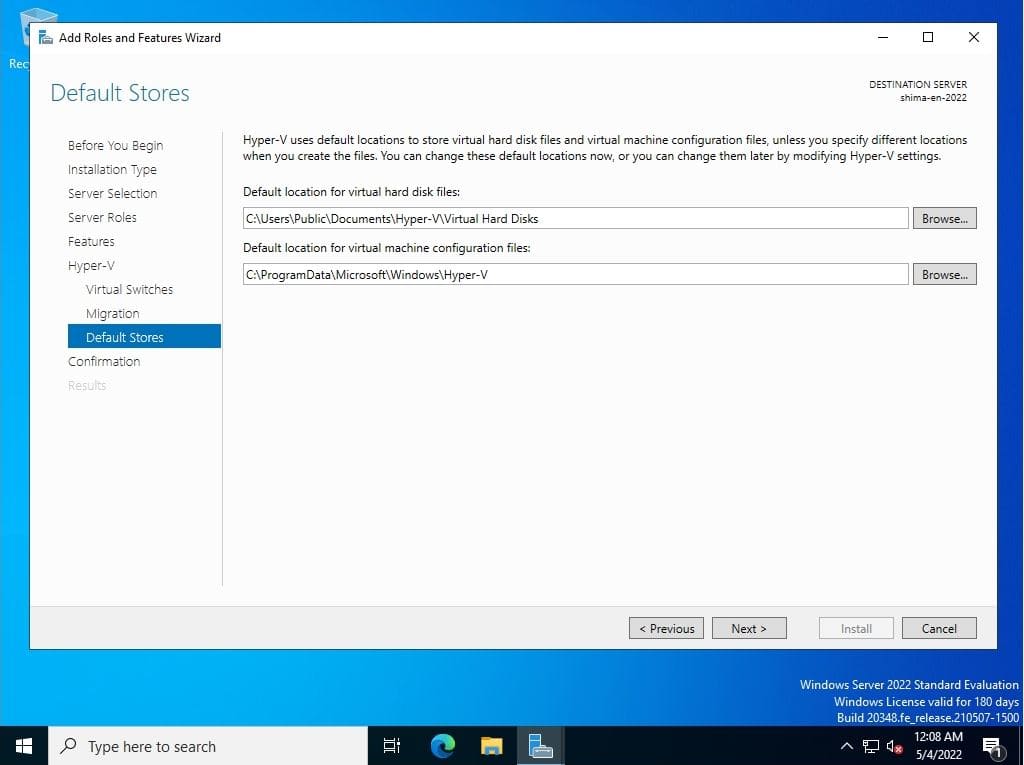
Step 14:
Default Stores screen: If there is no problem with the default, select “Next”.
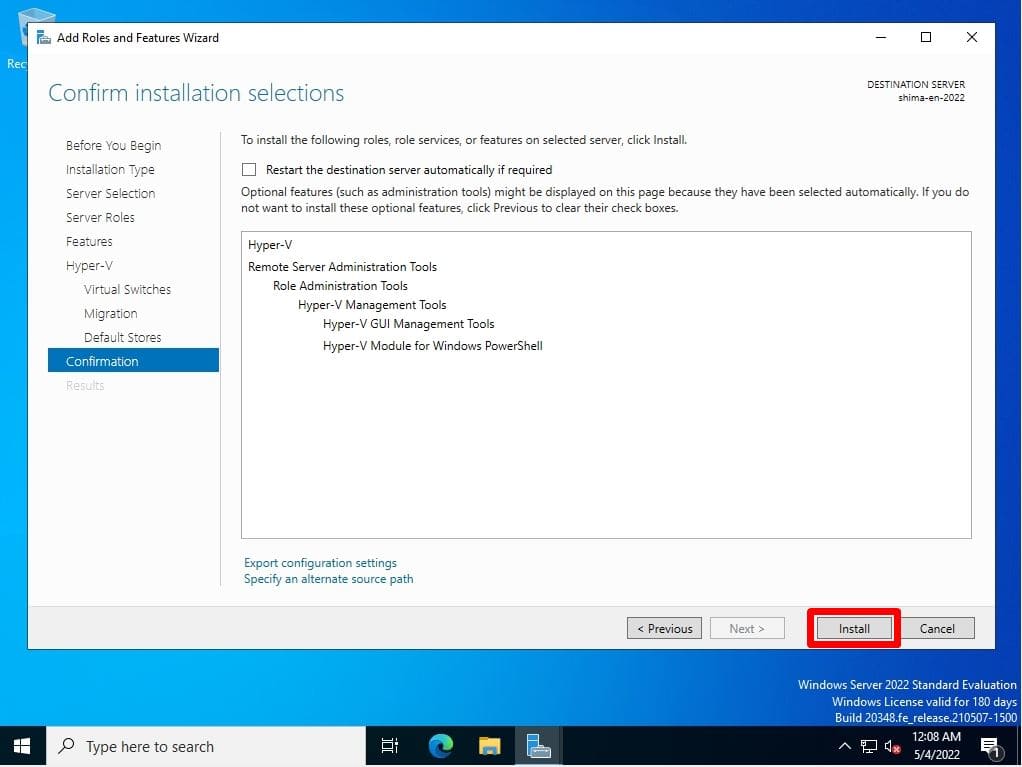
Step 15:
Confirm installation selections screen: Select “Install”.
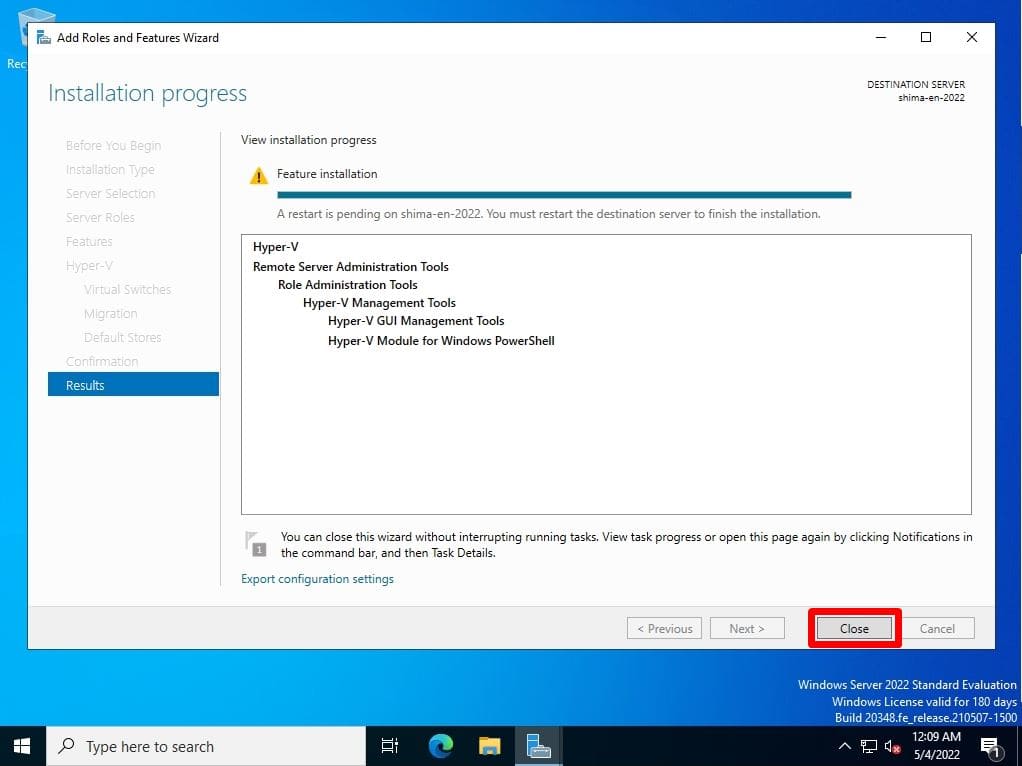
Step 16:
Installation progress screen: Select “Close”.
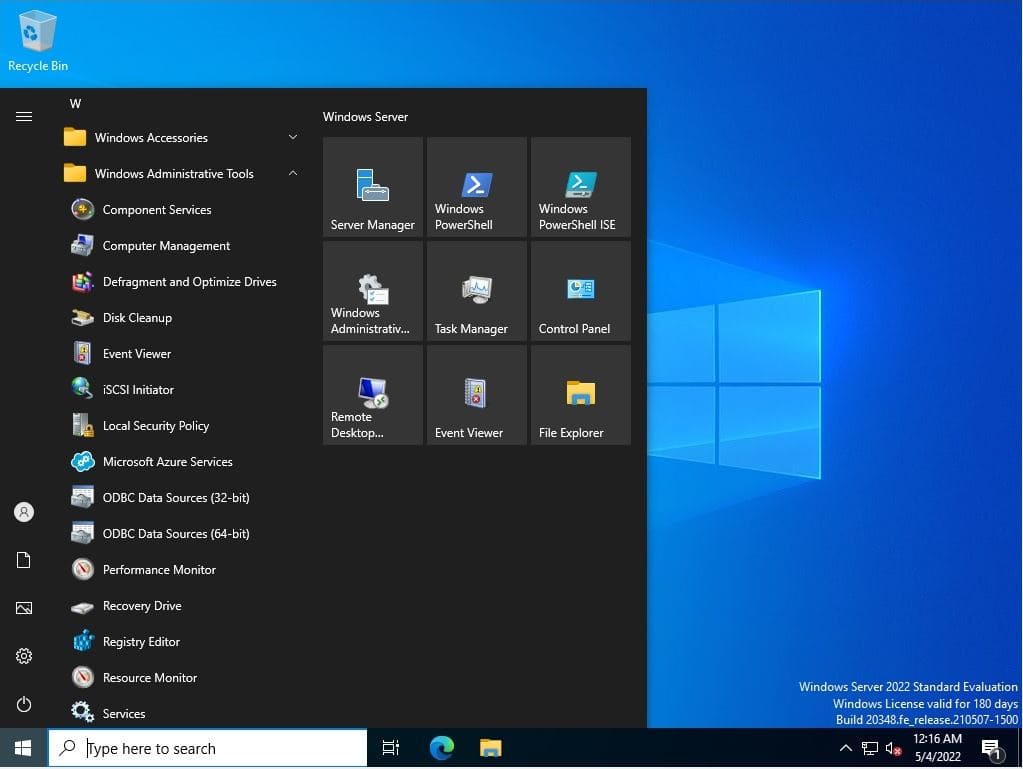
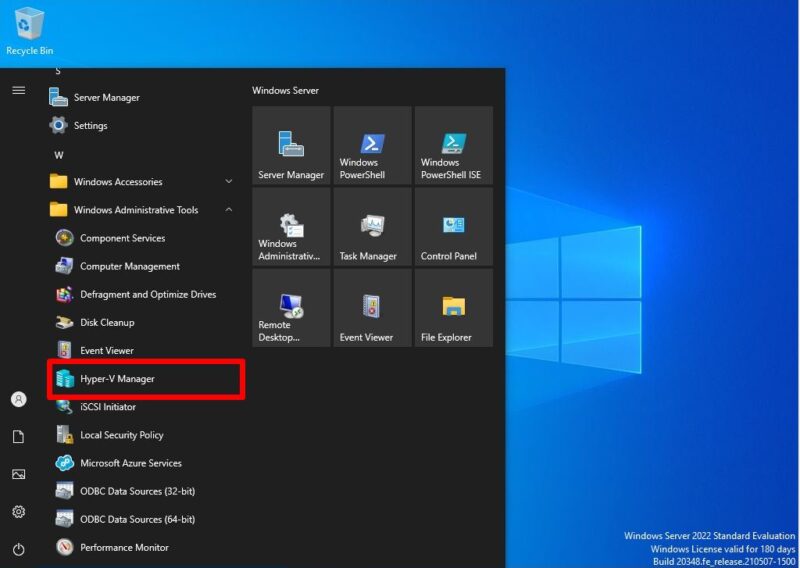
Step 17:
After restarting Windows Server 2022, verify that “Hyper-V Manager” appears in Windows Administrative Tools.

Windows Server 2022:How to disable Hyper-V
Hyper-V disabling of Windows Server 2022 is when Hyper-V is enabled as a prerequisite. By default Hyper-V is disabled.
Step 1:
Select the Windows mark at the bottom left of your desktop.

Step 2:
Select Server Manager.

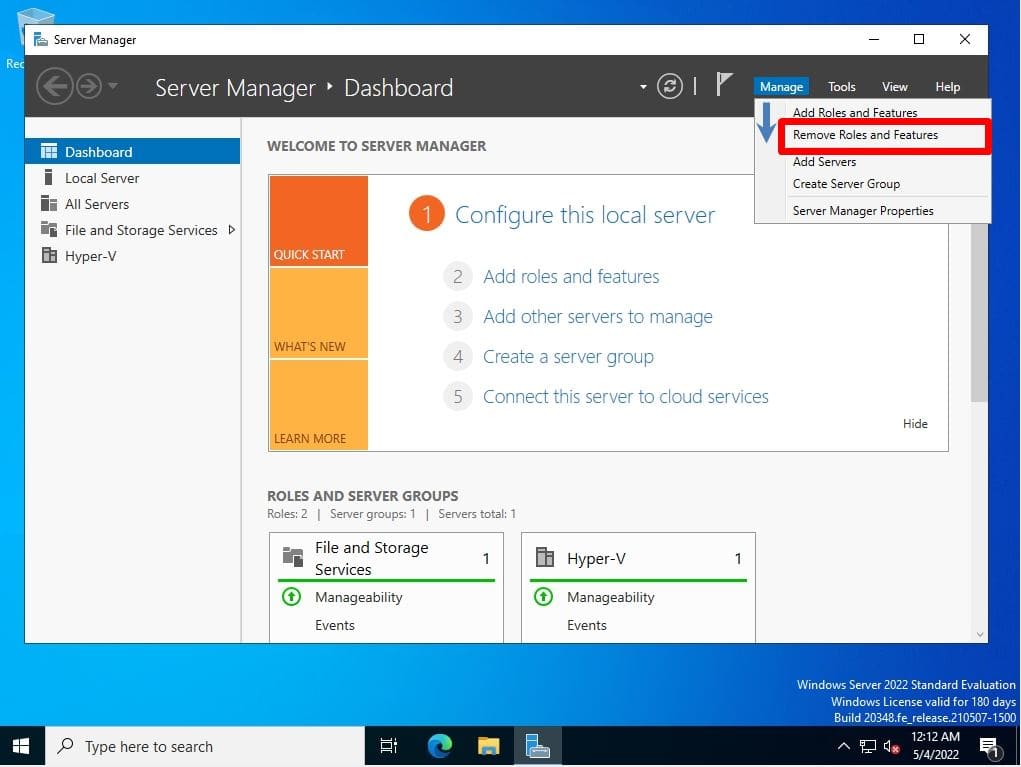
Step 3:
Select Manage tab -> Remove Roles and Features.
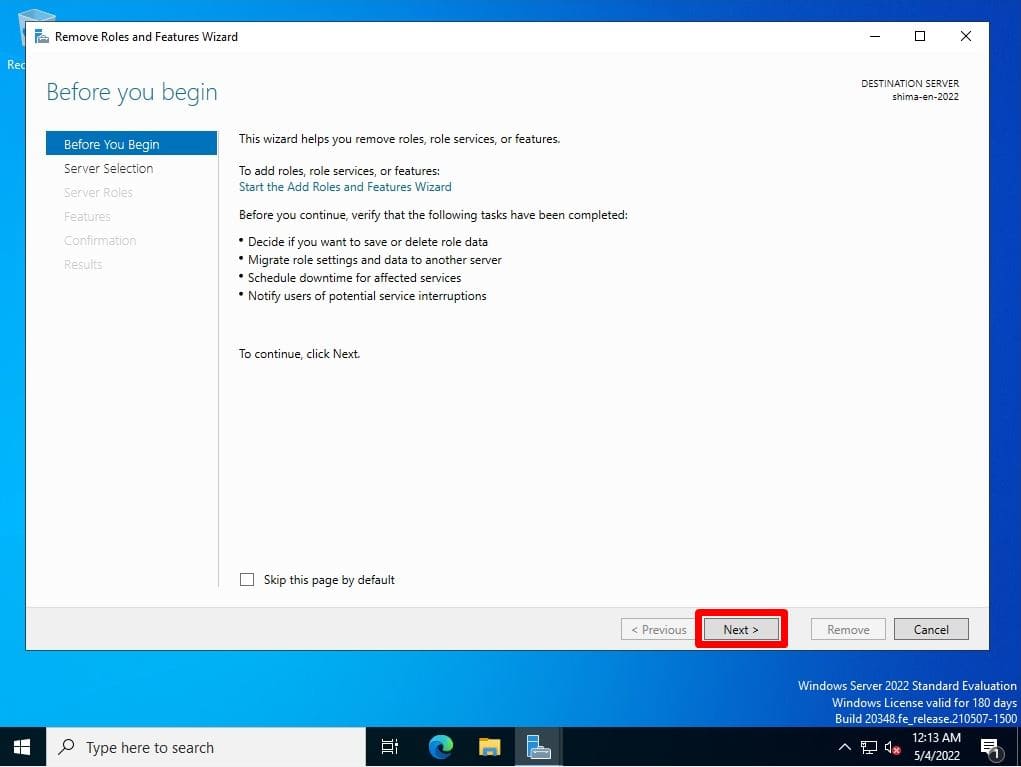
Step 4:
Before you begin screen: Select Next.
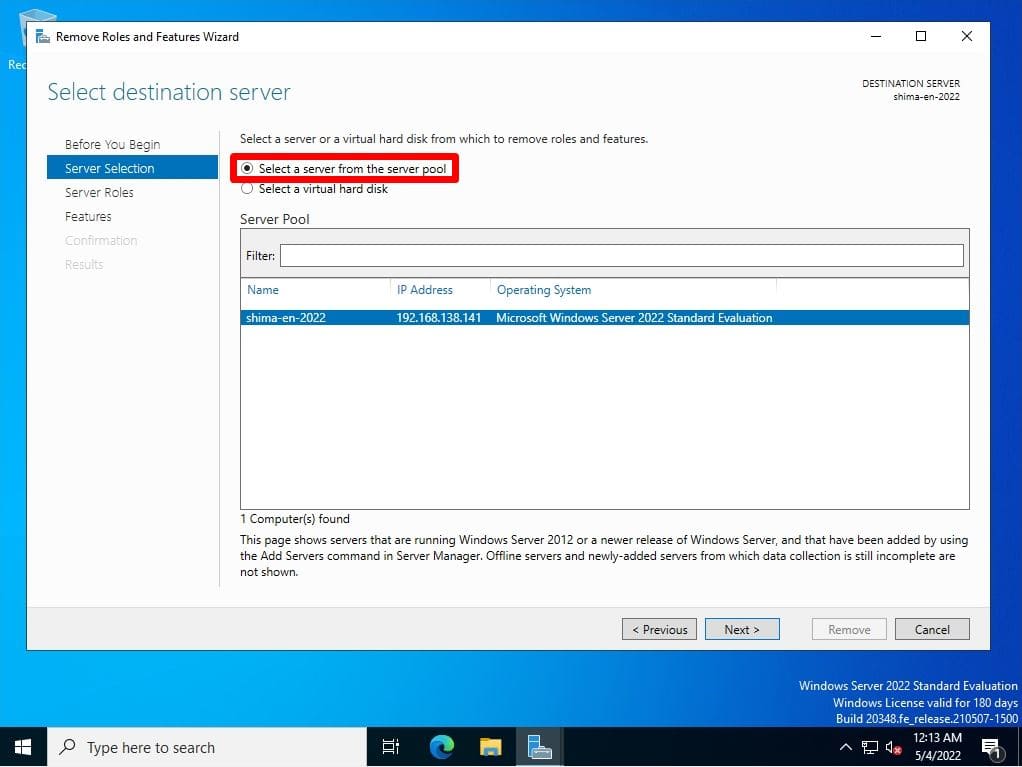
Step 5:
Select destination server screen: Select “Select a server from the server pool” -> “Next”.
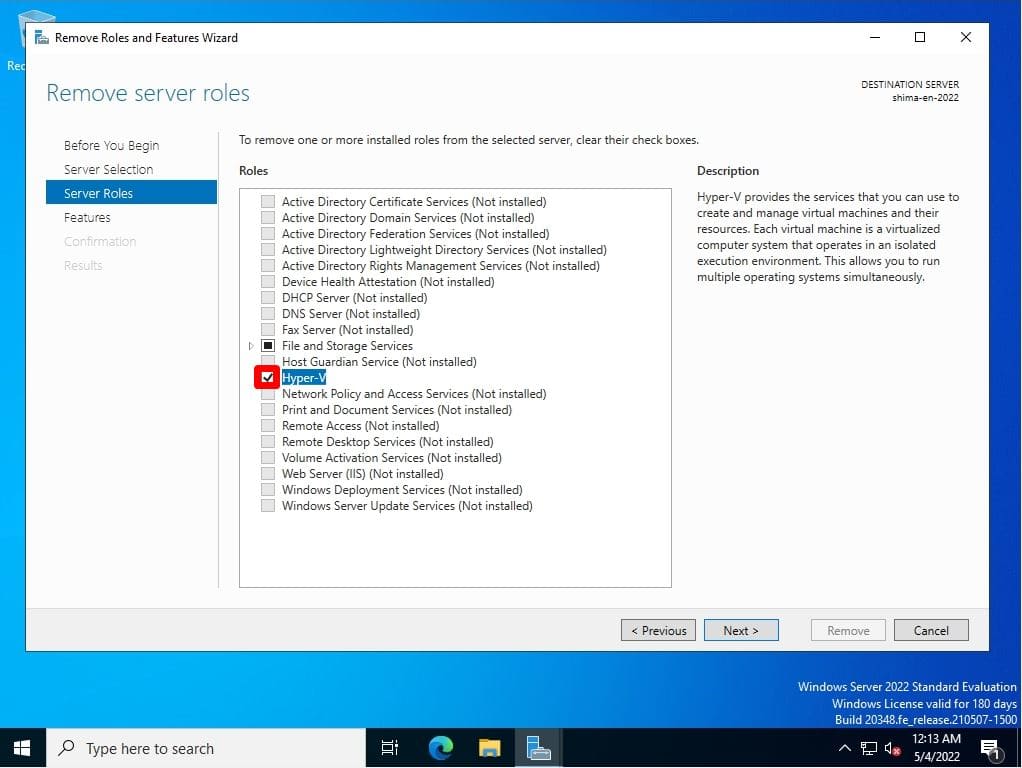
Step 6:
Remove server roles screen: Select “Hyper-V” in the red frame.
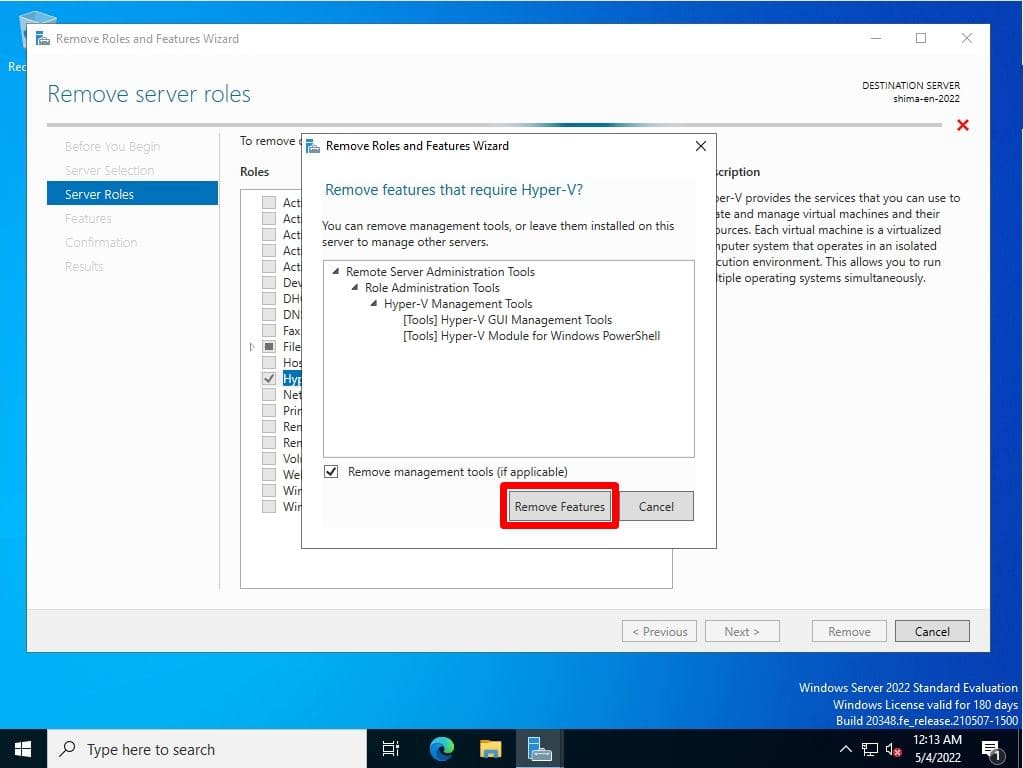
Step 7:
Select Remove Features.
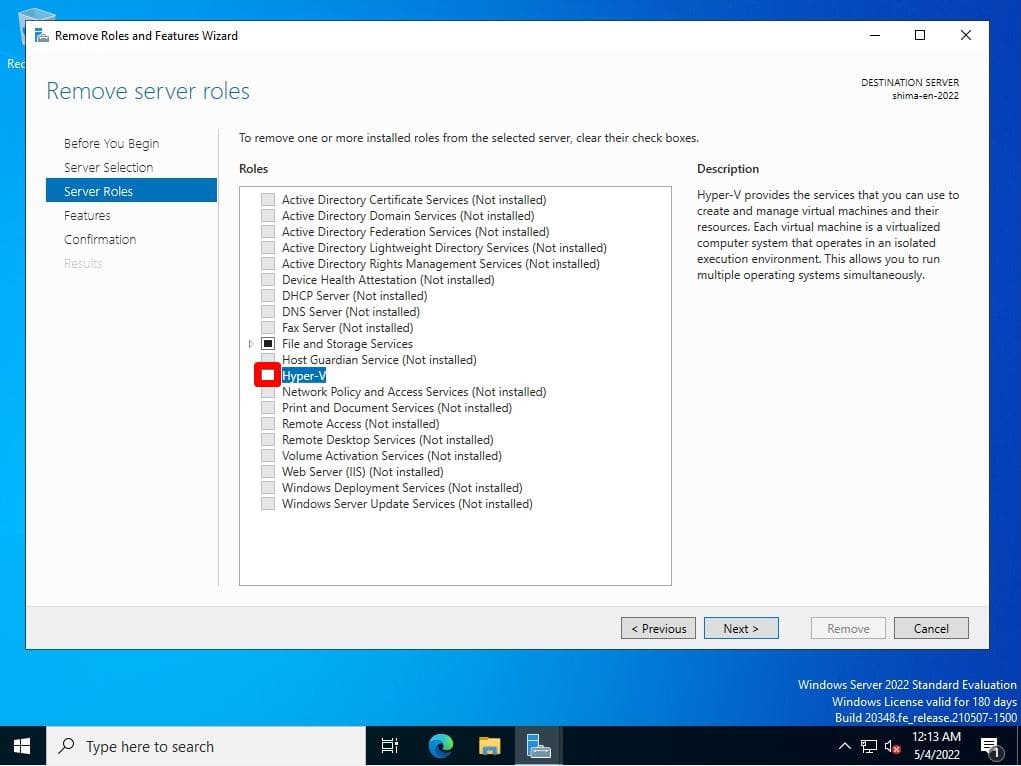
Step 8:
Make sure the Hyper-V check box is unchecked and select Next.
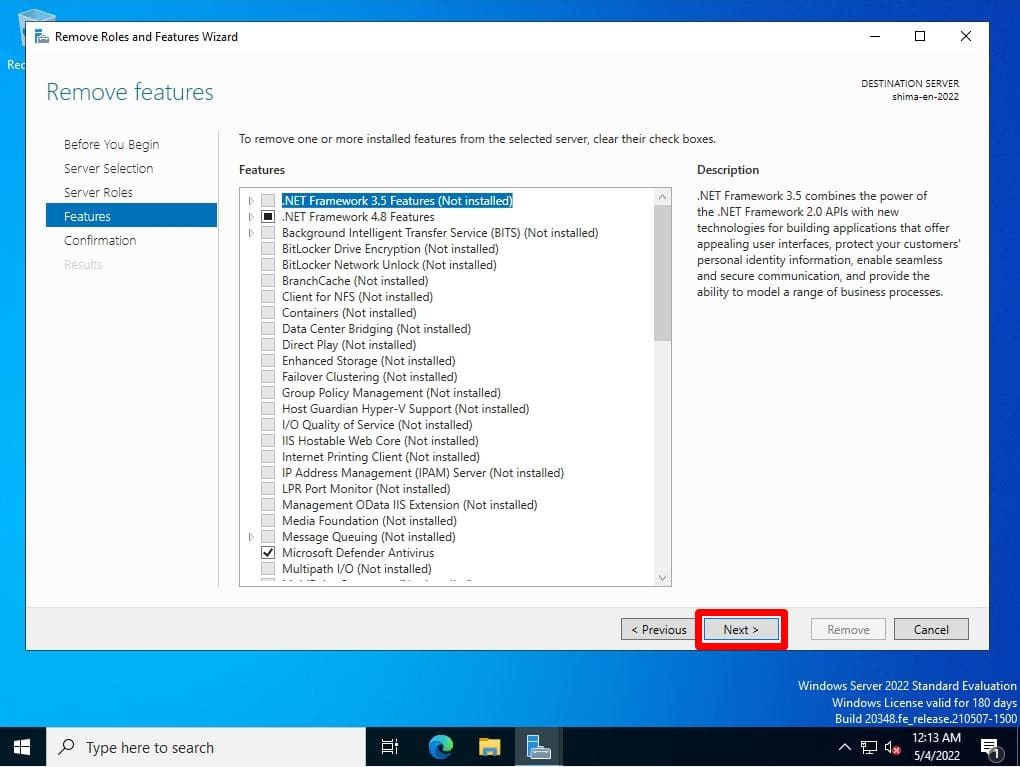
Step 9:
Remove features screen: Select “Next” without selecting anything.
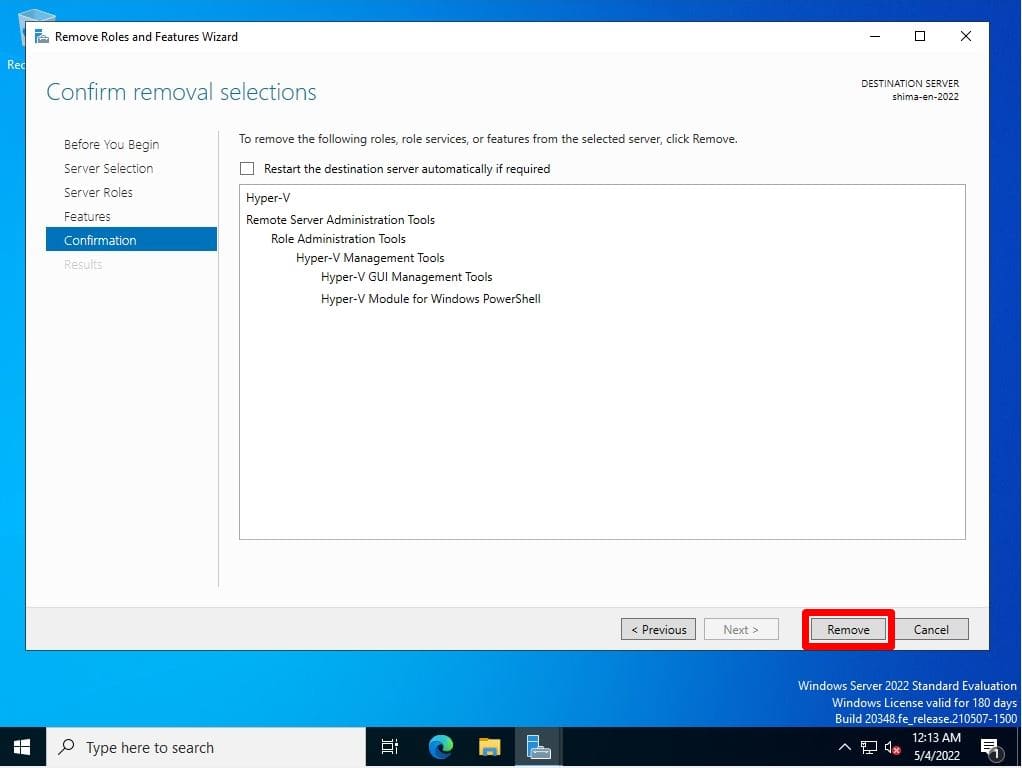
Step 10:
Confirm removal selections screen: Select “Remove”.
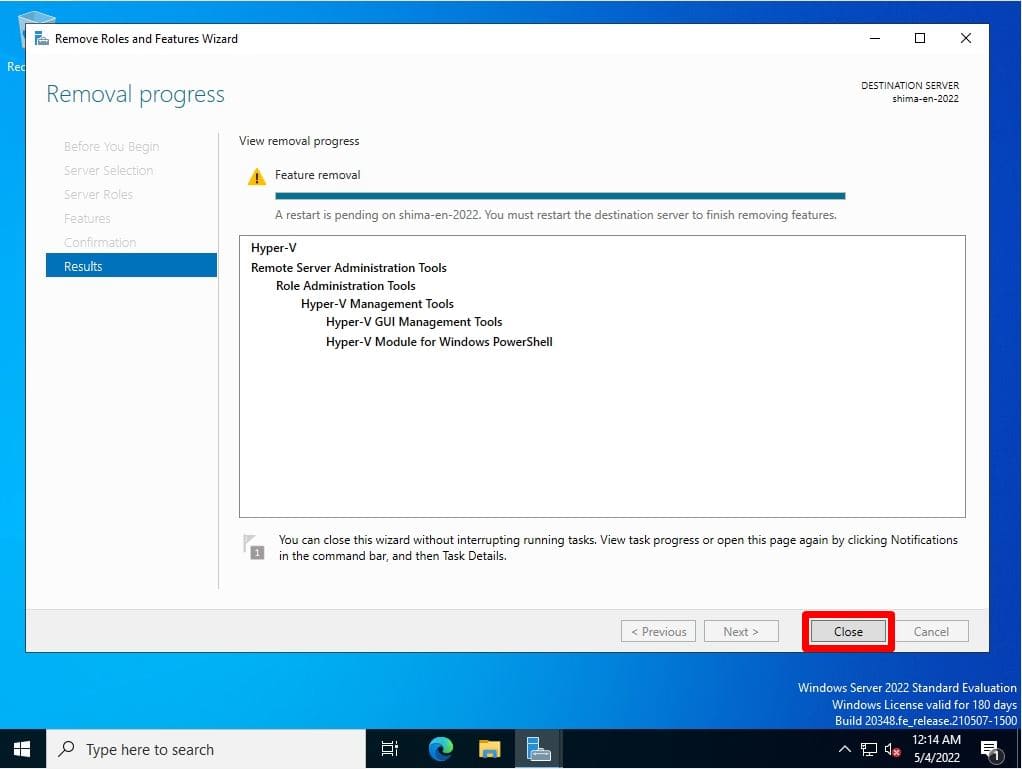
Step 11:
Removal progress screen: Select “Close”.
Step 12:
After restarting Windows Server 2022, make sure that “Hyper-V Manager” is not displayed in Windows Administrative Tools.